Rapunzel Tower Pen Pencil Container


You Will Need:
Fevicryl Acrylic Colour Burnt Sienna 01, Black 02, Sap Green 21, Violet 25, Yellow Ochre 26, White 27, Fevicryl Fabric Glue, Fine Art Brushes, Assorted Card Papers (Blue Violet, Dark Violet, Pink, Red Green), Corrugated Box Flap, Mount Board, Pencil, Paper Cutter, Scissors, Wool (Shades Of Yellow), Used Container, Colour Palette, Water Container
Product Used:


Description :
Make this simple stationery holder using an empty container of chips for your child this Children’s Day.
STEP 1 : Source the base material
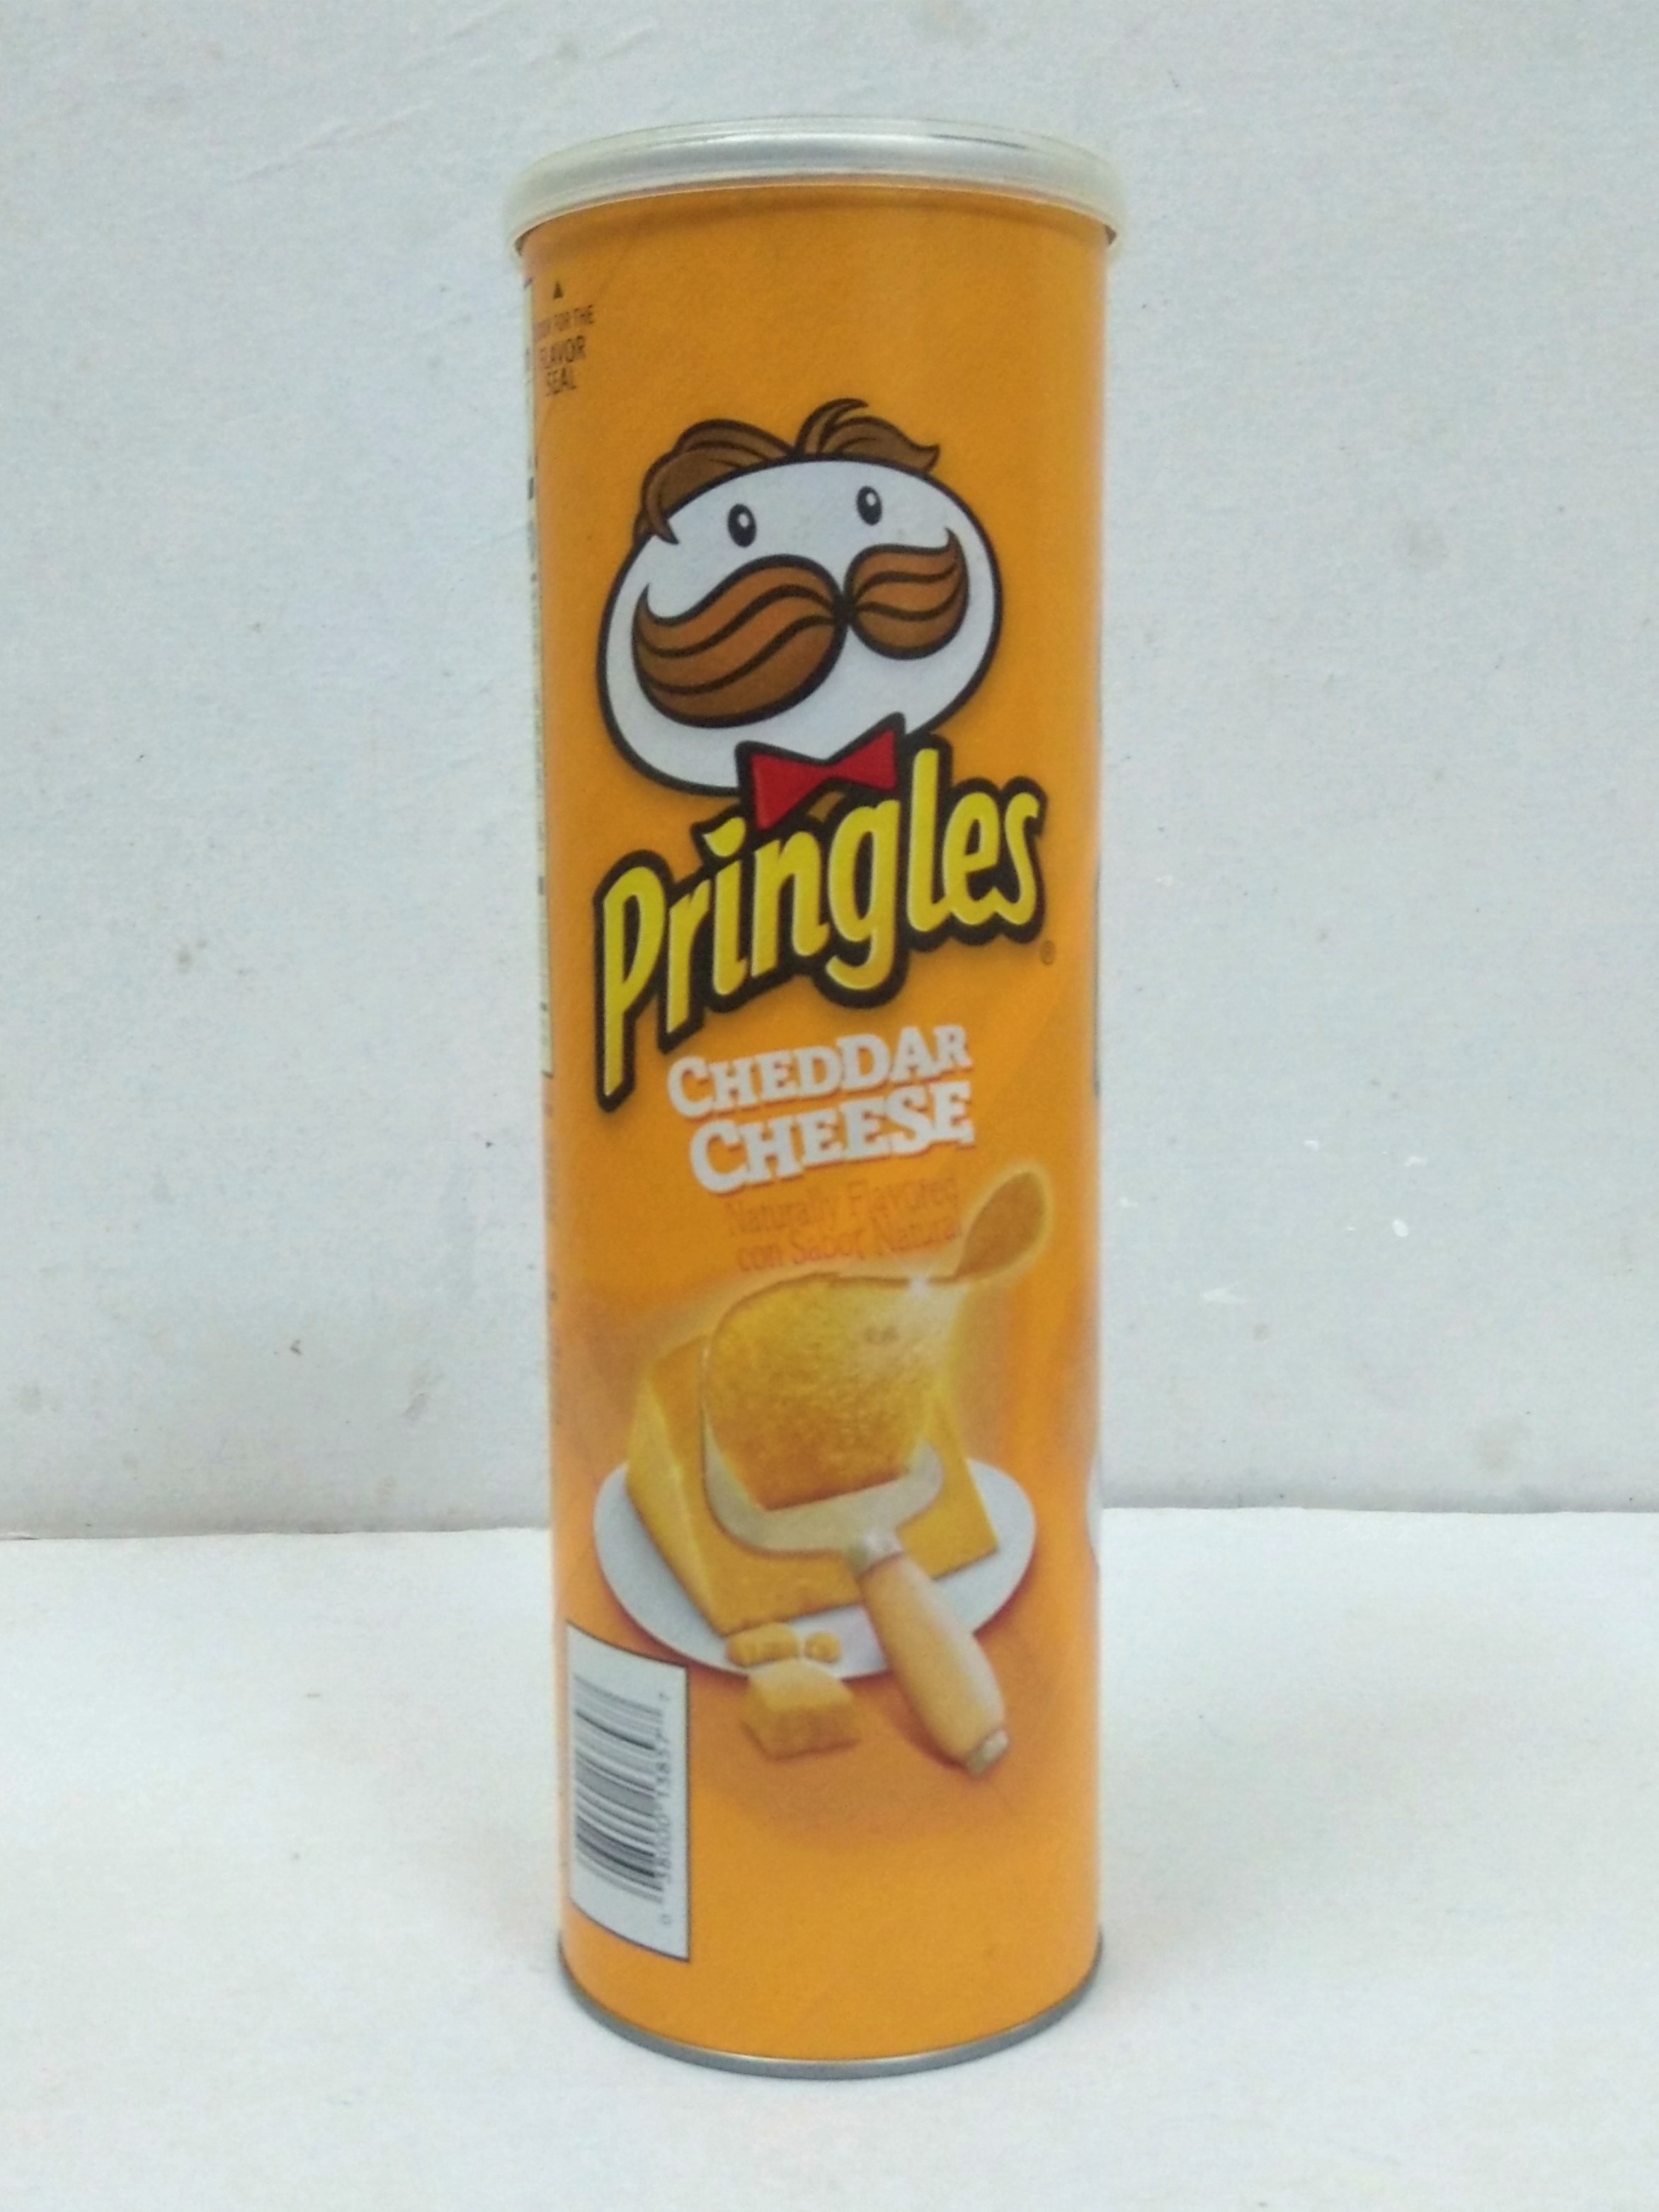
- We are going to make a pen pencil container using a chips container as the tower where the witch had hidden the long-haired Princess, inspired from the famous fairy tale story Rapunzel.
- Take the container, clean it completely to make it as the case to hold the pen and pencils. Paint the container with the base coat Acrylic Colour White 27. Let it dry.
STEP 2 : Draw and paint the base
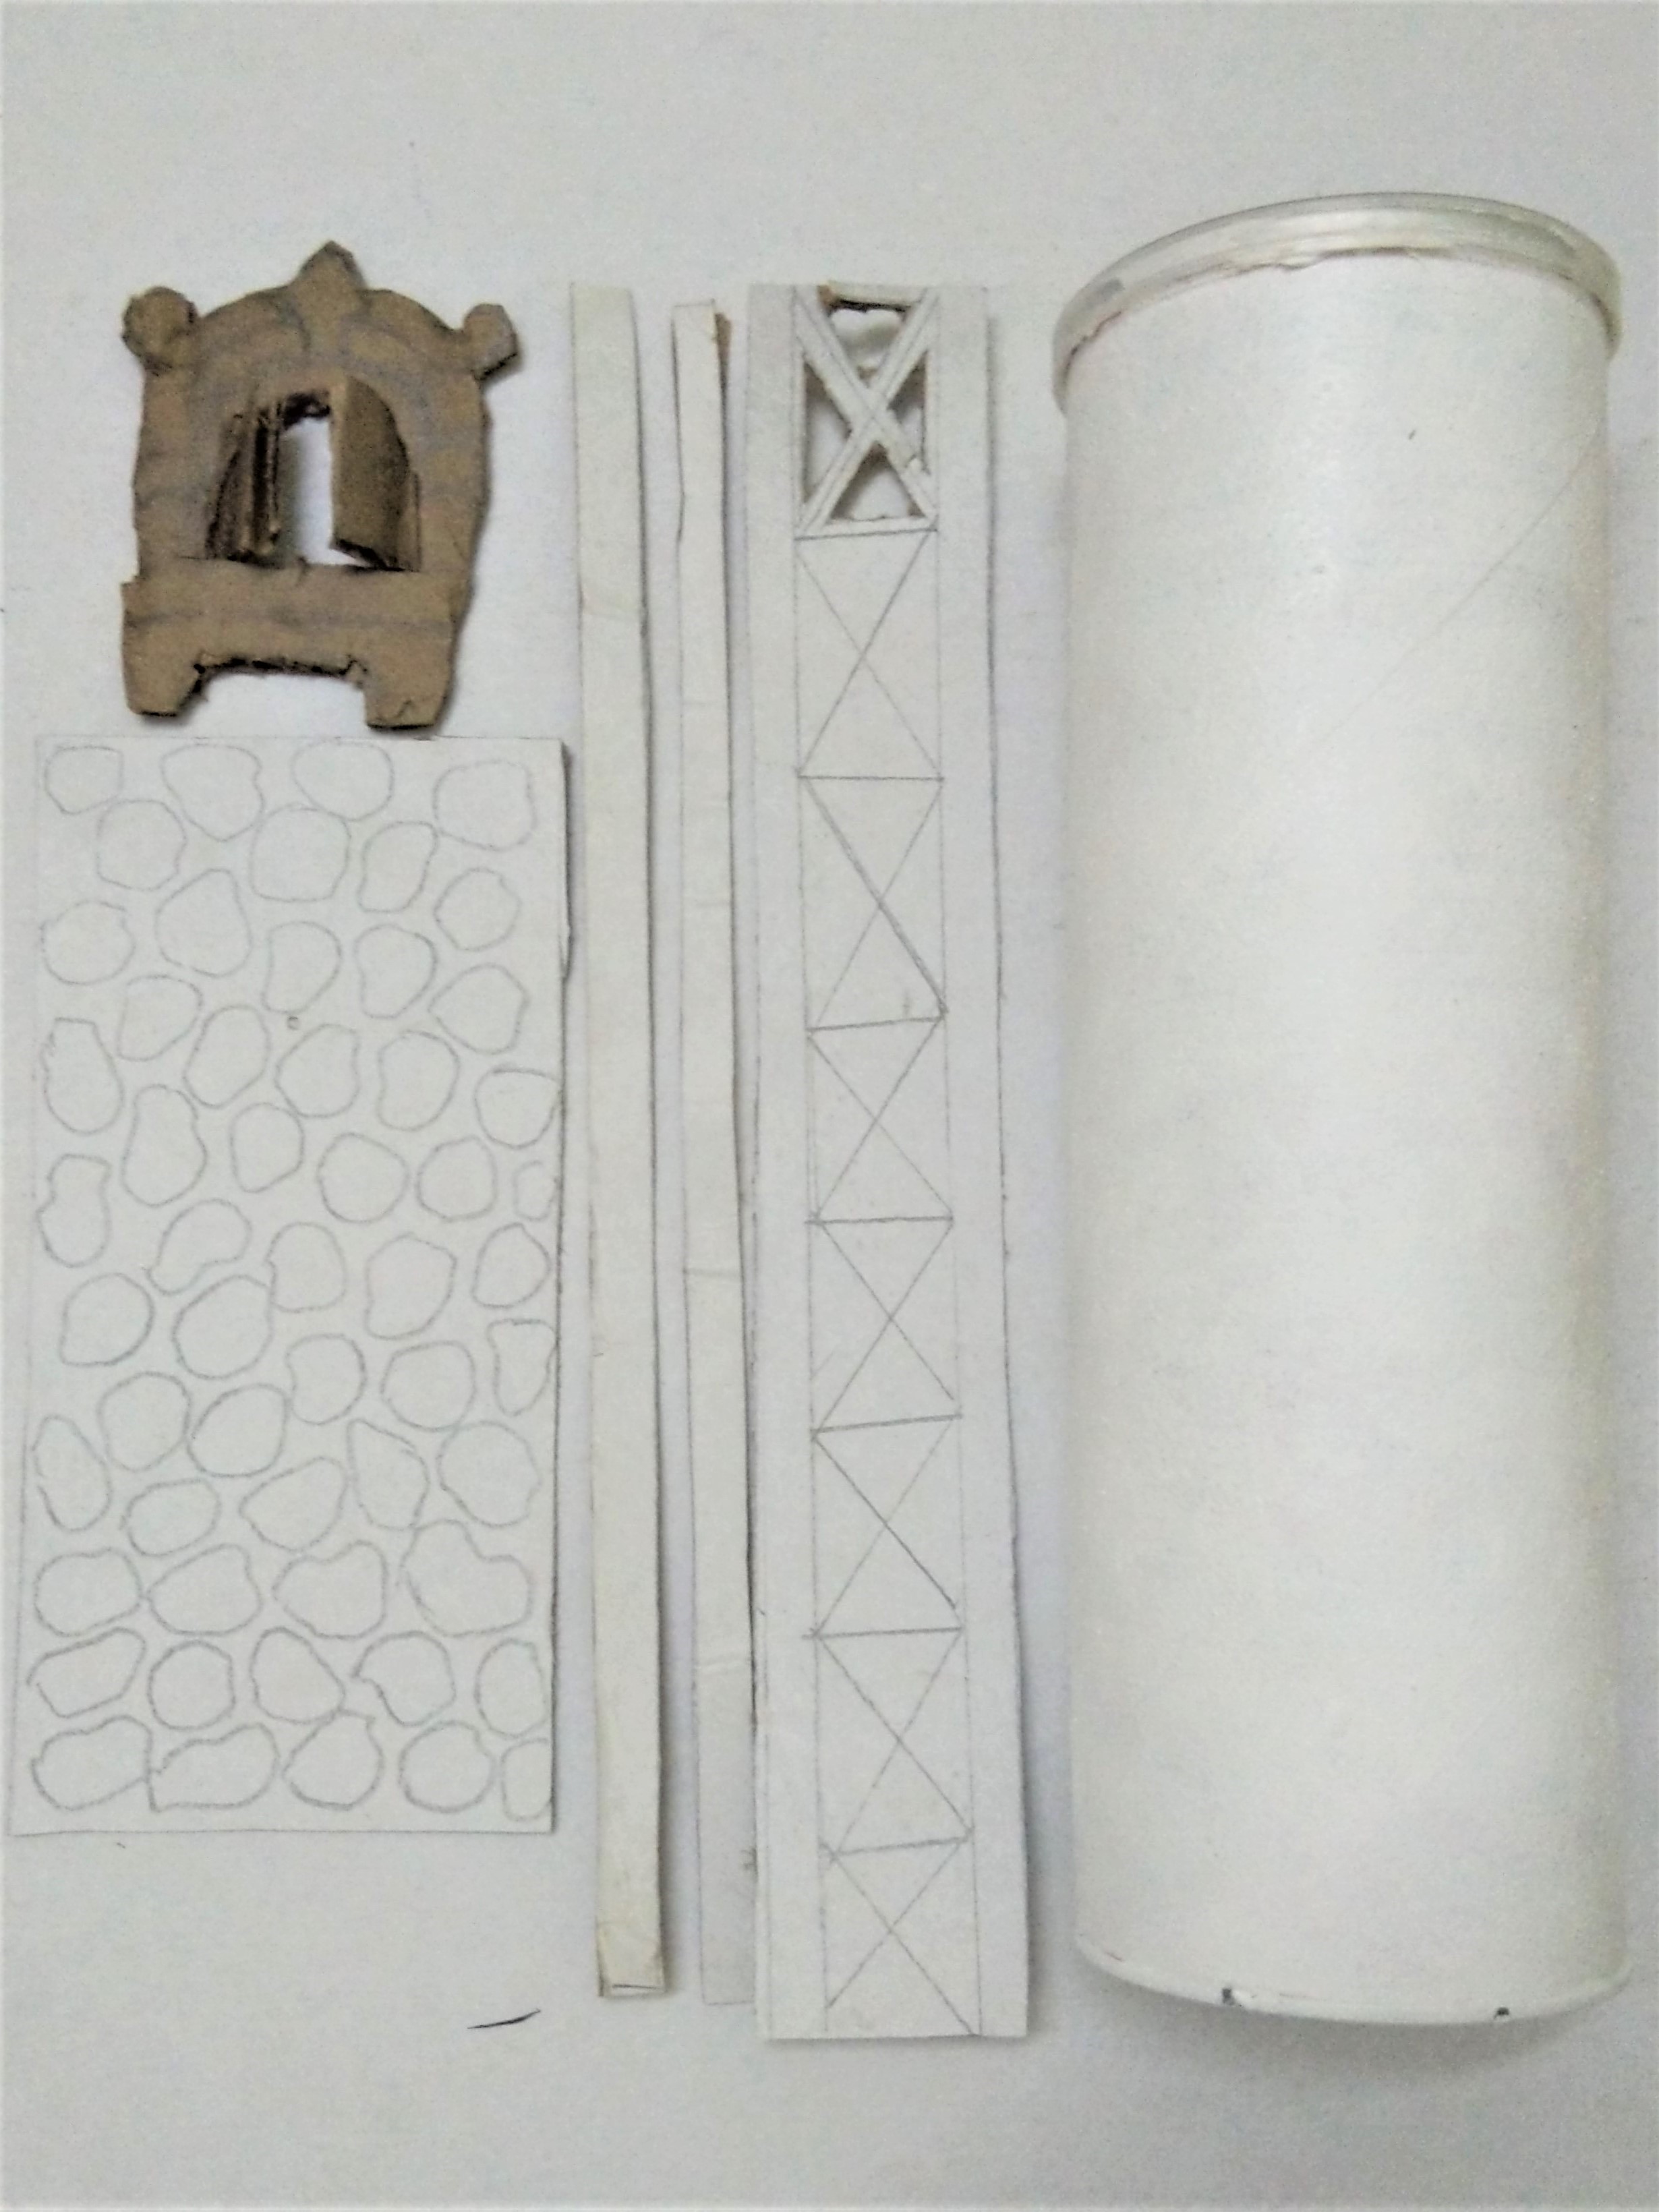
- Take any corrugated box flap, mount board and the container. Give them a base coat using Fevicryl Acrylic Colour White.
- Draw a simple outline of the stones on the piece of the Mount board further to make the stone masonry on the tower.
- Mark and cut the window and the railing below the window from the corrugated box flap and the card board.
STEP 3 : Paint the base

- Paint the railing and the window to get a wooden effect using Acrylic Colours Burnt Sienna 01, Black 02, Yellow Ochre 26 and White 27. Let it dry.
STEP 4 : Assemble and stick the base
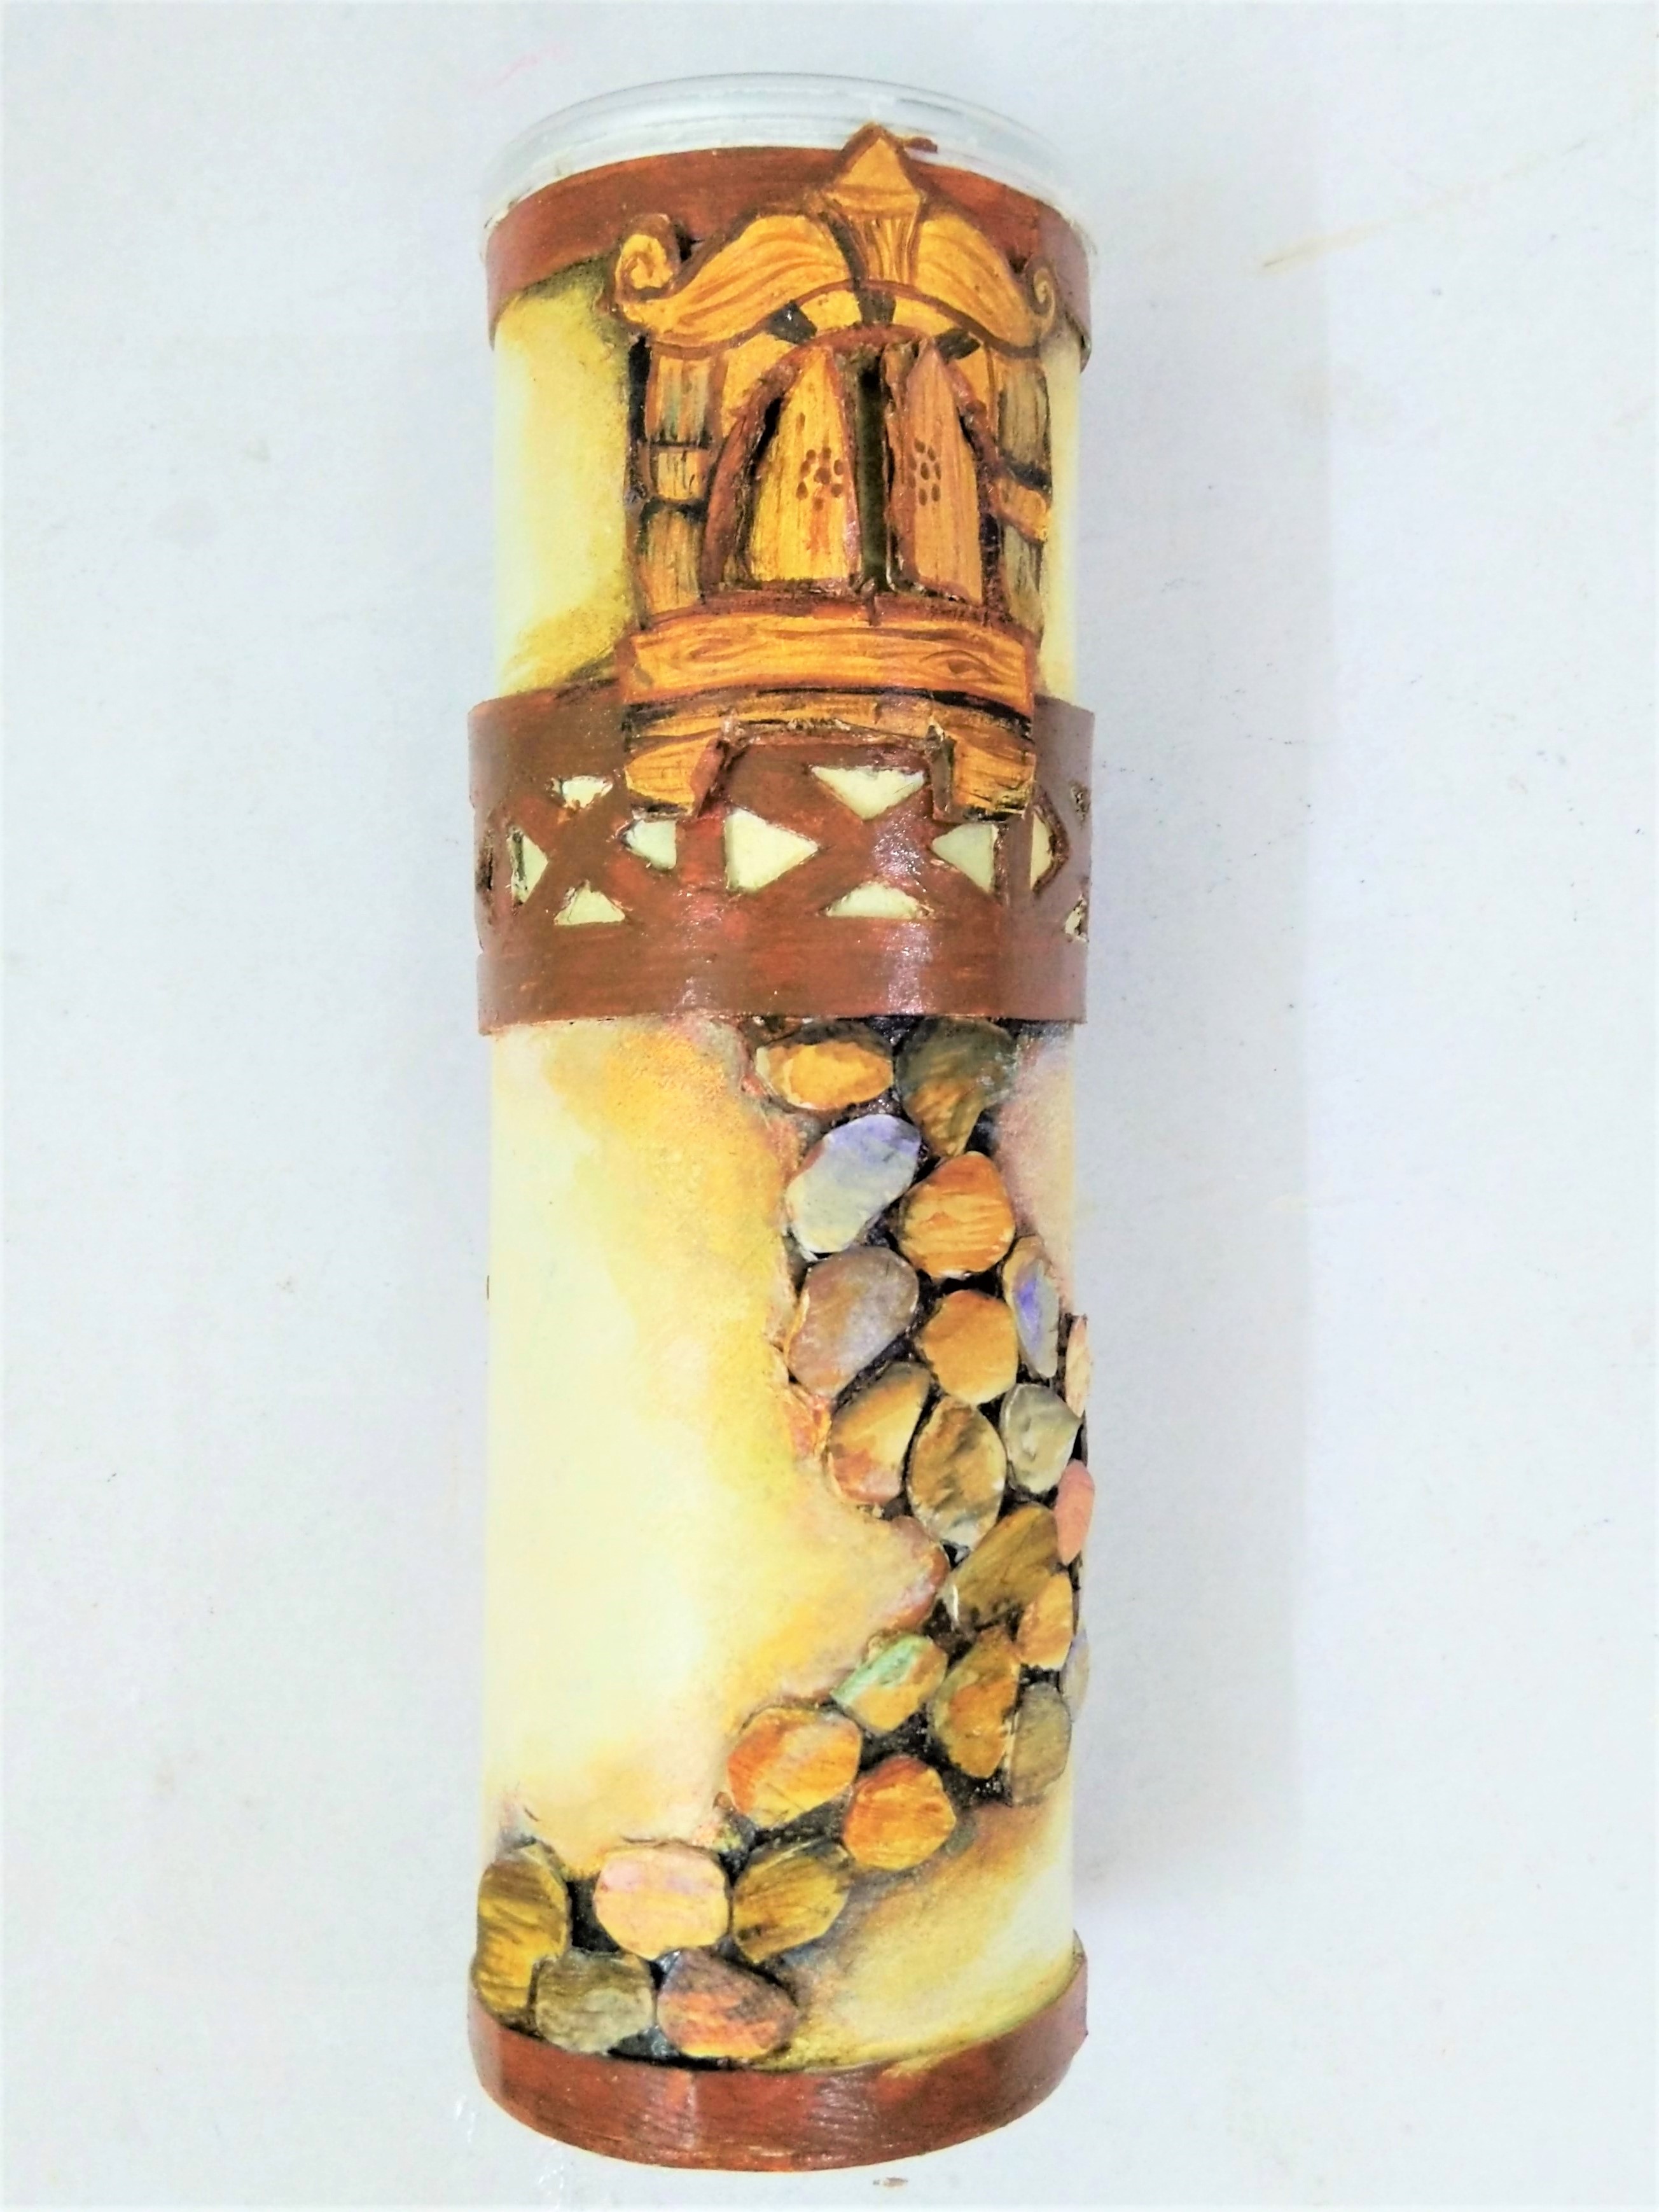
- Take the Mount board with the drawing of the stones on it. Cut along the outlines with a pair of the scissors.
- Stick the railing, the painted corrugated window and the stones on the container with Fabric Glue.
- Paint the stones and area around the stones with Acrylic Colour Burnt Sienna 01, Black 02, Sap Green 21, Violet 25, Yellow Ochre 26 and White 27 in shading effect.
- Leave it to dry completely.
STEP 5 : Make the conical roof
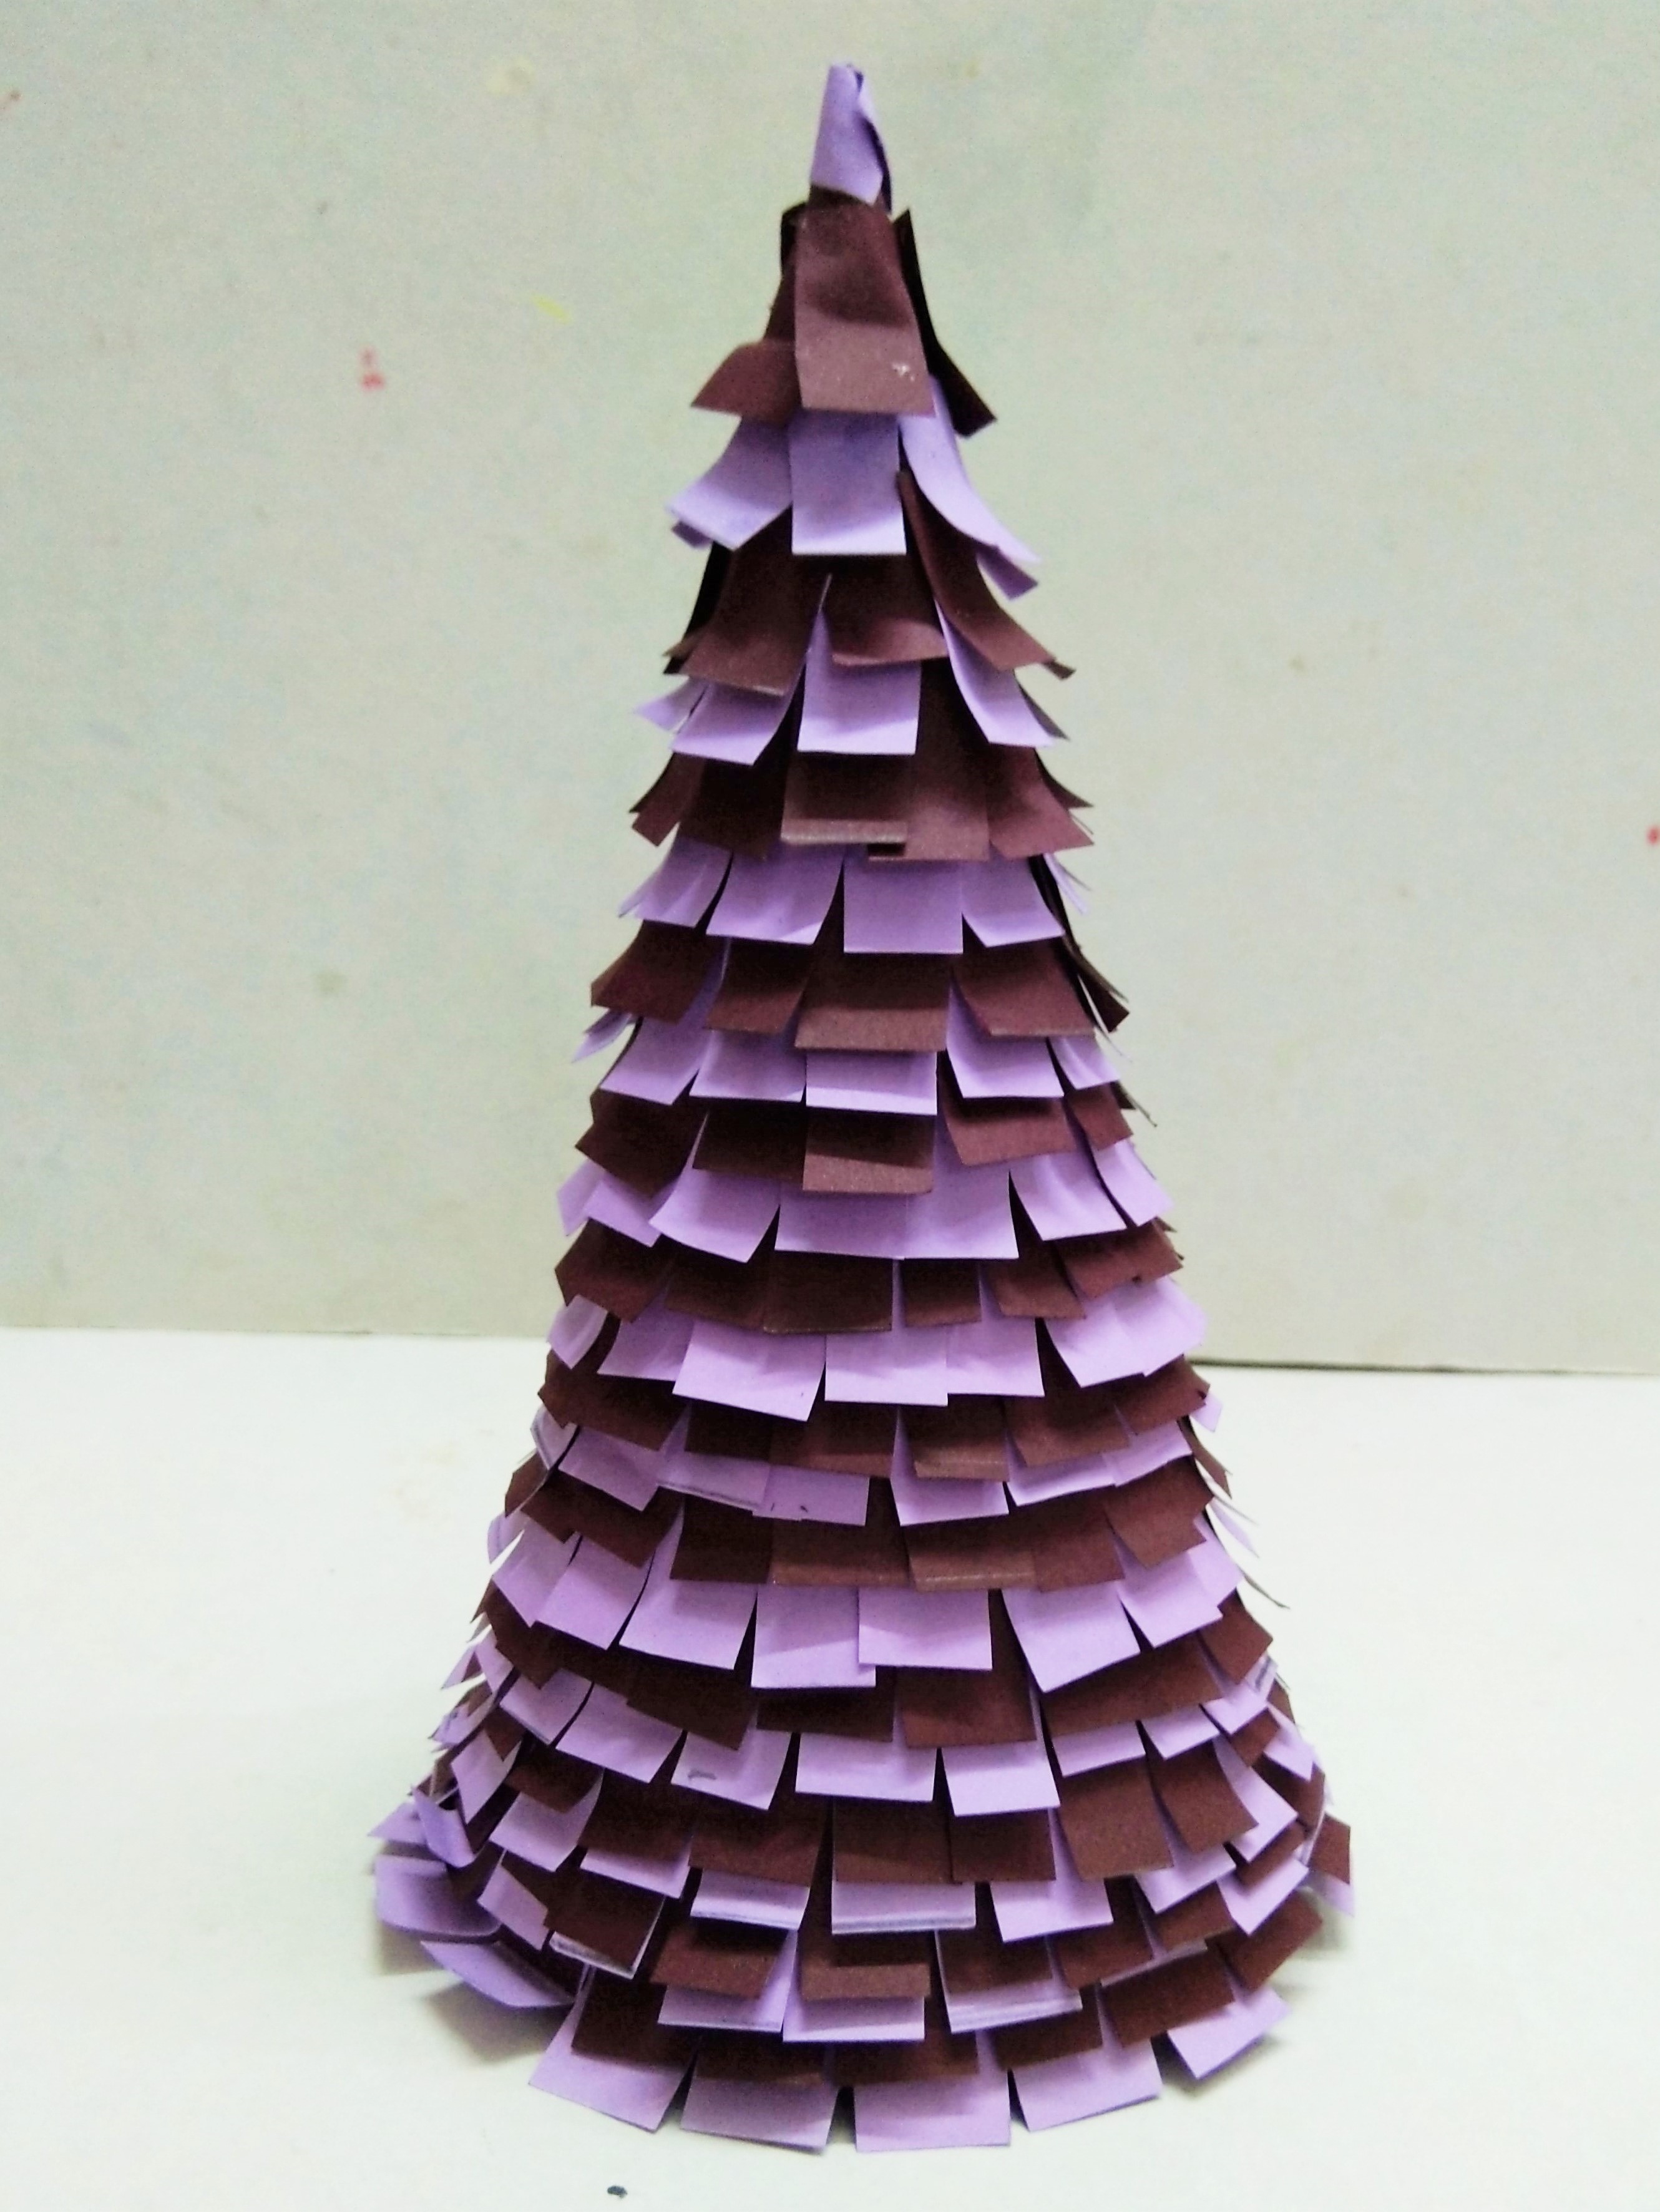
- We are going to make the roof of the tower in conical shape using the card papers in shades of blue and violet.
- Take assorted card papers in shades of the blue and violet, mark and cut rectangular pieces out of it.
- Stick the pieces on the cone shape roof using Fabric Glue. Let it dry.
STEP 6 : Make the plait with wool
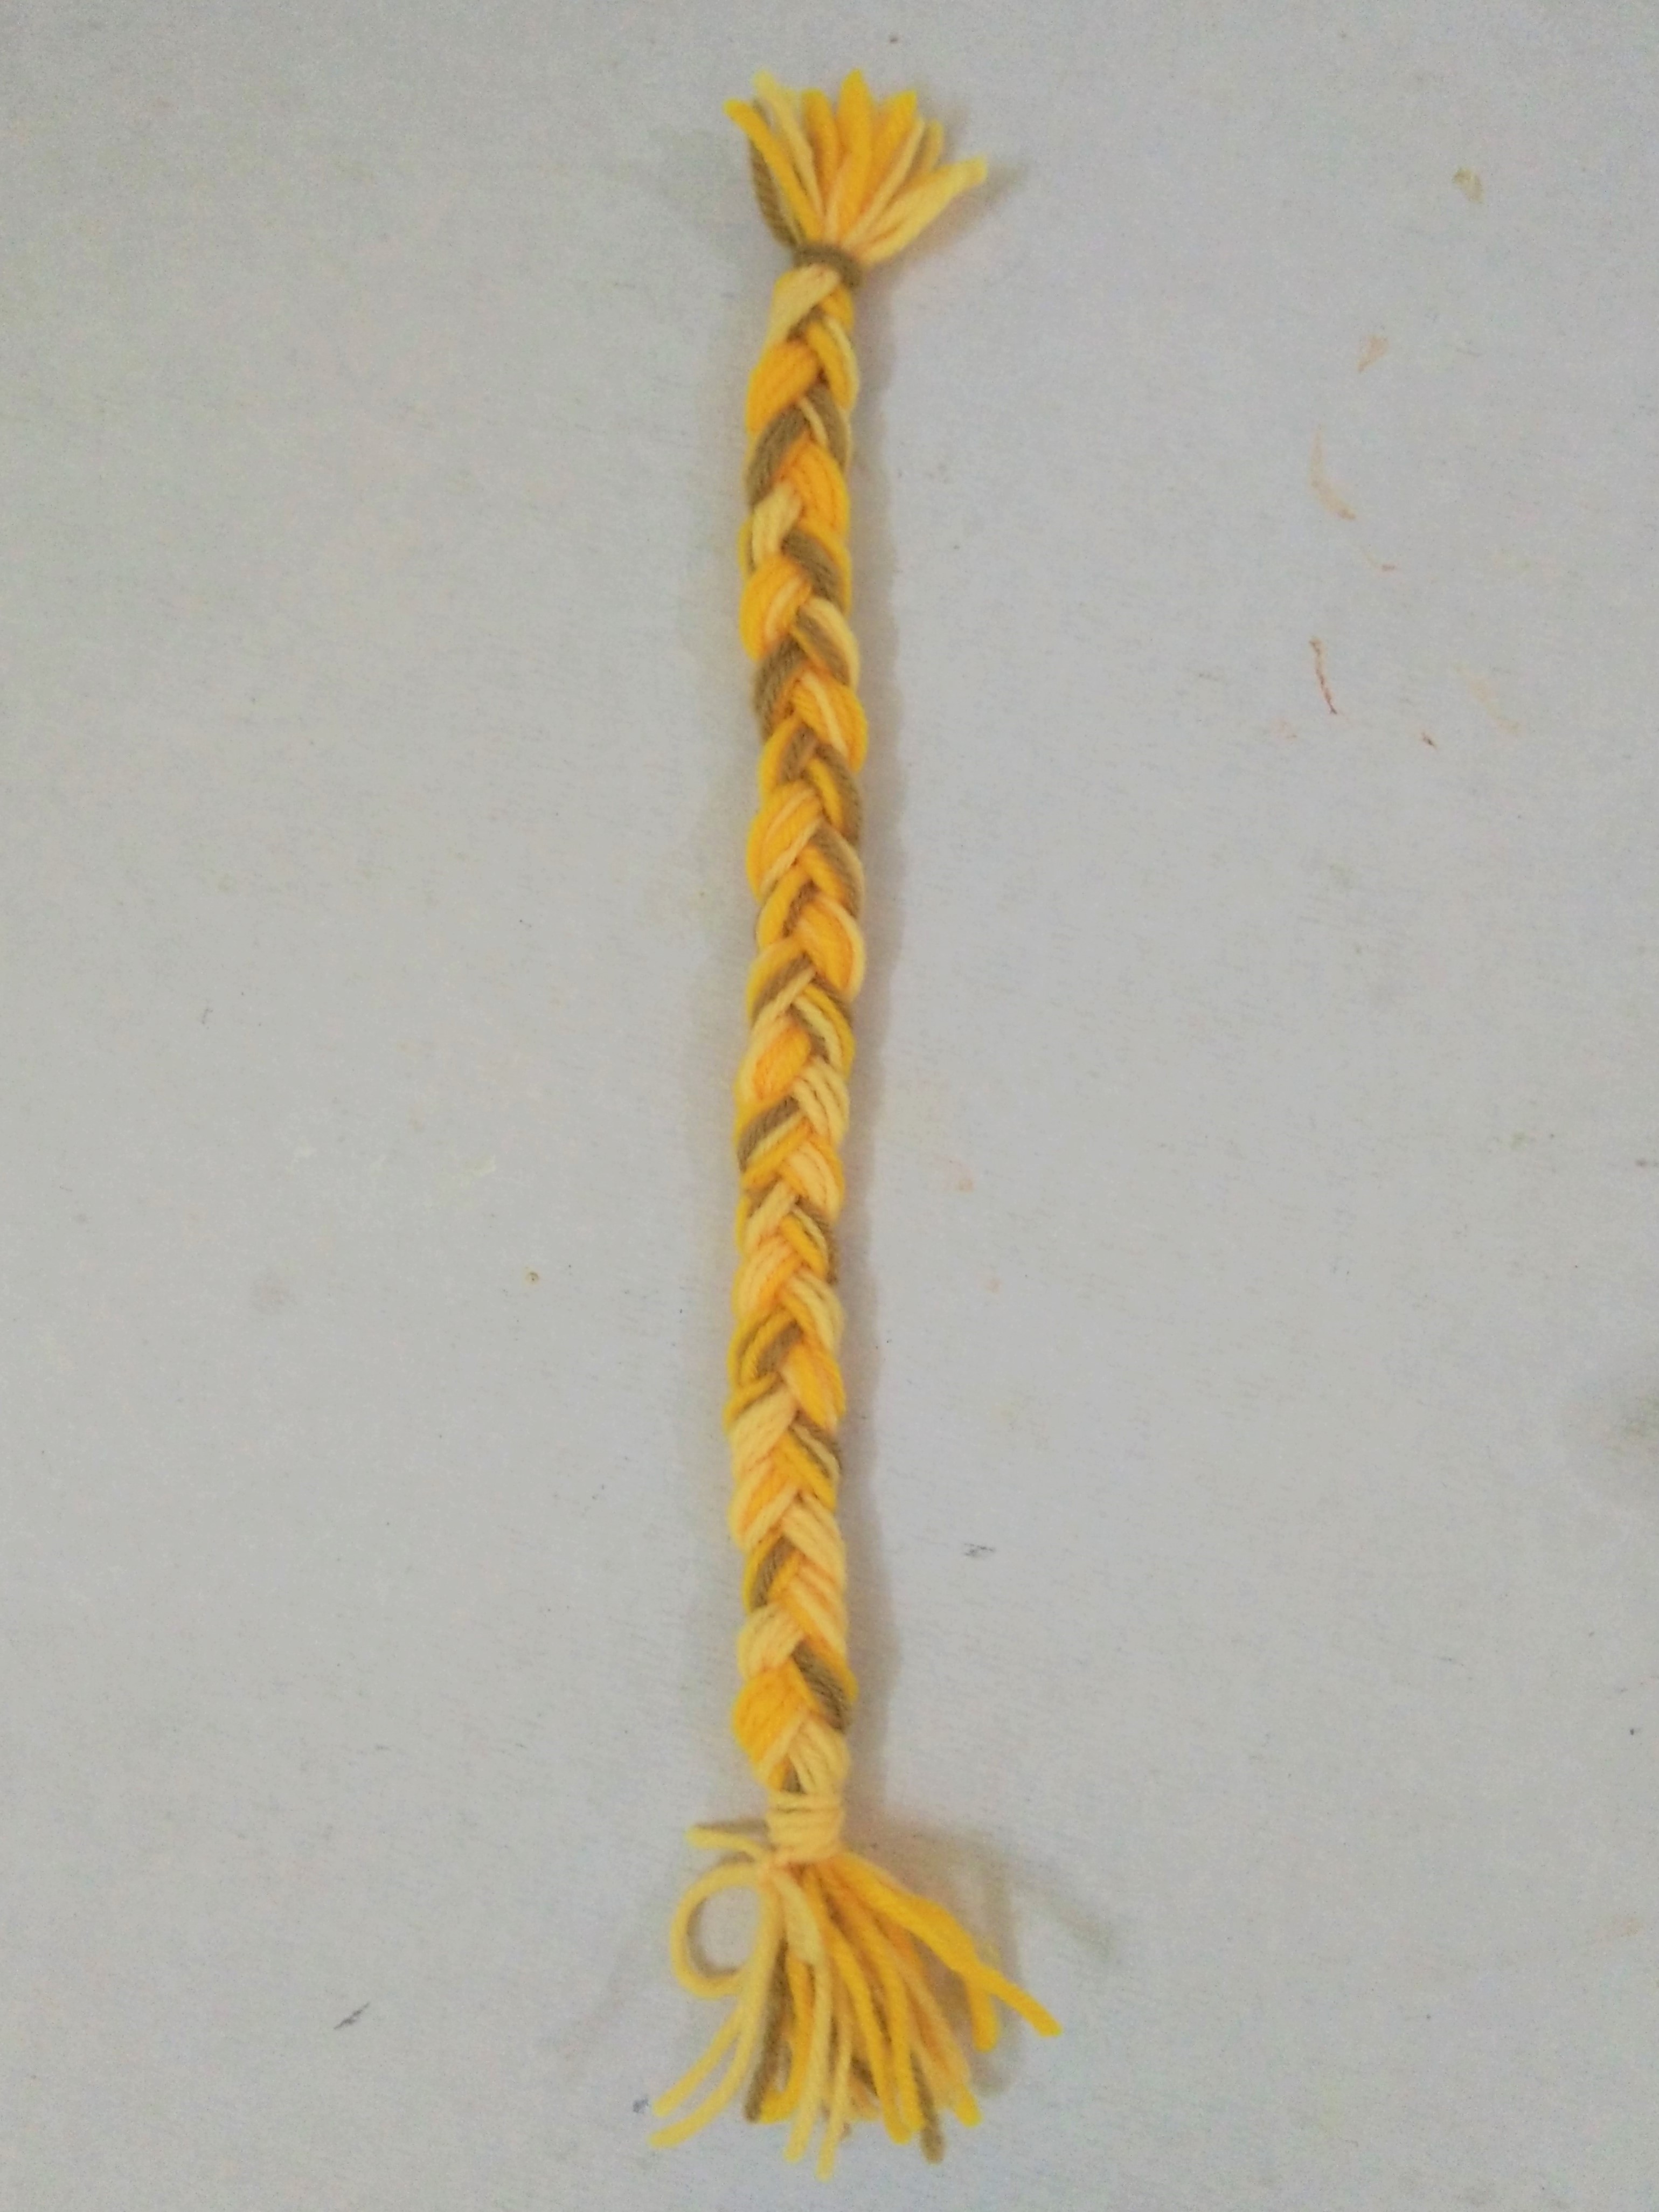
- Take the woolen strands in shades of yellow and make the plait out of it.
STEP 7 : Making the tiny flowers
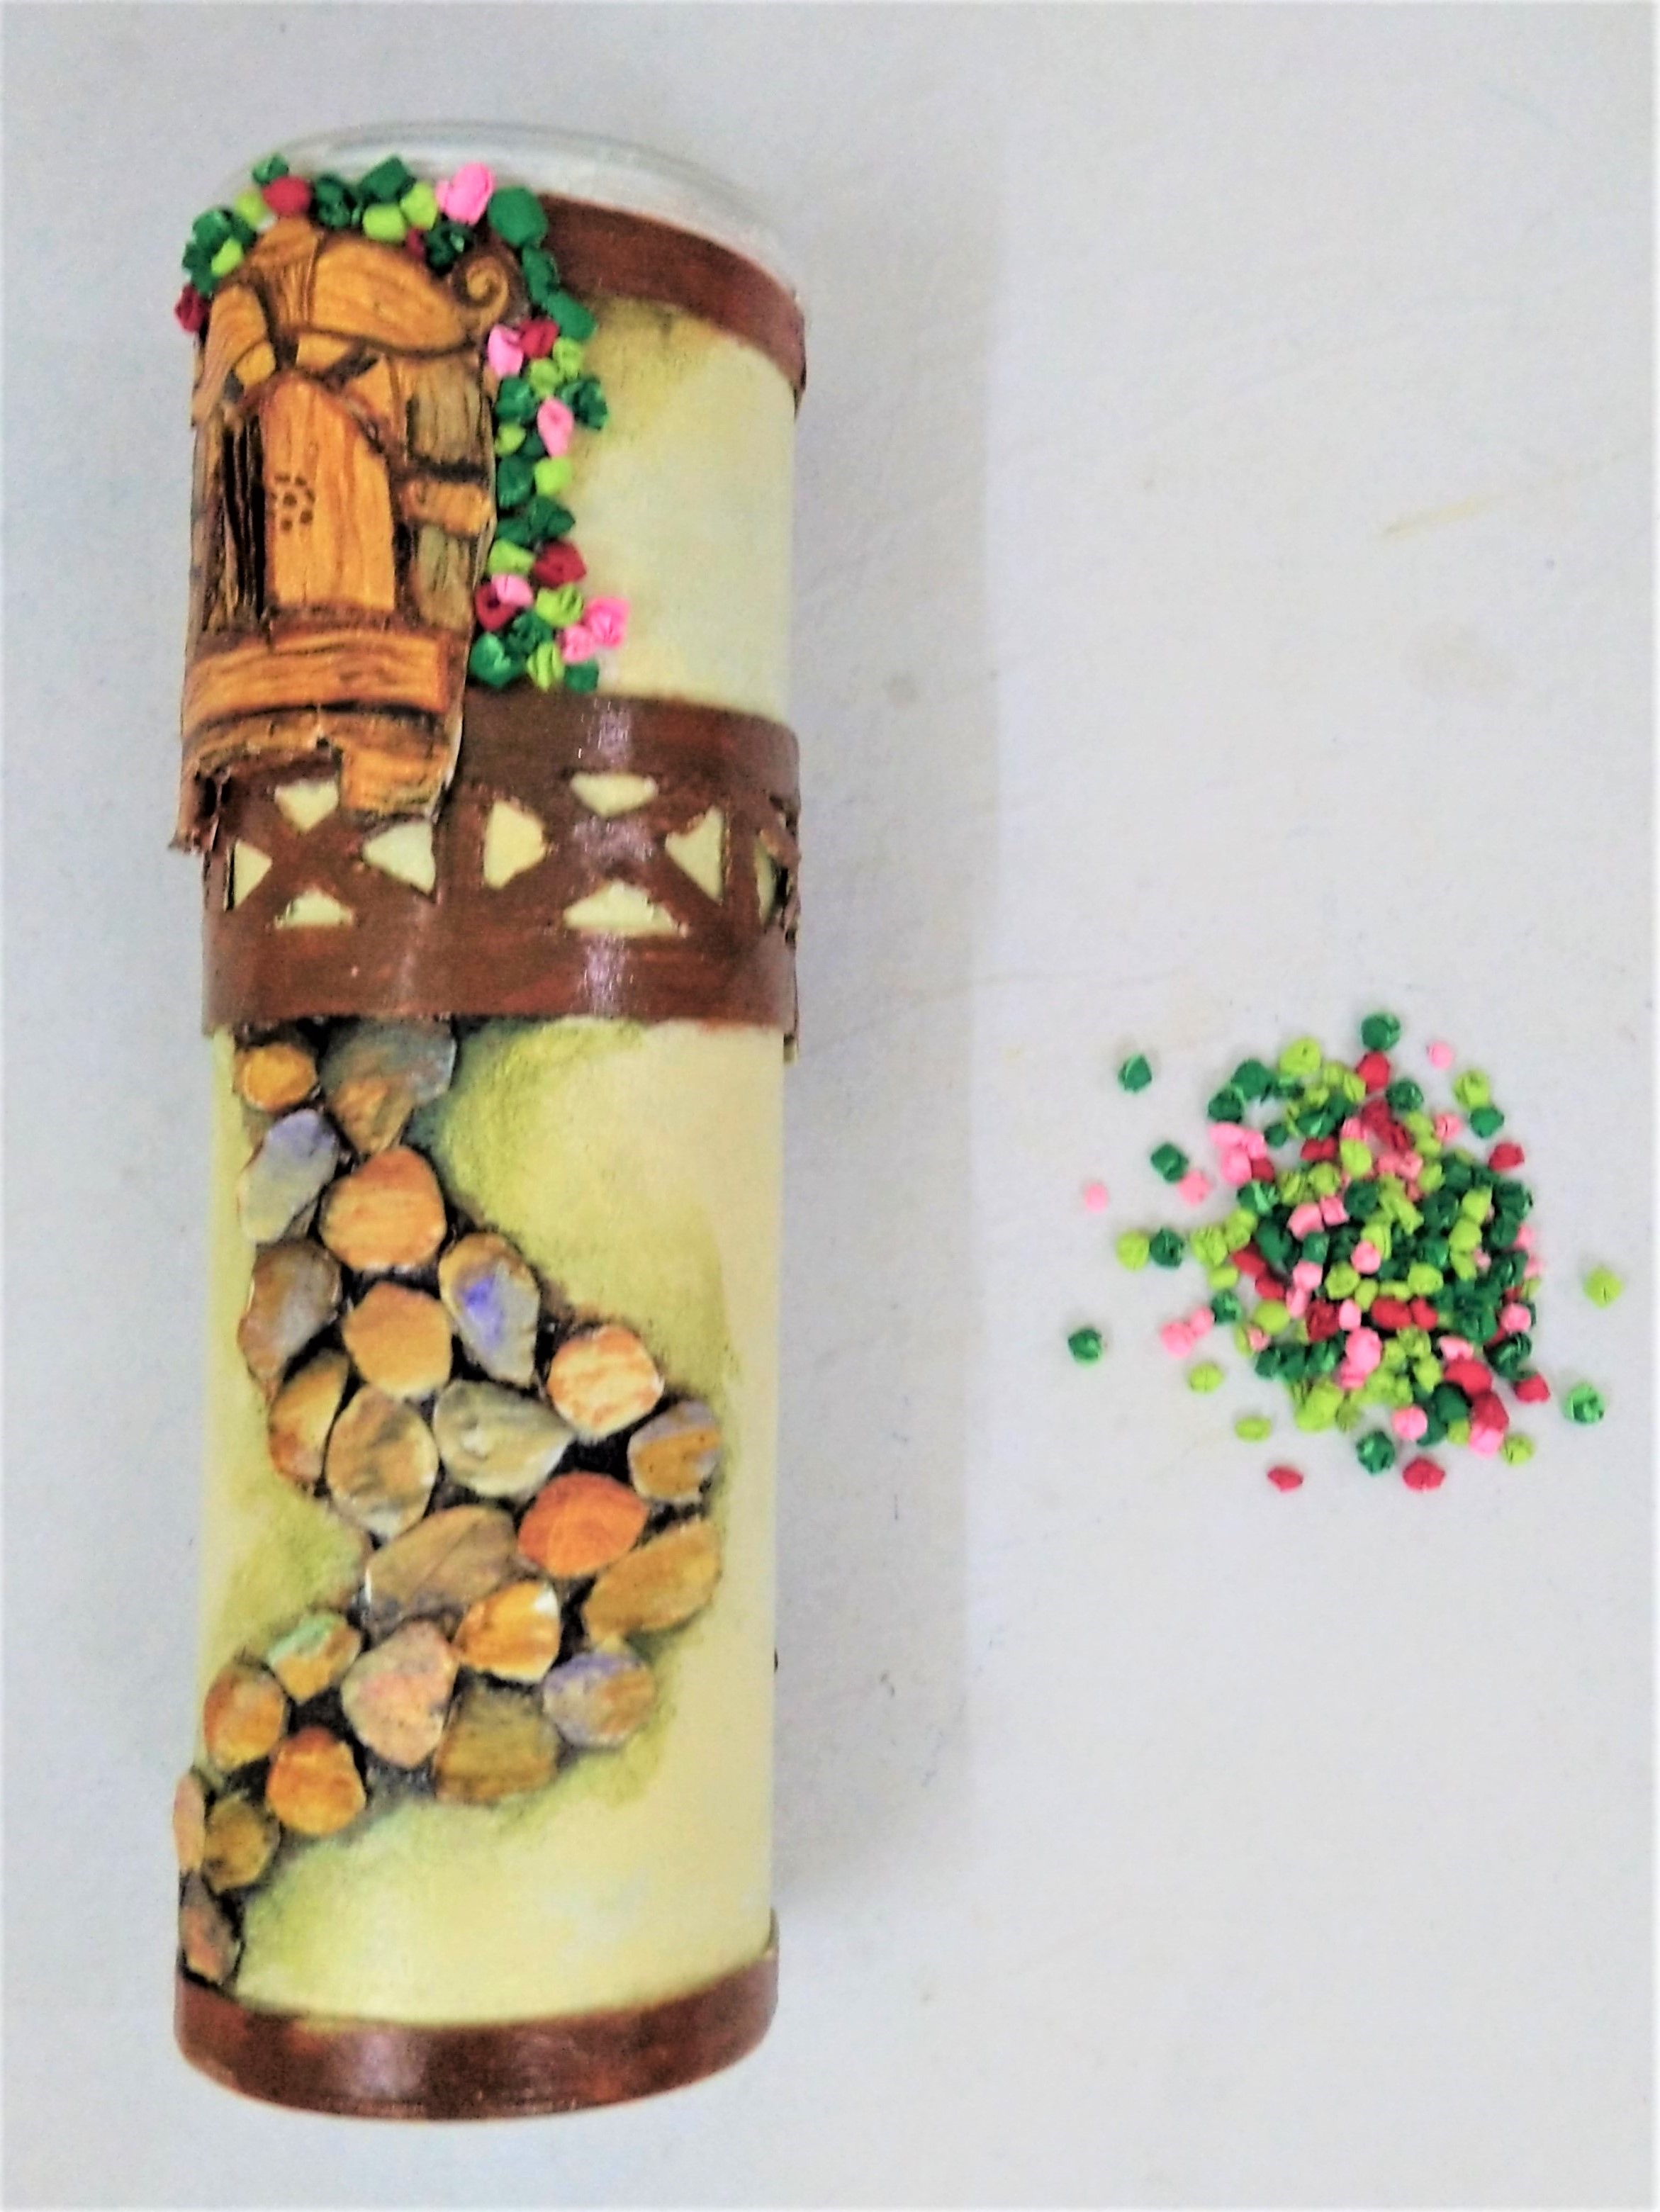
- Similarly take the card papers in red, pink and green shades, tear the pieces of each shade, and crumple it to make the tiny balls.
- Stick the crumpled paper balls on the tower around the window to depict the flowers and the leaves using Fabric Glue. Let it dry.
STEP 8 : Final look

- Stick the plaited wool on the tower to depict the long hair of the princes using Fabric Glue. Leave it to dry completely.
- Stick the roof on the top side of the container with Fabric Glue. Let it dry.


 +91 99676 55545