Patchwork Backpack

You Will Need:
Fevicryl Fabric Glue, Fevicryl Soft Acrylic Colour Black, Waste Fabric (Printed), White Fabric, Carbon Paper, Tracing Paper, Fabric Scissors, Thick Cotton Cord, Brush
Product Used:


Description :
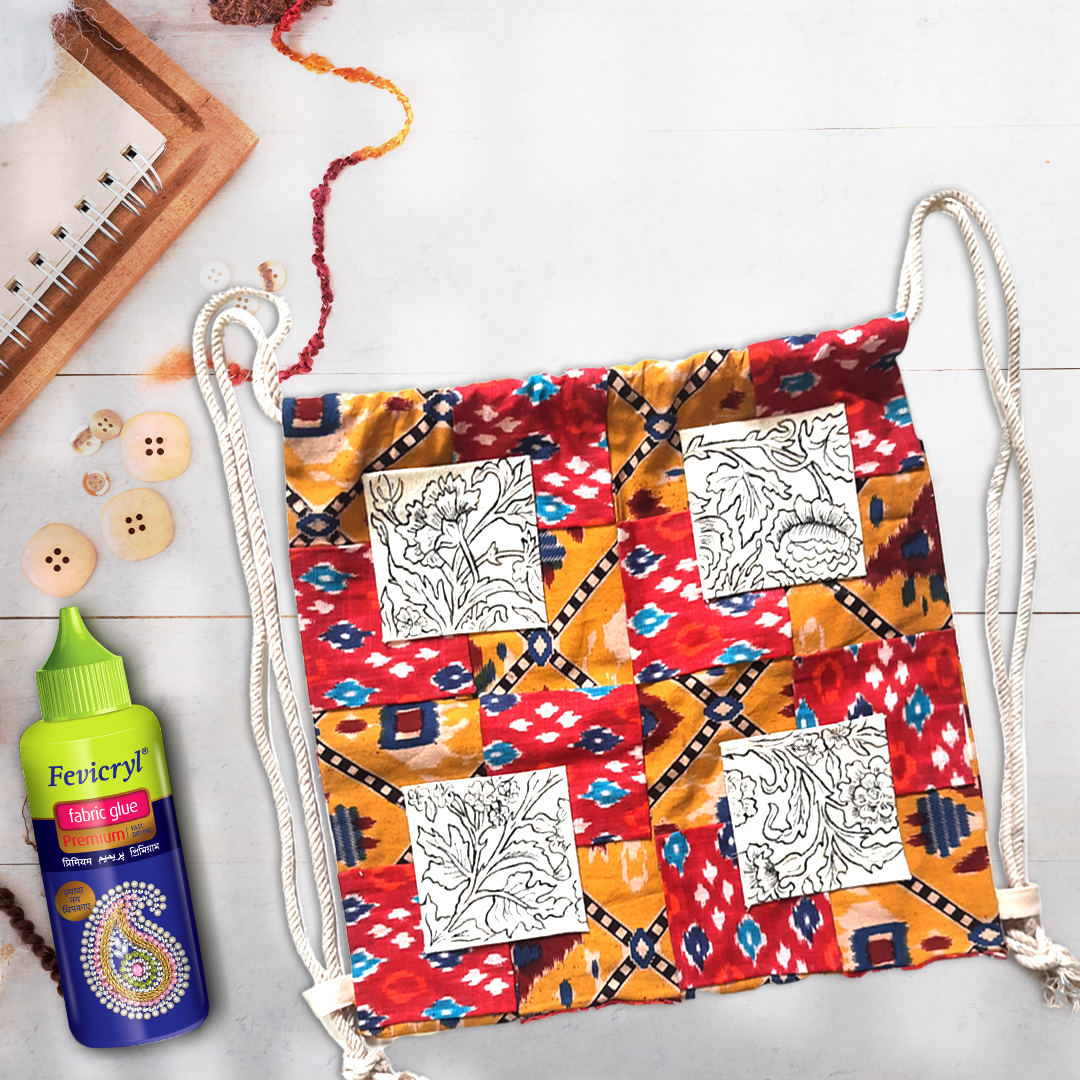
Here is an amazing DIY of a backpack with patchwork that has been made using Fevicryl Fabric Glue.
STEP 1 : Source the base
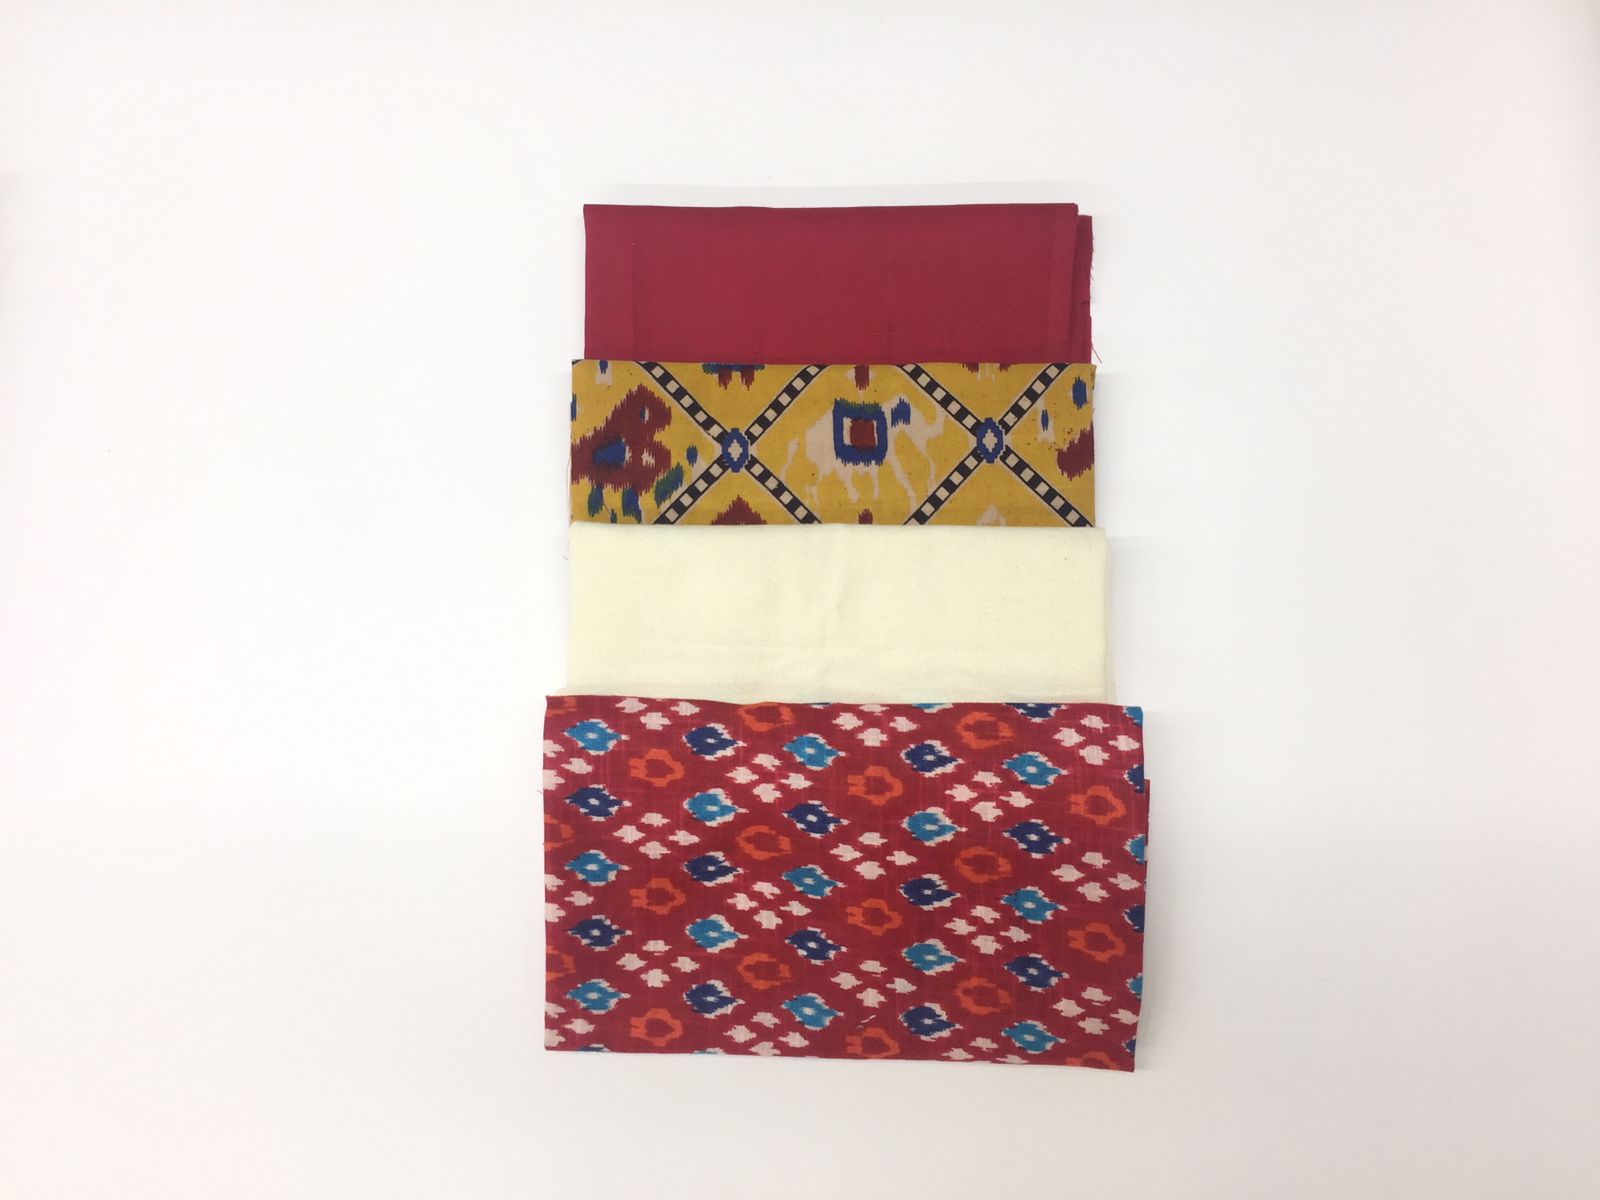
- Take various types of cotton fabric as shown in the image
STEP 2

- Cut squares with the printed fabric measuring 4” x 4”
- Use fabric scissors to cut the fabric.
- Leave ½" on all sides for sticking
STEP 3

- Stick about 24 squares together as shown in the image
- Stick them using Fevicryl Fabric Glue
- Let it dry
STEP 4

- Mark 4”x4” squares on a white fabric as shown in the image
- Leave ½" on all sides as shown
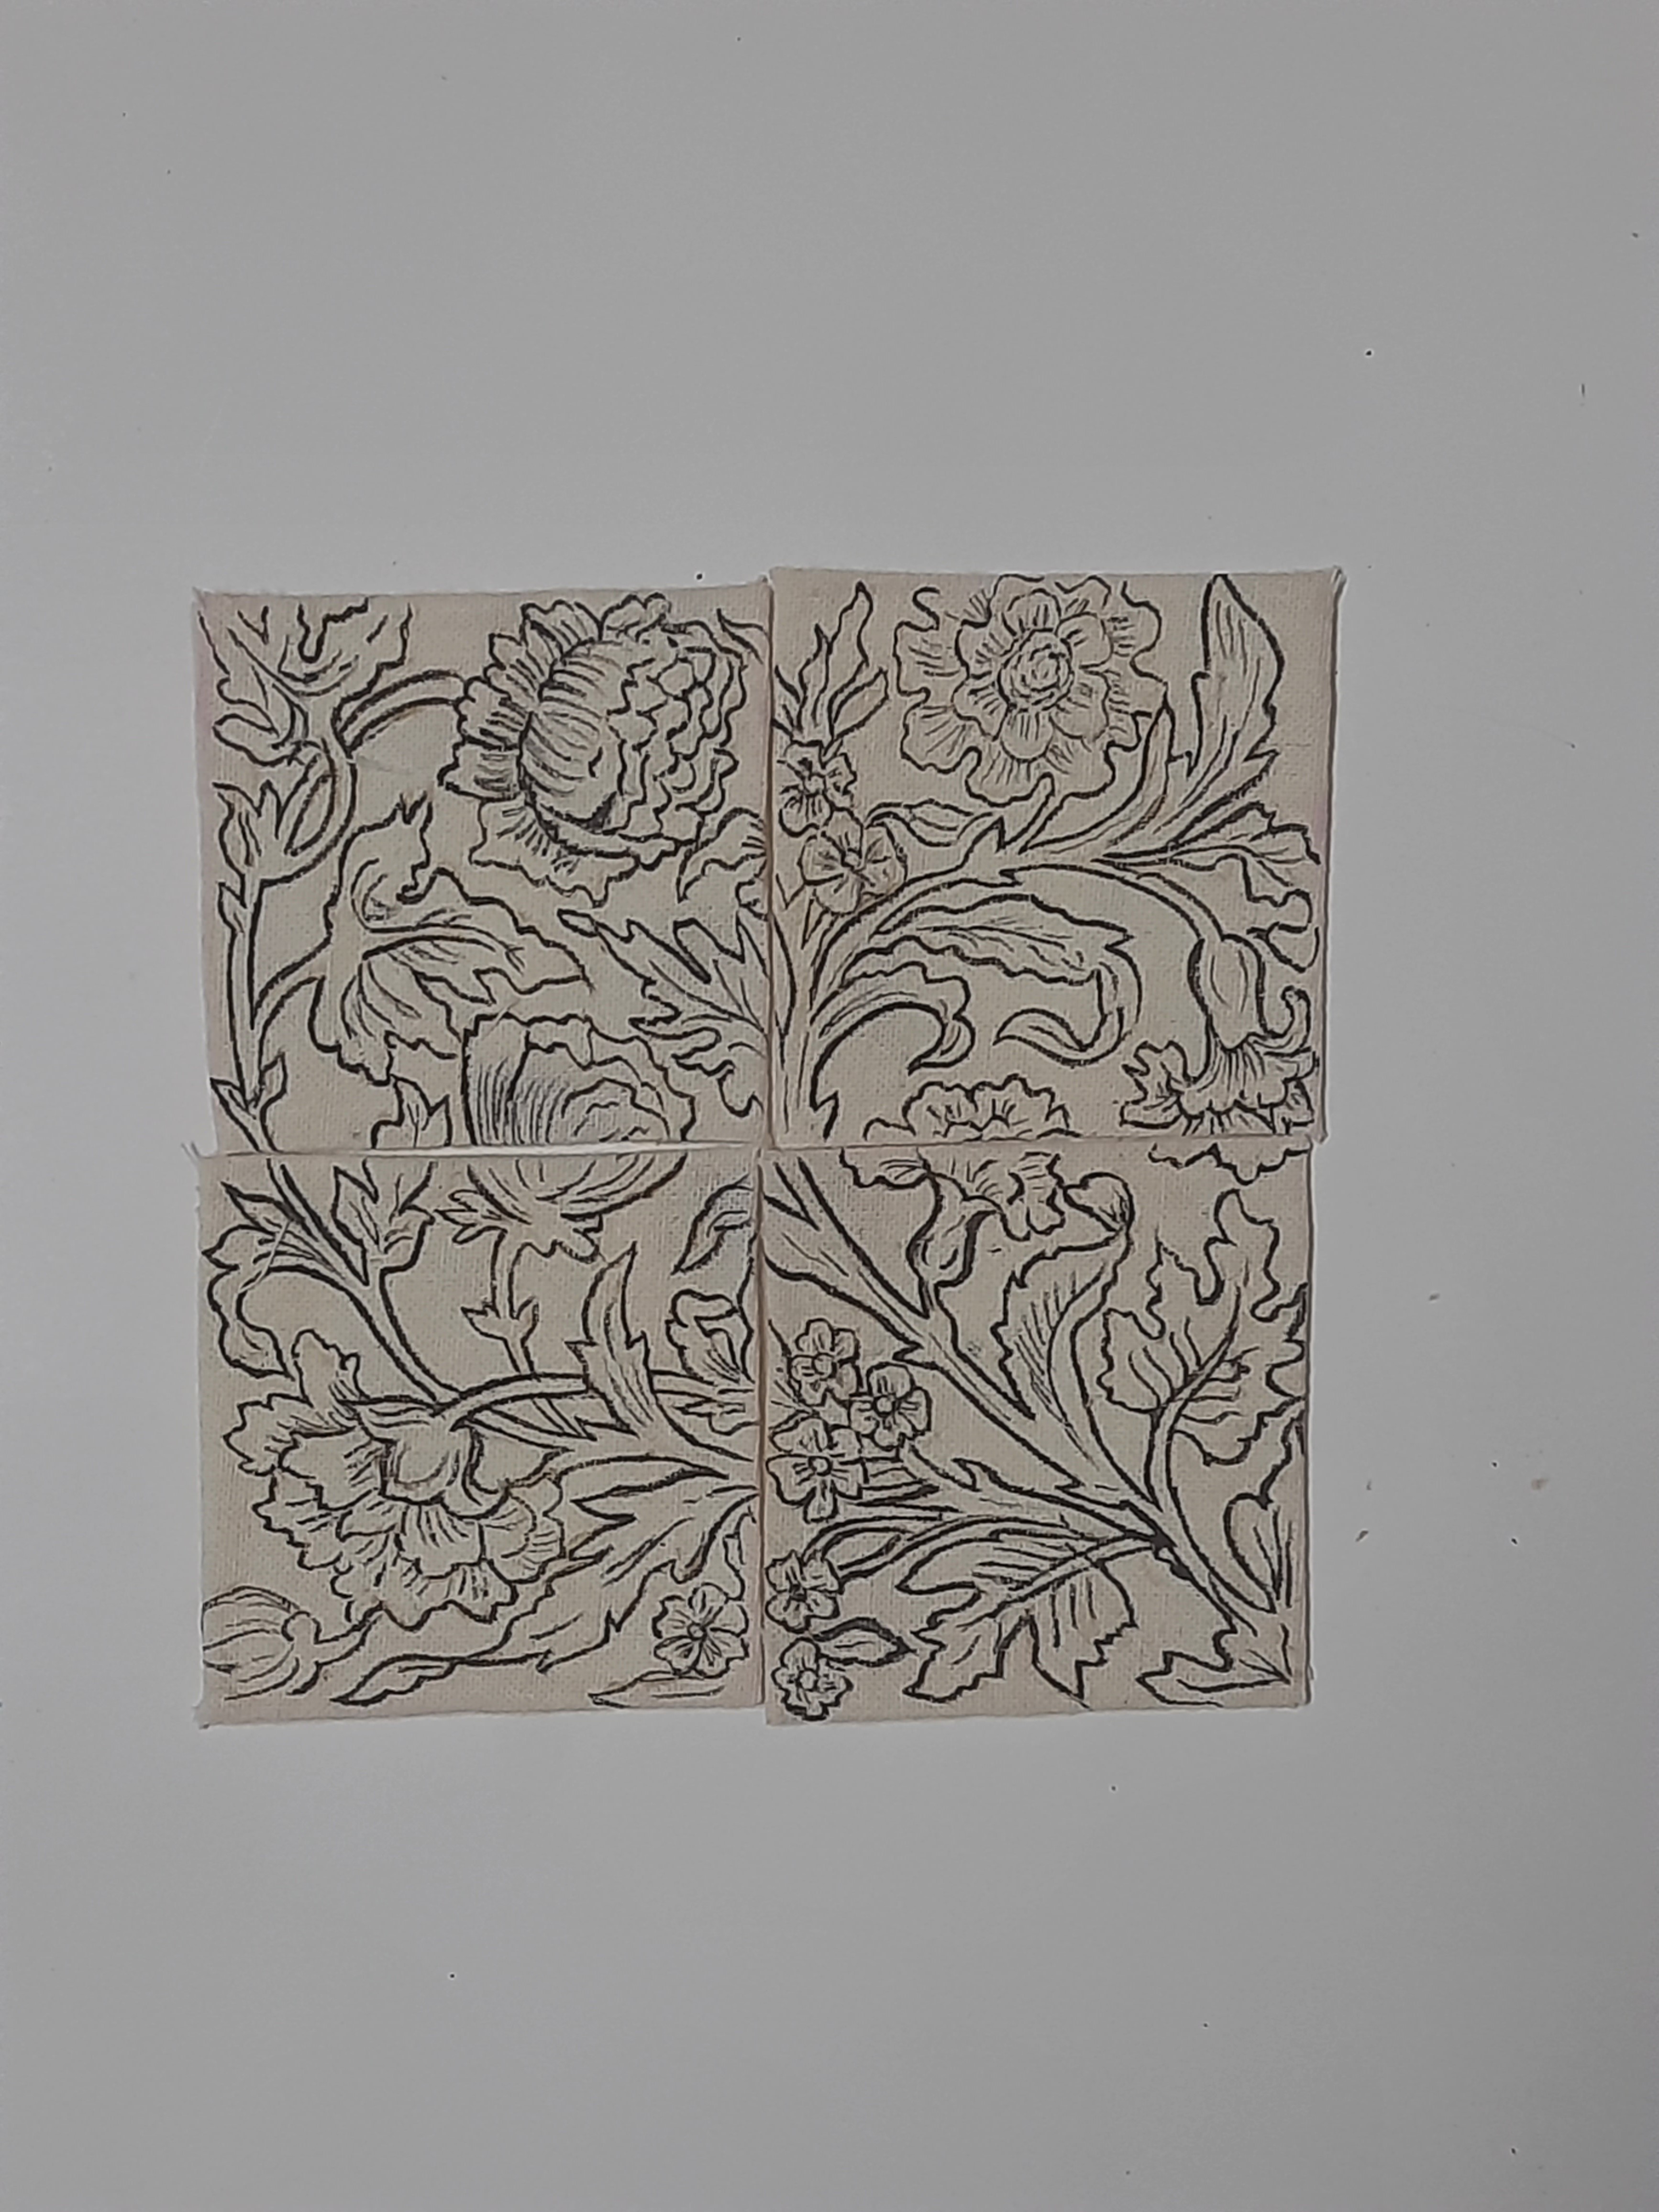
STEP 5
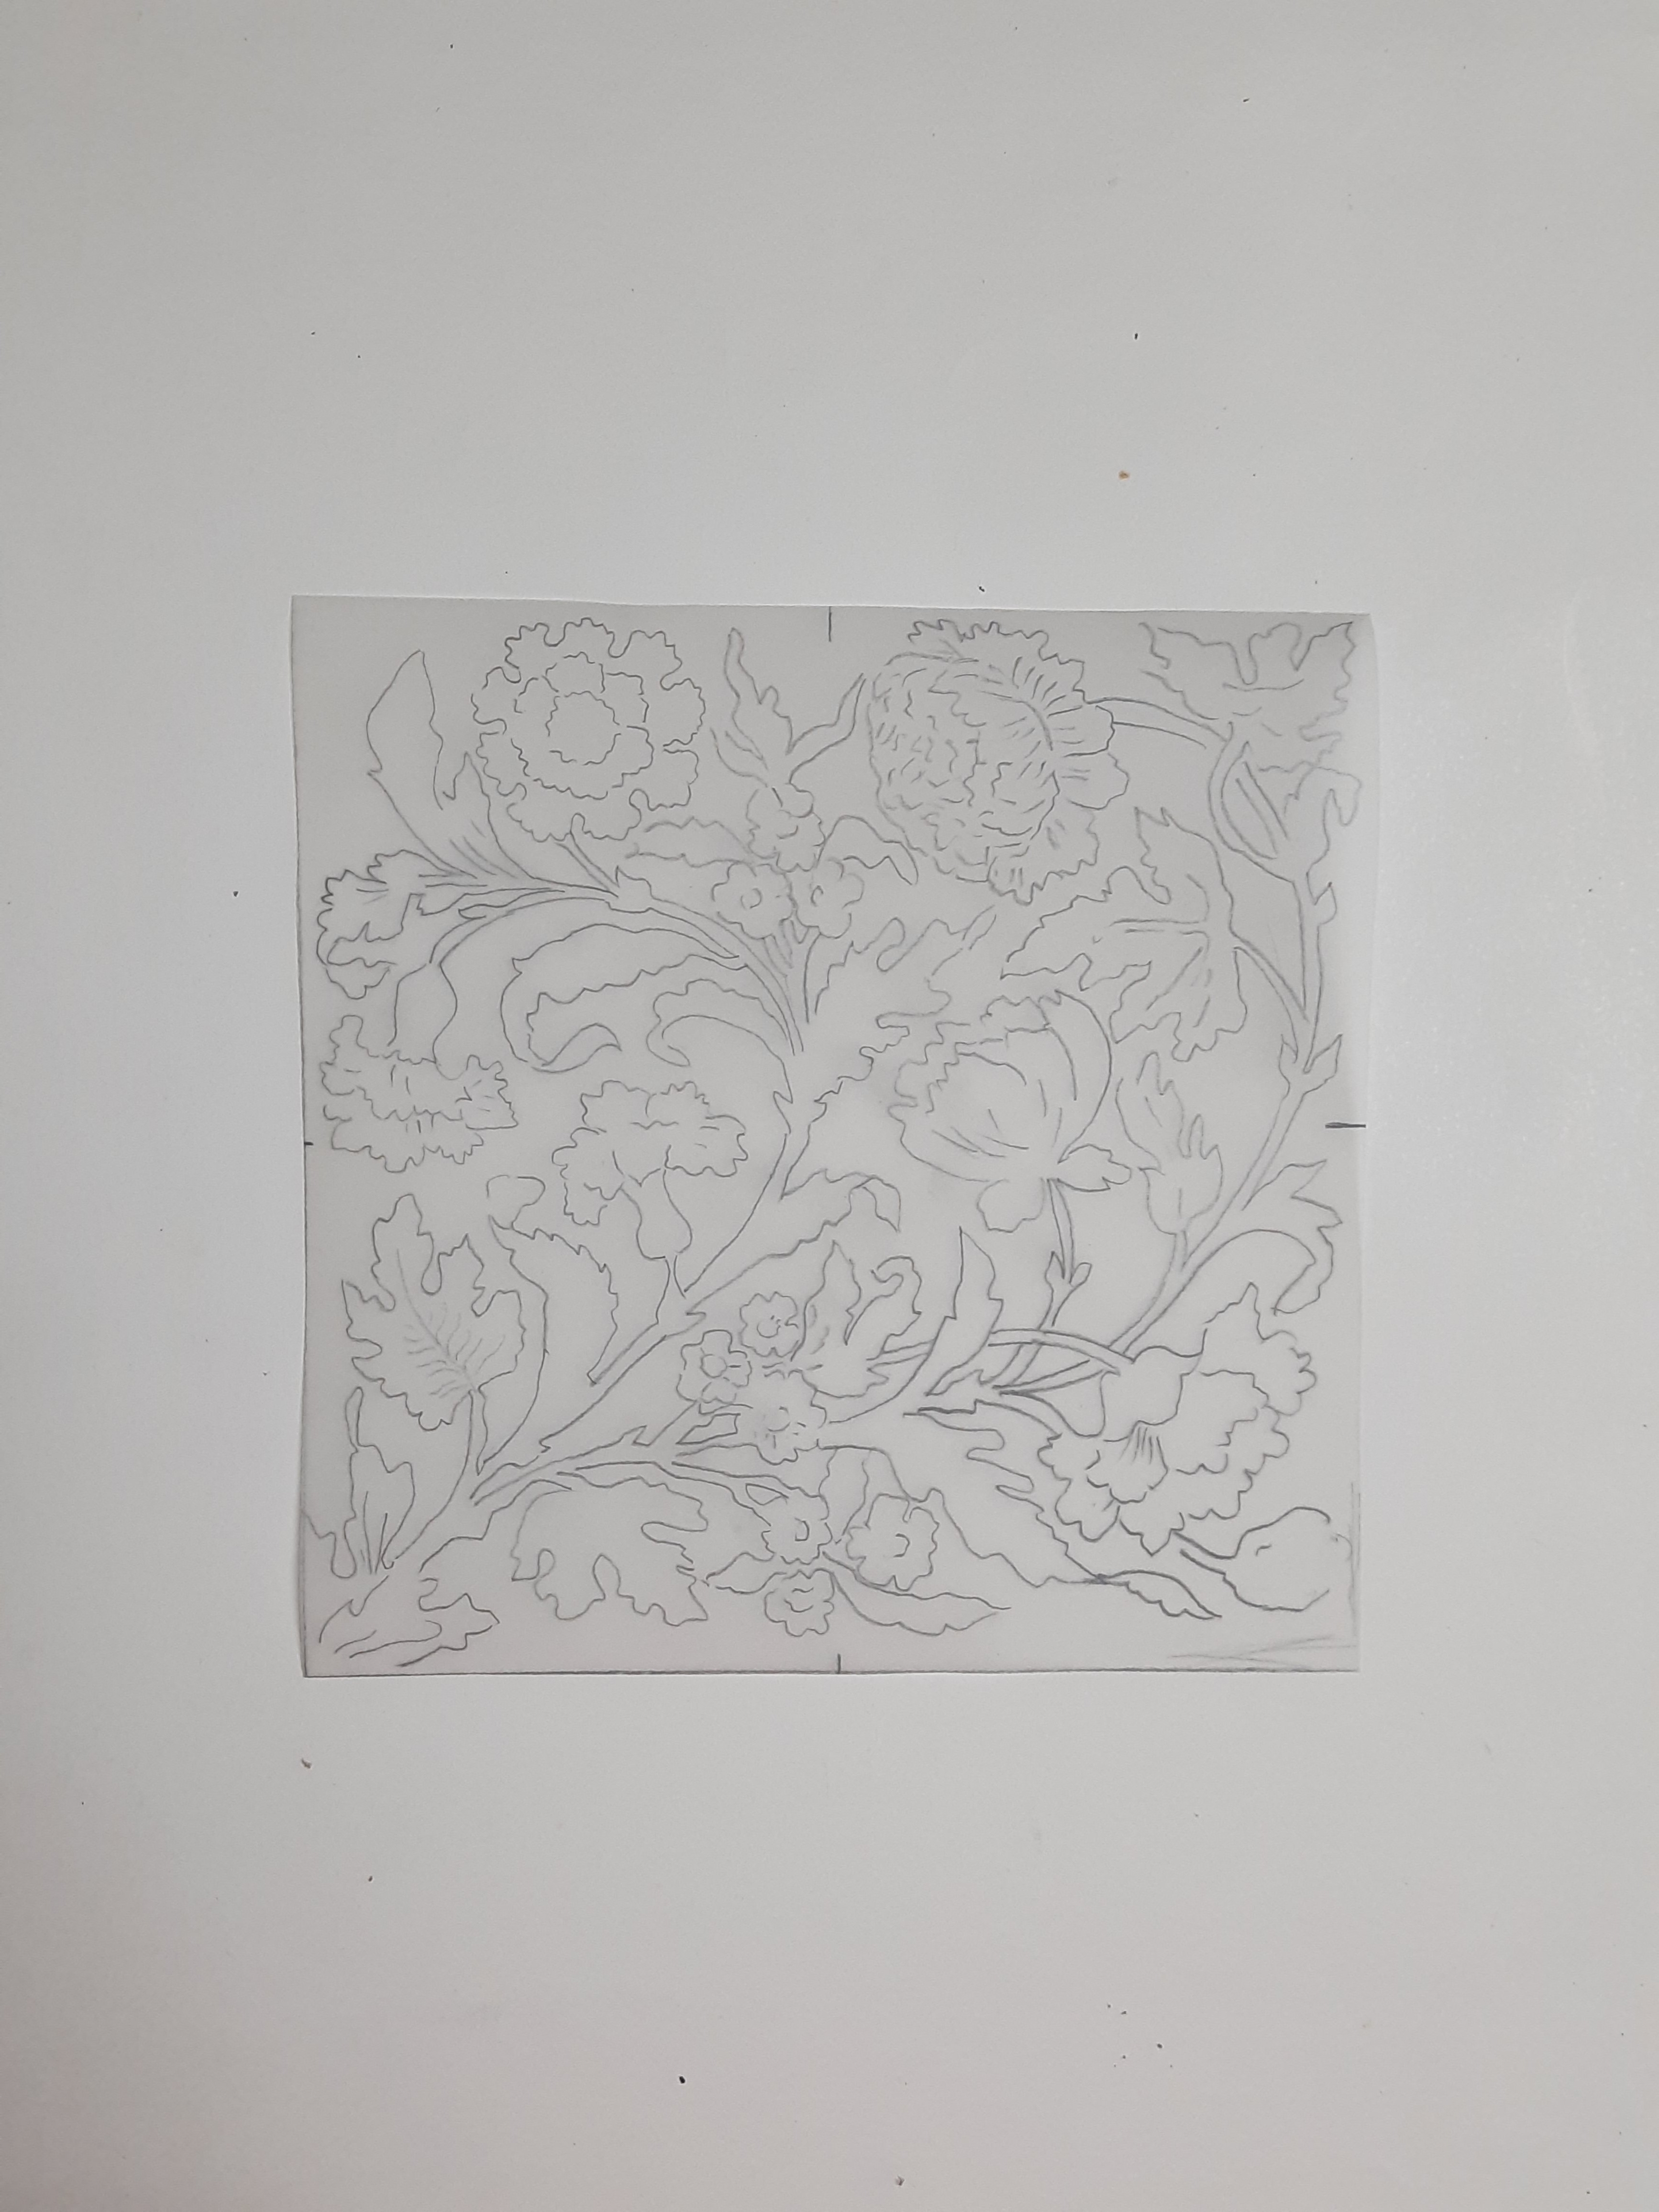
- Take any floral design and trace it on a 8” x8” paper
STEP 6
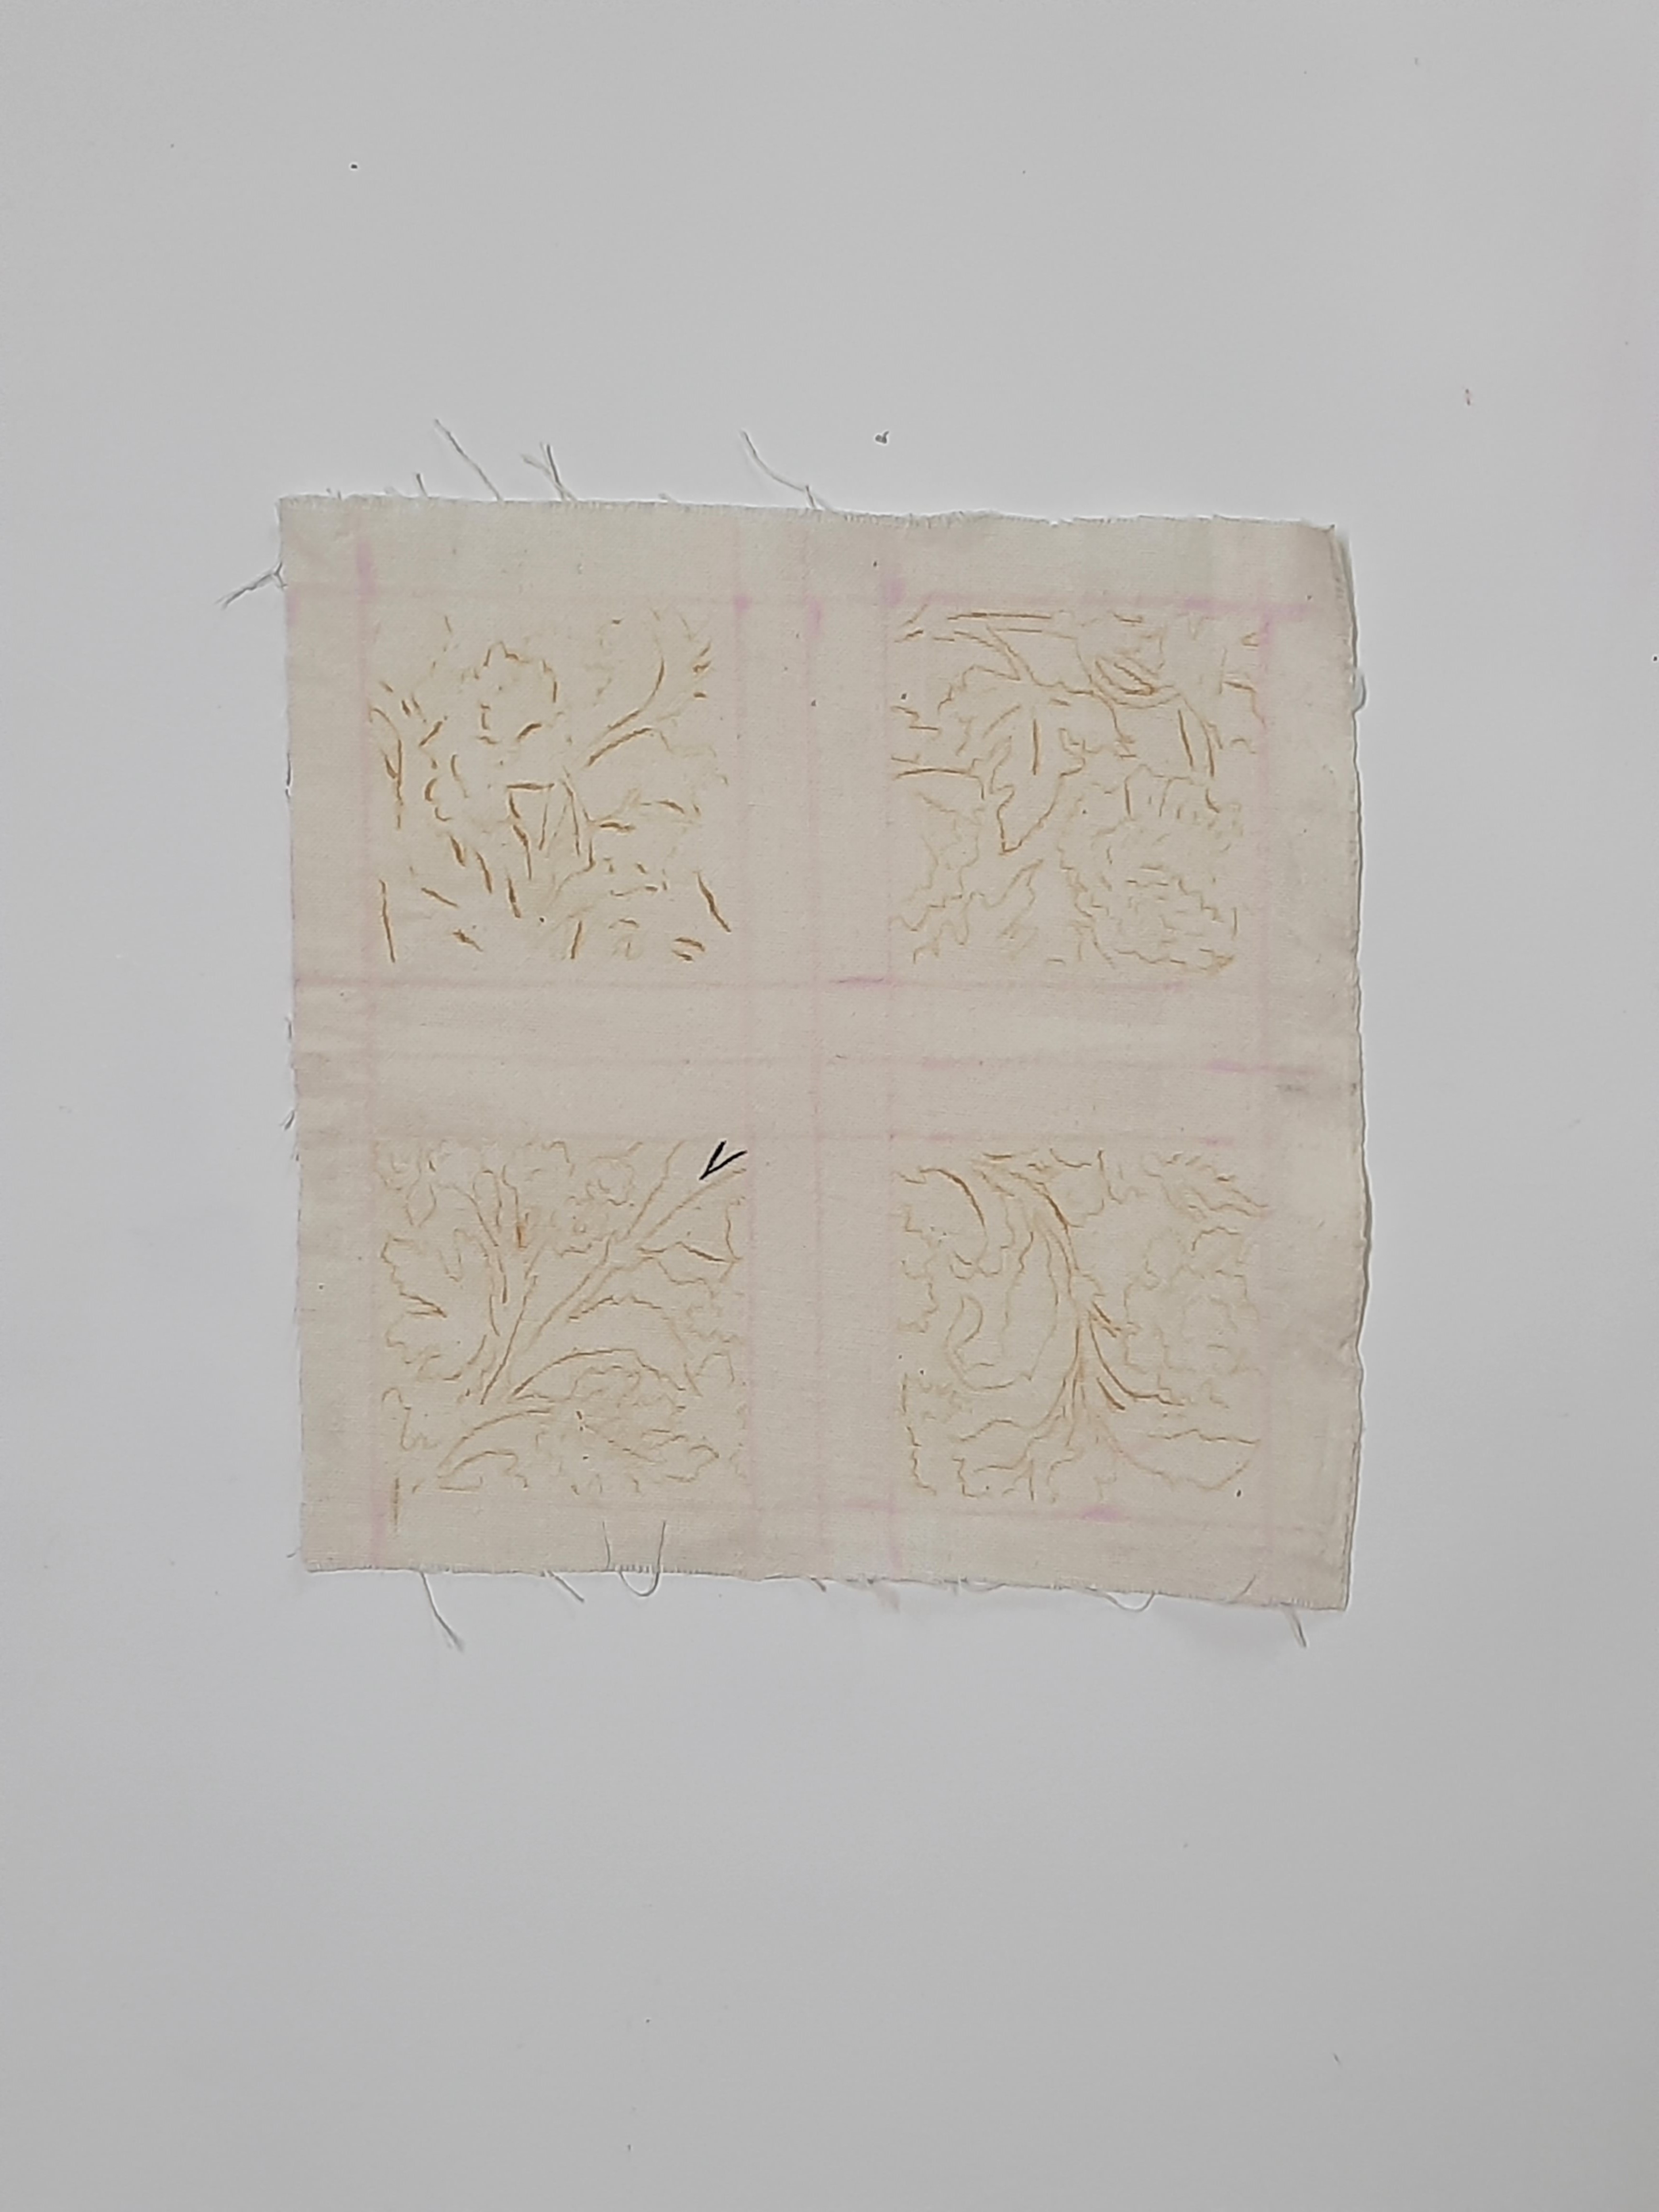
- Trace the image into the 4 squares as shown.
- You basically divide the image into 4 parts and trace them out into individual squares.
STEP 7

- Paint the image using Fevicryl Fabric Colour Black
- Let it dry
STEP 8
- Cut the squares and fold the sides as shown in the image
STEP 9

- Fold the printed fabric patchwork base into half as shown
- Place the painted squares on the folded piece as shown.
- Stick them as pockets/pouches by using Fevicryl Fabric Glue on 3 sides.
- Let it dry
STEP 10
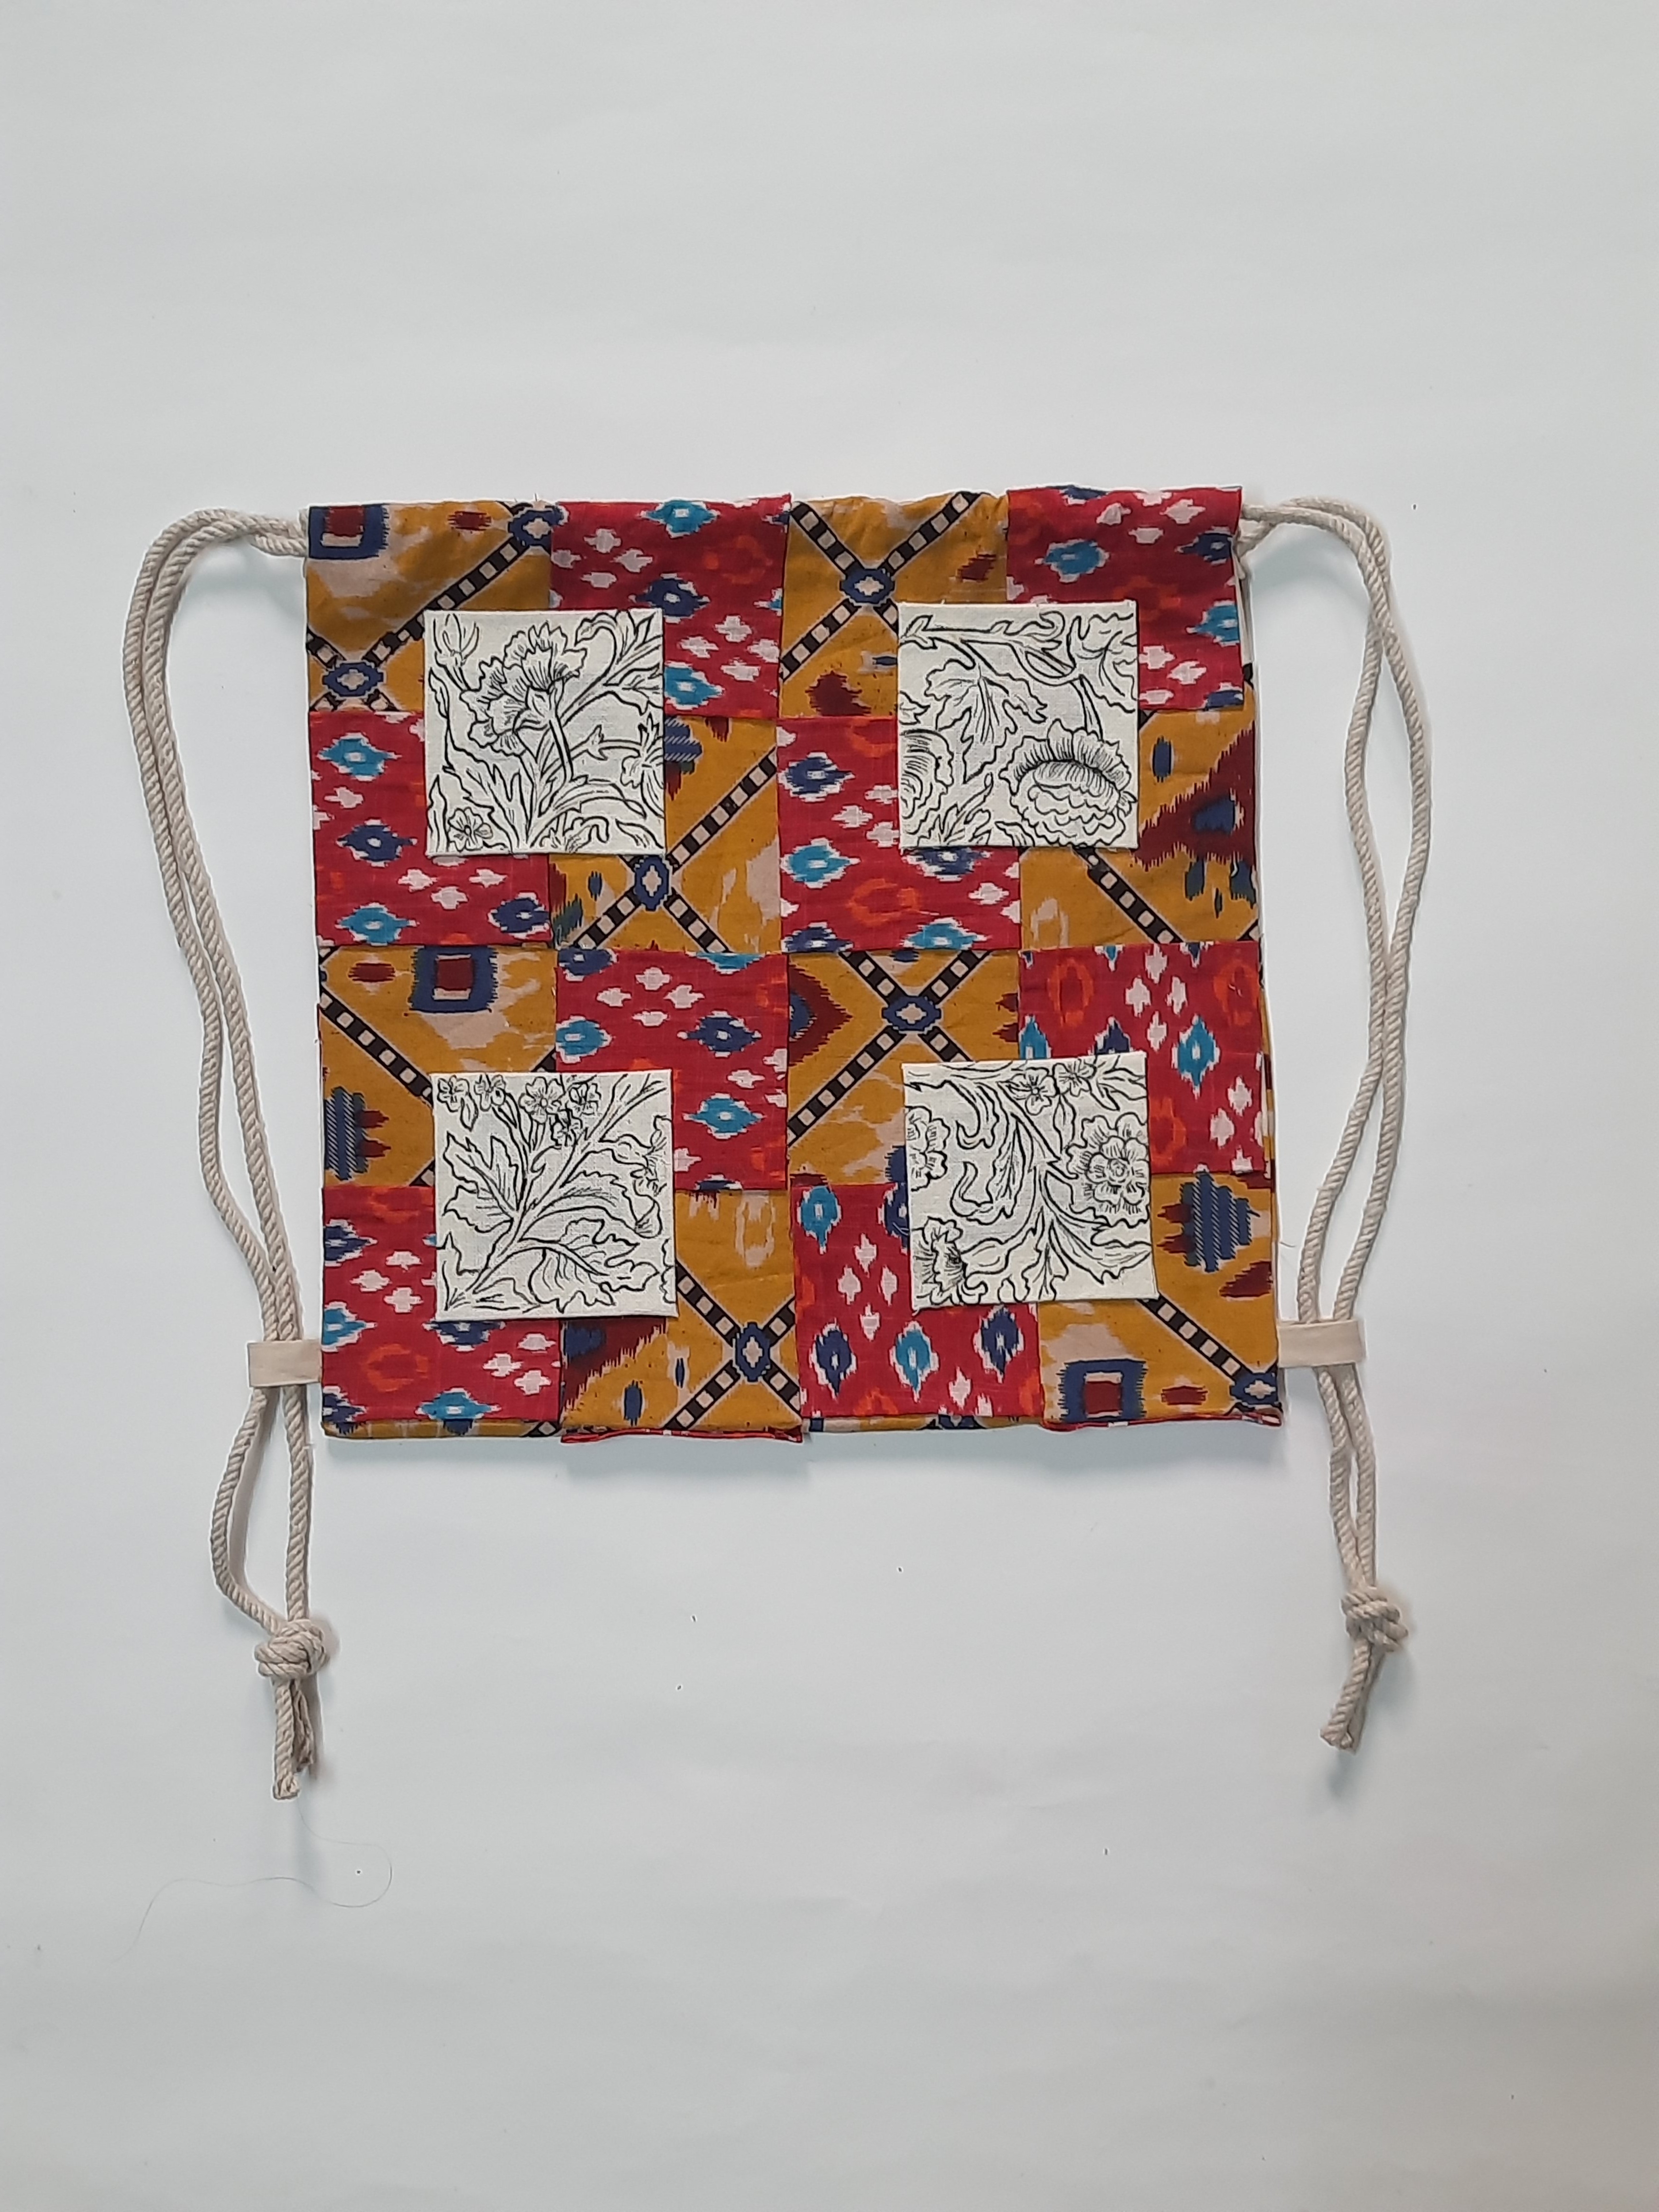
- Take the red fabric and give an inner lining with it for the bag
- Make two loops using white fabric and place them at the bottom as shown in the image
- Stick the sides of the bag using Fevicryl Fabric Glue
- Place the cotton cord on the top as shown before folding the top part for finishing.
- The cotton cord will be placed in such a manner that when you pull both sides of the bag, the body of the bag bunches up at the top.
- Knot the ends of the cotton cord and pass it through the loop placed at the bottom.
STEP 11

The patchwork backpack is ready to use to keep your paints and snacks when u go on a picnic or a trek.


 +91 99676 55545