Name Plate


You Will Need:
Fevicryl Acrylic Colours Burnt Sienna 01, Chrome Yellow 03, Dark Green 06, Sap Green 21, White 27, Cerulean Blue 32, Sky Blue 63, Fevicryl Mouldit, Fevicryl Fabric Glue, Fine Art Brushes, Jute Yarn, Wooden Beads, White Coloured Cobbler Thread, Rolling Pin, MDF placemat, Corrugated Box, Mount Board, Wooden Planks, Candy Sticks, MDF Wooden Pieces, Twigs, Wooden Frame 12” X 16” Size, Scissors, Clay Carving Tools, Wooden Floral Design Blocks, Compass, Ruler
Product Used:


Description :
A unique and creative name project this is, one that has used multitude of materials to build a name plate using Fevicryl range of products.
STEP 1 : Source the base

- Take different materials like the flap of a corrugated box, mount board, wooden planks, candy sticks, MDF wooden pieces, twigs to make the name plate.
STEP 2 : Source the frame
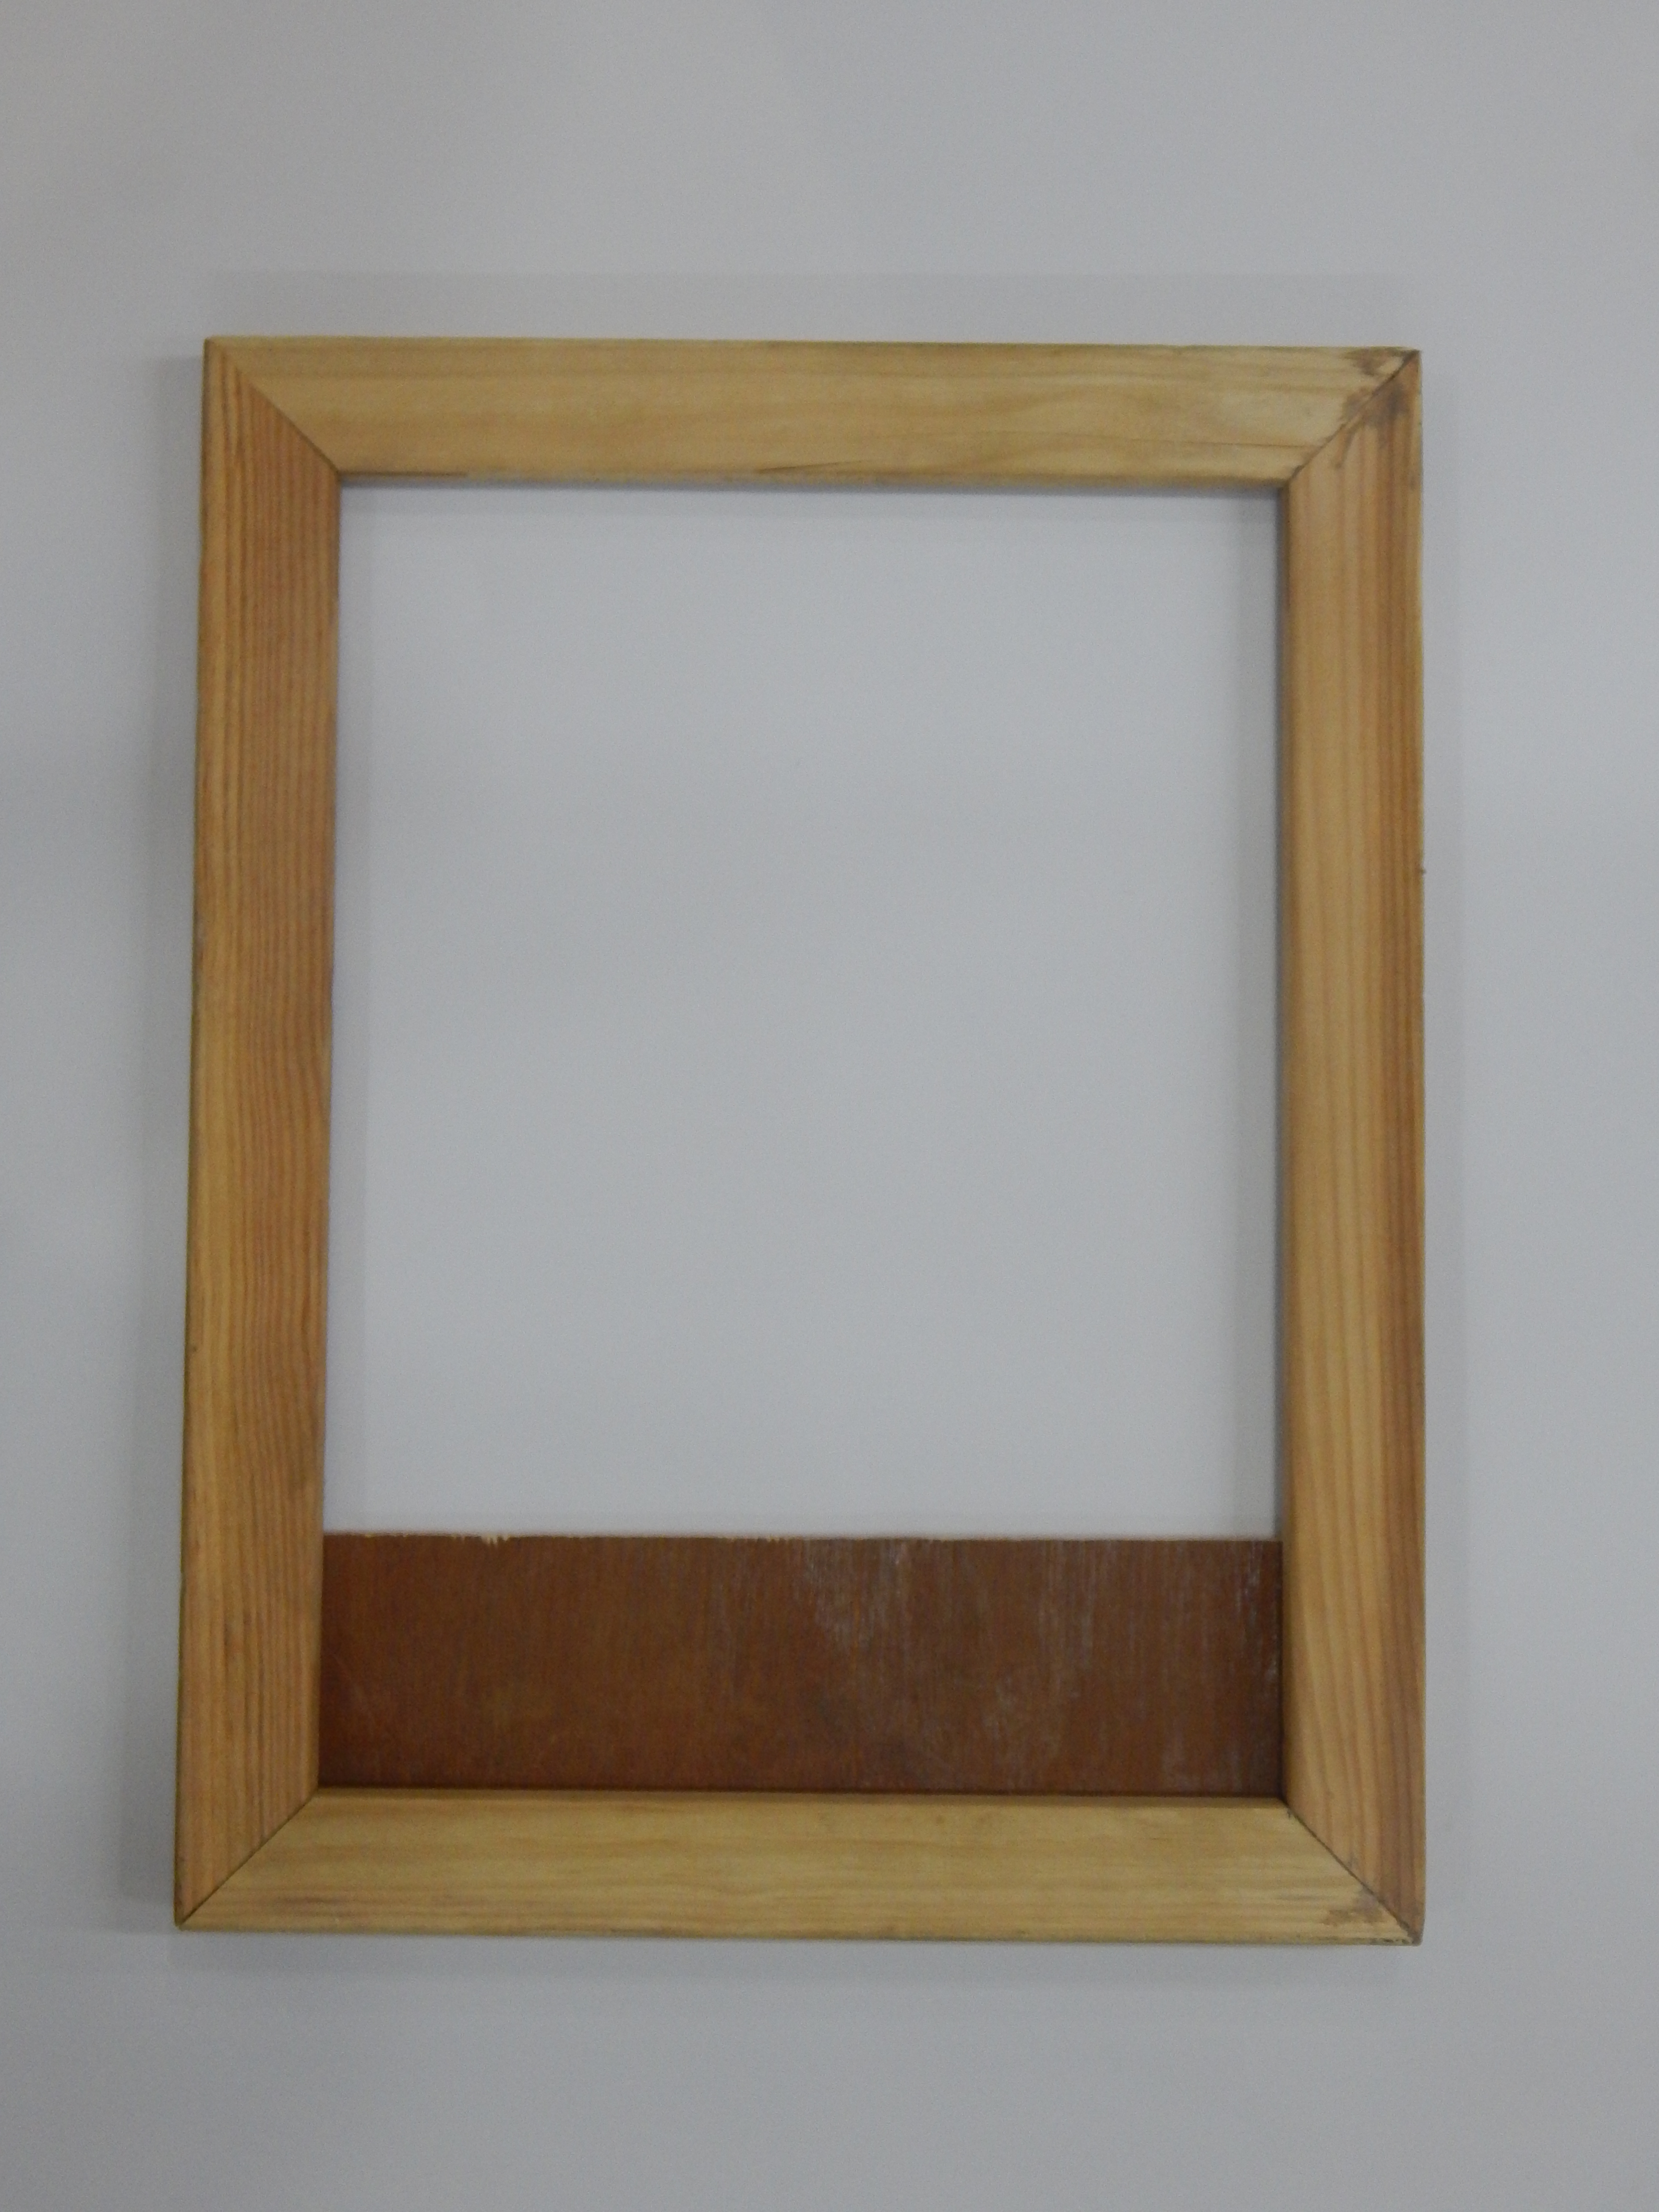
- Take wooden frame 12” x 16” in size.
- Attach a wooden plank from the rear side of the frame using nails
STEP 3 : Gather material for the houses.

- Take the wooden planks, corrugated flap MDF wooden piece, candy sticks.
- Draw the graphical representation of the houses on it.
- Cut the material accordingly.
STEP 4 : Stick the planks

- Take the houses and stick appropriately in the frame using Fabric Glue.
- Leave it to dry.
STEP 5 : Build the houses
- Take Mouldit resin base and hardener, mix it thoroughly to make even dough.
- Roll the slab from the clay dough.
- Create few small houses out of it.
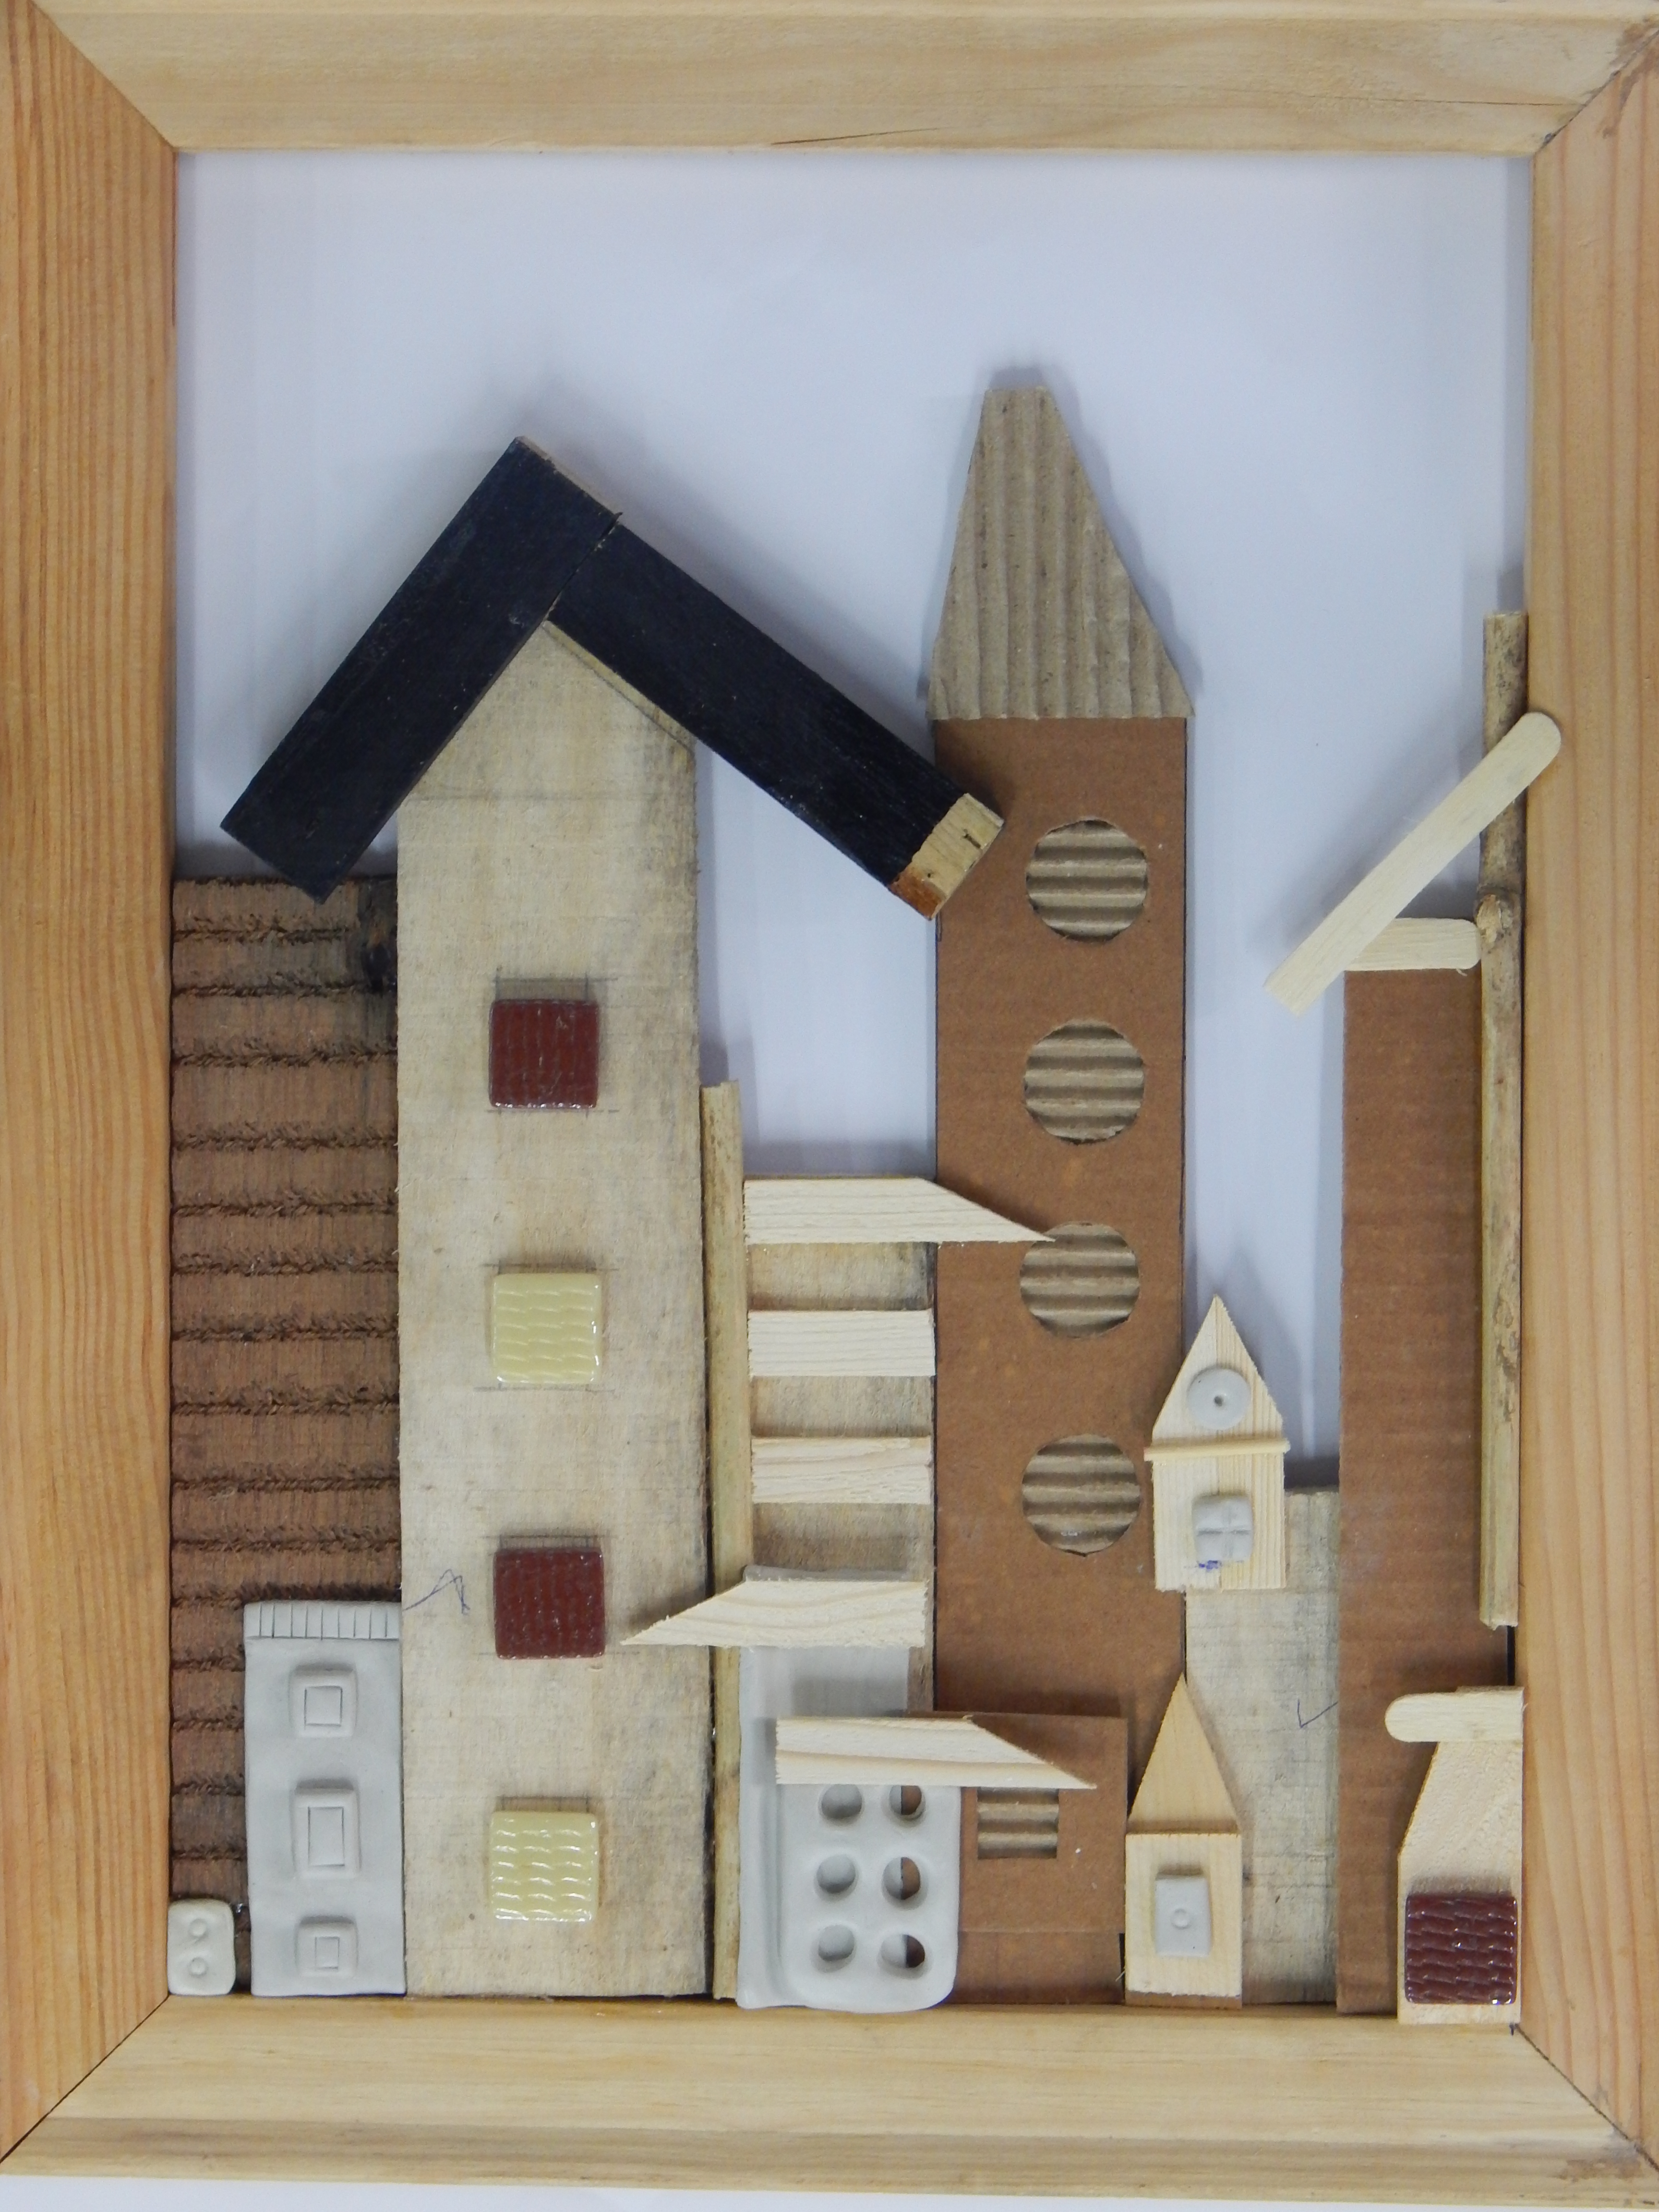
- Stick the clay houses along with candy sticks,twigs, MDF to depict the colony of houses in between the frame using Fabric Glue. Leave it to dry.
- Your frame of mixed media houses will look like this at this stage.
STEP 6 : Paint the houses and frame

- Paint the frame and the houses using Acrylic Colours Burnt Sienna 01, Chrome Yellow 03, Dark Green 06, Sap Green 21, Cerulean Blue 32, Sky Blue 63 by adding black 02 and White 27 to make the light and dark shades respectively.
- Leave it to dry.
STEP 7 : Build the name plate

- Take MDF wooden placemat.
- Draw and cut a small house shape out of it.
- Stick the house on the placemat using Fabric Glue.
- Leave it to dry.
STEP 8 : Paint the base
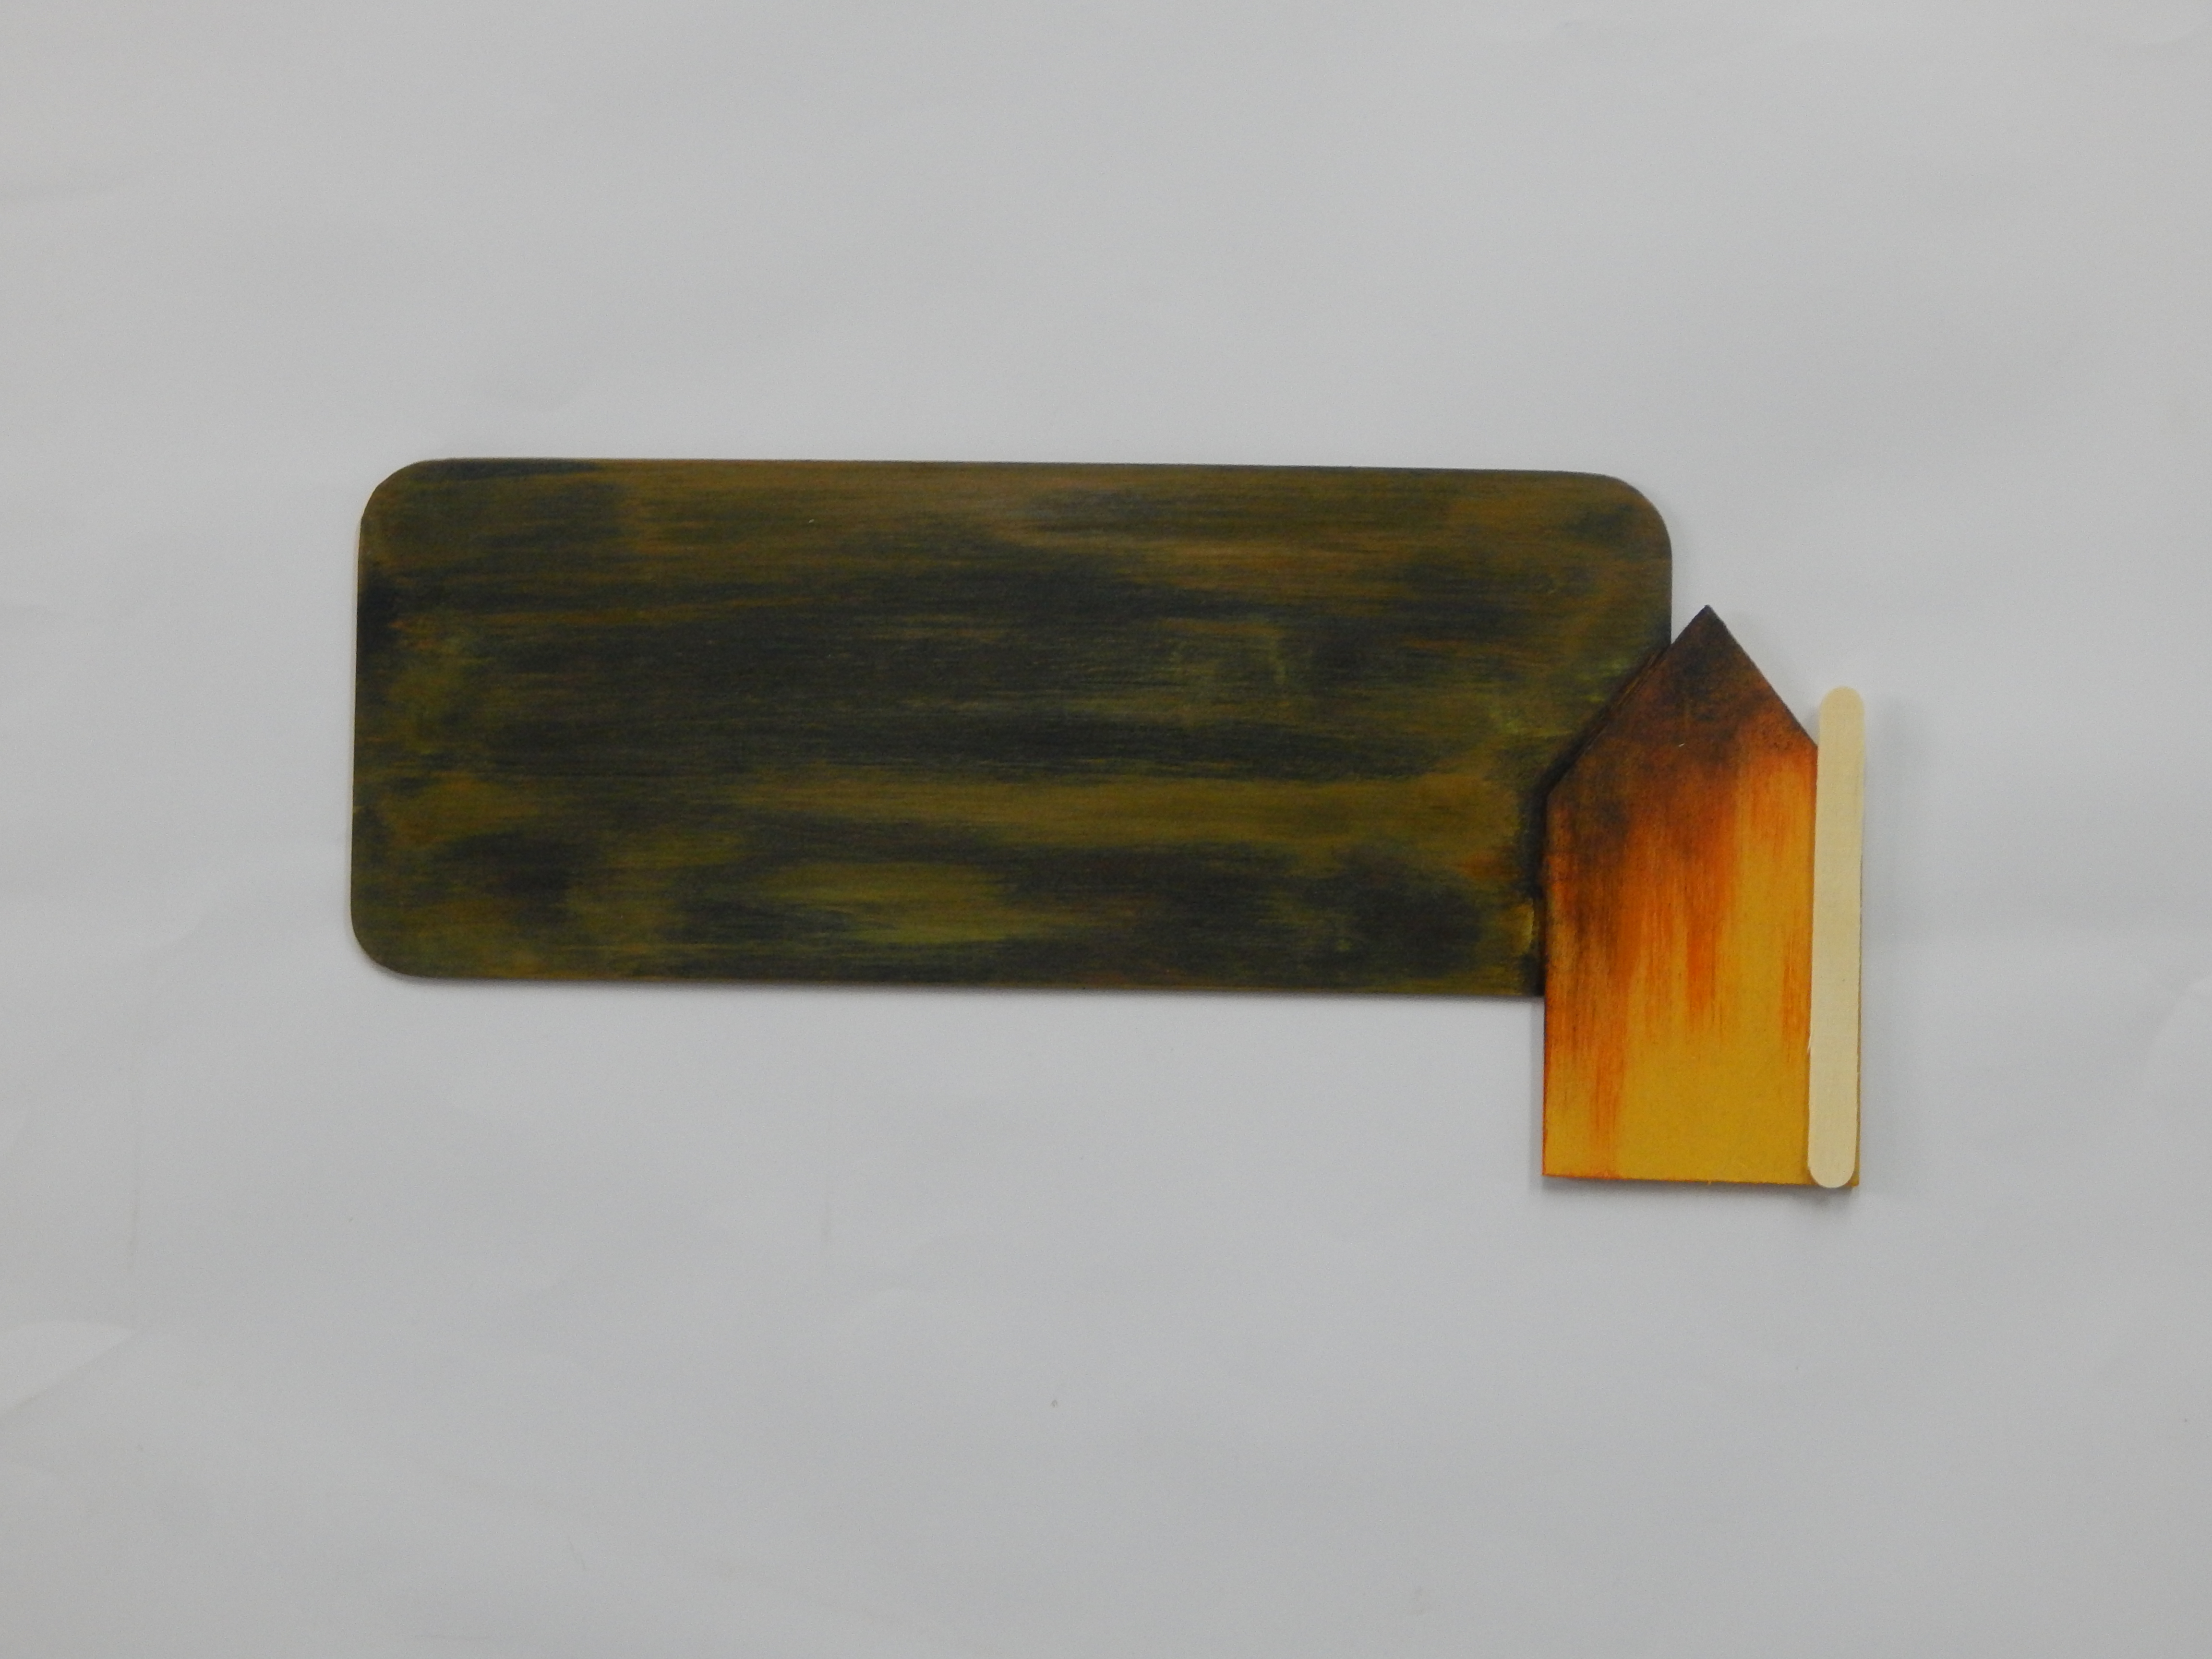
- Paint the placemat and the house shape in shading manner using Acrylic Colours Burnt Sienna 01, black 02, Chrome Yellow 03 and Sap Green 21 respectively.
- Leave it to dry.
STEP 9 : Paint the name plate

- Write the surname.
- Paint the word in shading manner using Acrylic Colour White 27 and Sky Blue 63 respectively.
STEP 10 : Final look

- Your frame of houses and the name plate will look like this at this stage.
STEP 11 : Assembly

- Take the metal hooks and pierce the hooks at the bottom of the frame to dangle the name plate.
- Assemble the name plate using jute yarn, wooden beads with the tassels on the metal hooks.
- Your name plate is ready.


 +91 99676 55545