Mug Cover With Quilting Pattern

You Will Need:
Fevicryl Acrylic Colours Black 02, Chrome Yellow 03, Crimson 04, Orange 17, Pink 18, White 27, Teal Blue 68, Fevicryl Pastel Acrylic Colours Kit, Fevicryl Fabric Glue, Fine Art Canvas Sheet, Fine Art Brushes, Casement Fabric (Off White), Pencil, Ruler, Wooden Bead, Needle Thread, Cobbler Thread, Scissors, Colour Palette, Water Container
Product Used:


Description :
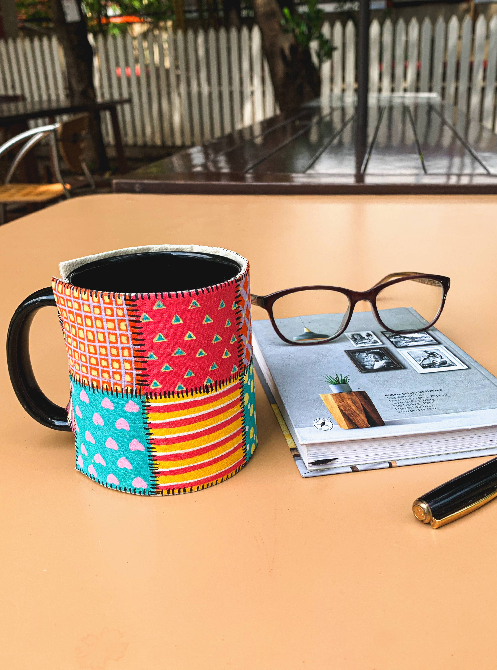
Create a beautiful mug cover using a quilted pattern painted with Acrylic Colours. This DIY project is perfect for keeping your coffee hot during the monsoon.
STEP 1 : Prepare the base
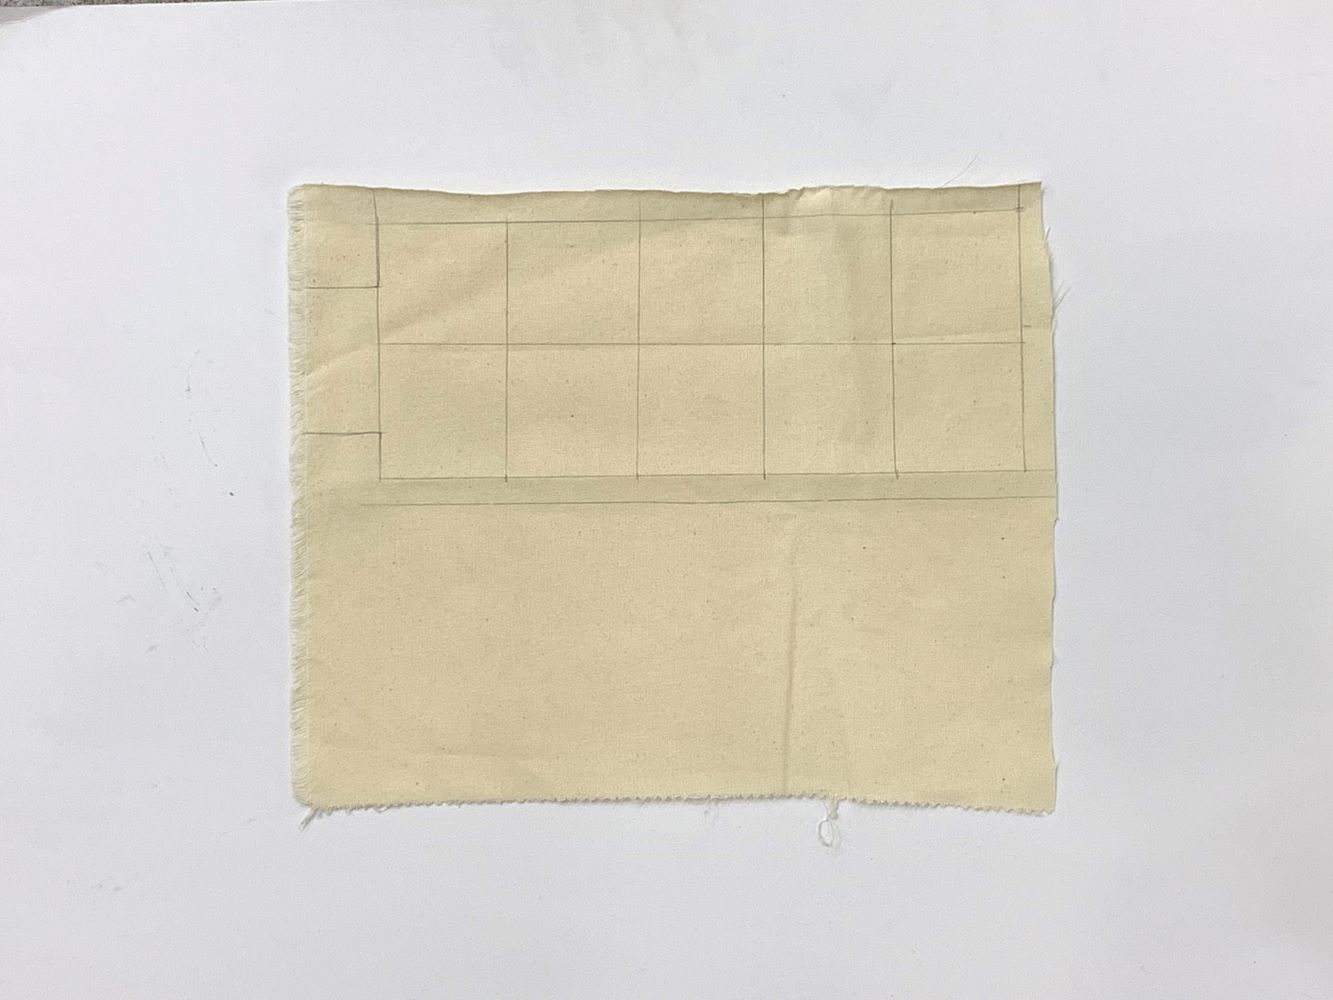
- Cut the casement fabric to the size of the coffee mug, adding an extra piece of the same size.
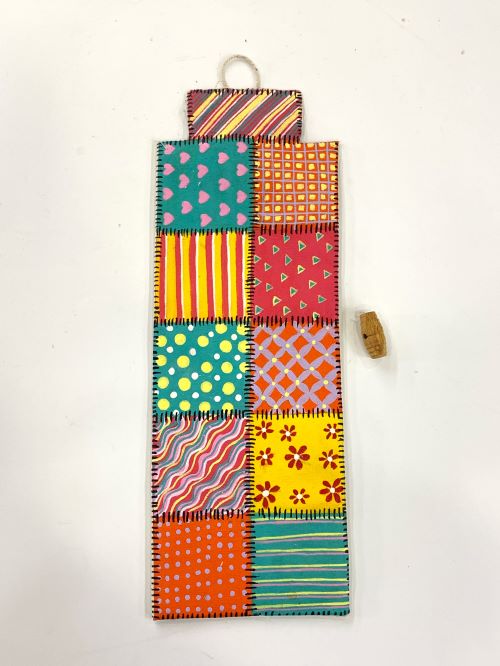
- Draw equal squares on the fabric. Refer to the image for guidance.
STEP 2 : Paint the Squares
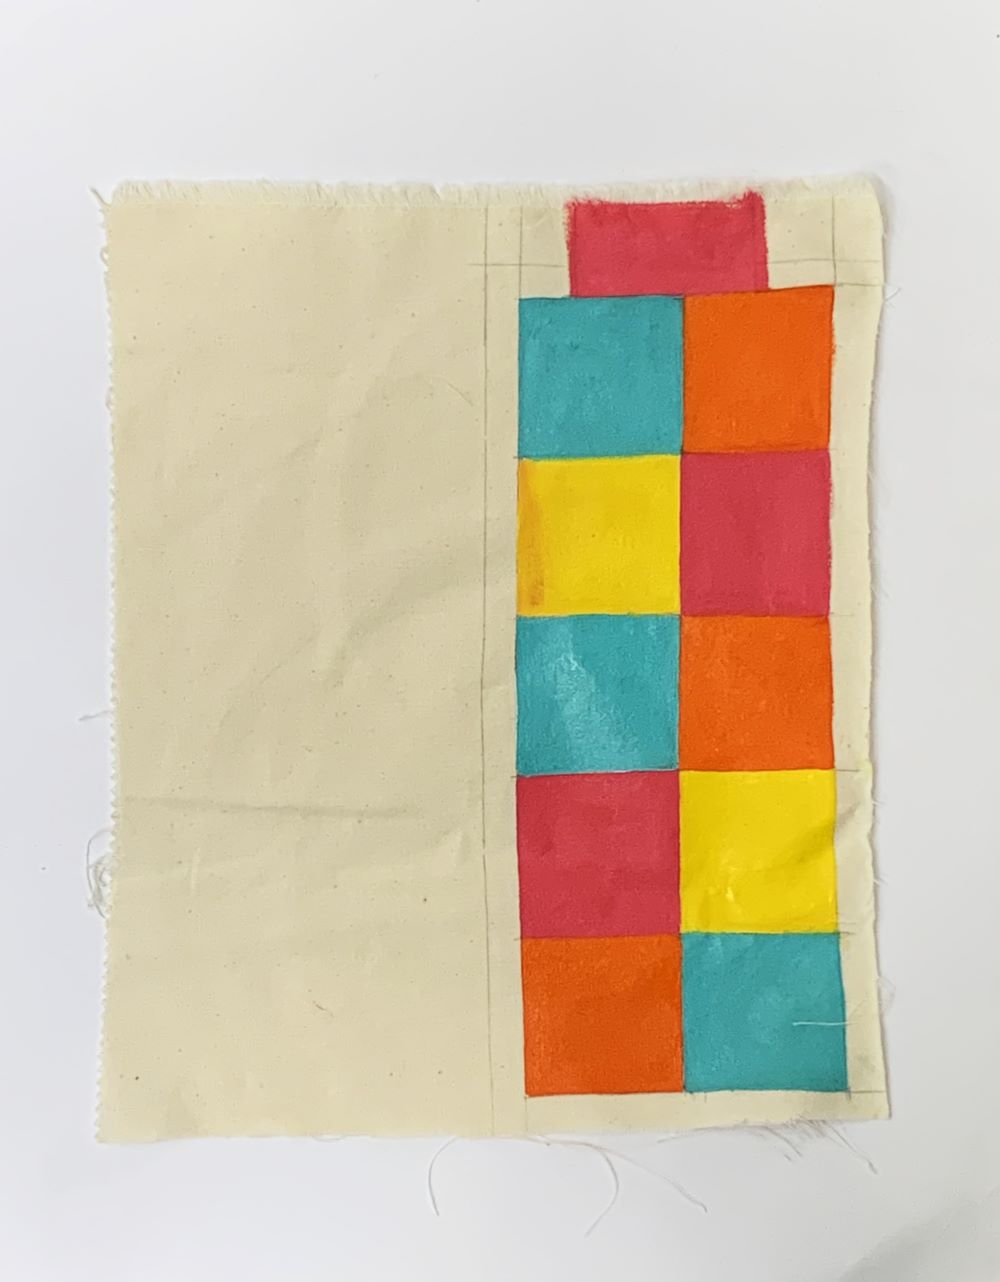
- Paint the squares with Fevicryl Acrylic Colours Black 02, Chrome Yellow 03, Crimson 04, Orange 17, Pink 18, White 27, Teal Blue 68.
- Let the paint dry.
STEP 3 : Paint the Patterns
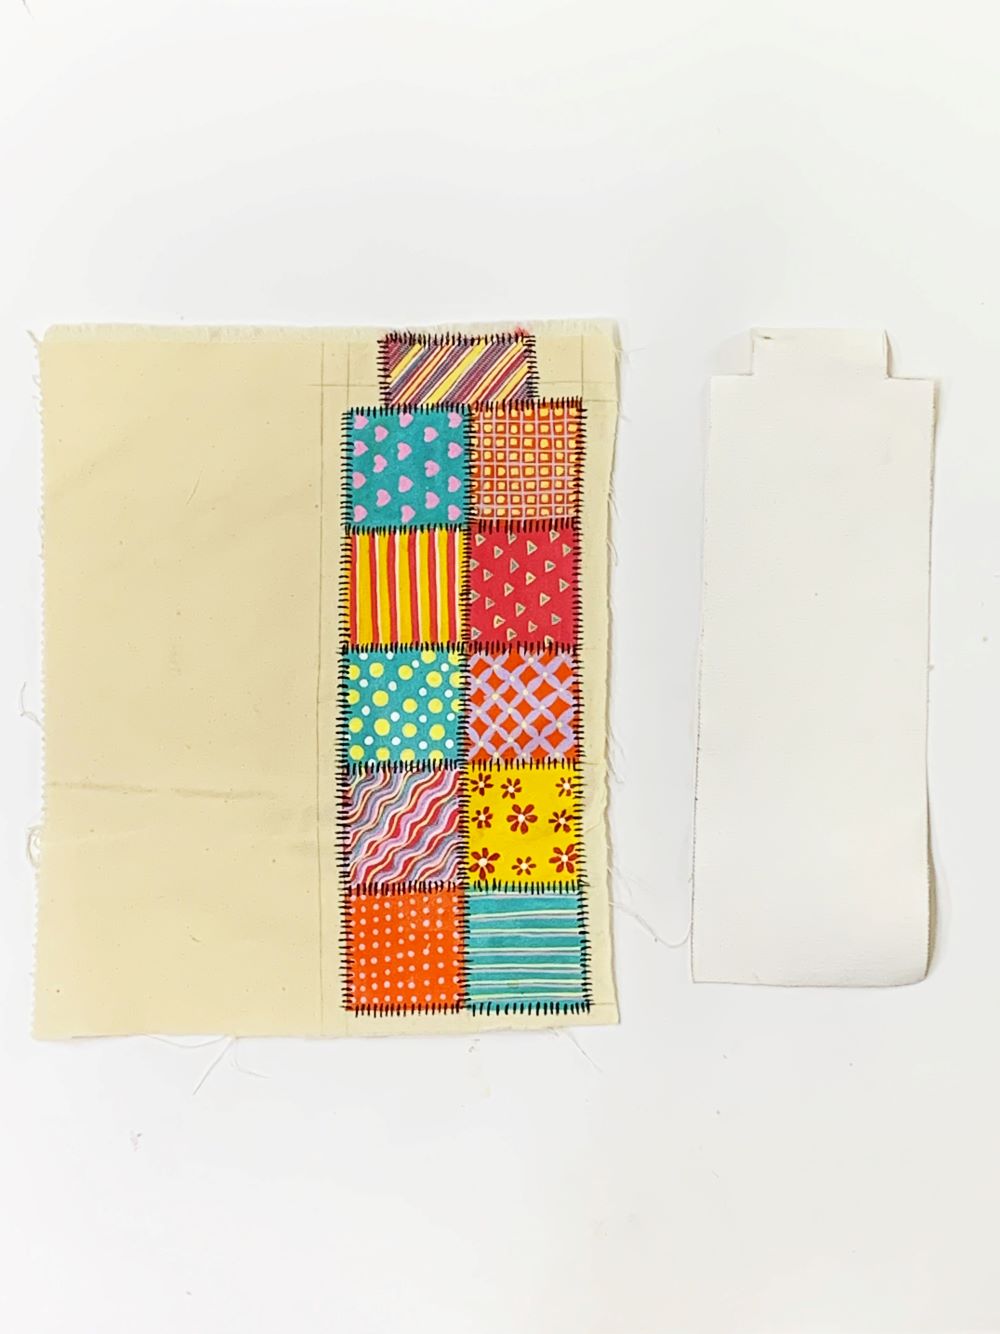
- Paint simple patterns (lines, polka dots, small triangles, checks, and flowers) using appropriate colors from the Acrylic and Pastel Acrylic ranges.
- Paint the quilt stitch line using Acrylic Colour Black 02. Let it dry.
- Cut the canvas sheet to the size of the painted fabric and place it inside for sturdiness.
STEP 4 : Finishing Touches
- Fold the painted fabric lengthwise, sandwiching the canvas sheet between the layers.
- Secure the edges and ends using Fabric Glue. Insert the cobbler thread loop while securing the edges. Let it dry.
STEP 5 : Final look
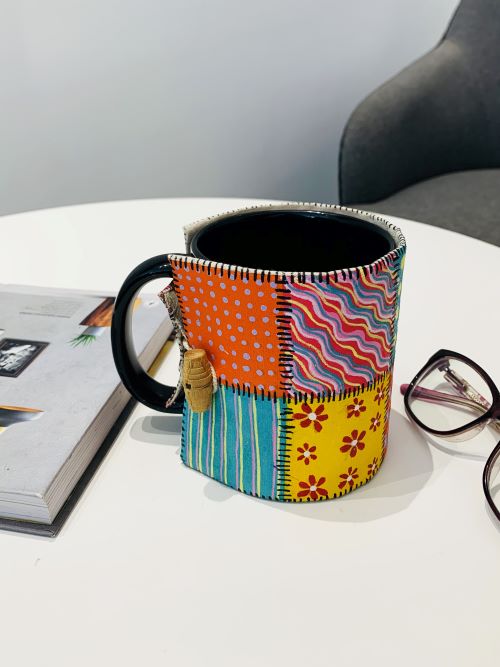
- Attach the wooden button to the opposite end of the cover with needle and thread.
- Your painted quilted pattern mug cover is ready.


 +91 99676 55545