Mouldit Mandala

You Will Need:
Fevicryl Acrylic Colours Black 02, Chrome Yellow 03, White 27, Fevicryl Mouldit, Fevicryl Fabric Glue, Fine Art Brushes, 12” Diameter MDF Placemat, A3 White Paper, White Carbon Paper, Pencil, Clay Carving Tools, Paper Cutter, Assorted Mirrors, Colour Palette, Water Container
Product Used:


Description :
This beautiful DIY will teach you to create shapes using Fevicryl Mouldit. We are going to learn to make mandala design with Mouldit by creating ornamental shapes. Make this simple DIY and enhance the beauty of your wall.

Take 12” Diameter MDF placemat, paint the placemat with the base coat of Fevicryl Acrylic Colours Black 02. Let it dry.

Take an A3 white paper, draw the mandala design on it. Trace the same design on the painted placemat with white carbon paper.

Take Fevicryl Mouldit – Resin base & hardener, mix well to form an even soft dough.

Take the dough, roll it to make coils out of it. Stick the coils on the design to define the lines using Fevicryl Fabric Glue. Let it dry.

Make the ornamental shapes, like big tear drops using clay carving tools for ease. Let it dry. Make all such shapes to form the design.

Paint the ornamental clay shapes individually with the shades of yellow using Fevicryl Acrylic Colours Chrome Yellow 03 and White 27. Let it dry.

Paint the coils and the ornamental clay shapes with the light and dark shades of yellow using Fevicryl Acrylic Colours Chrome Yellow 03 and White 27. Start sticking the ornamental shapes in the following design using Fabric Glue. Let it dry.

Stick all the shapes made in clay and follow the design using Fabric Glue. Let it dry completely.

Stick few mirrors randomly to enhance the mandala design using Fabric Glue. Let it dry.
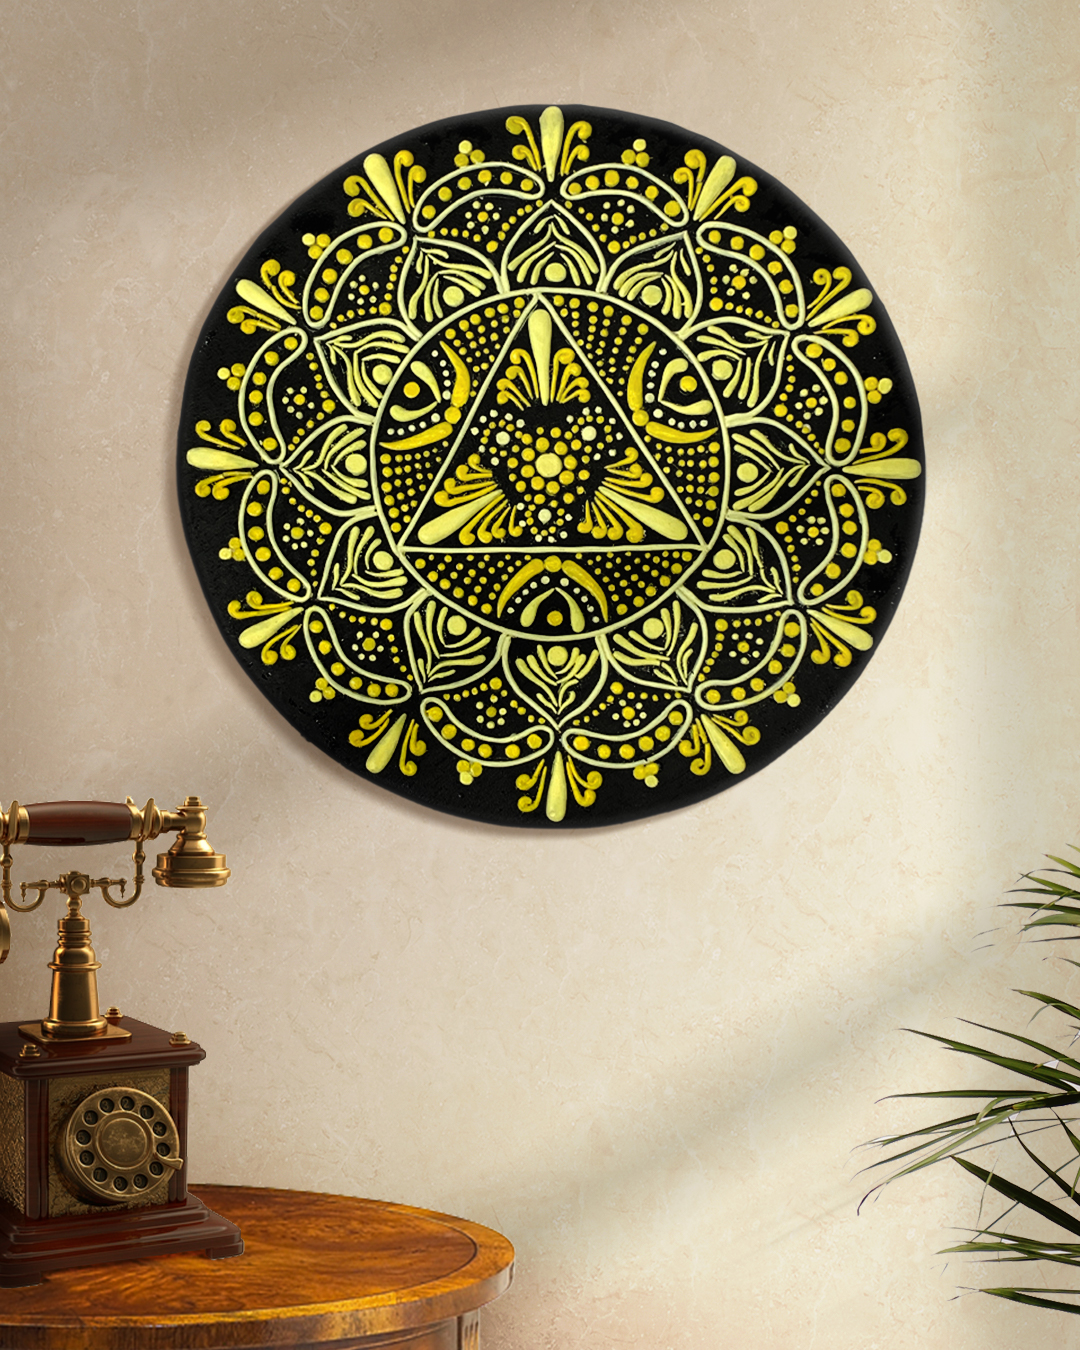
Your Mandala design with Mouldit will look like this.


 +91 99676 55545