Kathakali Mask Lamp

May 20, 2015
You Will Need:
Fevicryl Non Sticky Shilpkar, Fevicryl Sparkling Pearl Colour - Golden Green 911, Fevicryl Acrylic Colours - Black 02, White 27, Crimson 04, Chrome Yellow 03, Fevicryl Pearl Metallic Colours - Gold 352, silver 351, Fevicryl No Stitch Fabric Glue, Fine Art Canvas, Colour Palette,Fine Art Brushes, Water Container, A4 sized White Paper, Red Carbon Paper, Red and Blue Gateway Paper, Mount Board, Pencil, Scissors, Ornamental Stones, Paper Cutter, String, Pink and Green Coloured Fabric, Sponge, Bulb, Holder, Wire and Socket, Rolling Pin, Talcum Powder
Description :
Give a touch of tradition to your living room, by making this Kathakali mask shaped lamp with two expressions.
STEP 1
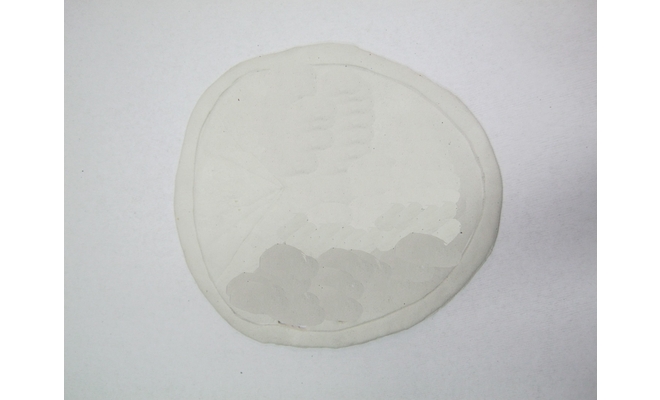
Mix Shilpkar Resin Base and Hardener to form an even dough
Roll two slabs
Cut two circles of 7 in diameter
STEP 2

Draw two Kathakali faces on the drawing paper with an angry and a happy expression
Trace it on two circles
STEP 3
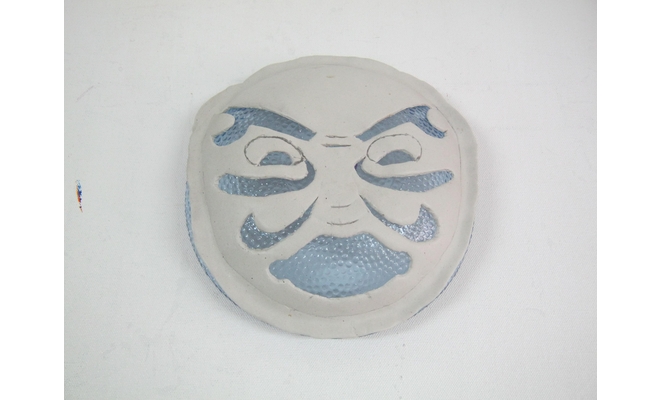
Cutout the expressions using a sharp paper cutter in a semi dried state
STEP 4
Take two shallow bowls of the same size as that of the masks
Keep the masks on the reverse side of the bowl so as to make them convex
Leave the faces to dry
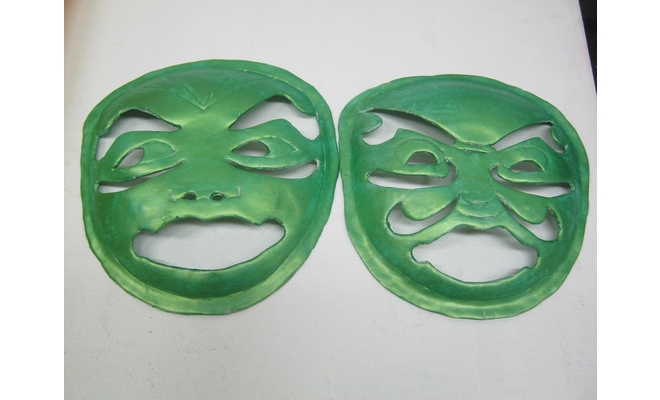
STEP 5
Colour both the faces using Sparkling Pearl Colour - Golden Green
Leave it to dry
You may give two coats for an even look
Outline the cutout parts using Acrylic Colour - Black
Paint the forehead in a triangular design using Maroon and Chrome Yellow
STEP 6
Stick pink coloured fabric on the rear side of the angry face and green for the happy face using No Stitch Fabric Glue
Cut the extra fabric and leave it to dry
STEP 7
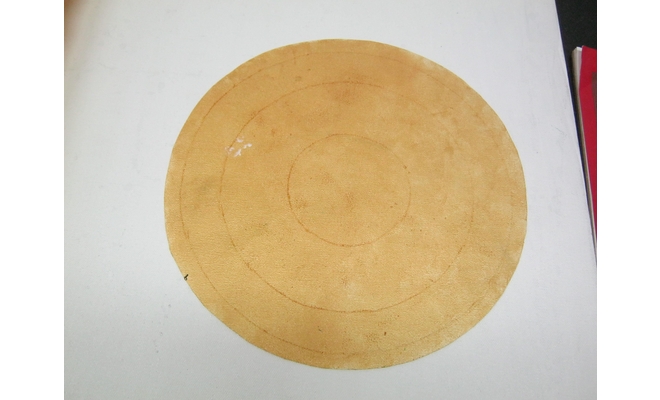
Cut two circles of 9'' diameter and four circles of 2'' diameter from a fine art canvas sheet
This is for the headgear of the mask
Sponge dab them all using Pearl Metallic Colour - Gold
Let them dry
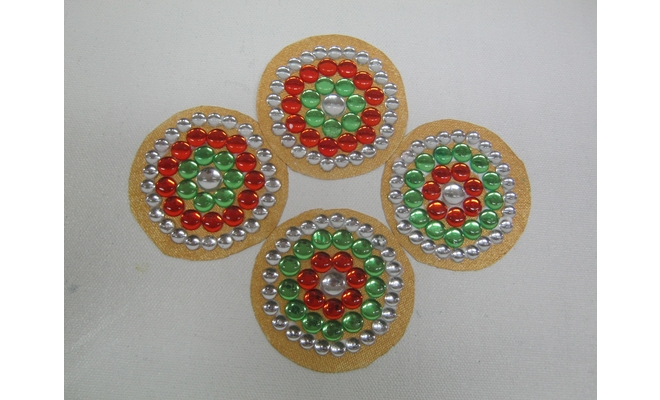
STEP 8

Stick ornamental stones on all the circles in an arrangement of your choice using No Stitch Fabric Glue
STEP 9

Cut fine art canvas for the extension of the face in the appropriate size
Sponge dab it using Pearl Metallic Colour – Silver
Leave it to dry
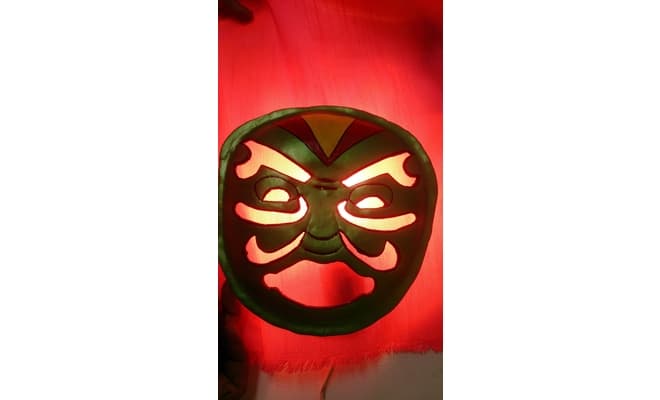
STEP 10

Arrange and stick the headgear and the accessories on the face using No Stitch Fabric Glue
Insert a wire with a bulb
Stick the faces back to back
Keep an opening at the bottom for changing the bulb


 +91 99676 55545