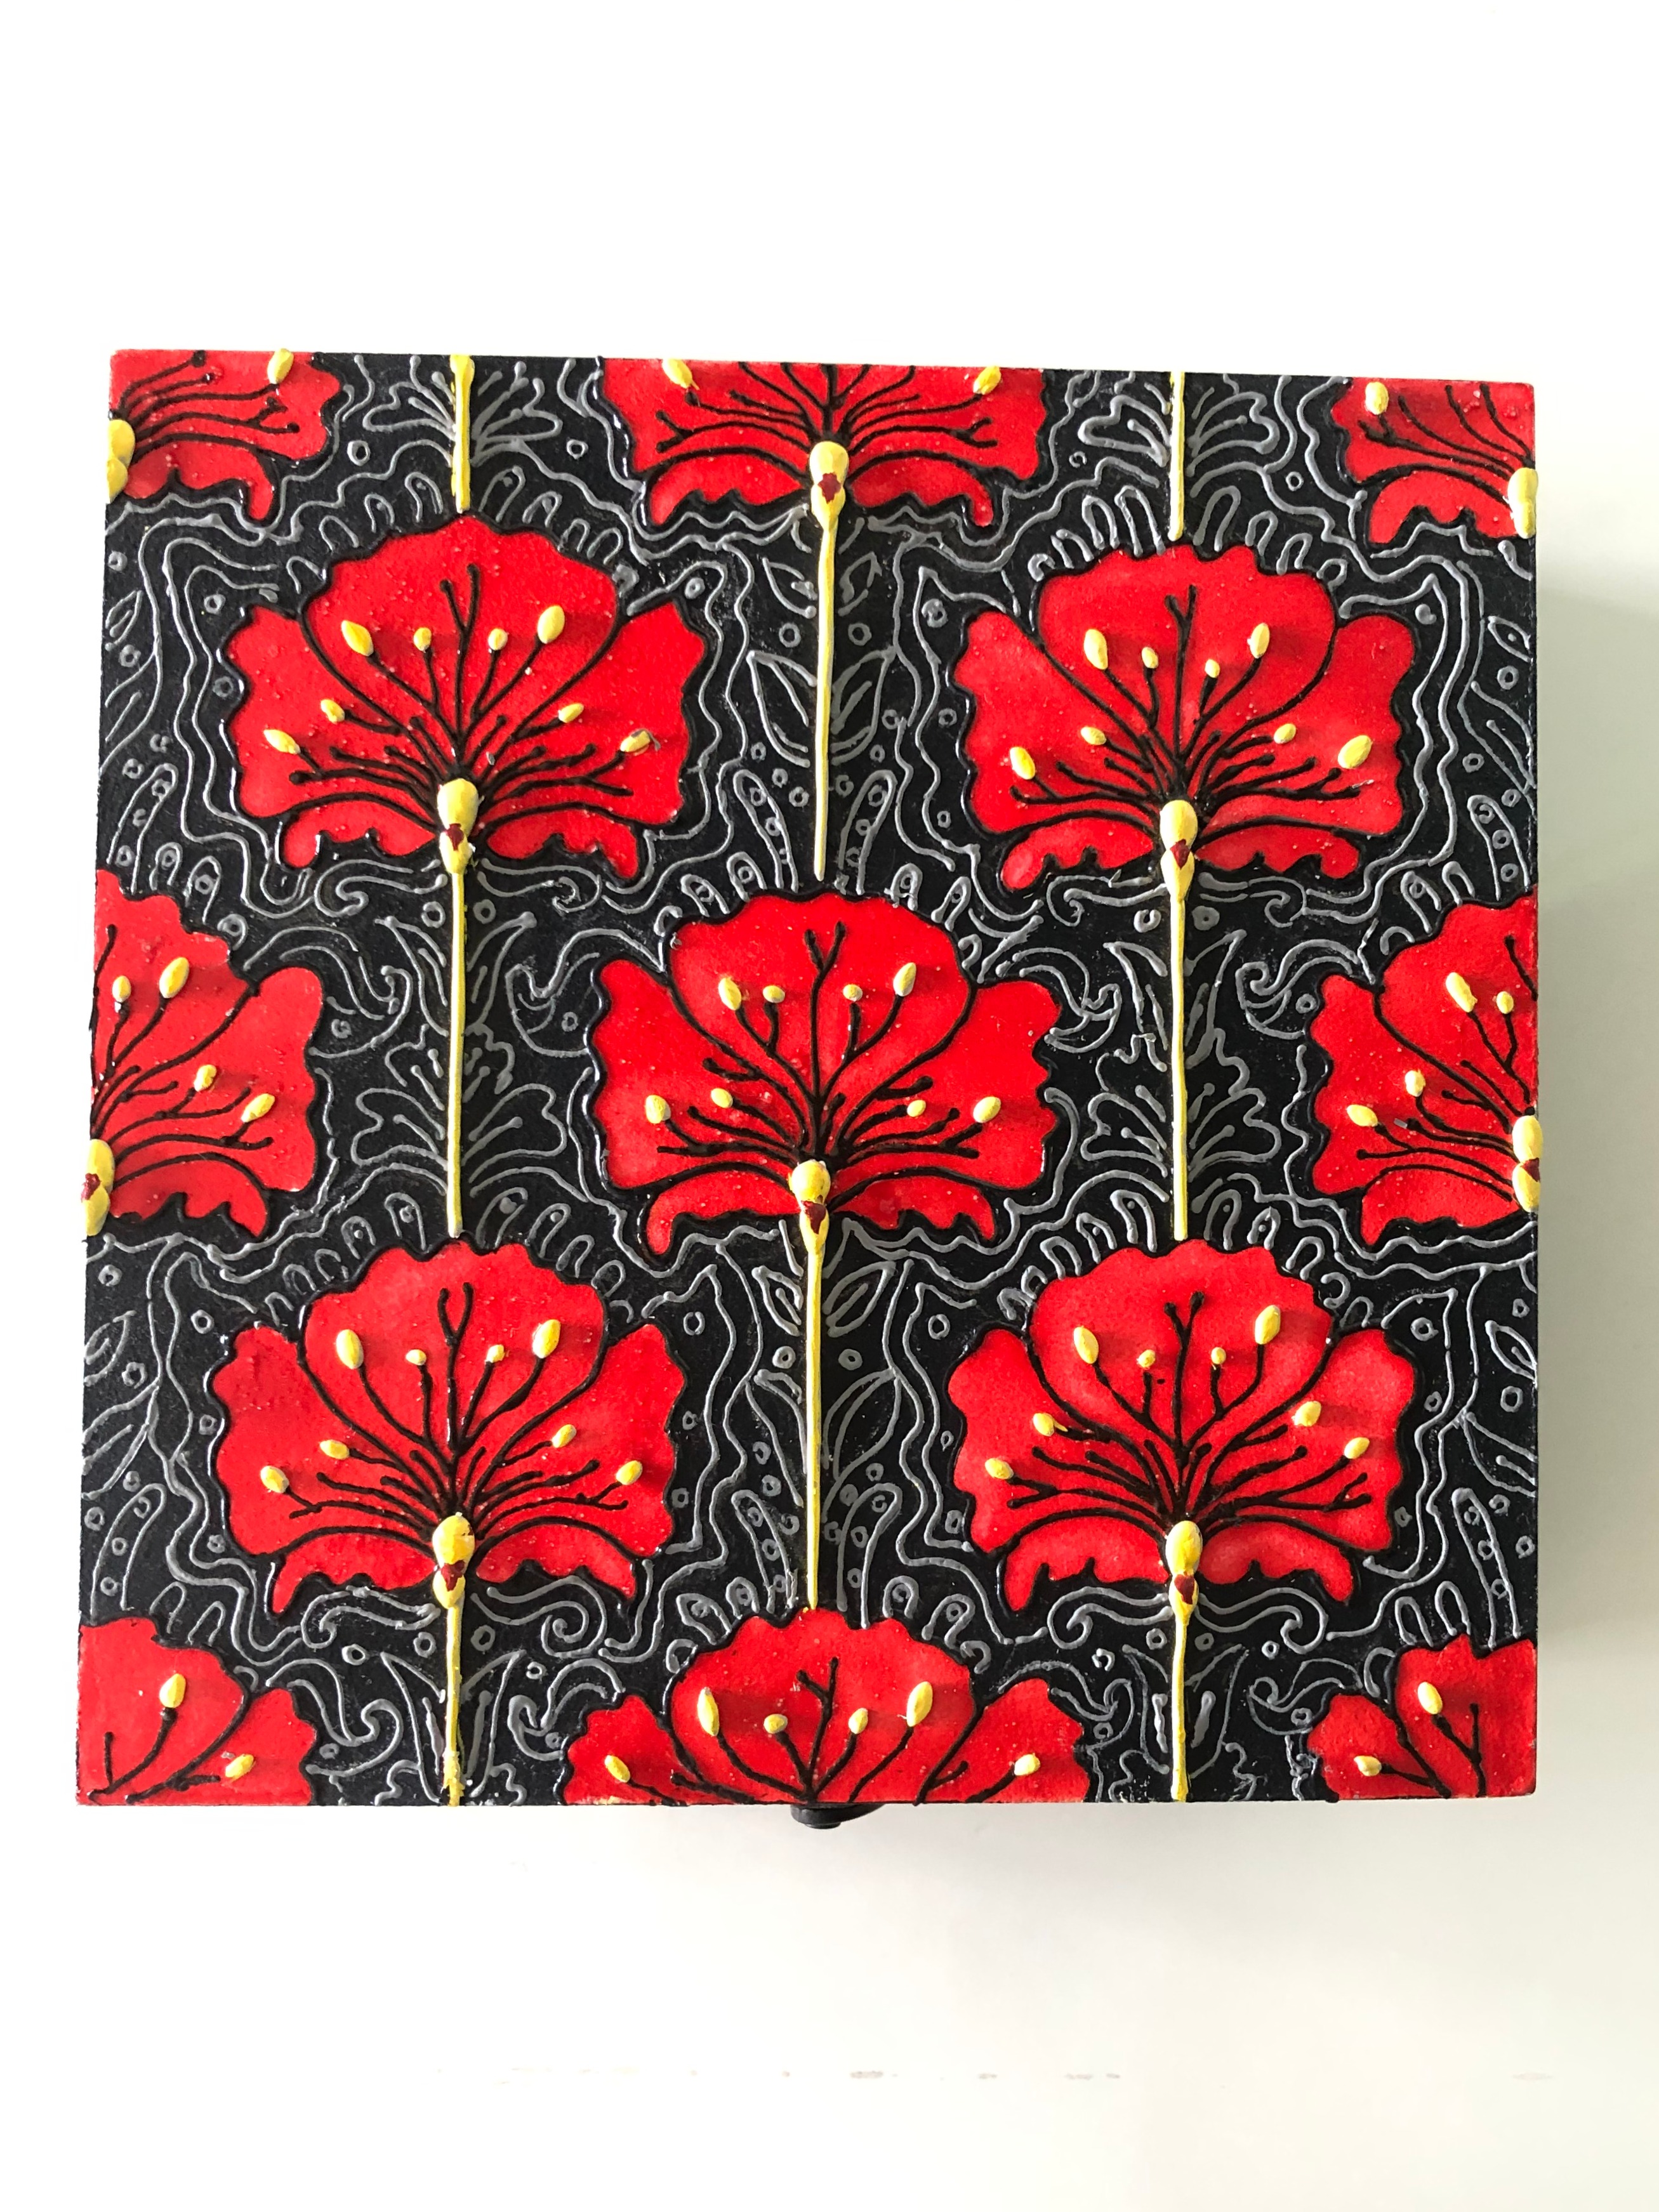
Floral Jewellery Box
You Will Need:
Fevicryl Acrylic Colours - Black 02, Chrome Yellow 03, Crimson 04, Golden Yellow 09, White 27, Fevicryl 3D Outliners - Red 701, White 707, Black 708, Fevicryl - Water Based - Glass Colour - Red, Fevicryl Mouldit, Fevicryl Fabric Glue, Fine Art Brushes, MDF Wooden Box, A4 White Paper, Yellow Carbon Paper, Pencil, Colour Palette, Water Container
Description :
An ornate jewellery box that would aptly suit your dressing table. Decorated with poppy flowers and enhanced with Fevicryl 3D Outliners, lending a regal and chic look.

Take an MDF jewellery box, like you see in the image.

Give a base coat of Fevicryl Acrylic Colour – White 27. Let it dry.

Take an A4 sheet of paper, draw and trace the floral pattern on the box using yellow carbon.

Outline the pattern using Fevicryl 3D Outliner – Black 708. Let it dry.

Start painting the floral pattern using - Fevicryl - Glass Colour – Red. Let it dry.

Take Fevicryl Mouldit – resin base & hardener, mix well to form an even dough. Roll with your hands to make delicate stems and tiny pollens on each of the floral formation. Stick using Fevicryl Fabric Glue. Let it dry.

Paint the stems & pollen using Fevicryl Acrylic Colours – Chrome Yellow 03 with a tinge of White 27. Let it dry.

Similarly, draw & trace a floral border pattern, like you see in the image.

Outline the pattern in the midst of the florals using a grey shade made using Fevicryl 3D Outliner – White 707 & Black 708. Let it dry. The jewellery box once ready would look stunning and gorgeous like this.


 +91 99676 55545