Cute Lion Rakhi


You Will Need:
Fevicryl Acrylic Colours - Black 02, Chrome Yellow 03, Orange 17, Fevicryl Water Based Glass Colours - Golden Yellow, Orange, Fevicryl 3D Outliner Pearl Metallic - Gold 352, Fevicryl Mouldit, Fevicryl Fabric Glue, Fine Art Brushes, A sheet of paper, Rolling Pin, Paper Cutter, Pencil, Golden Thread, Scissors, Clay Carving Tools, Colour Palette, Water Container
Product Used:


Description :
Make your own hand-made rakhis this Rakhshabandhan. We have made these cute lion themed rakhis that would surely inspire you to make any animal or bird that you fancy. So, get going and have fun with these DIYs.

Take Fevicryl Mouldit – resin base & hardener, mix well to form an even soft dough.
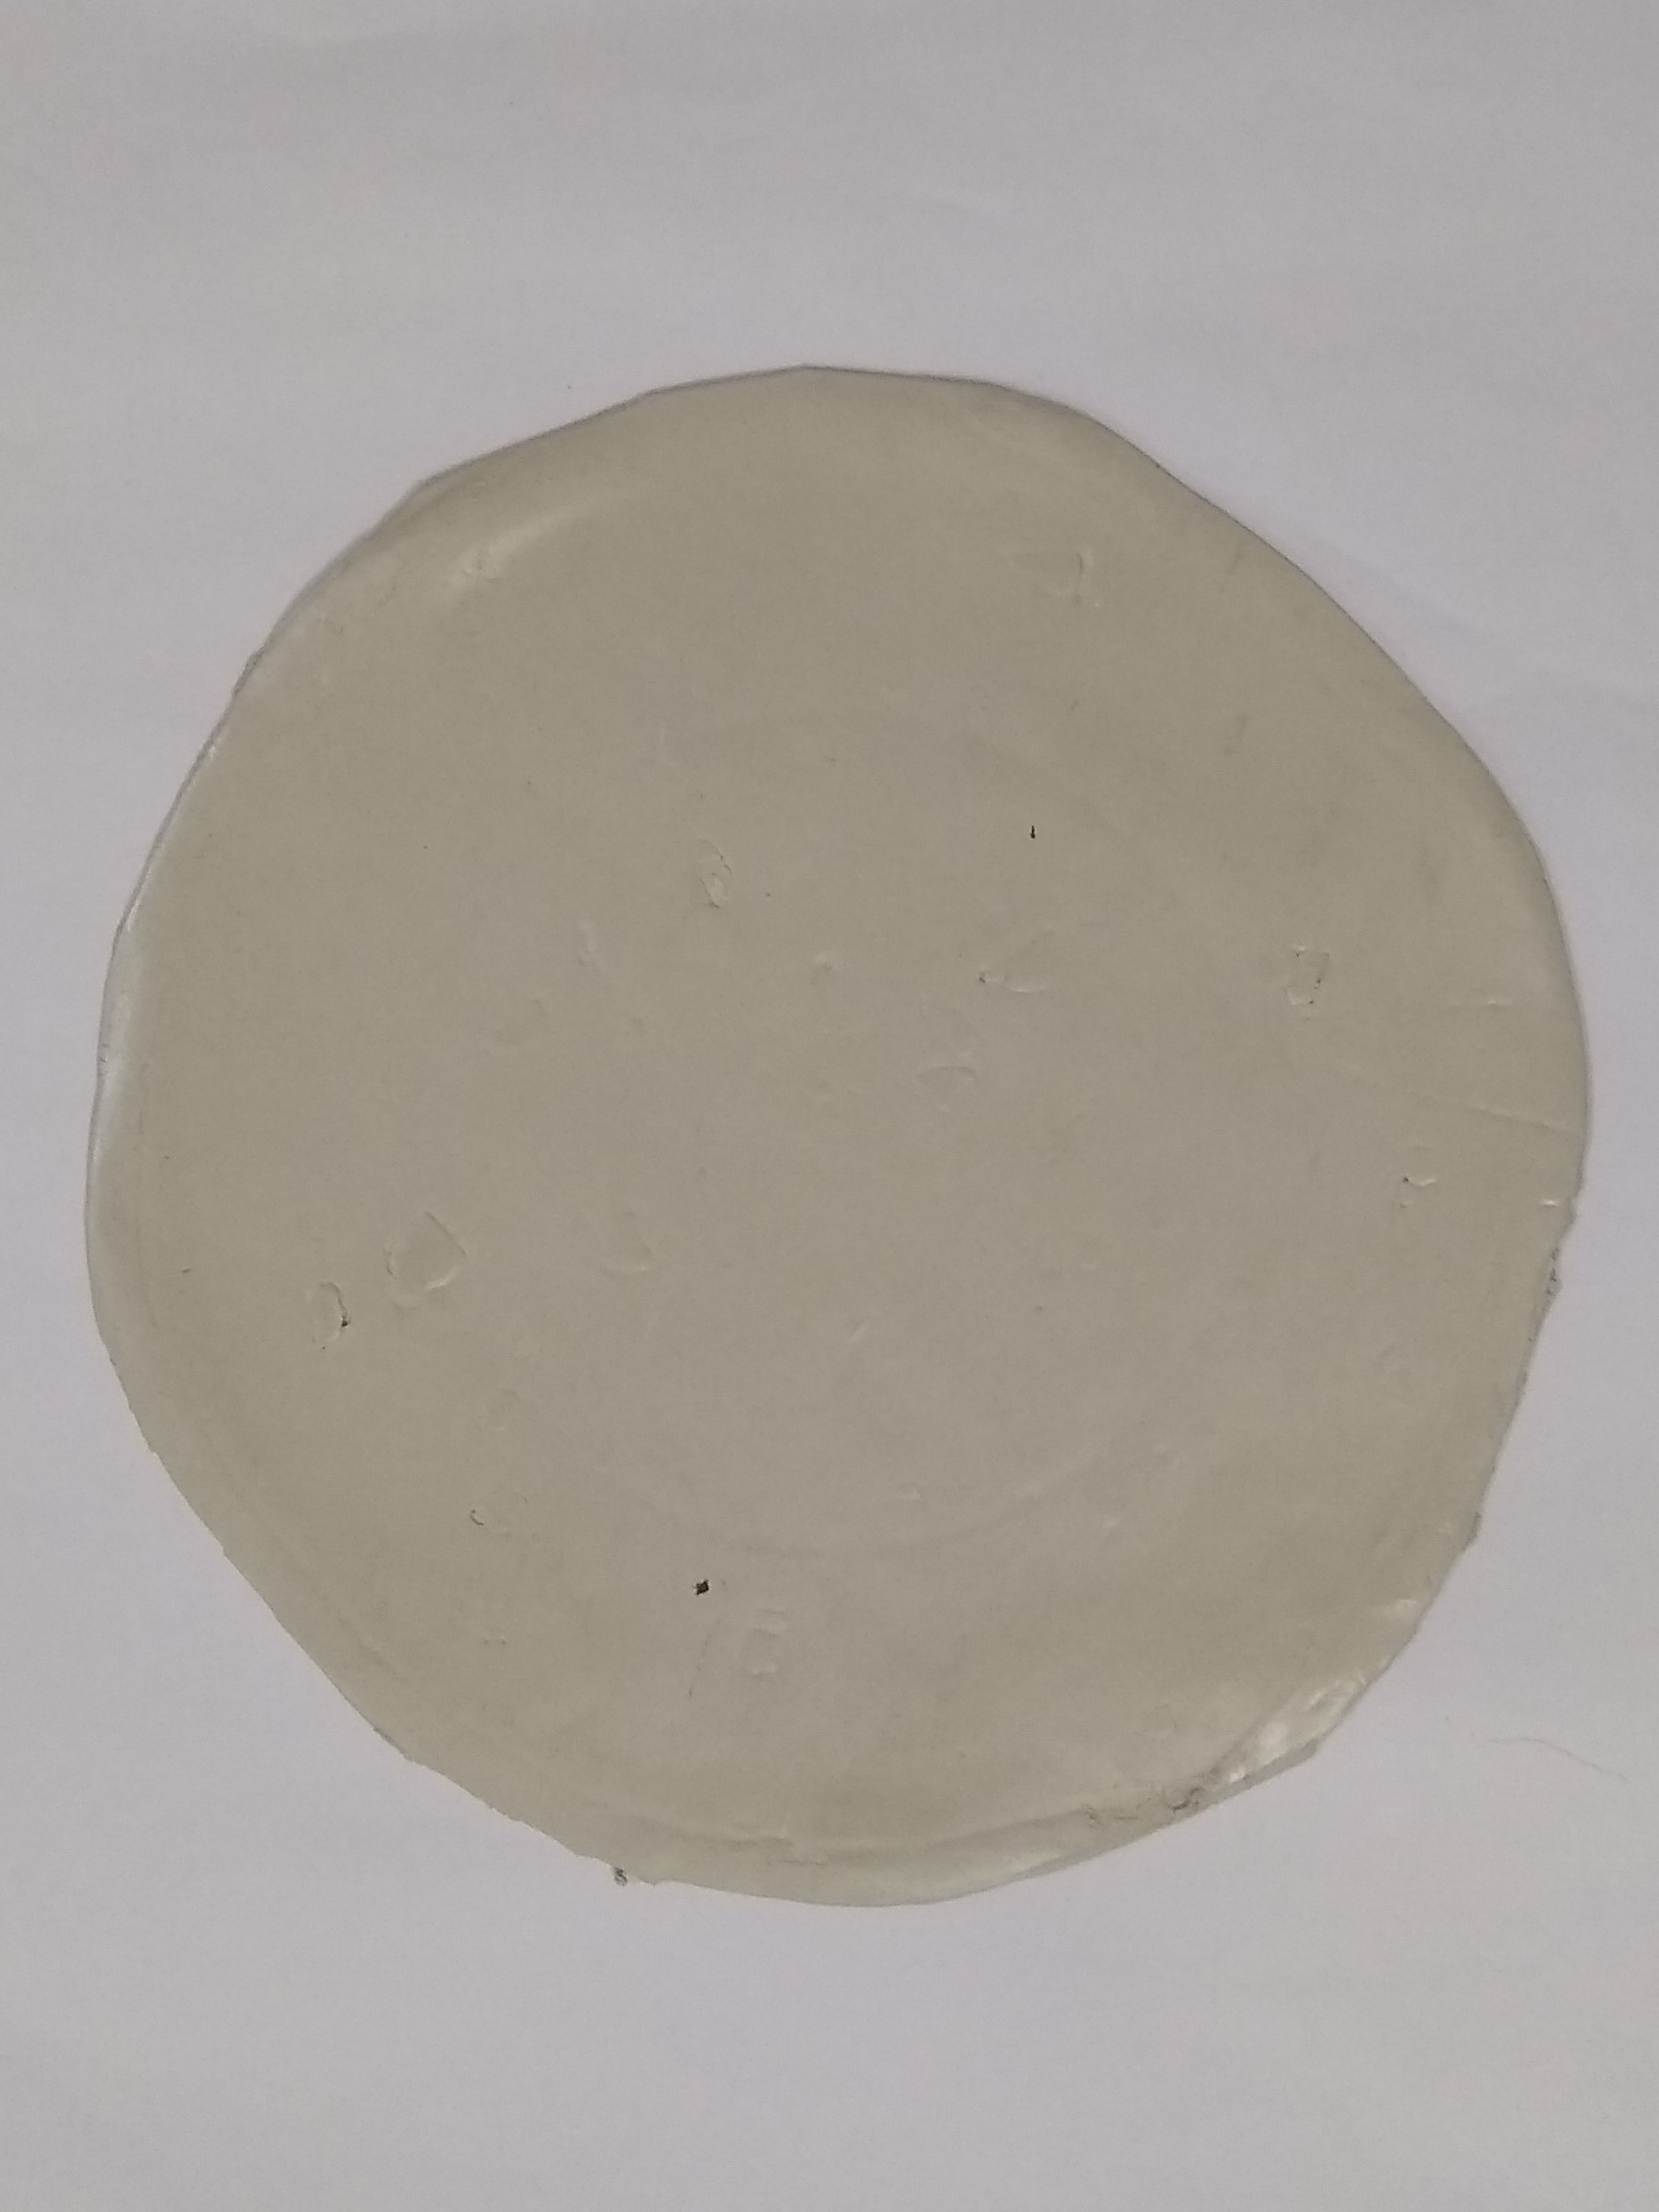
Roll the dough to make a medium thick slab using a rolling pin.
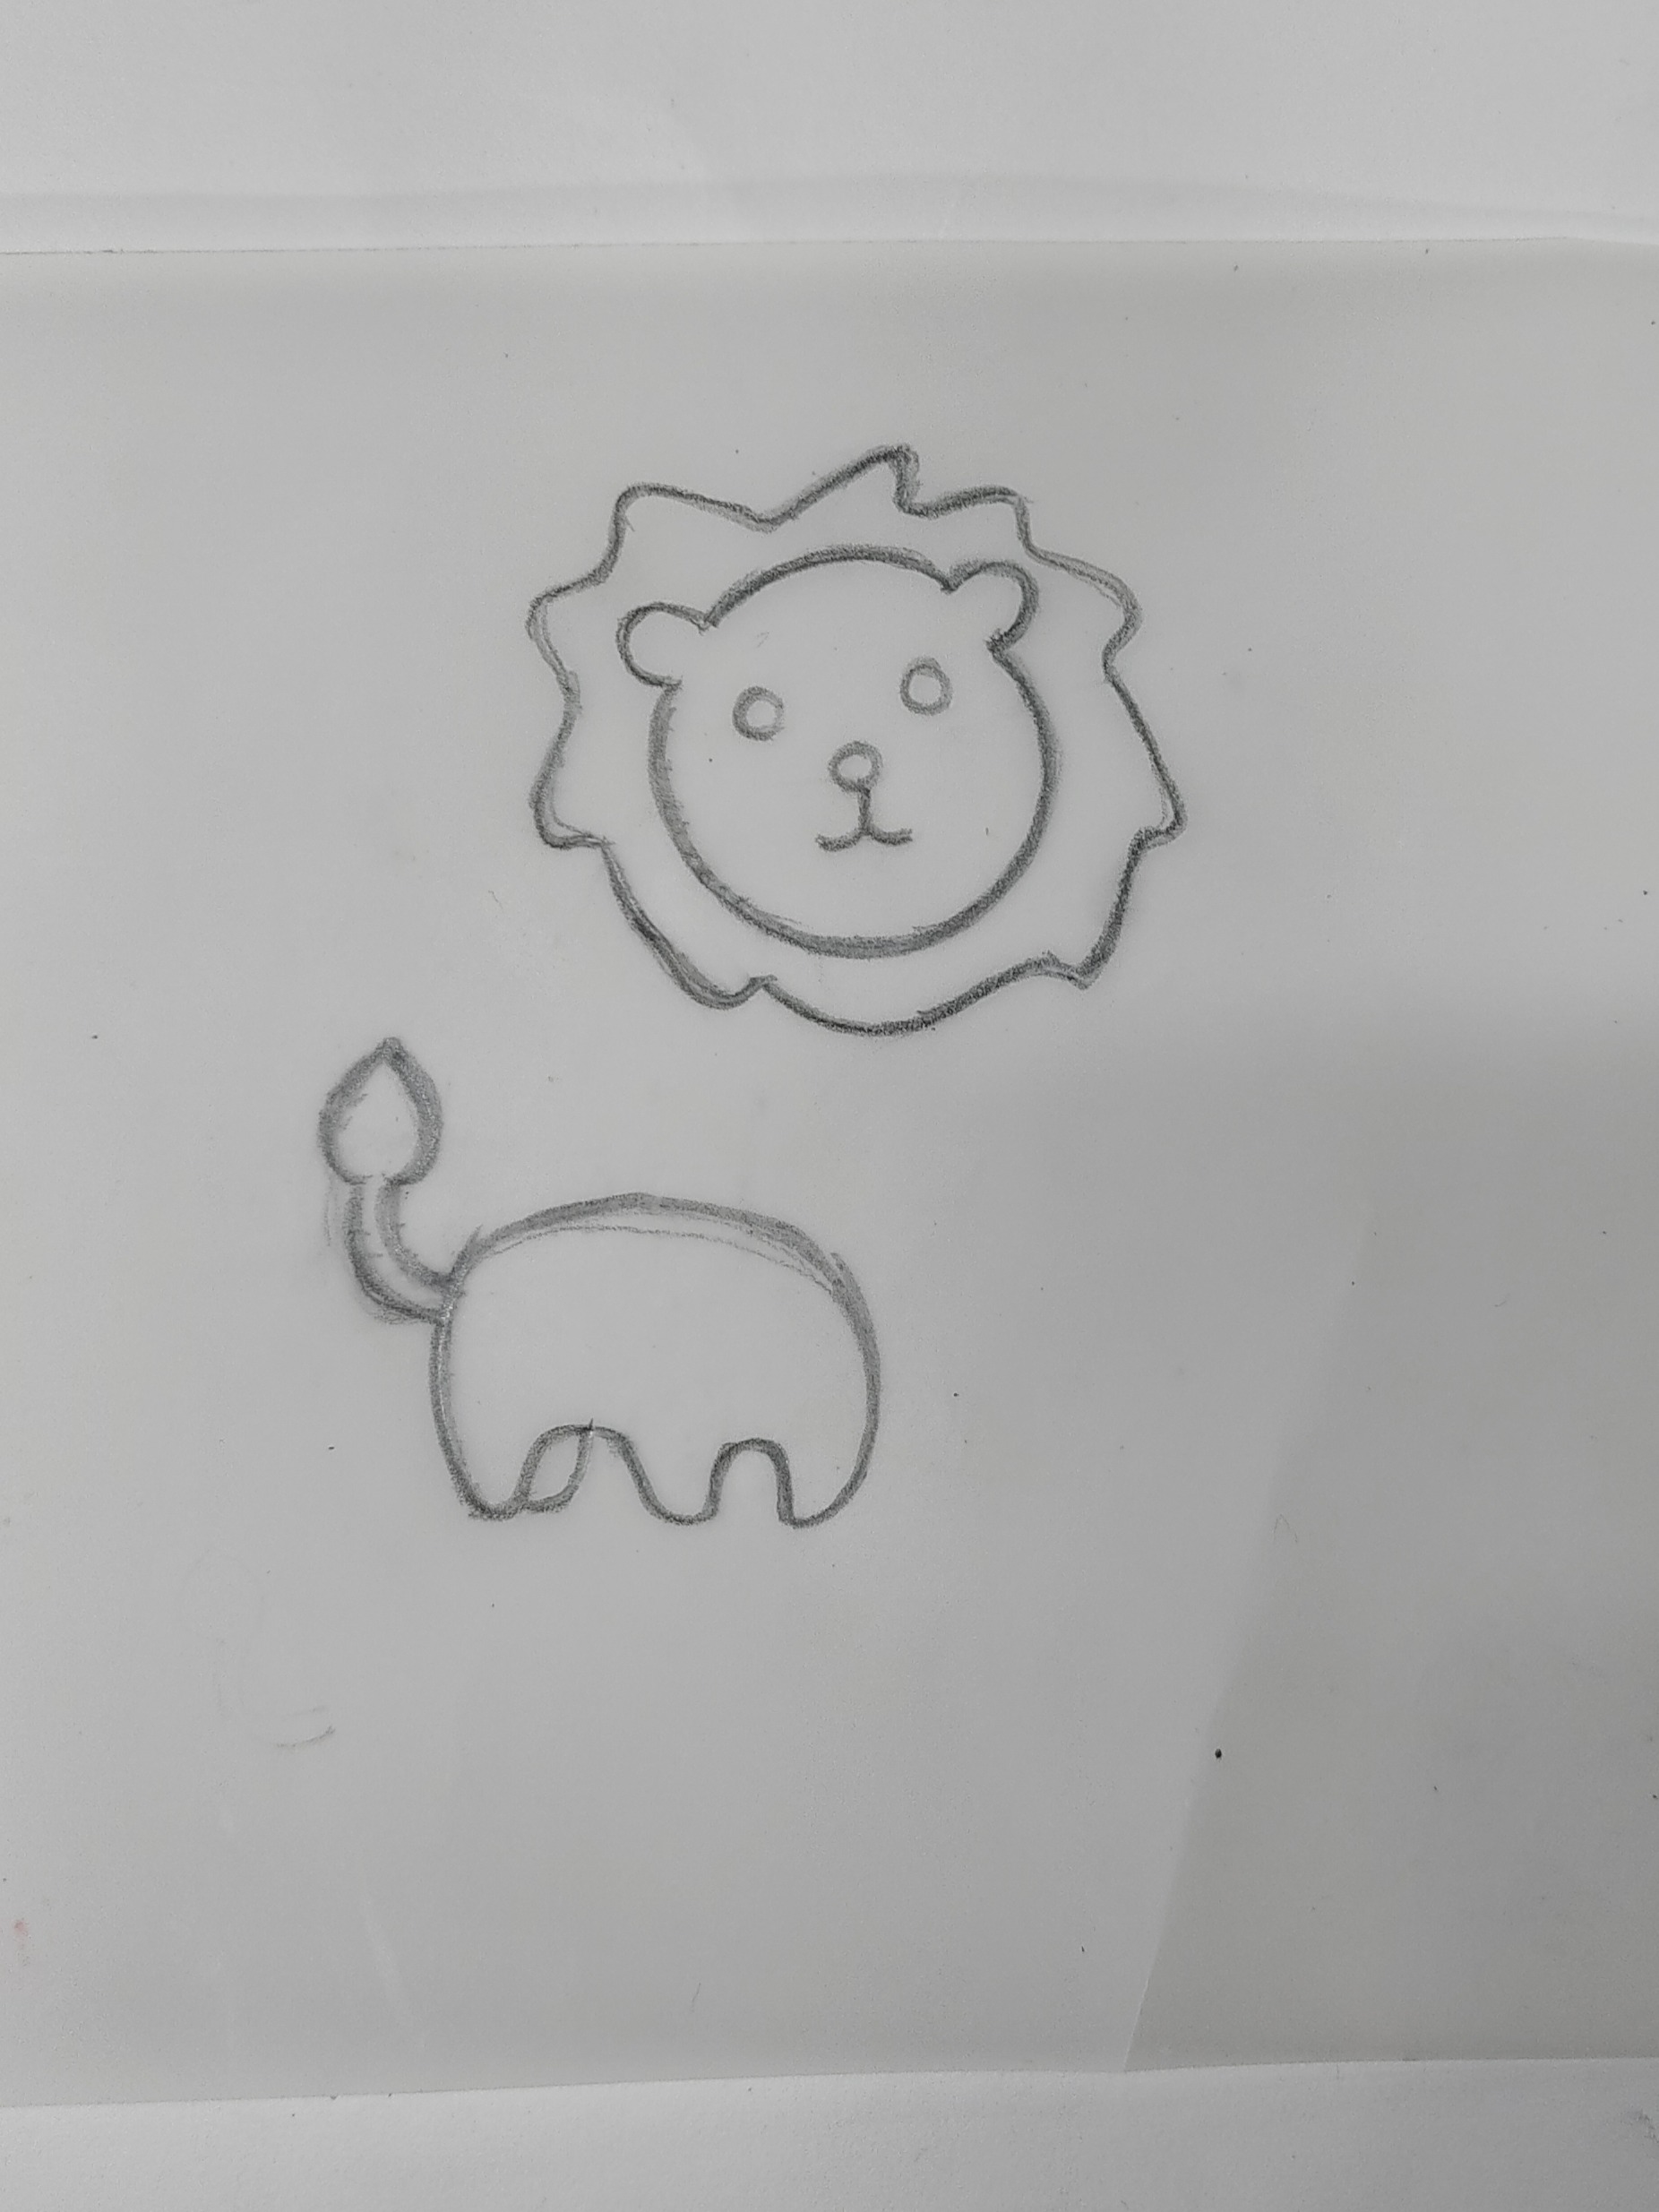
Draw a lion face and its body on a sheet of paper.
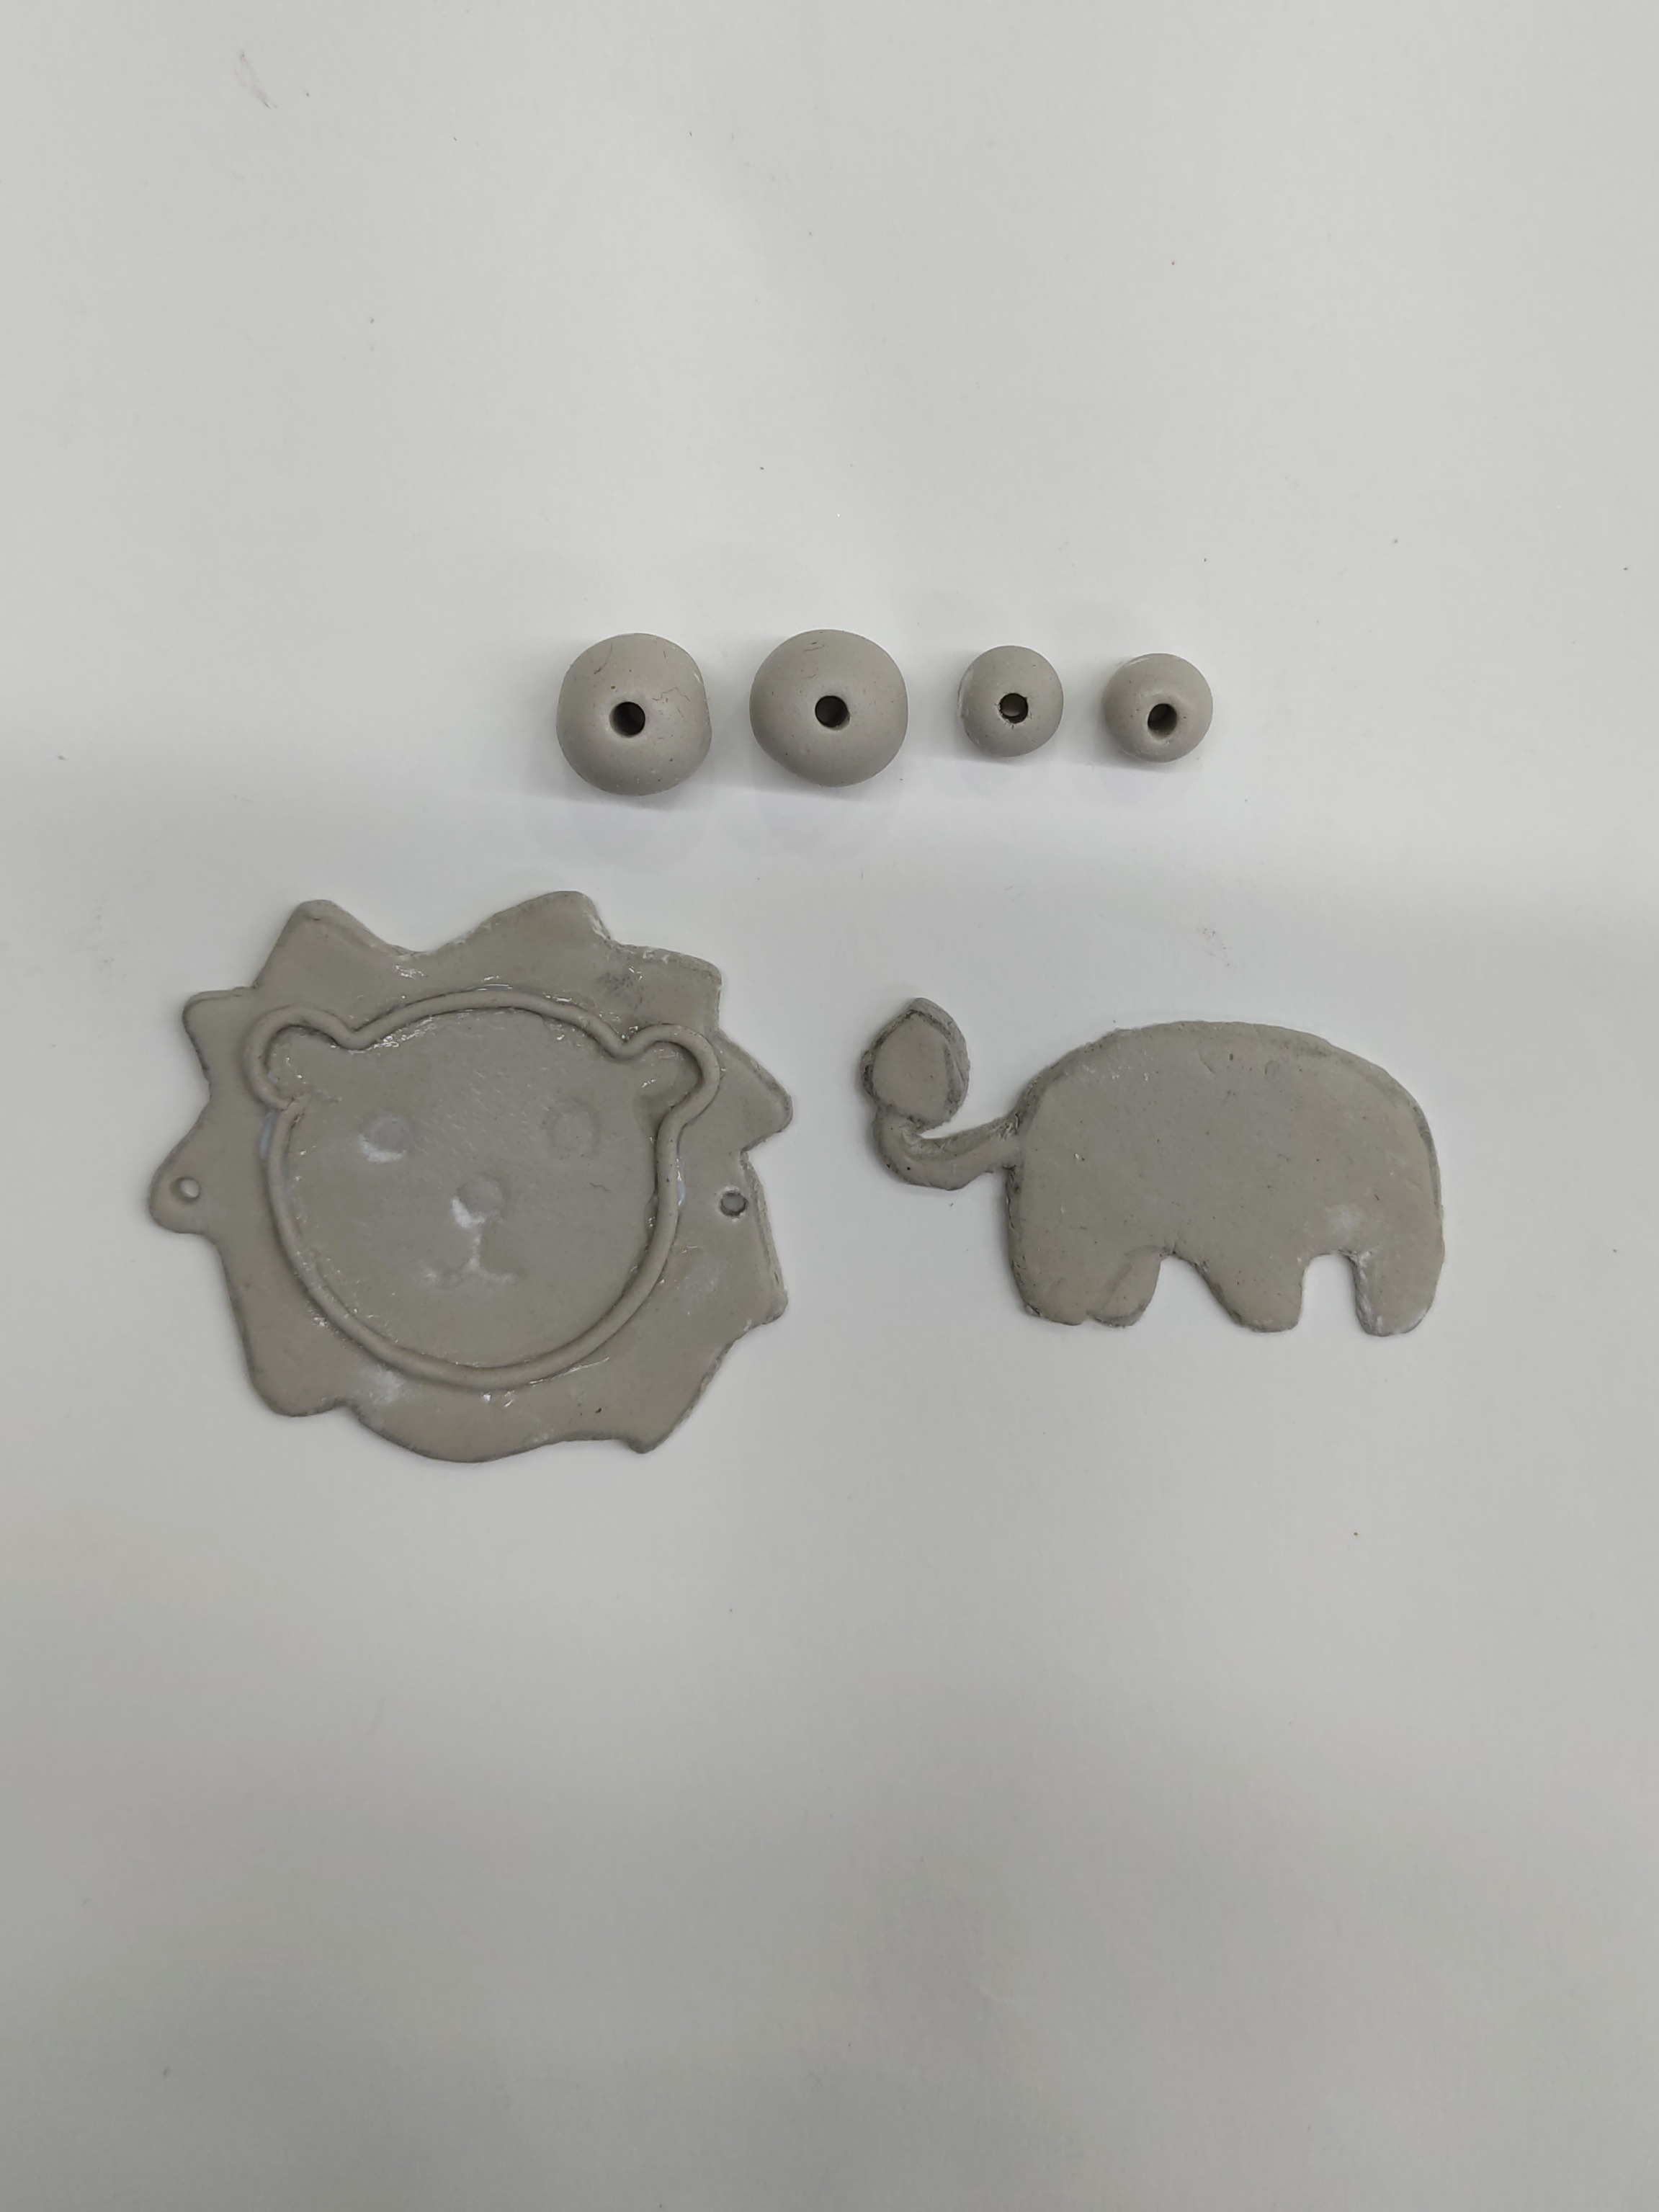
Take the clay slab, mark & cut a lion’s face and it’s body using a paper cutter. Make a few beads big and small with holes in each of them. Pierce holes on either side of the lion’s face.
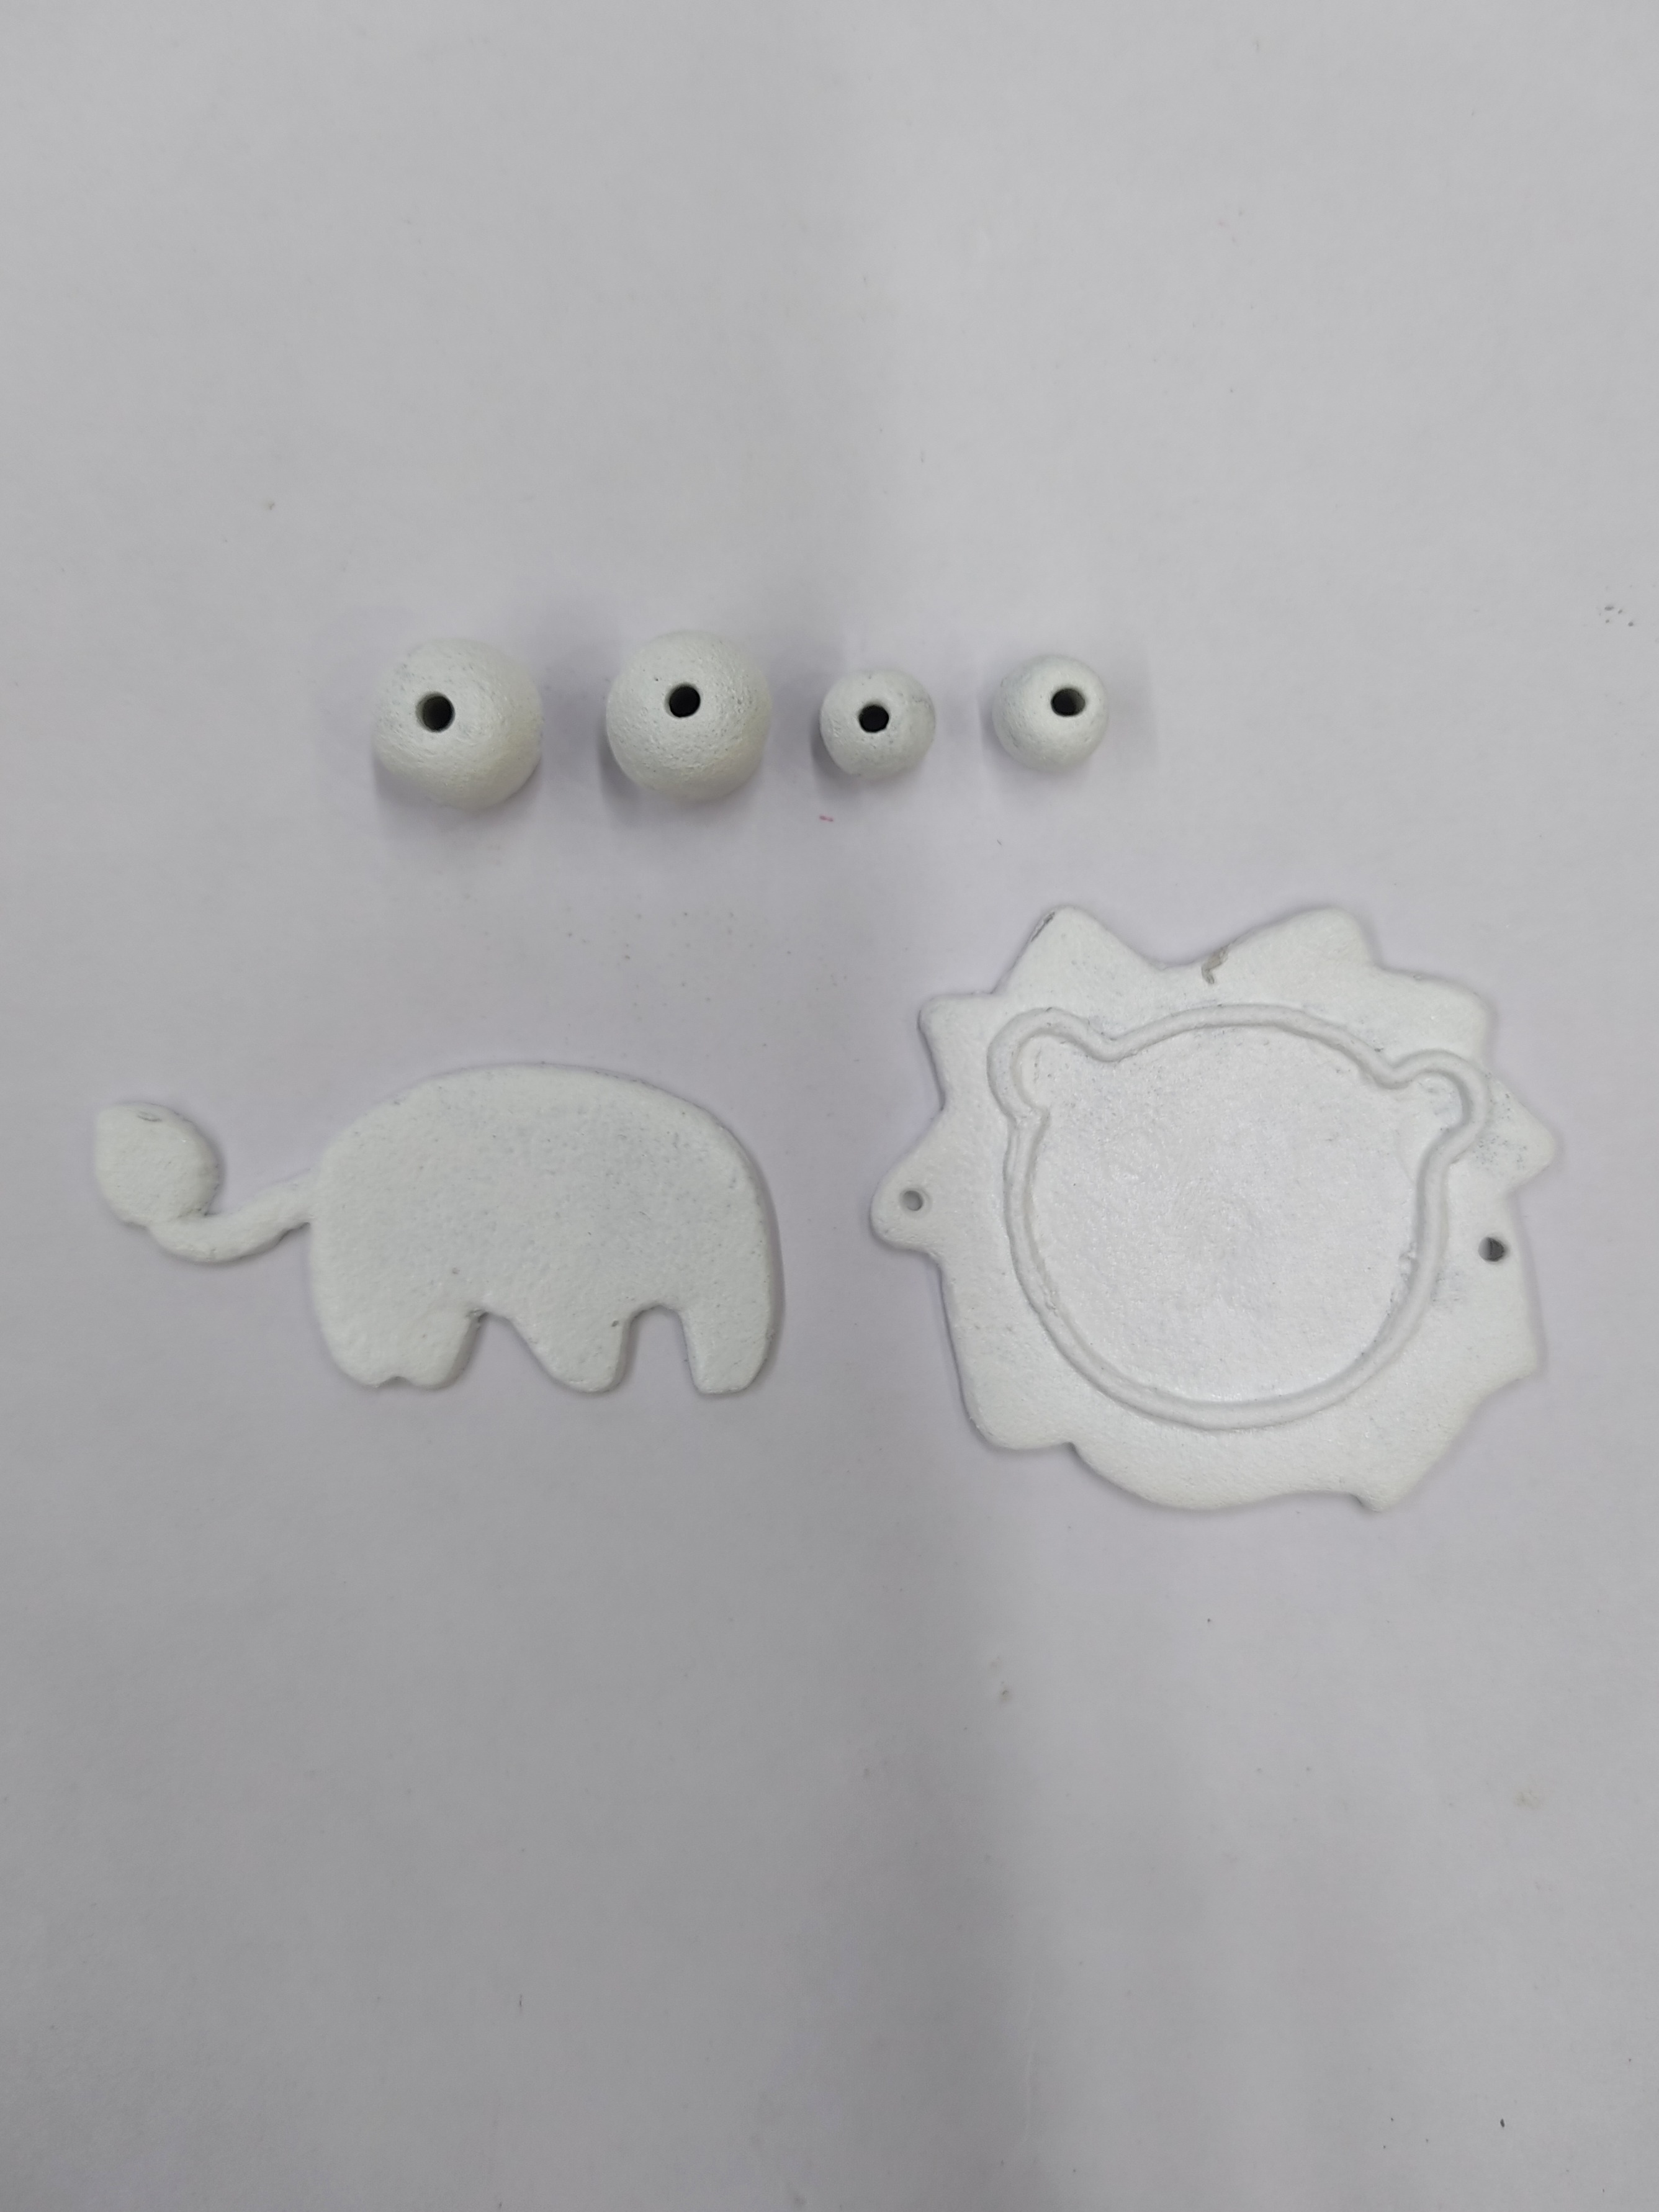
Paint the clay elements using Fevicryl Acrylic Colour – White 27. Let them dry.
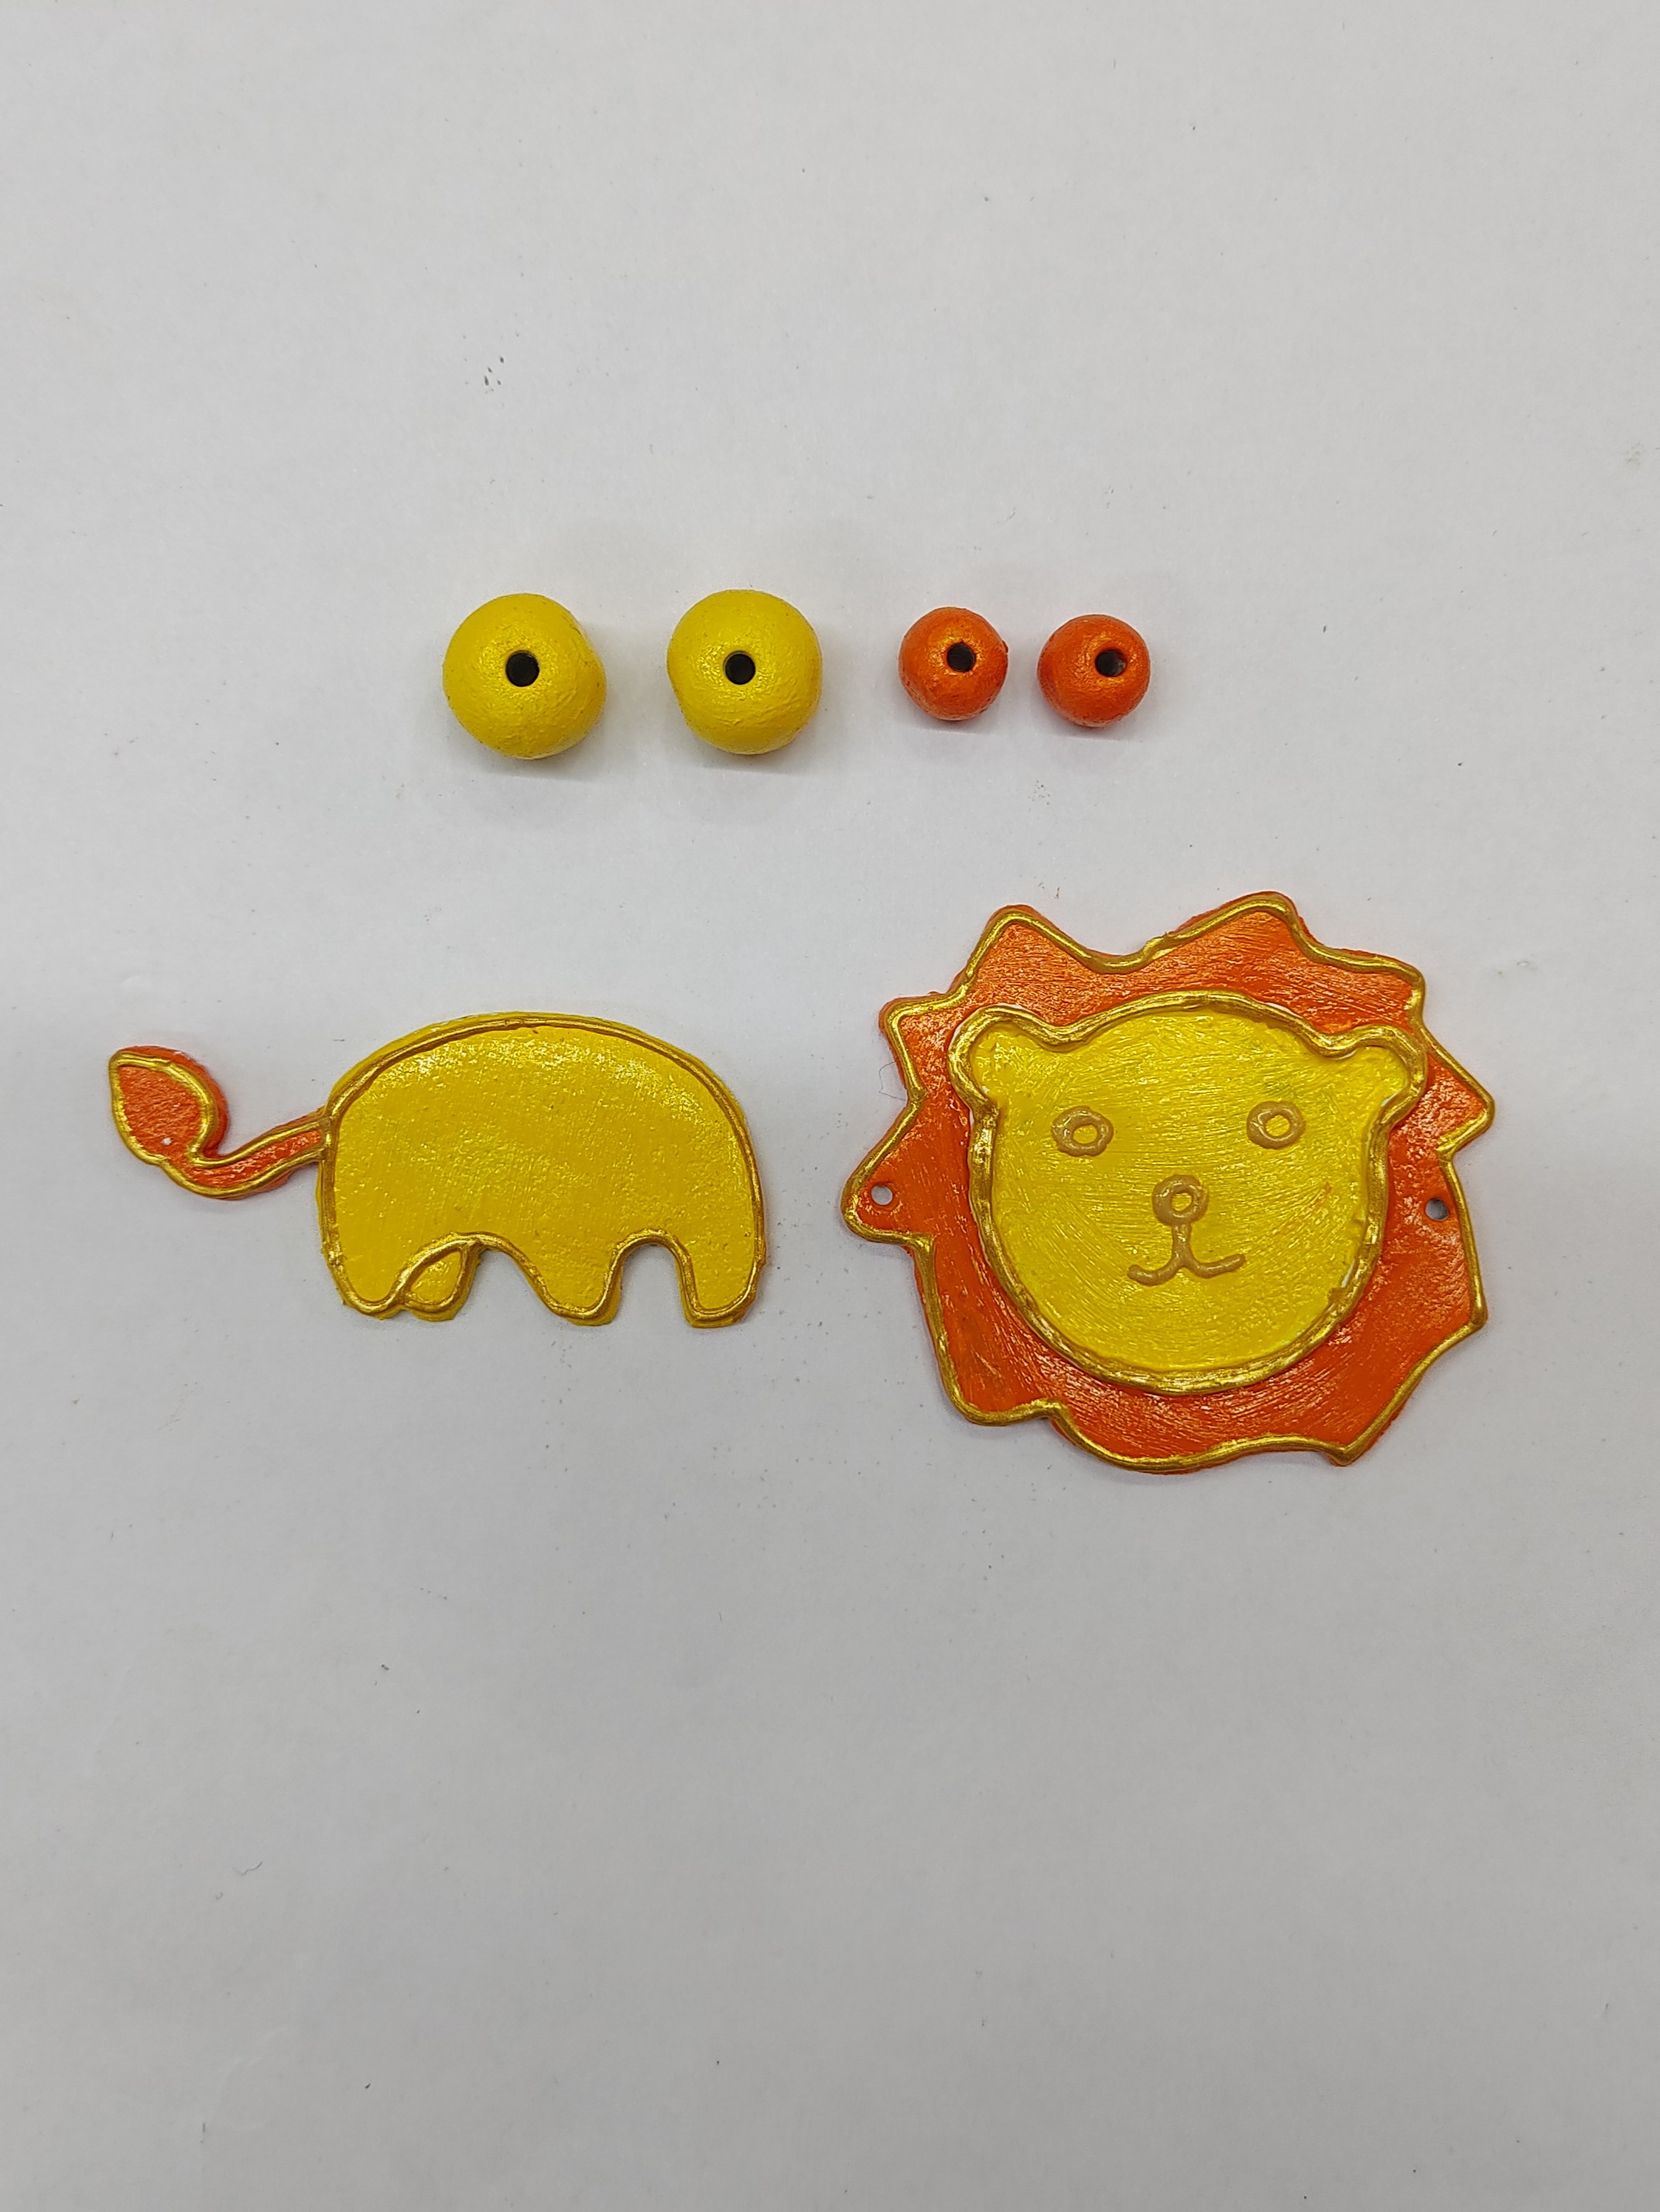
Paint the lion’s face and its body with Fevicryl Acrylic Colours - Chrome Yellow 03, Orange 17. Let it dry. Paint over with Fevicryl Water Based Glass Colours - Golden Yellow, Orange giving it a near ceramic look. Similarly paint the beads too.
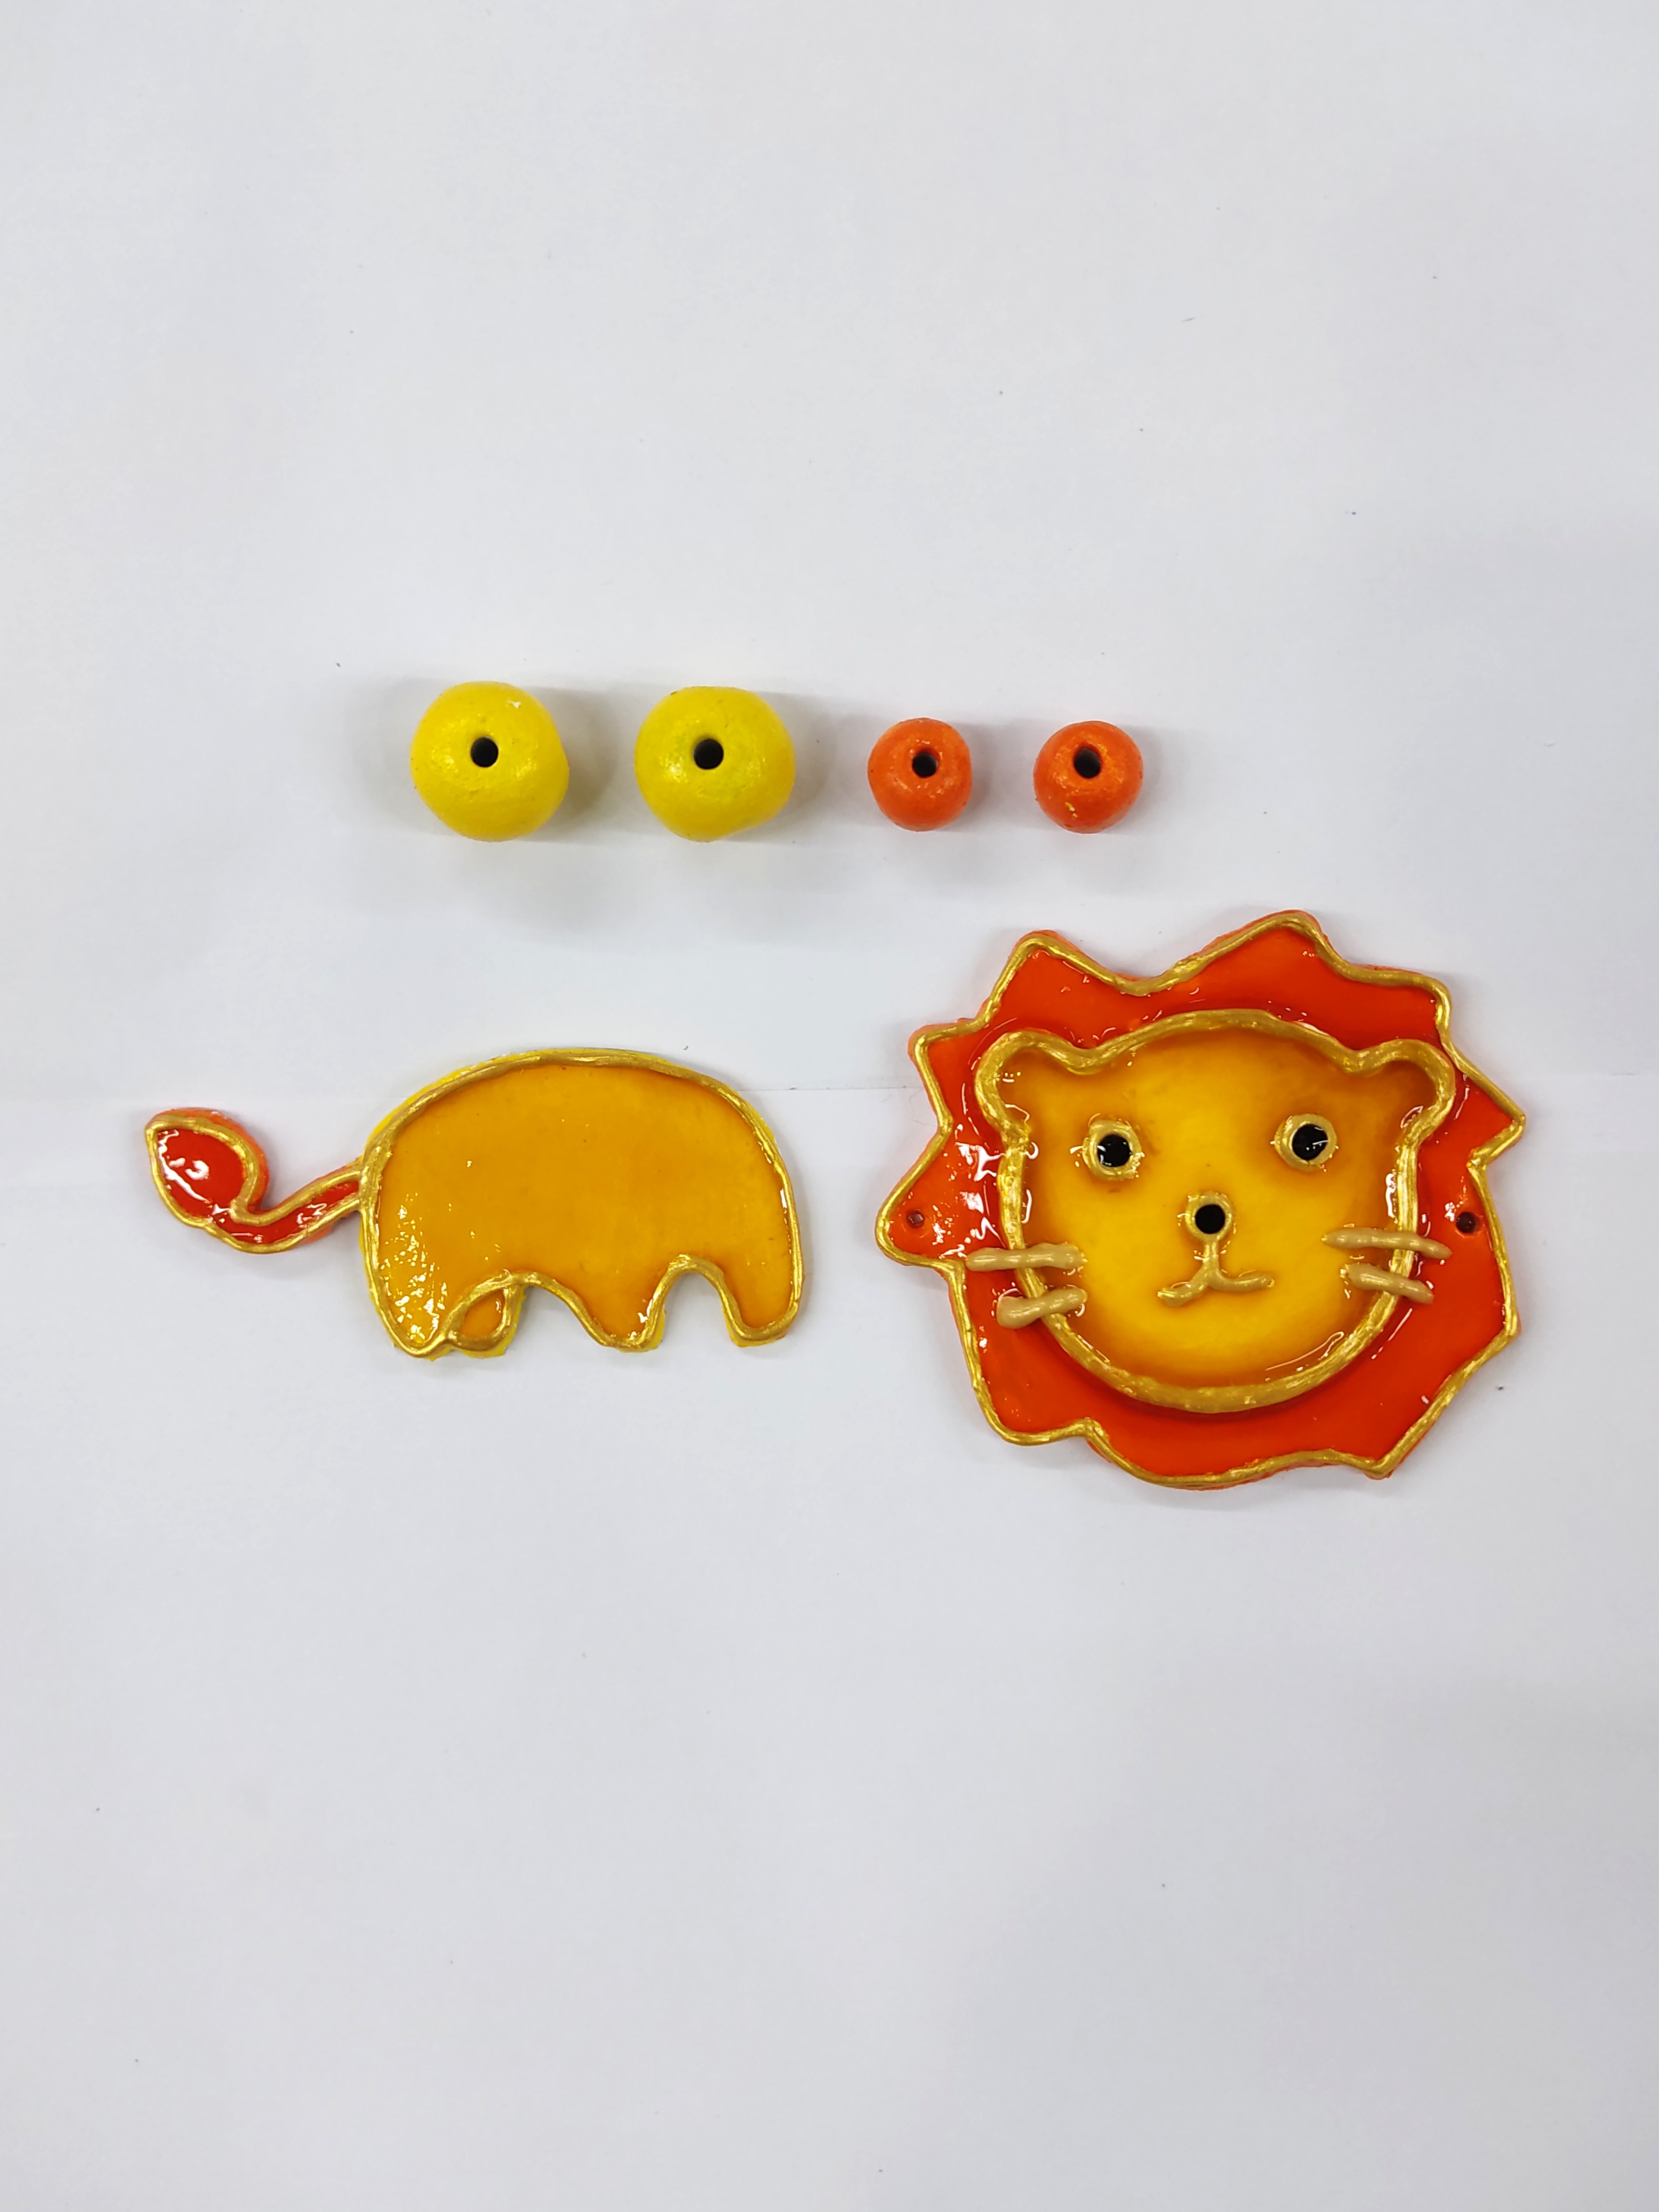
To highlight the elements outline using Fevicryl 3D Outliner Pearl Metallic - Gold 352. Let it dry.
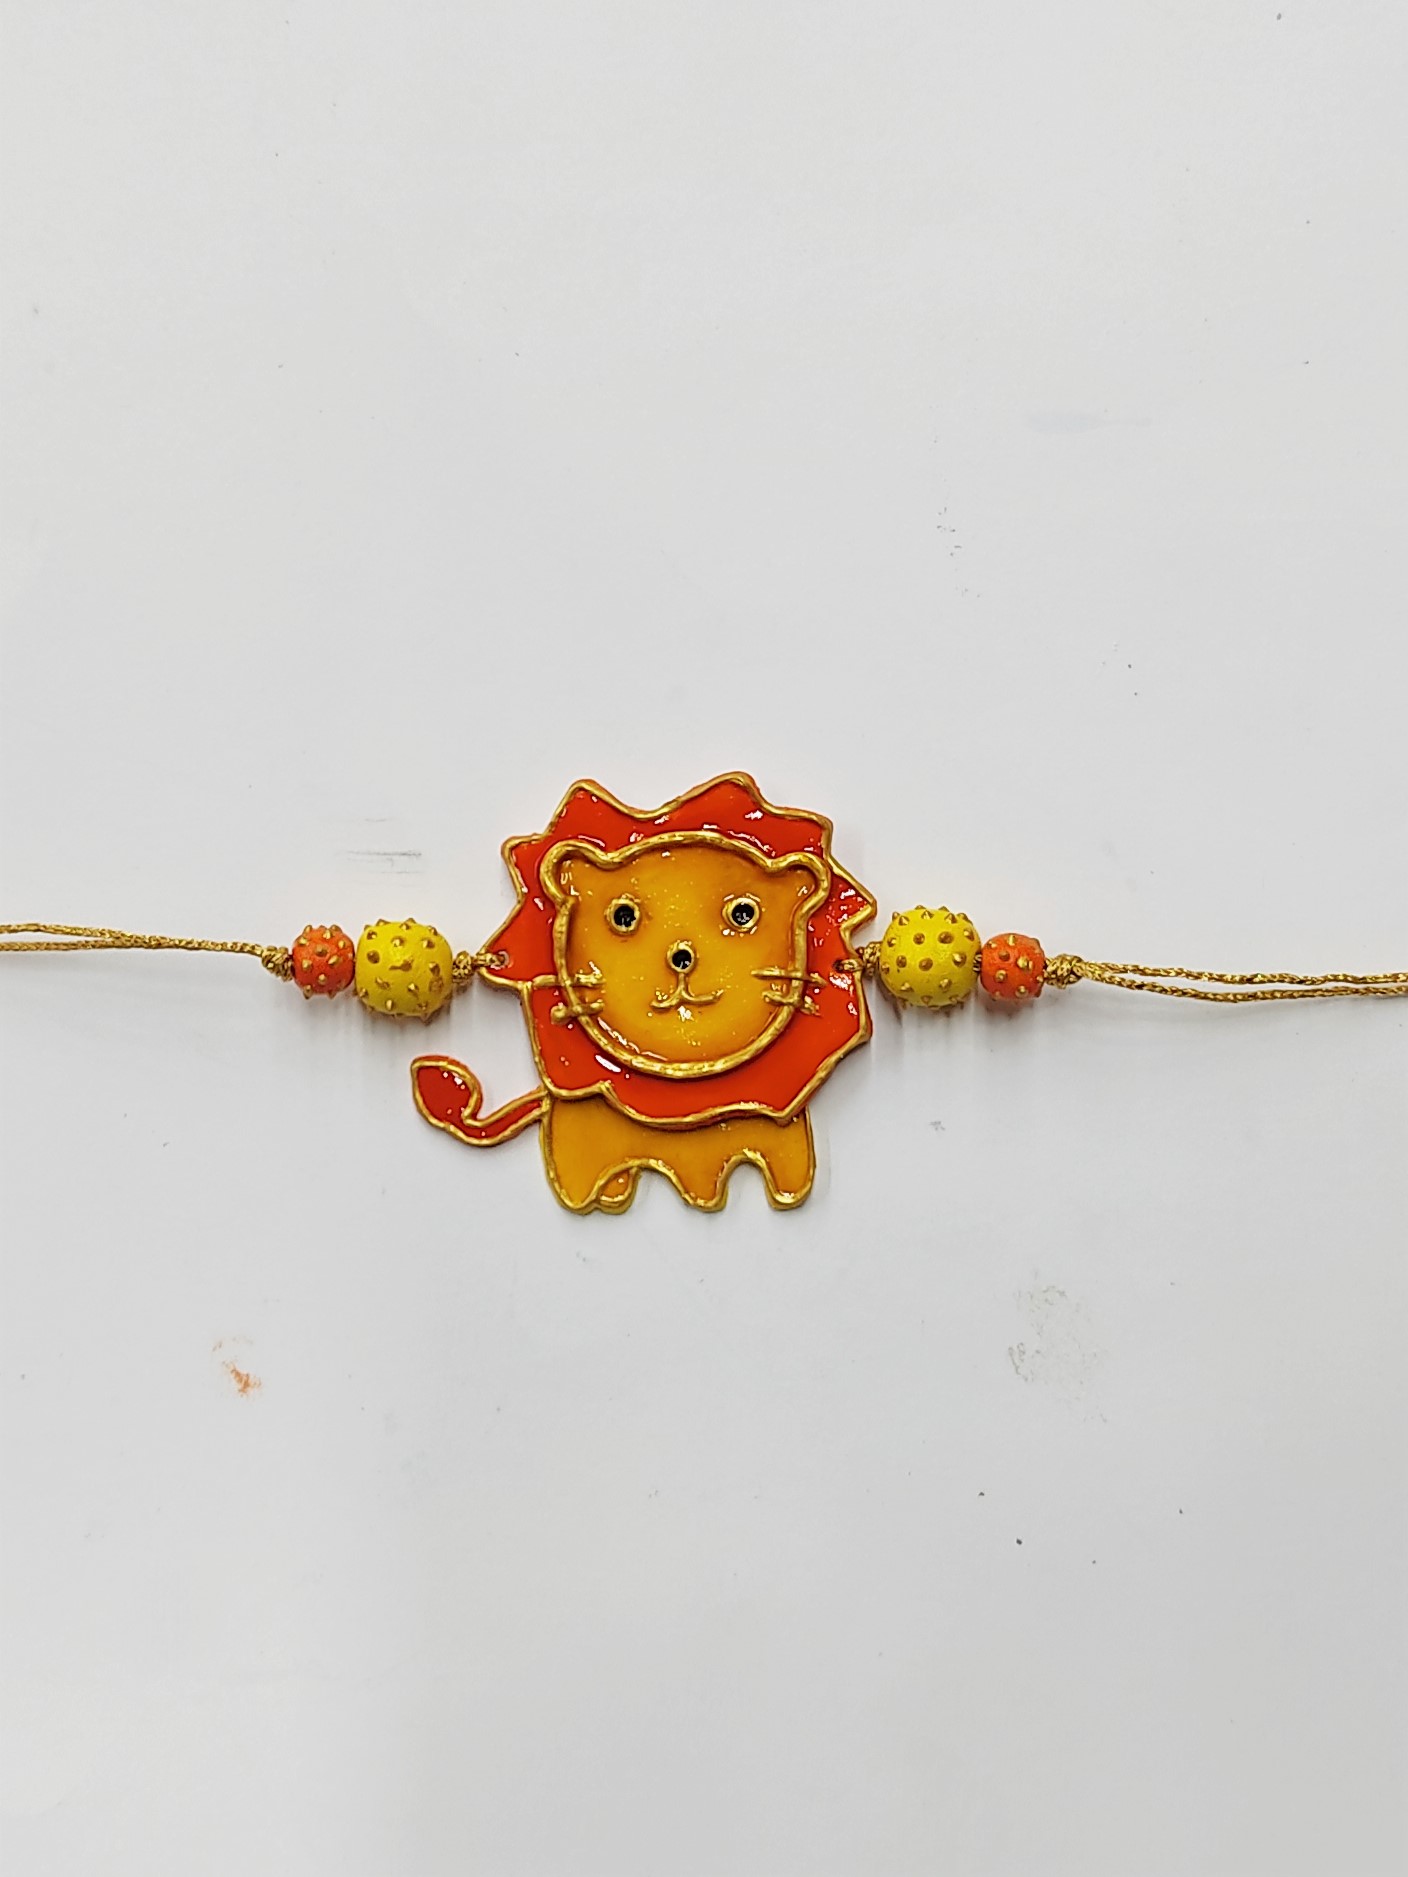
Place & stick the lower part of the body to the lion using Fevicryl Fabric Glue. Take a golden thread and string in the beads and the lion motif appropriately.

Once ready your cute little lion inspired rakhi is ready for your sibling.


 +91 99676 55545