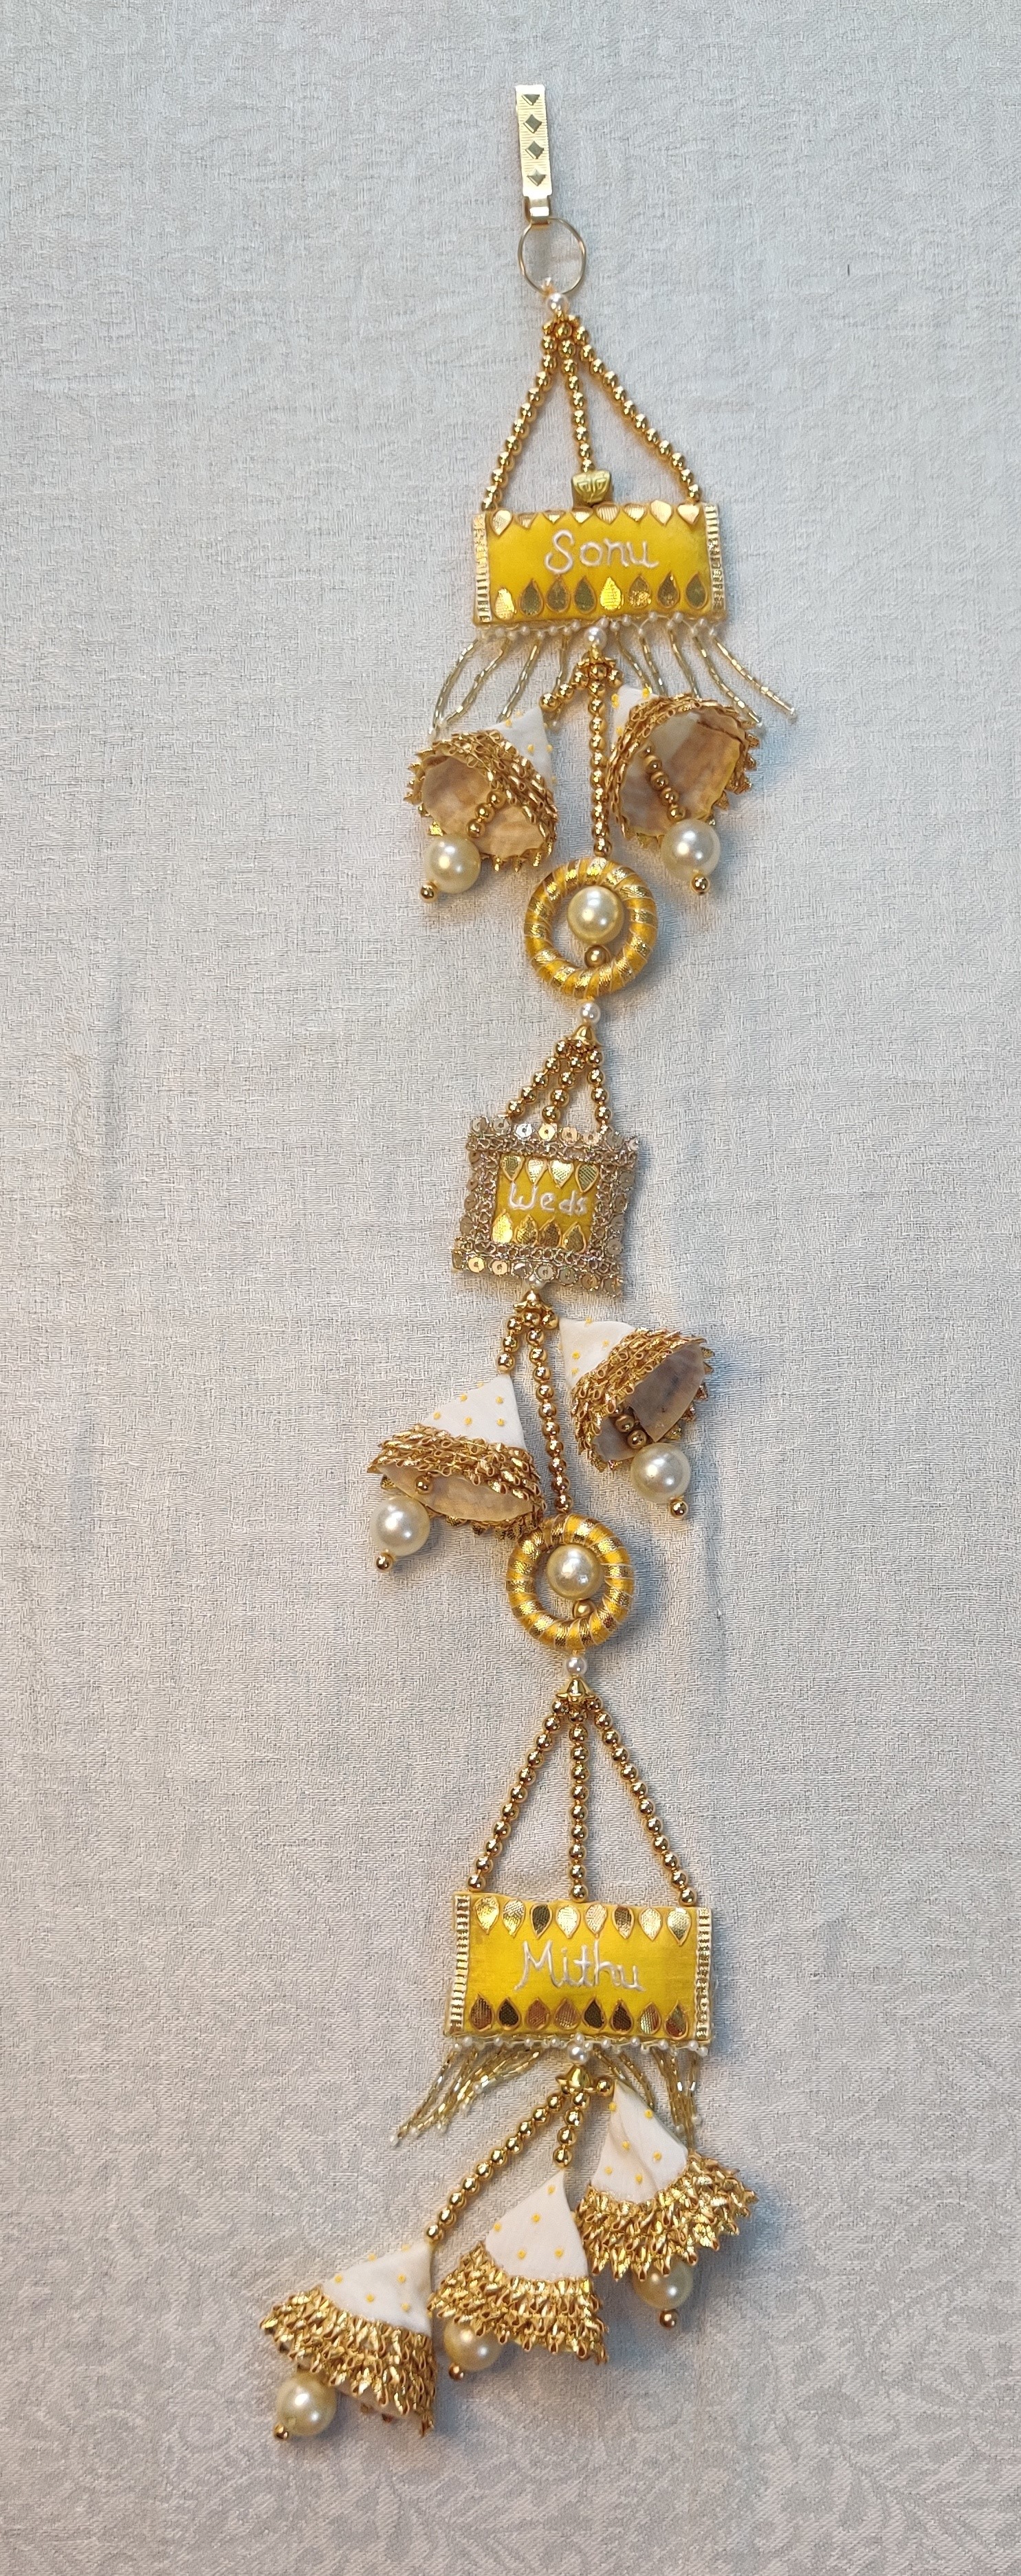
Lehenga Tassel

You Will Need:
Fevicryl Premium Fabric Glue, Fevicryl 3D Outliners Gold, Pearl White, Cotton Silk Fabric Yellow and Off White Colour, Drawing Paper, Pencil, Scale, Medical Cotton Fibre Roll, Gotta Patti And Different Laces, Teardrop Shape Gotta Patti Cut Out, Golden And Pearl Beads, Latkan Hook, Needle, Stitching Tread Roll, Fabric Scissor, Wooden Ring, Silk Yarn, Different Colours Poth or Small Beads, Flower Button, Waste Cloth.
Product Used:

Description :
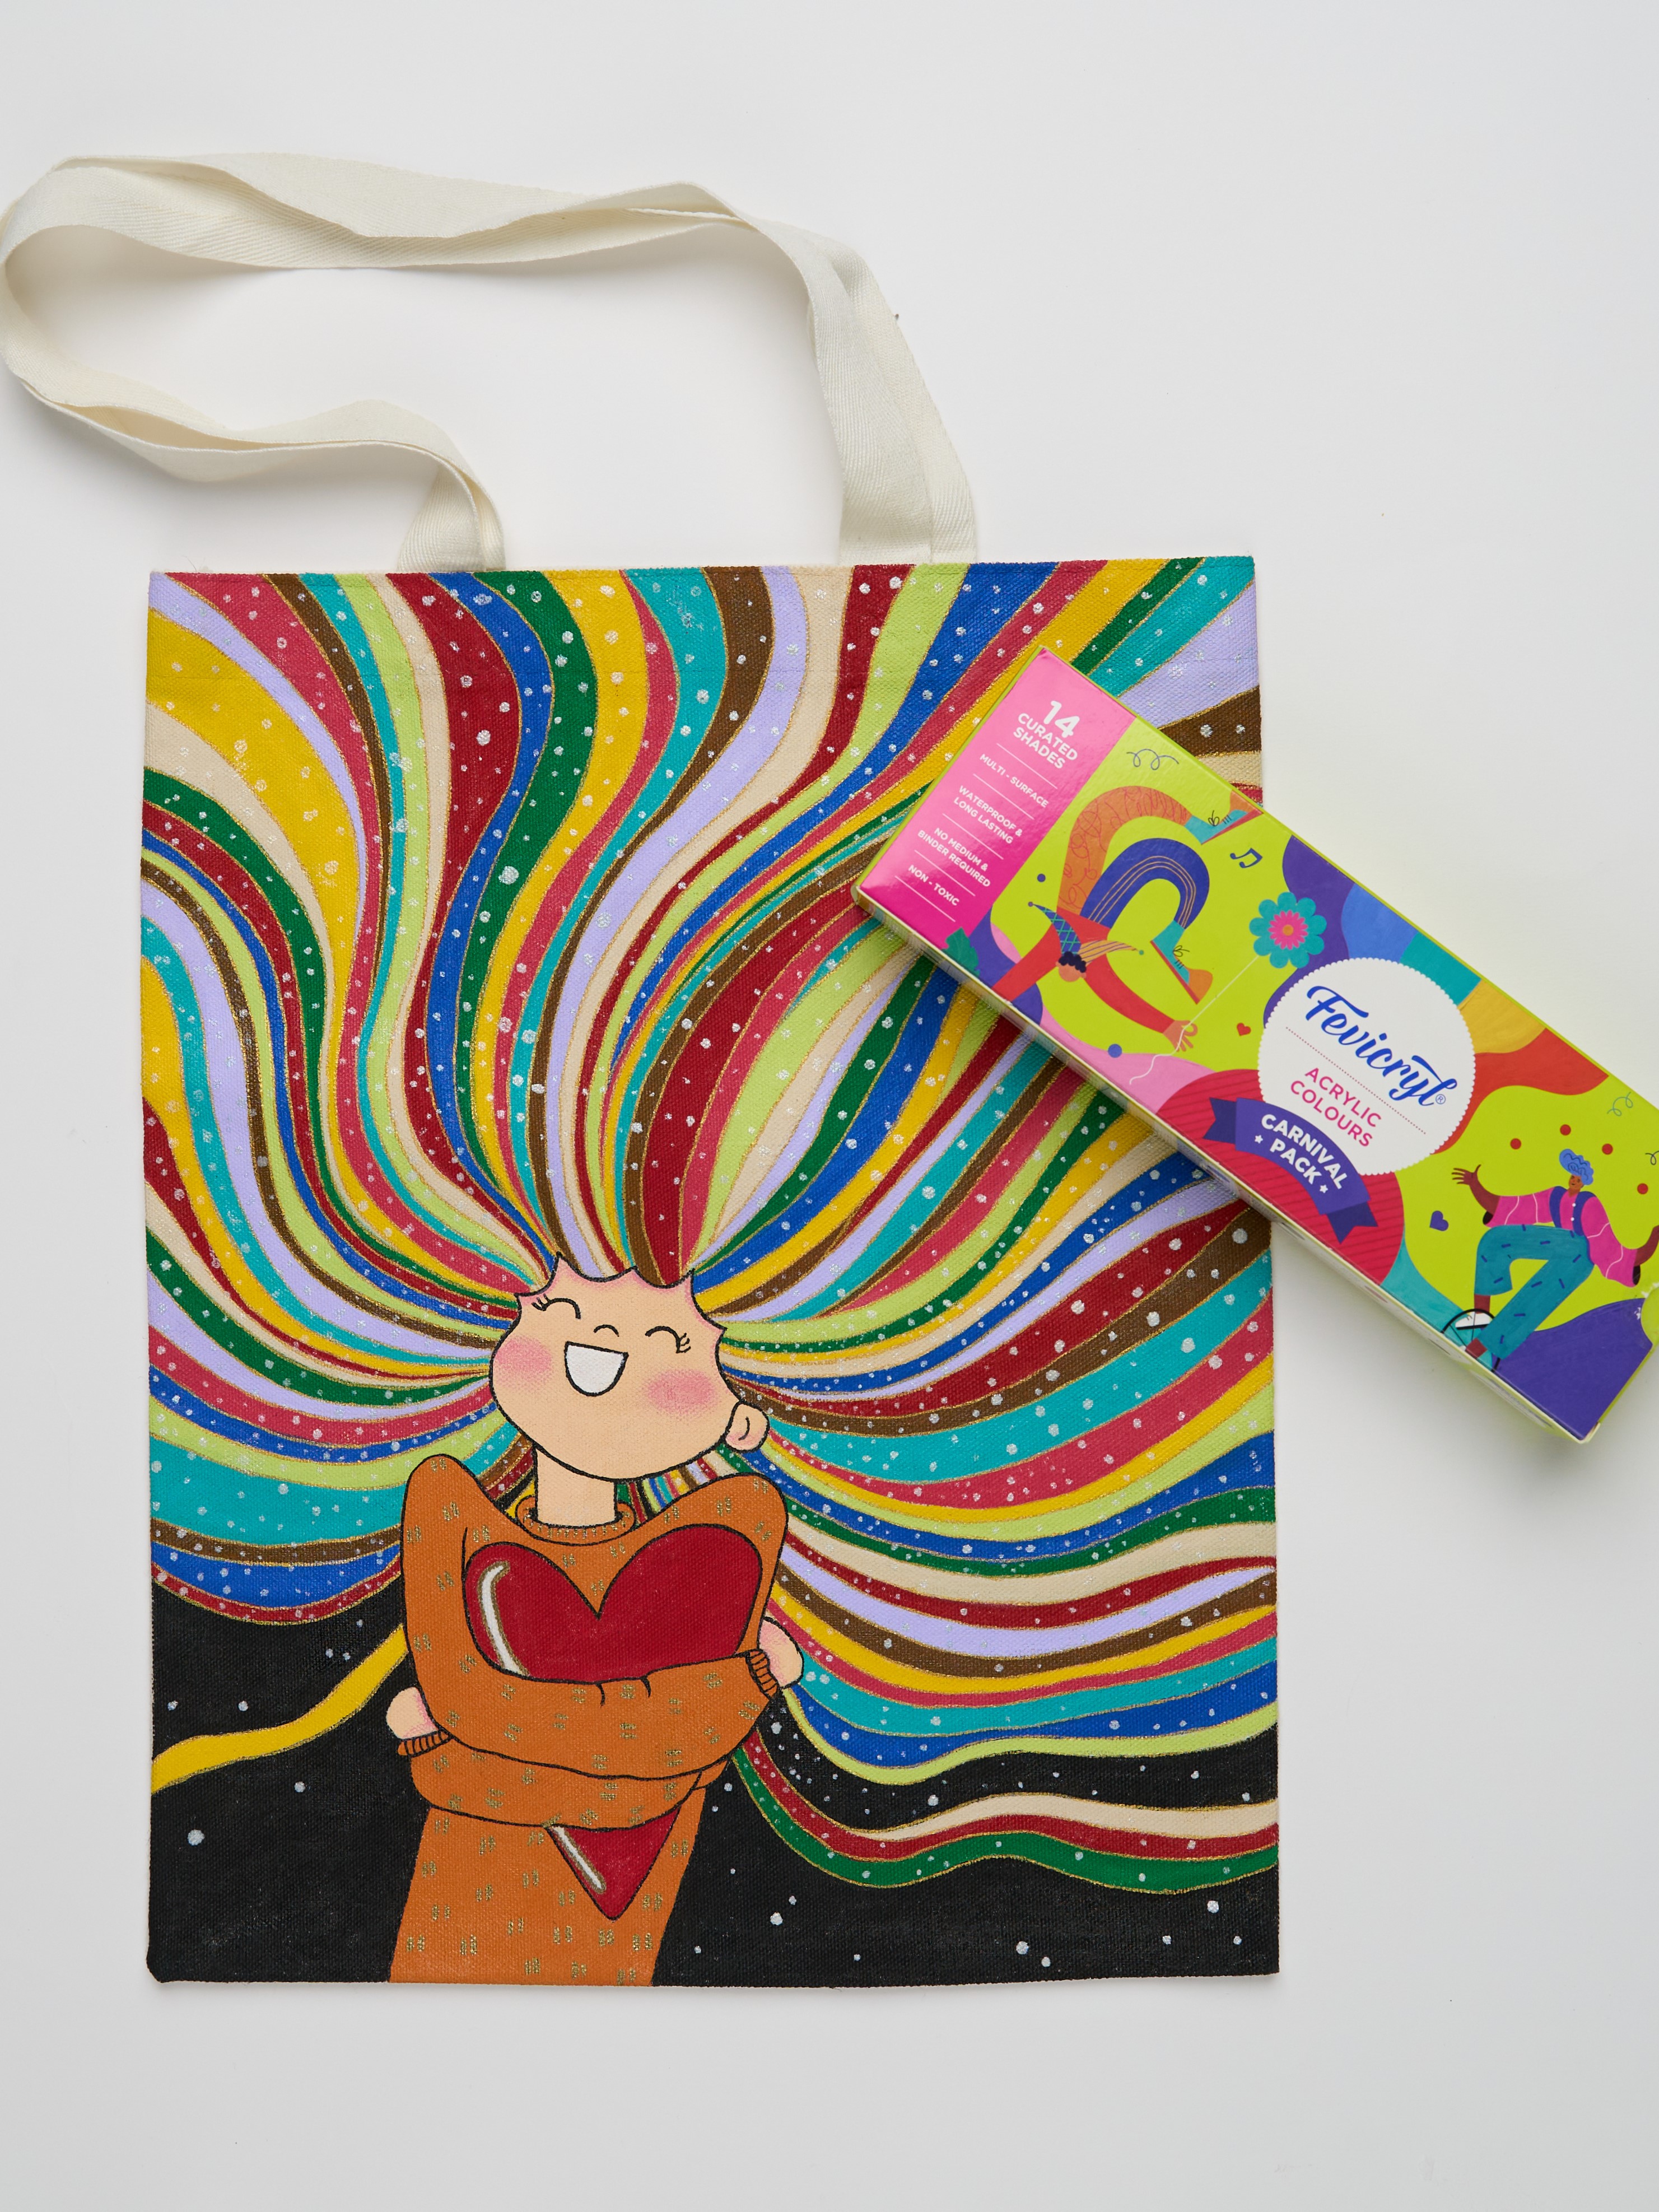
Profess your love for your better half by creating a custom Lehenga tassel made completely using Fevicryl Fabric Glue.
STEP 1 : Sketch
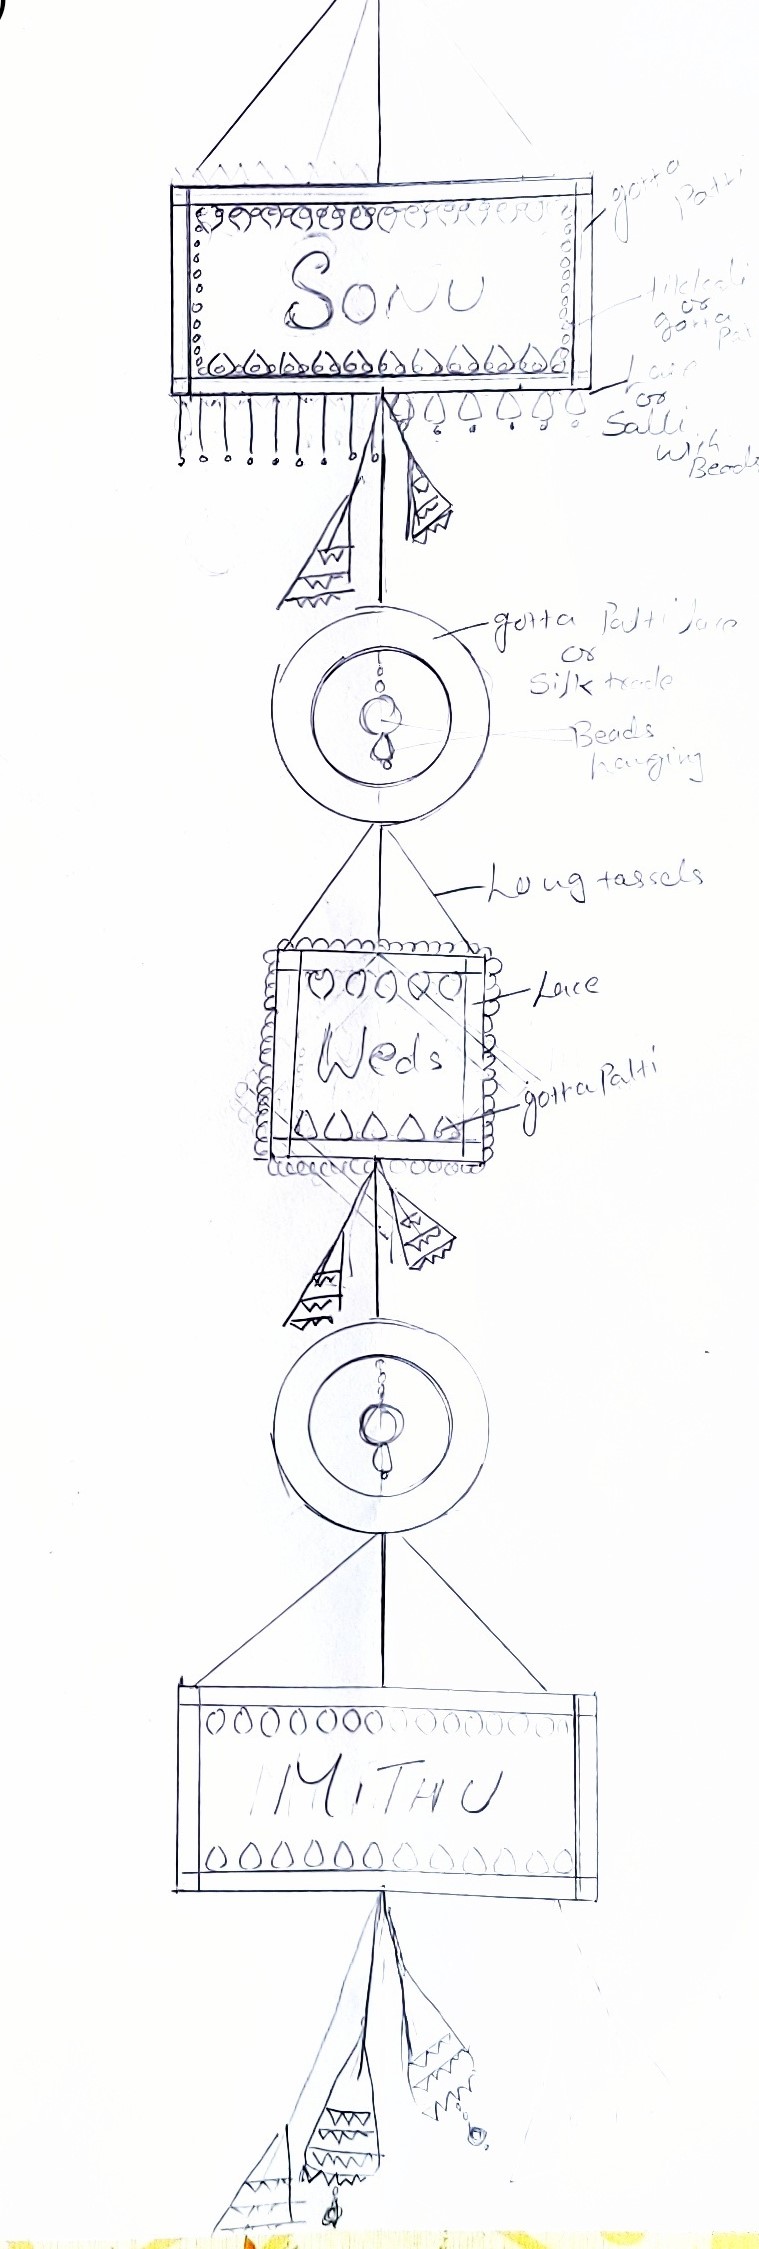
- Sketch out the design u want to make for the latkan to get a fair idea how it might look.
STEP 2 : Selection of base
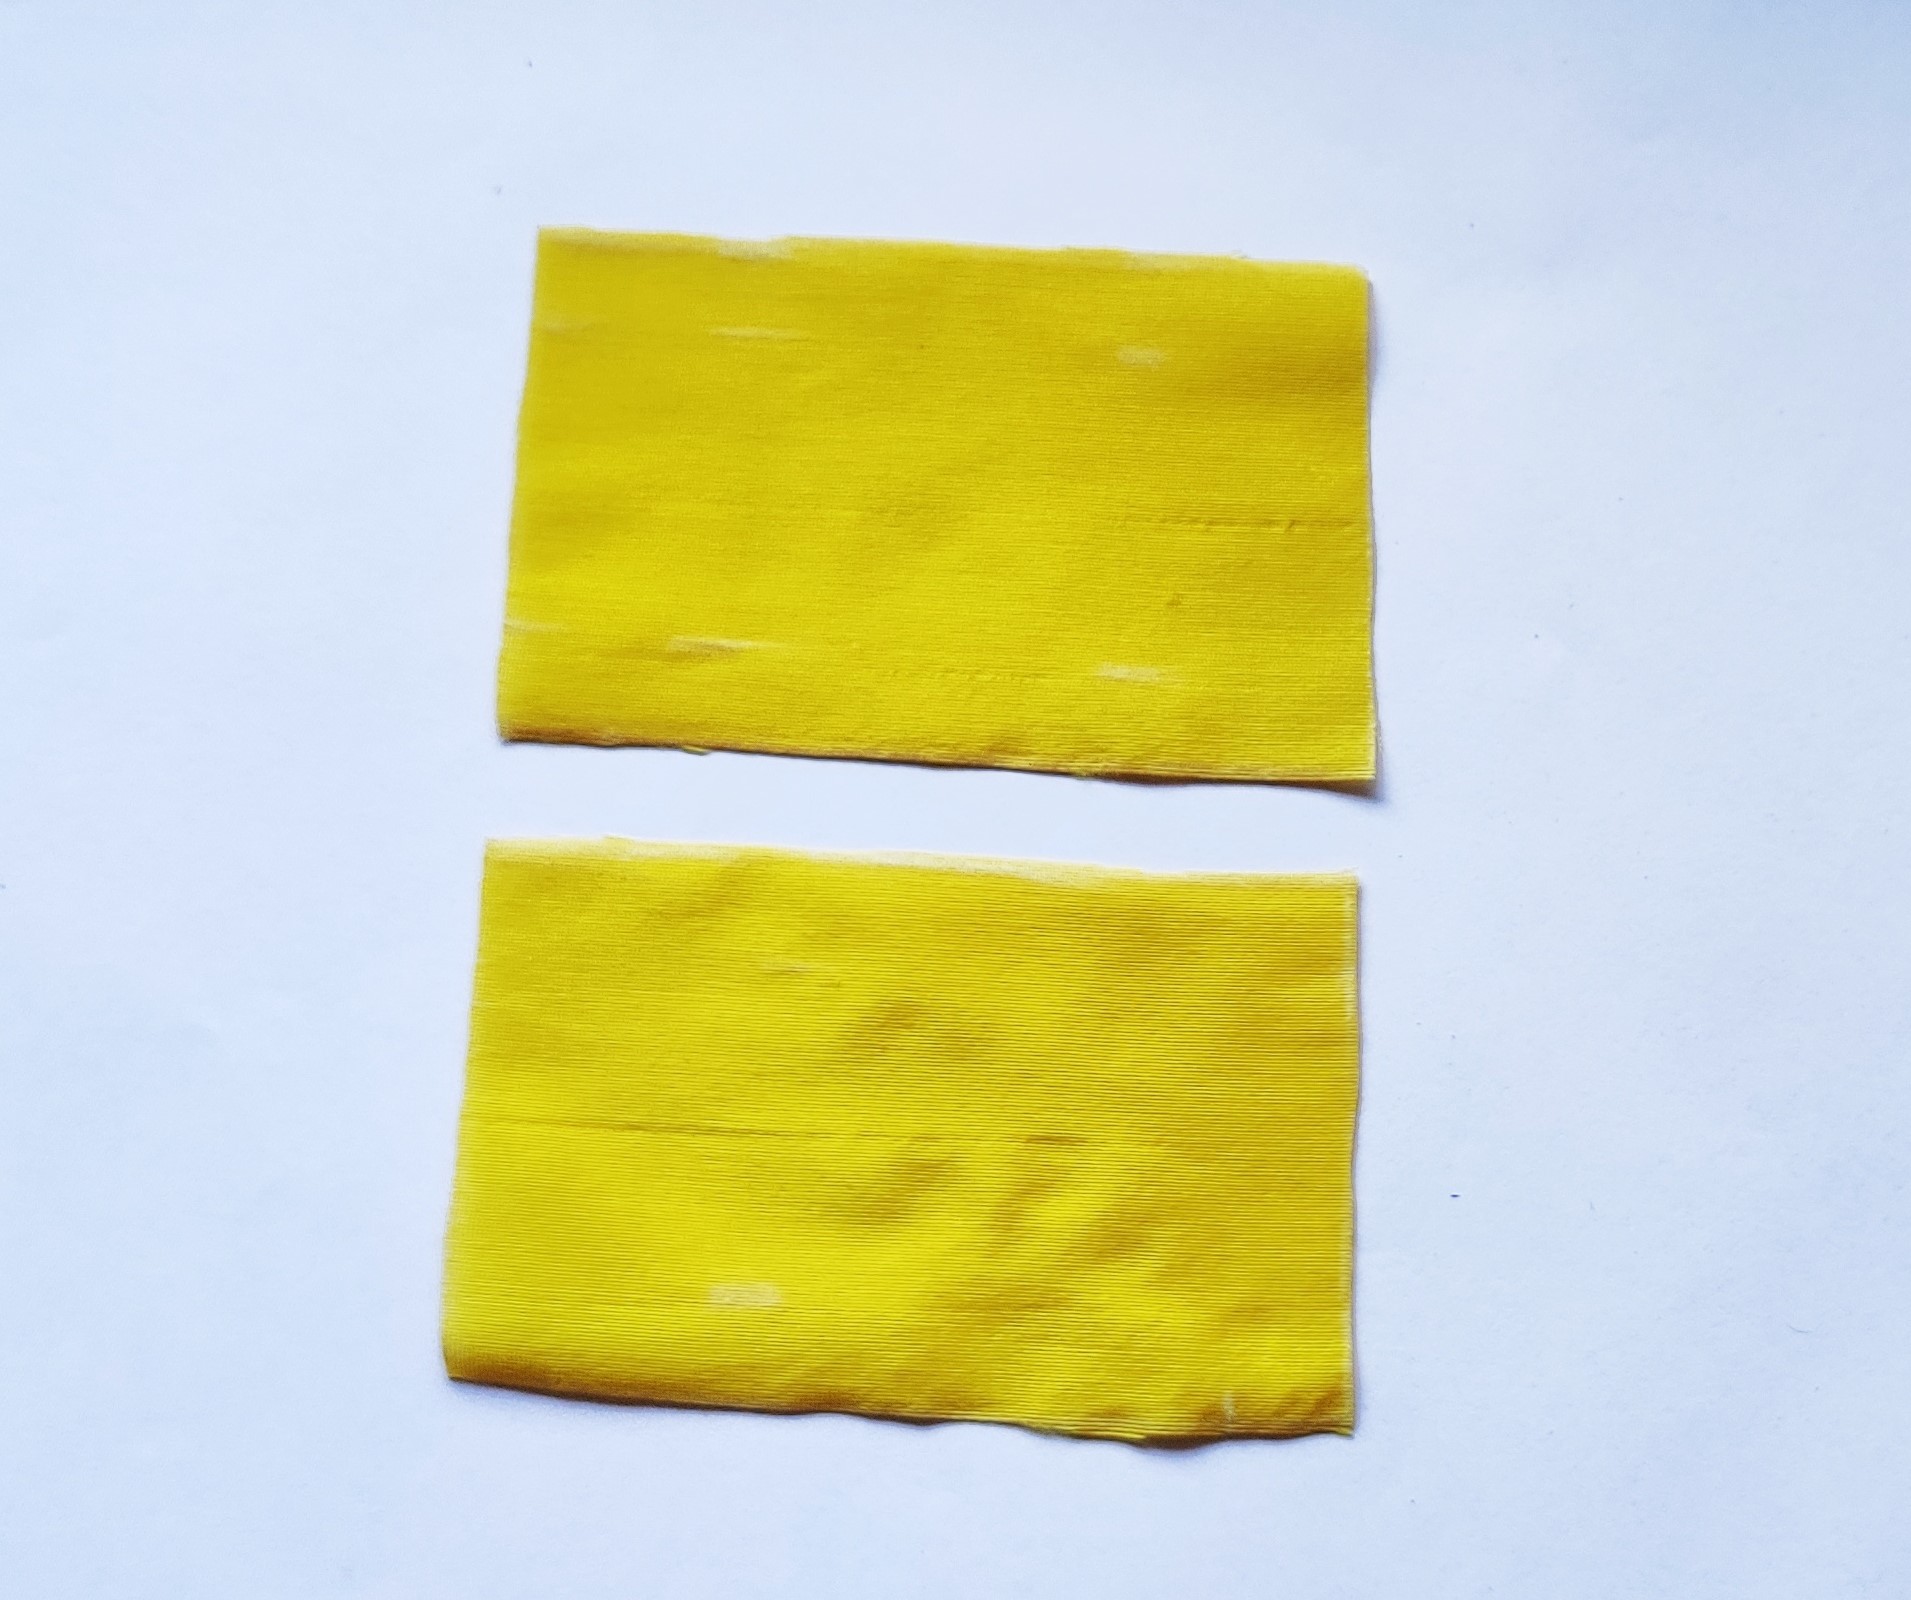
- Cut two fabric pieces measuring 2.5” x 4” as seen in the image above.
- Use fabric scissors to cut the pieces.
STEP 3 : Marking
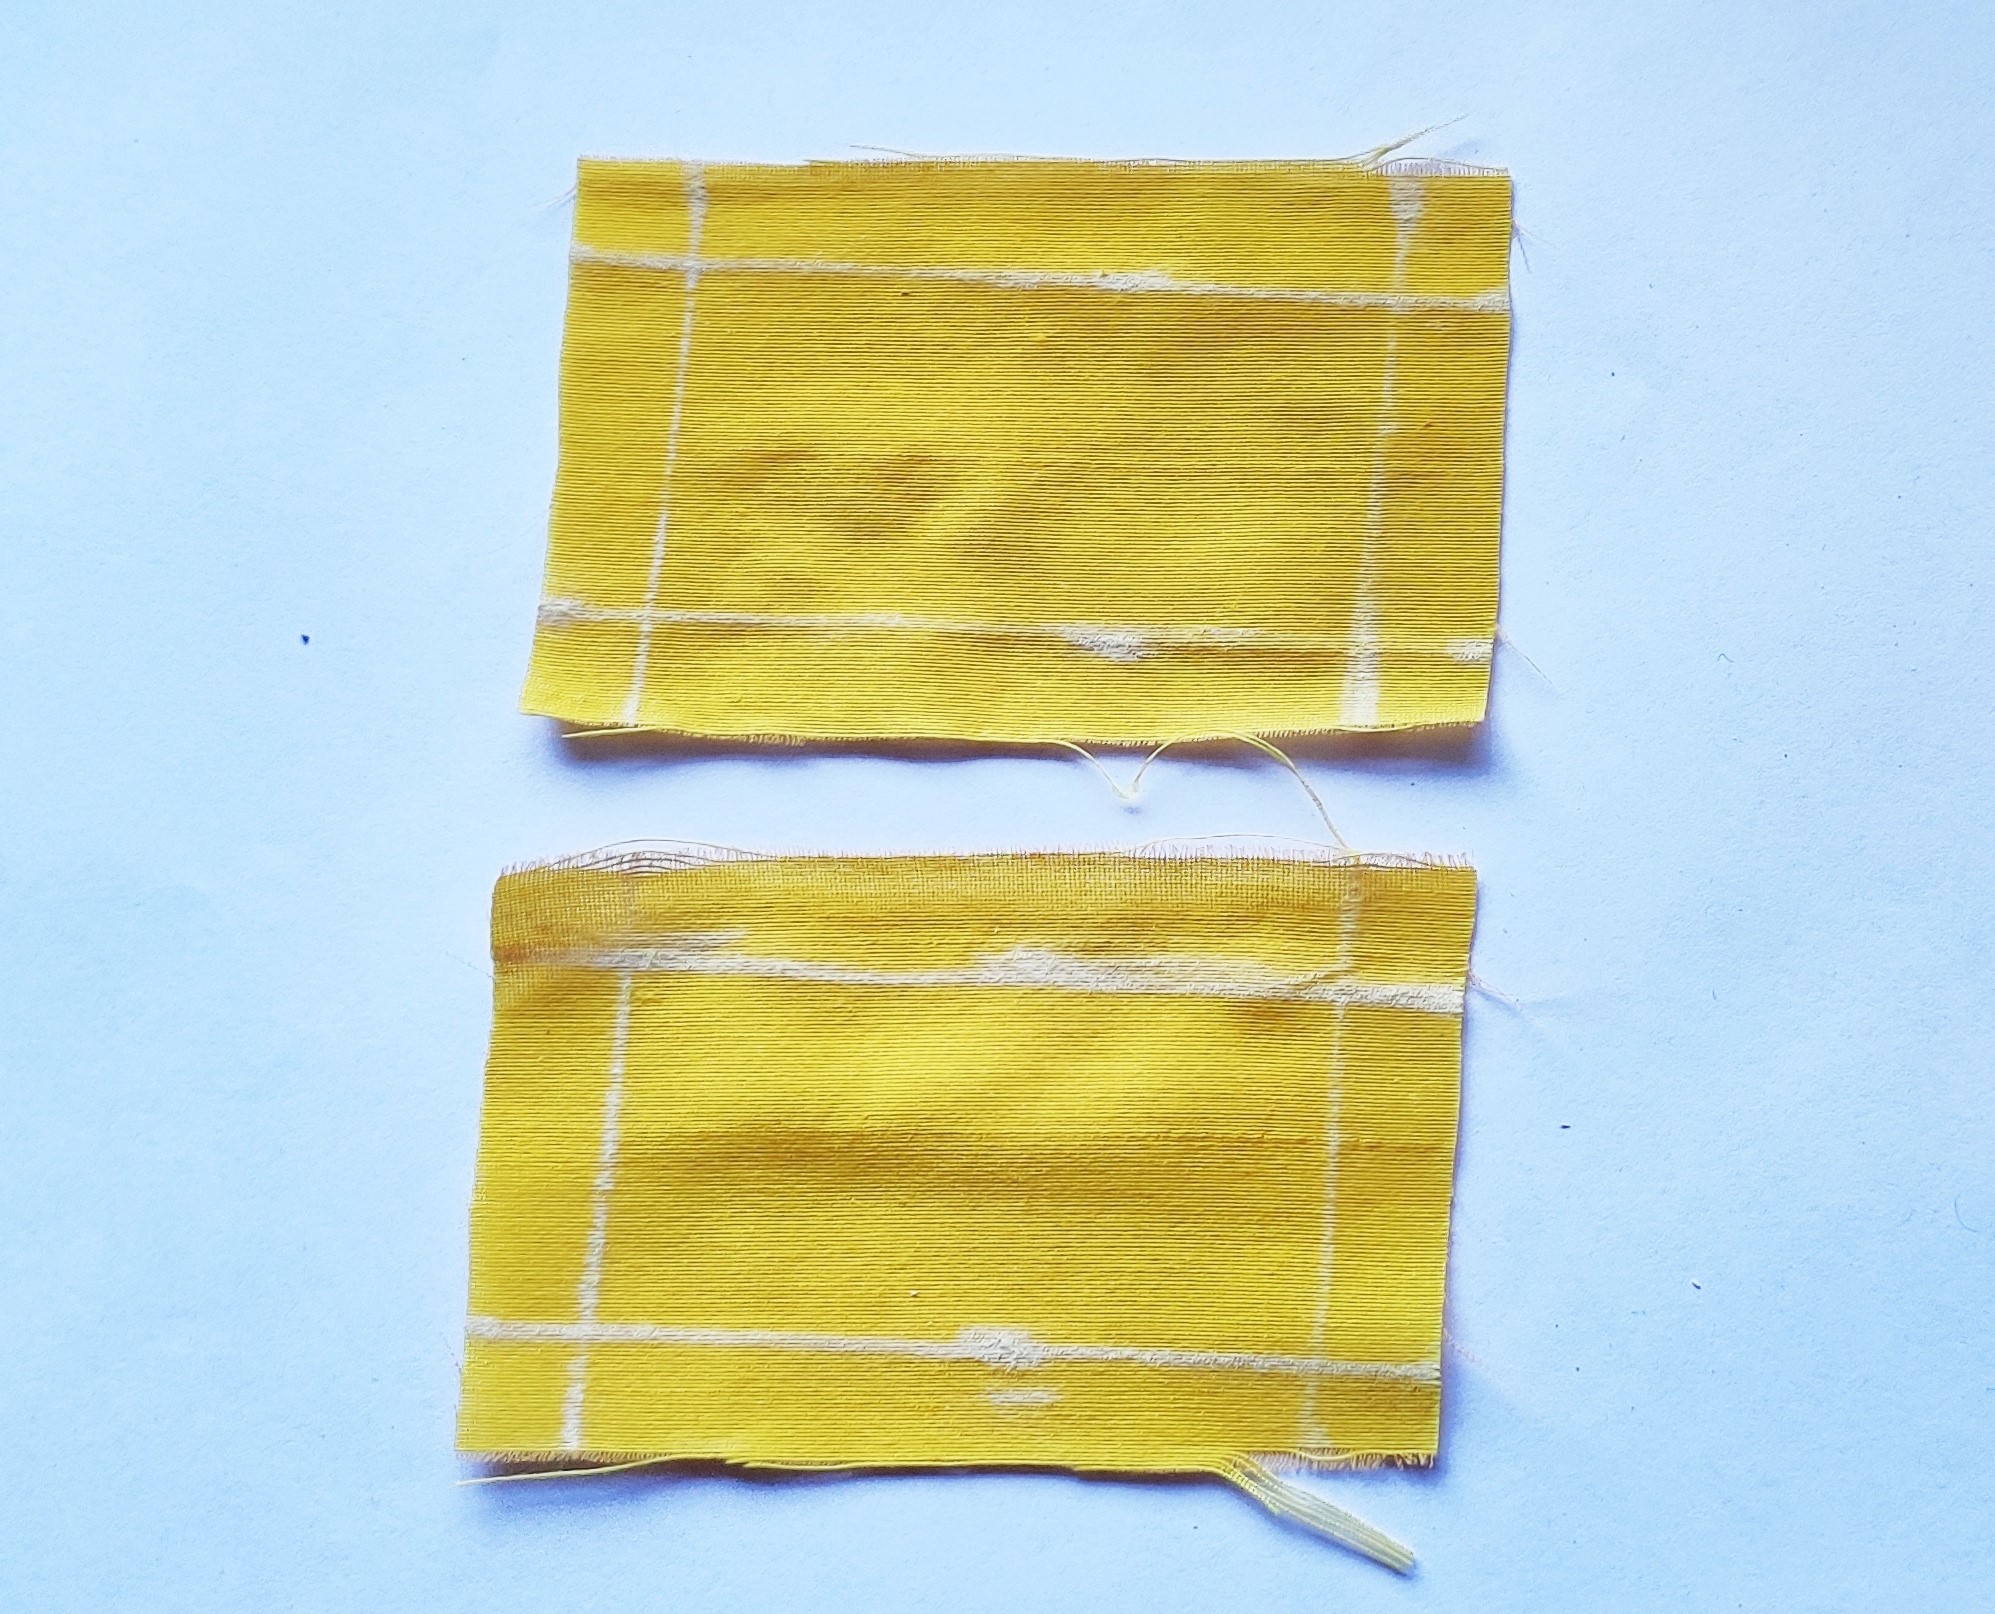
- Mark 4 lines on the fabric using fabric chalk leaving 0.5” on all sides.
STEP 4 : Sticking
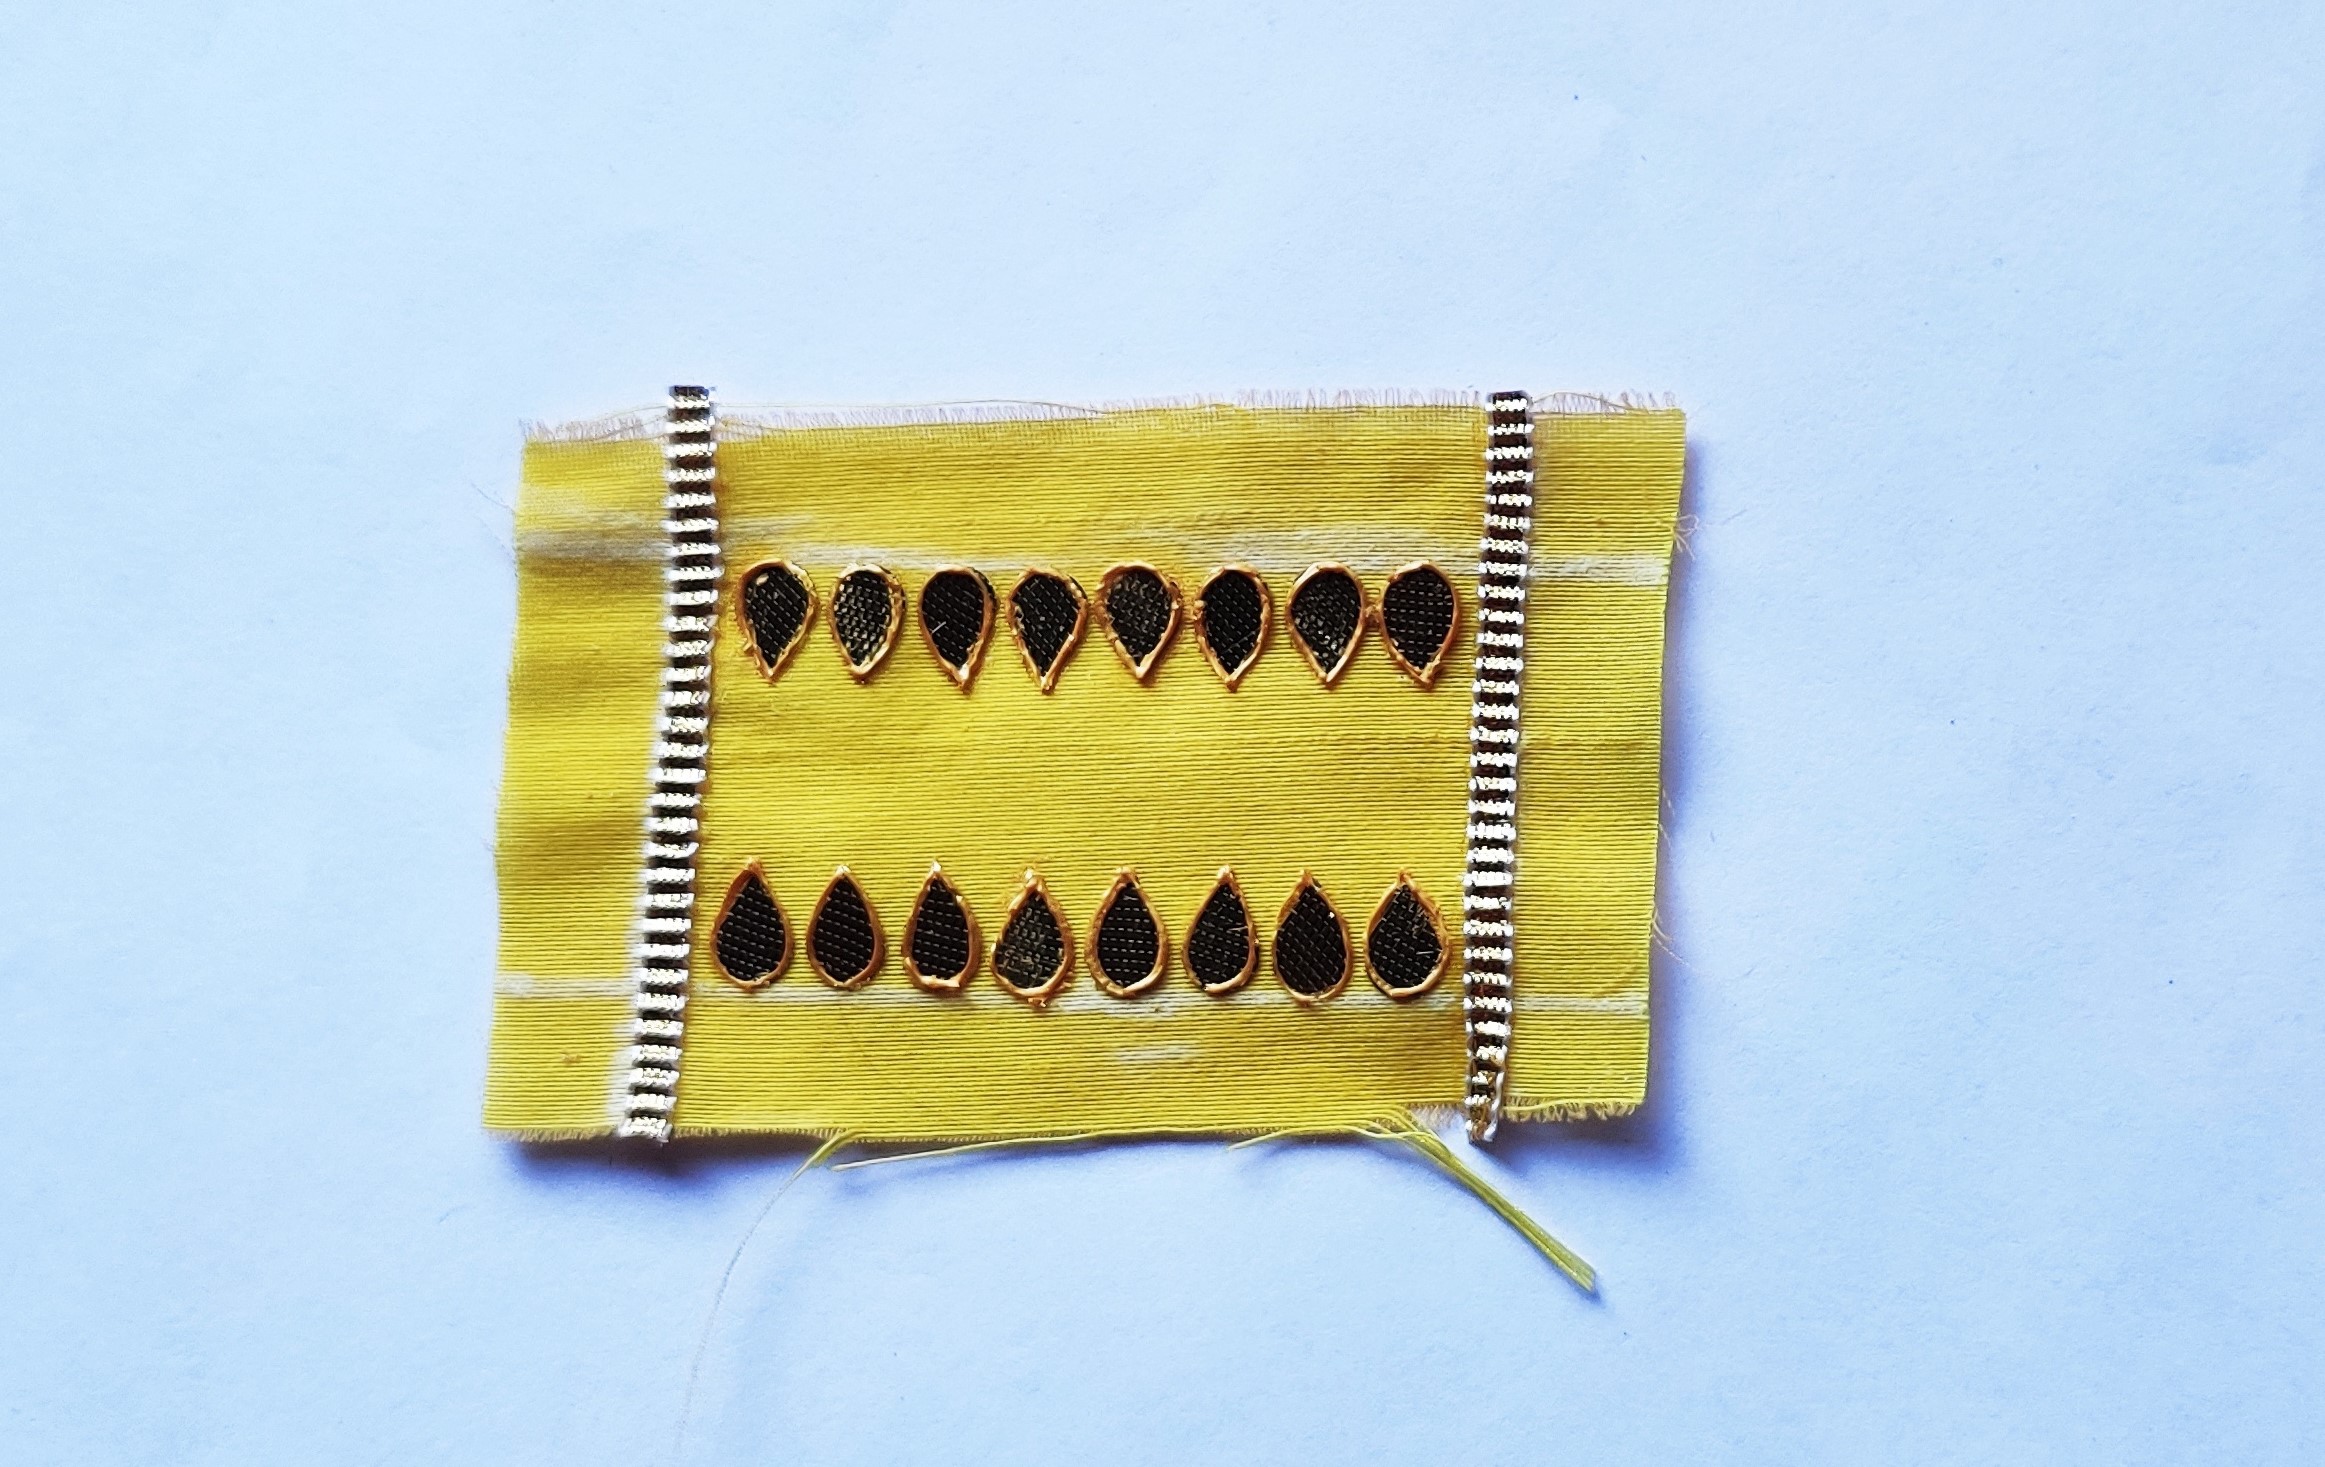
- Stick gota lace vertically as shown in the image.
- Stick teardrop shape gota pieces horizontally as shown in the image.
- Stick them using Fevicryl Fabric Glue
- Outline the teardrop gota pieces with gold 3d outliner.
- Let it all dry
STEP 5 : Stick the lace
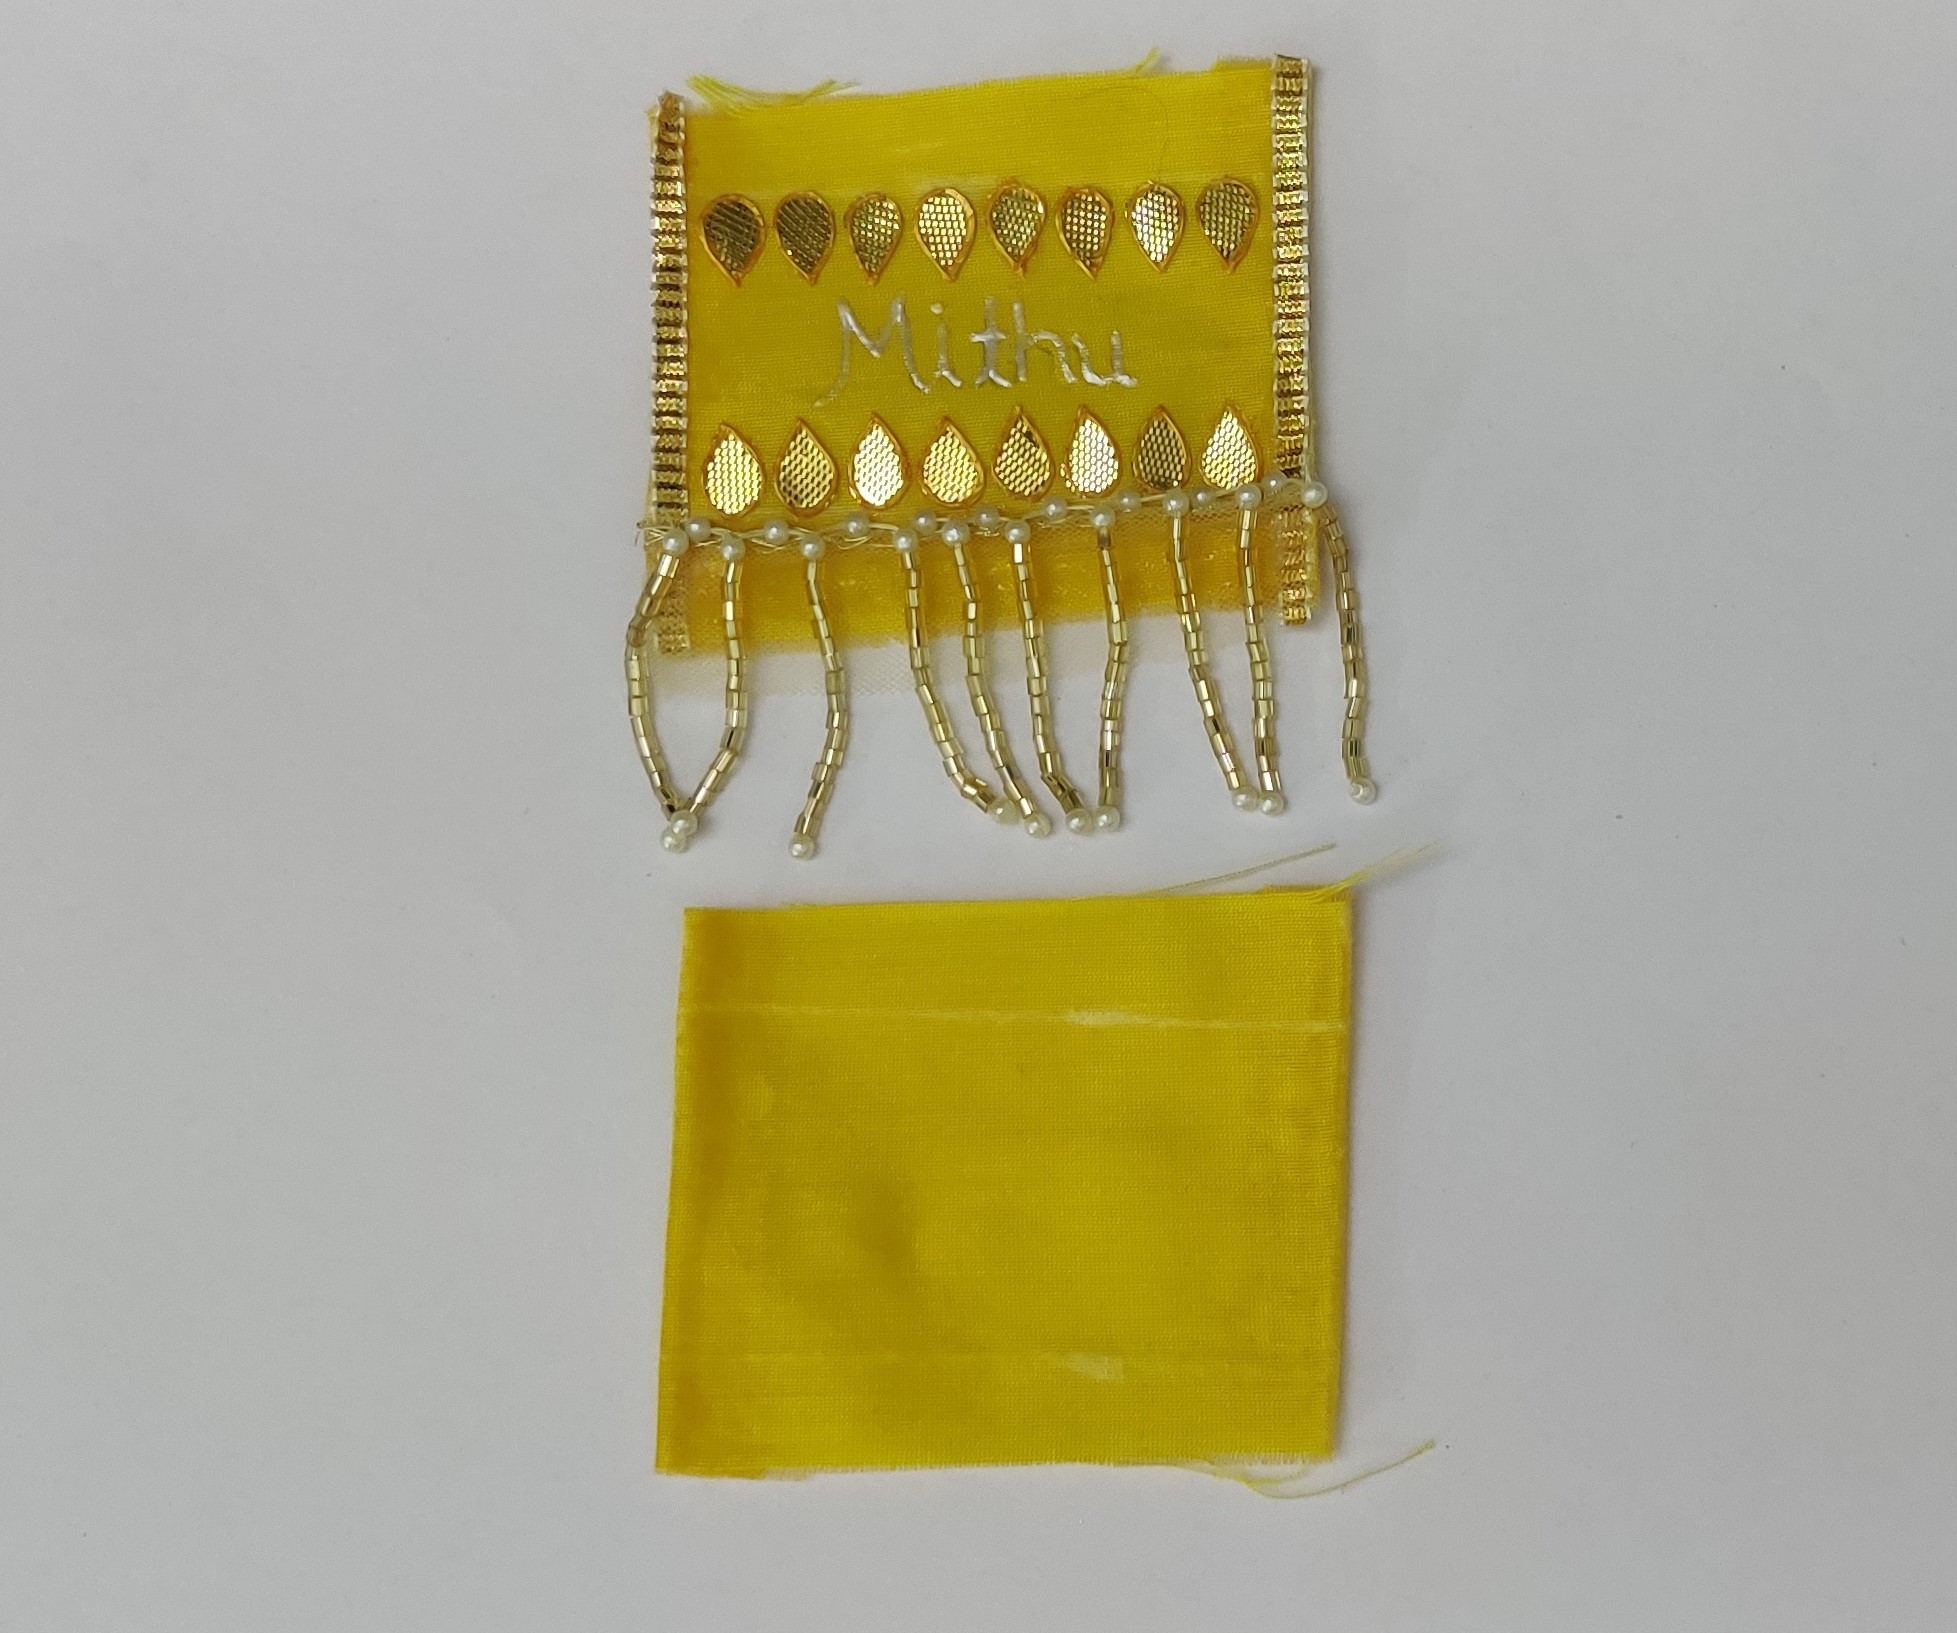
- Fold the vertical sides as shown in the image above with both the fabric pieces
- Take a lace which has danglers and stick them on the top yellow piece as shown in the image.
- Stick them using Fevicryl Fabric Glue.
- Trace out a name u want outlined with Fevicryl 3D Outliner Pearl White.
- Let it all dry.
STEP 6 : Sticking front & back
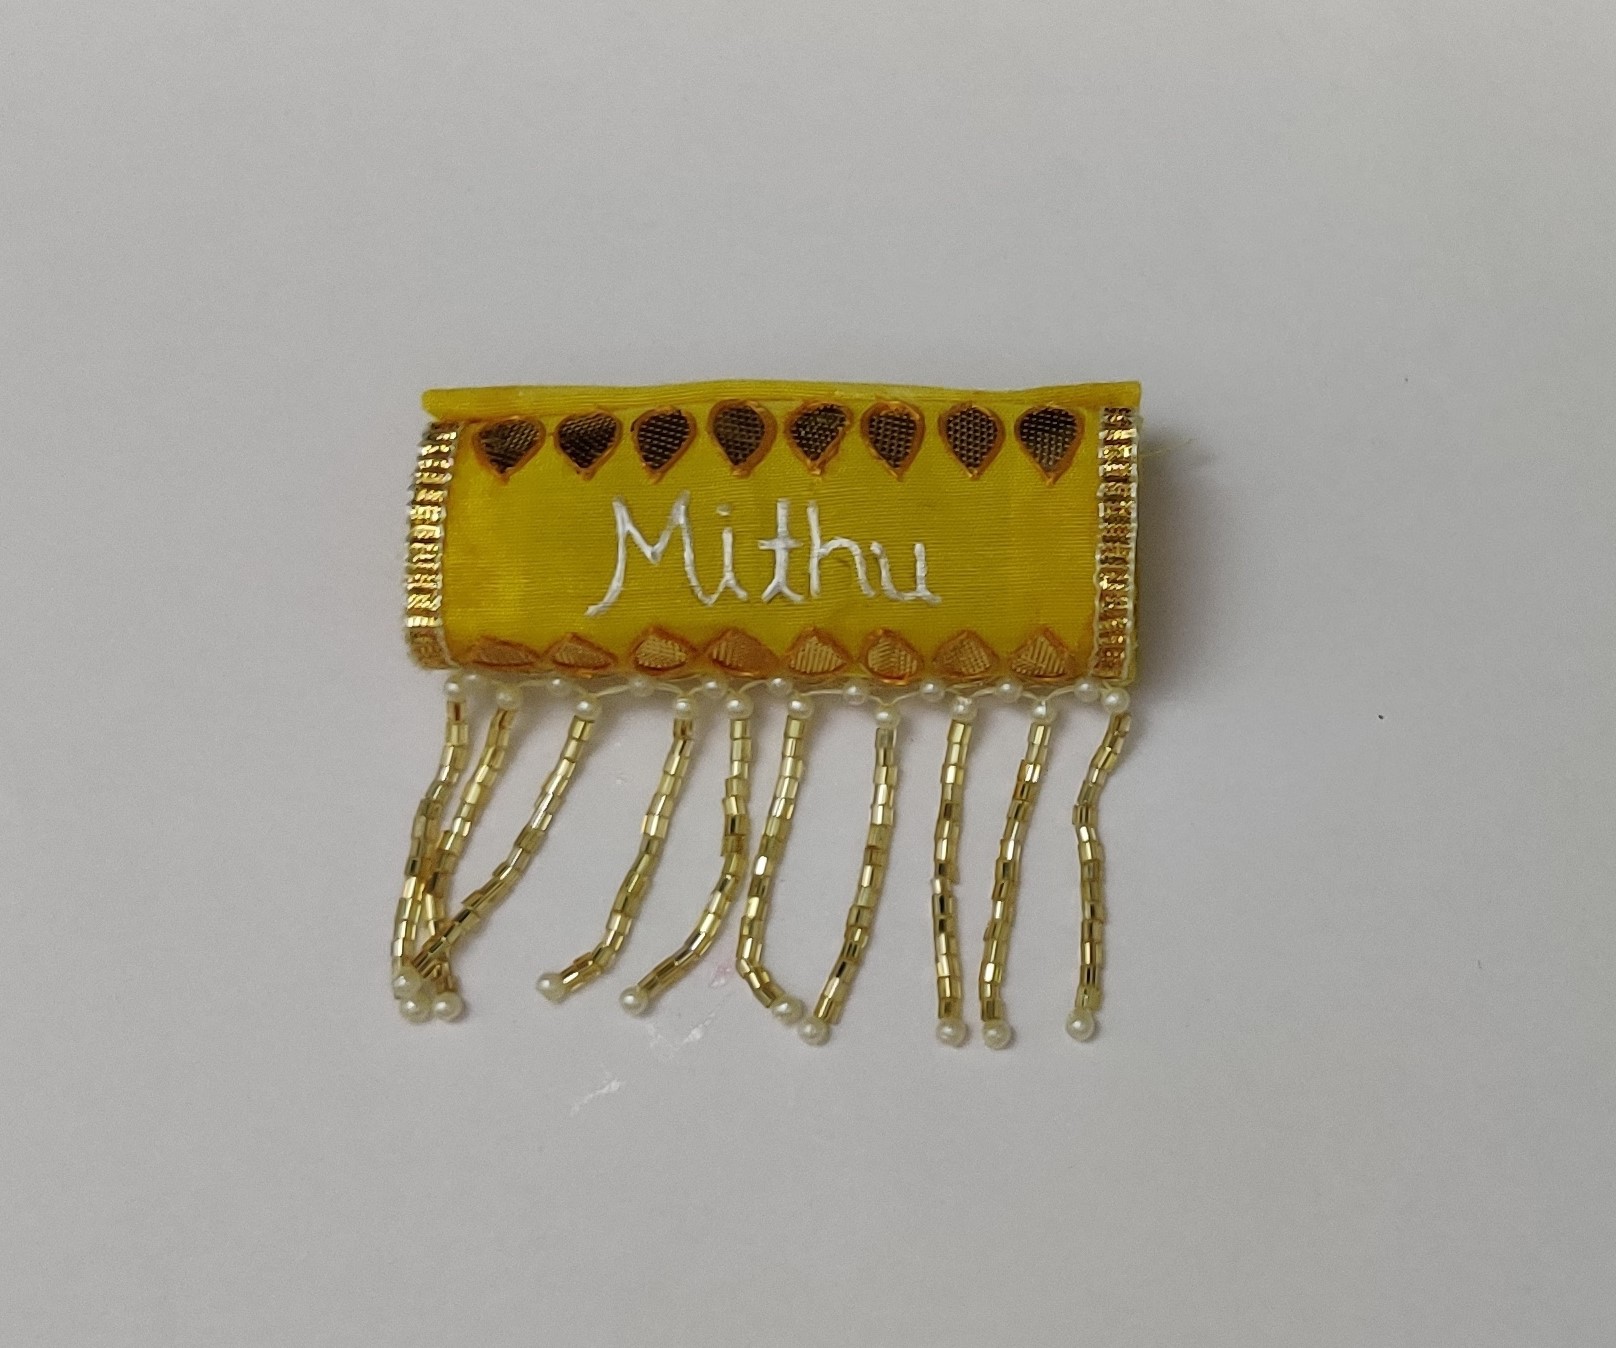
- Take the plain yellow piece and stick it at the back of the embellished piece as seen.
- Stick them using Fevicryl Fabric Glue.
- Do not stick both the verticle sides.
- Leave one open for stuffing cotton.
- Once the you stuff the cotton, apply glue and fold the sides inwards to give it a good finish.
- Let it all dry.
STEP 7 : Cutting
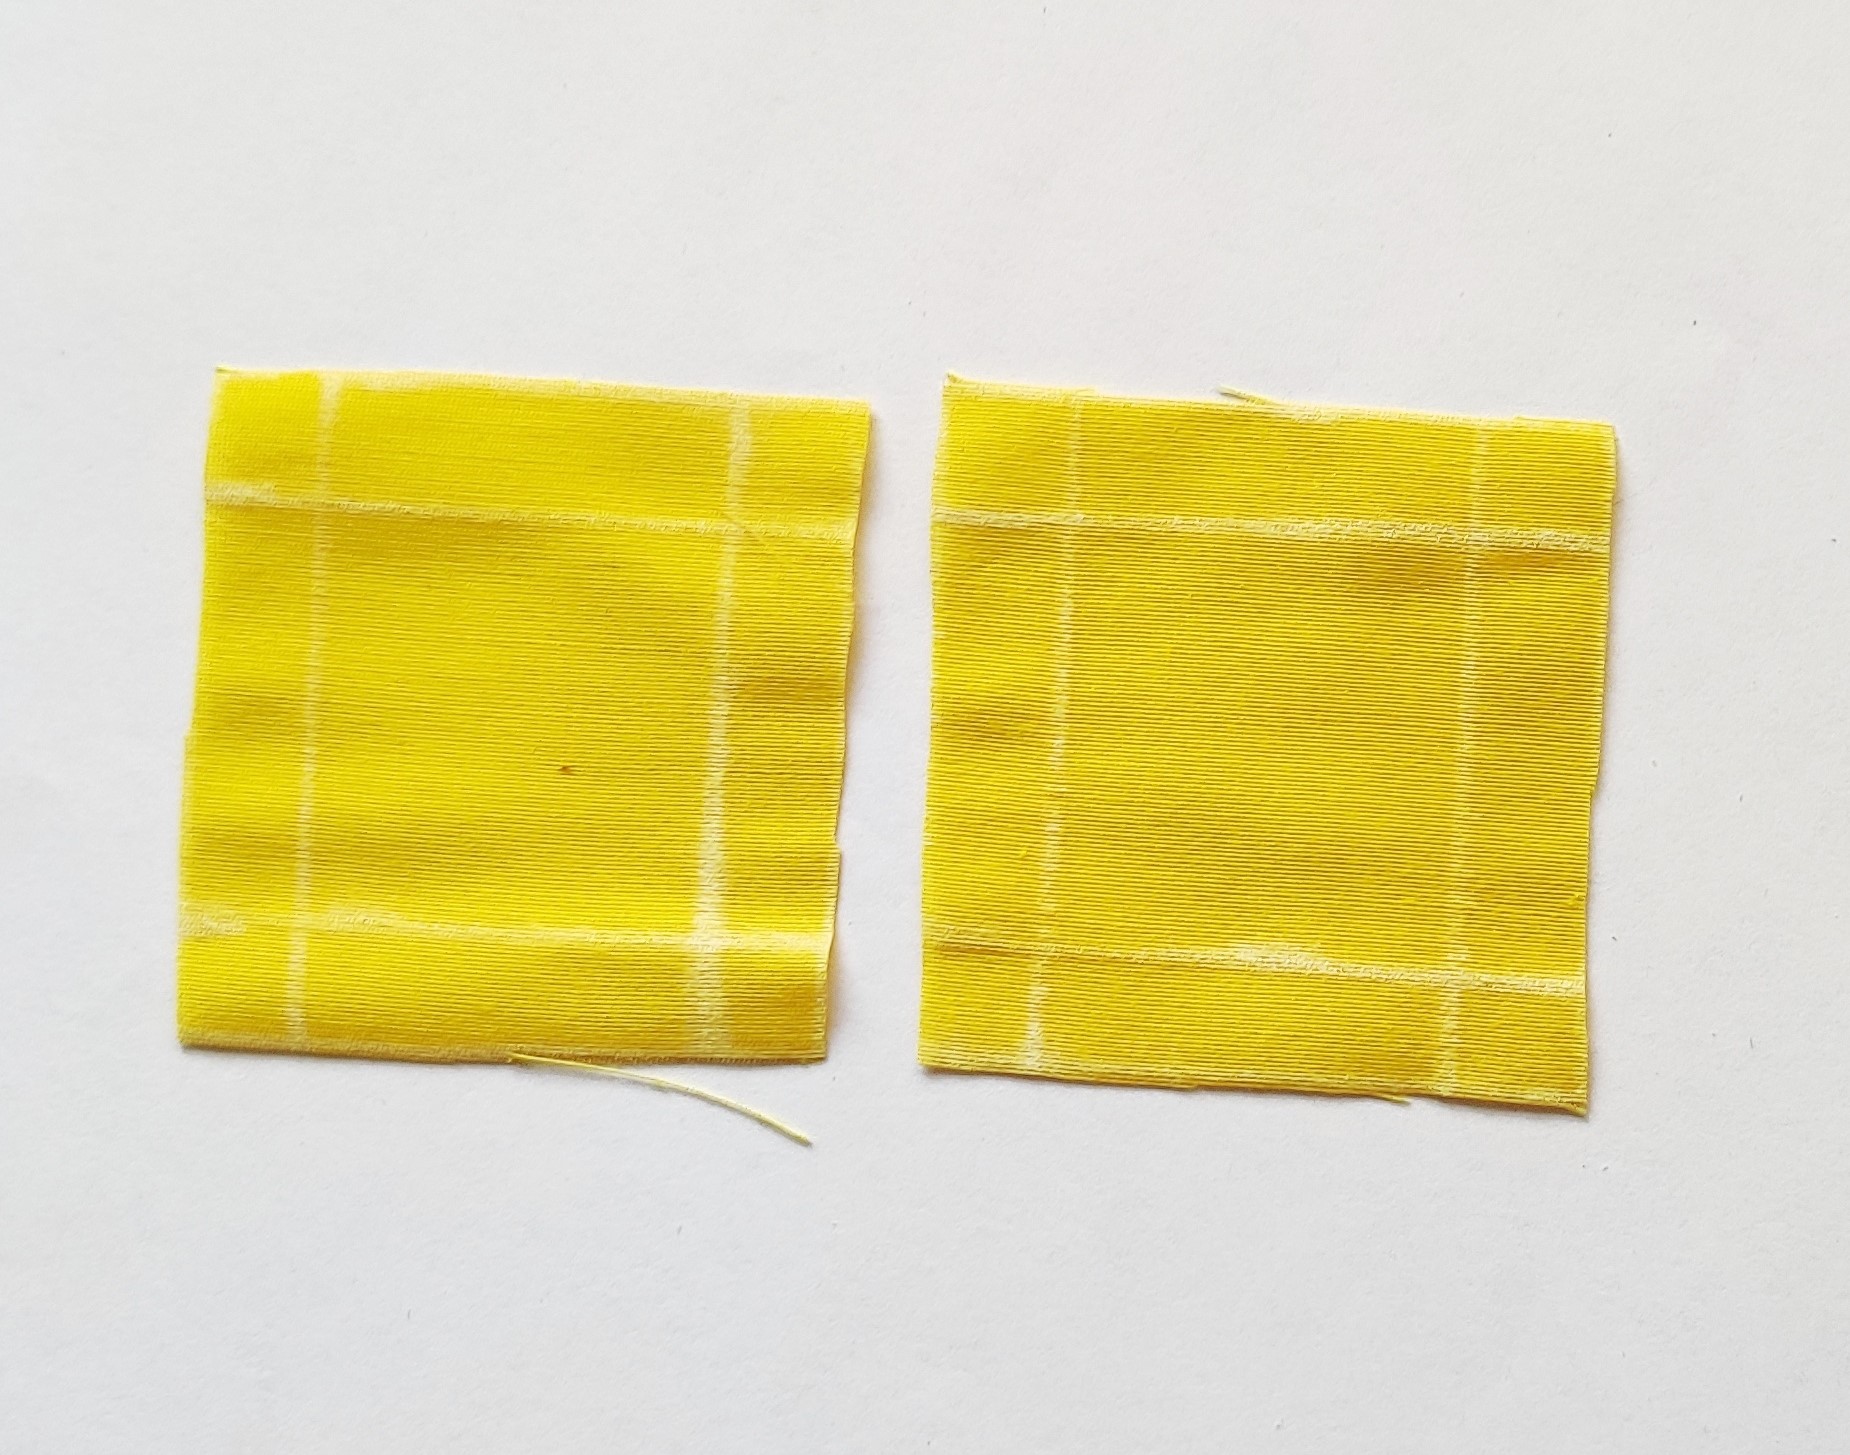
- Take the 2 plain yellow piece and measuring 2.5” x 2.5”
STEP 8 : Sticking
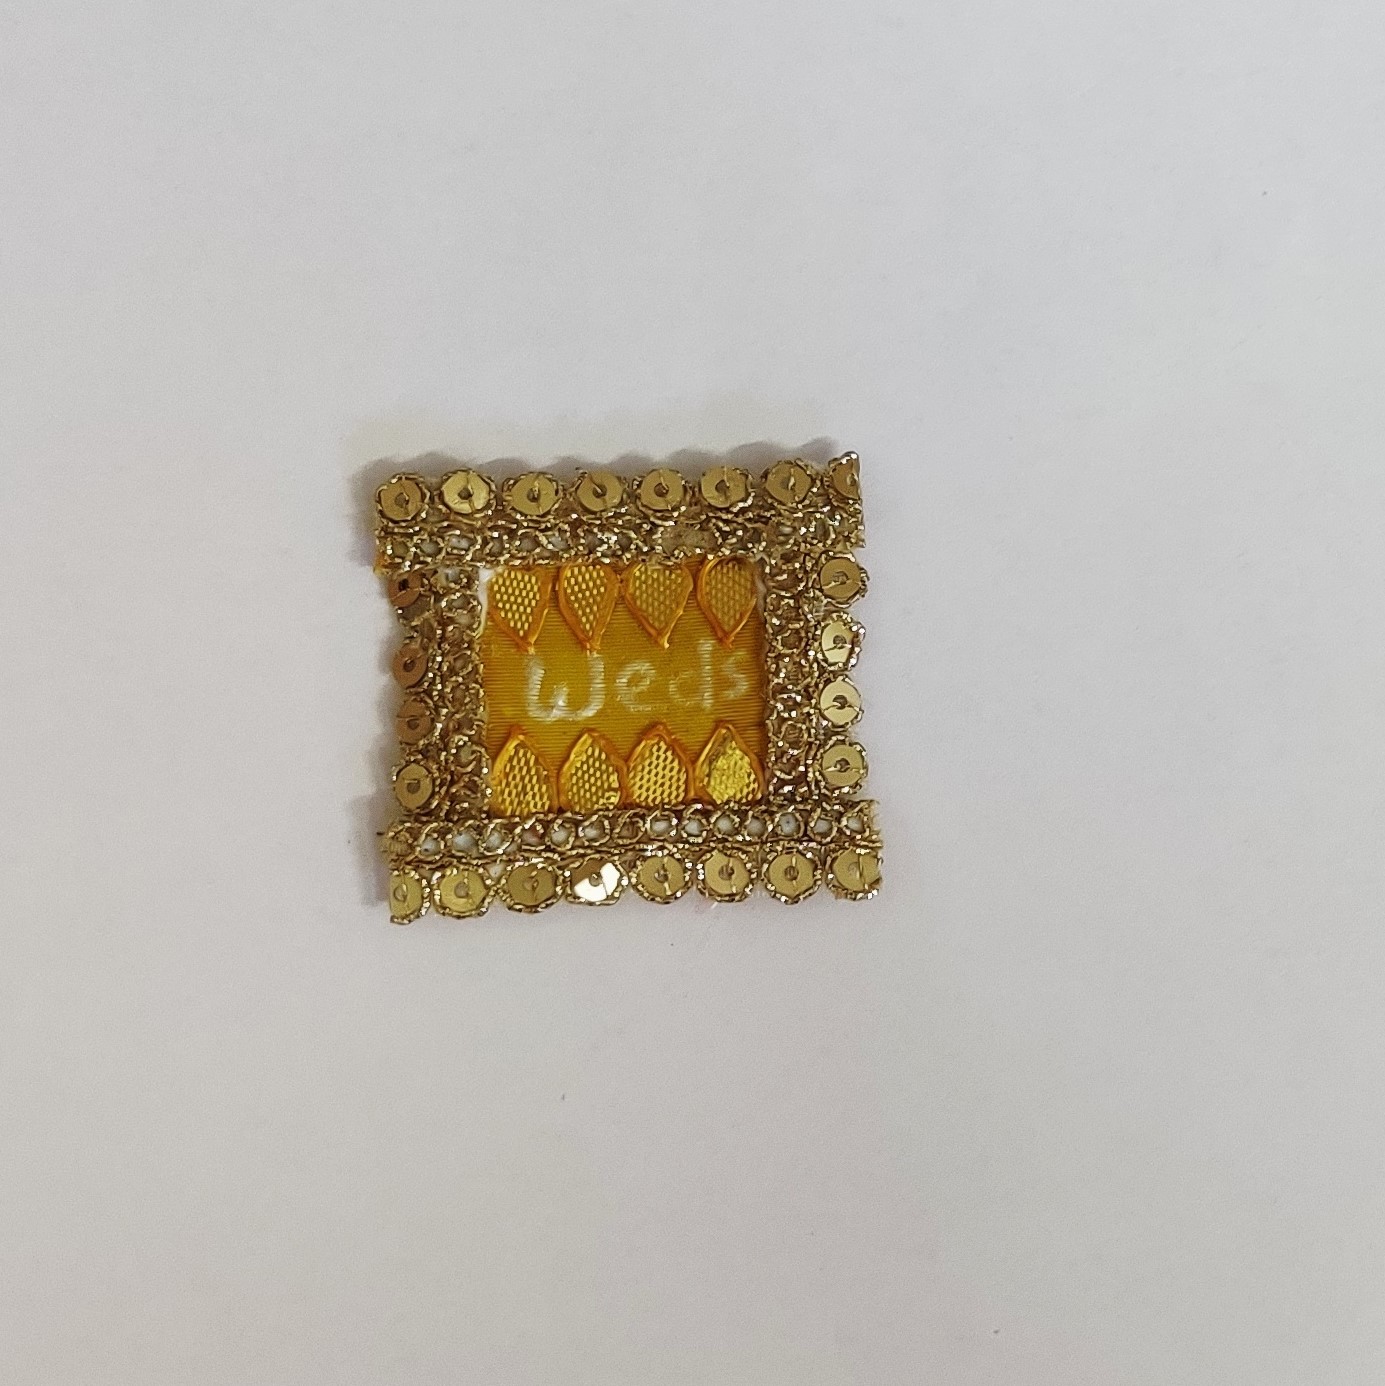
- Take a lace as seen in the image and stick them on the top yellow piece as shown in the image.
- Stick them using Fevicryl Fabric Glue.
- Trace out “weds” outlined with fevicryl 3d outliner pearl white.
- Let it all dry.
- Stick gota lace around the word and outline it with fevicryl 3d outliner.
- Let it dry
STEP 9 : Cotton
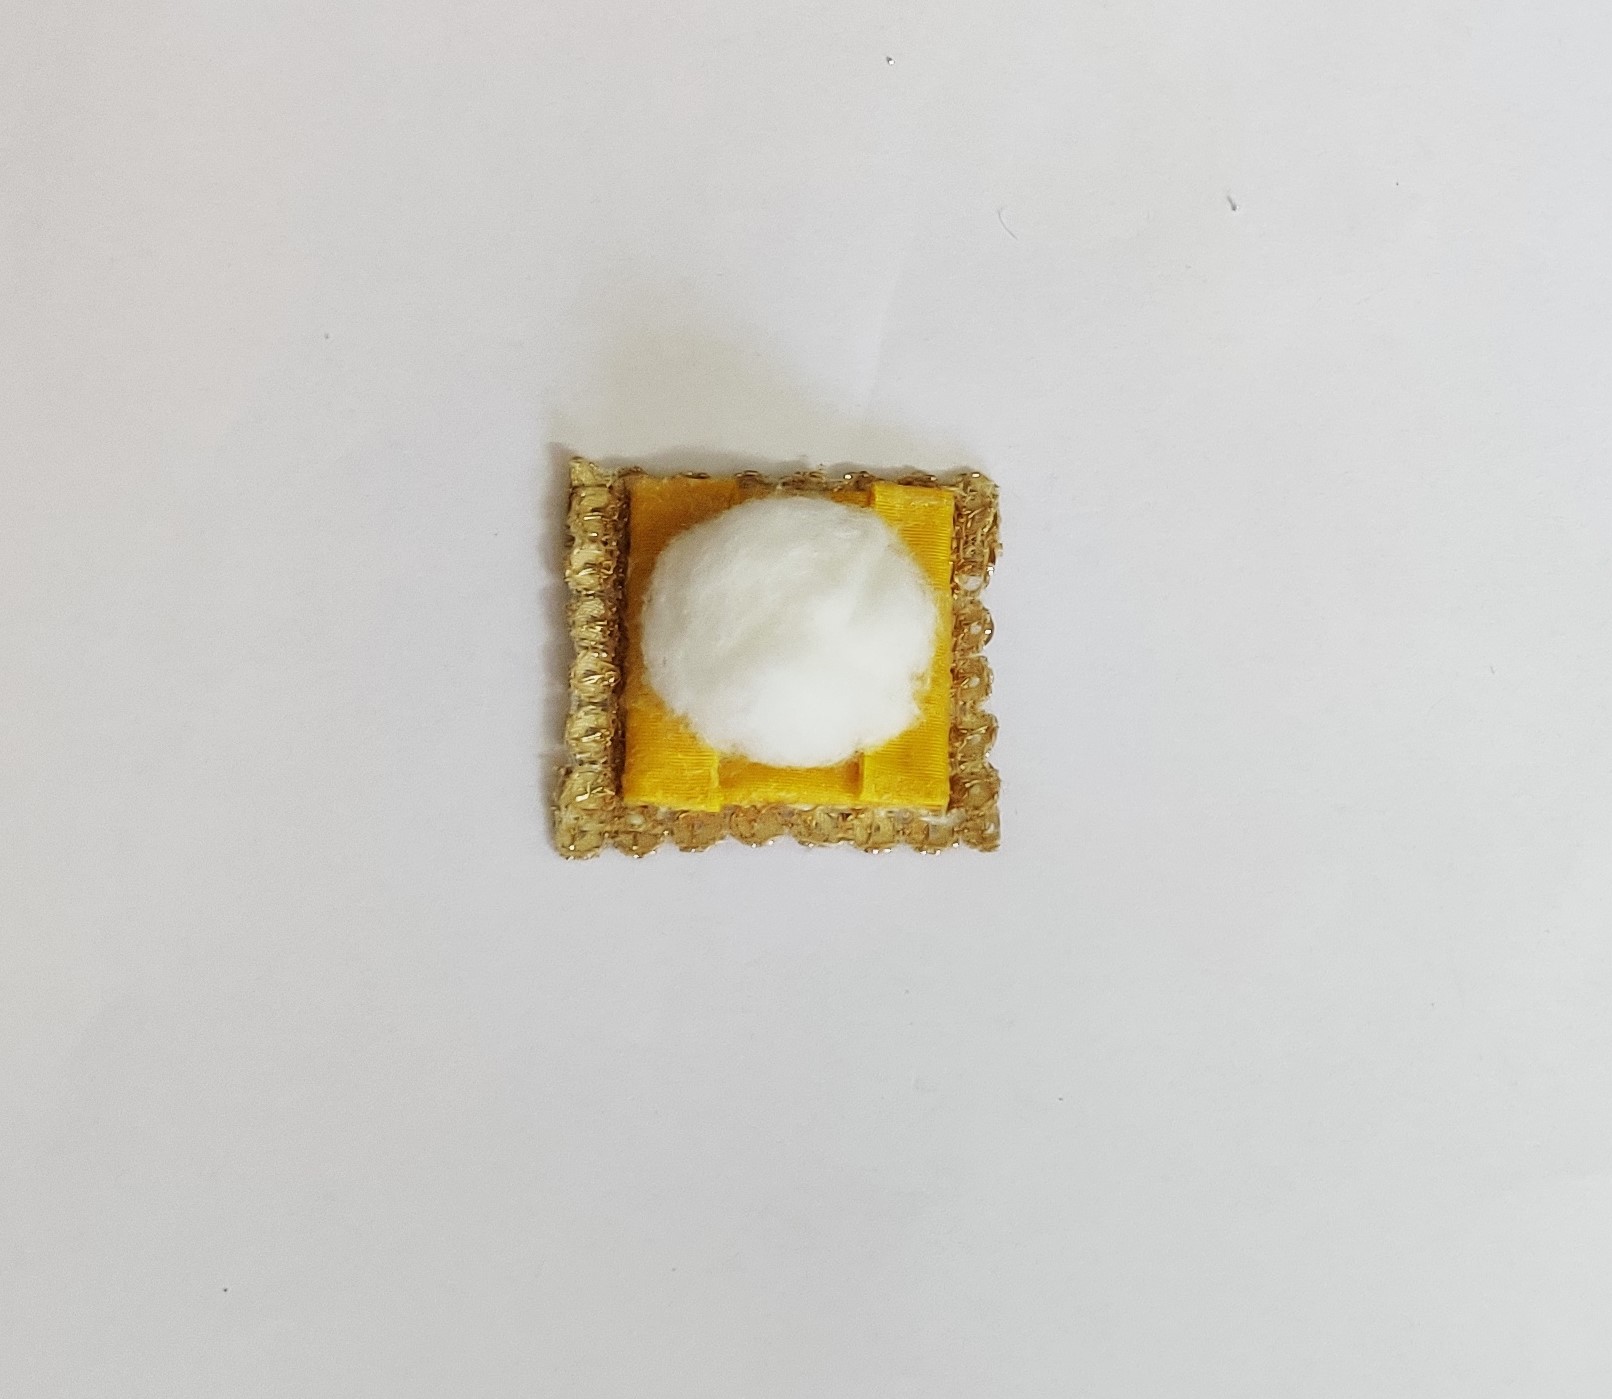
- Turn the piece around and apply Fevicryl Fabric Glue in the middle
- Take a ball of cotton as seen in the image and place it in the center.
STEP 10 : Covering
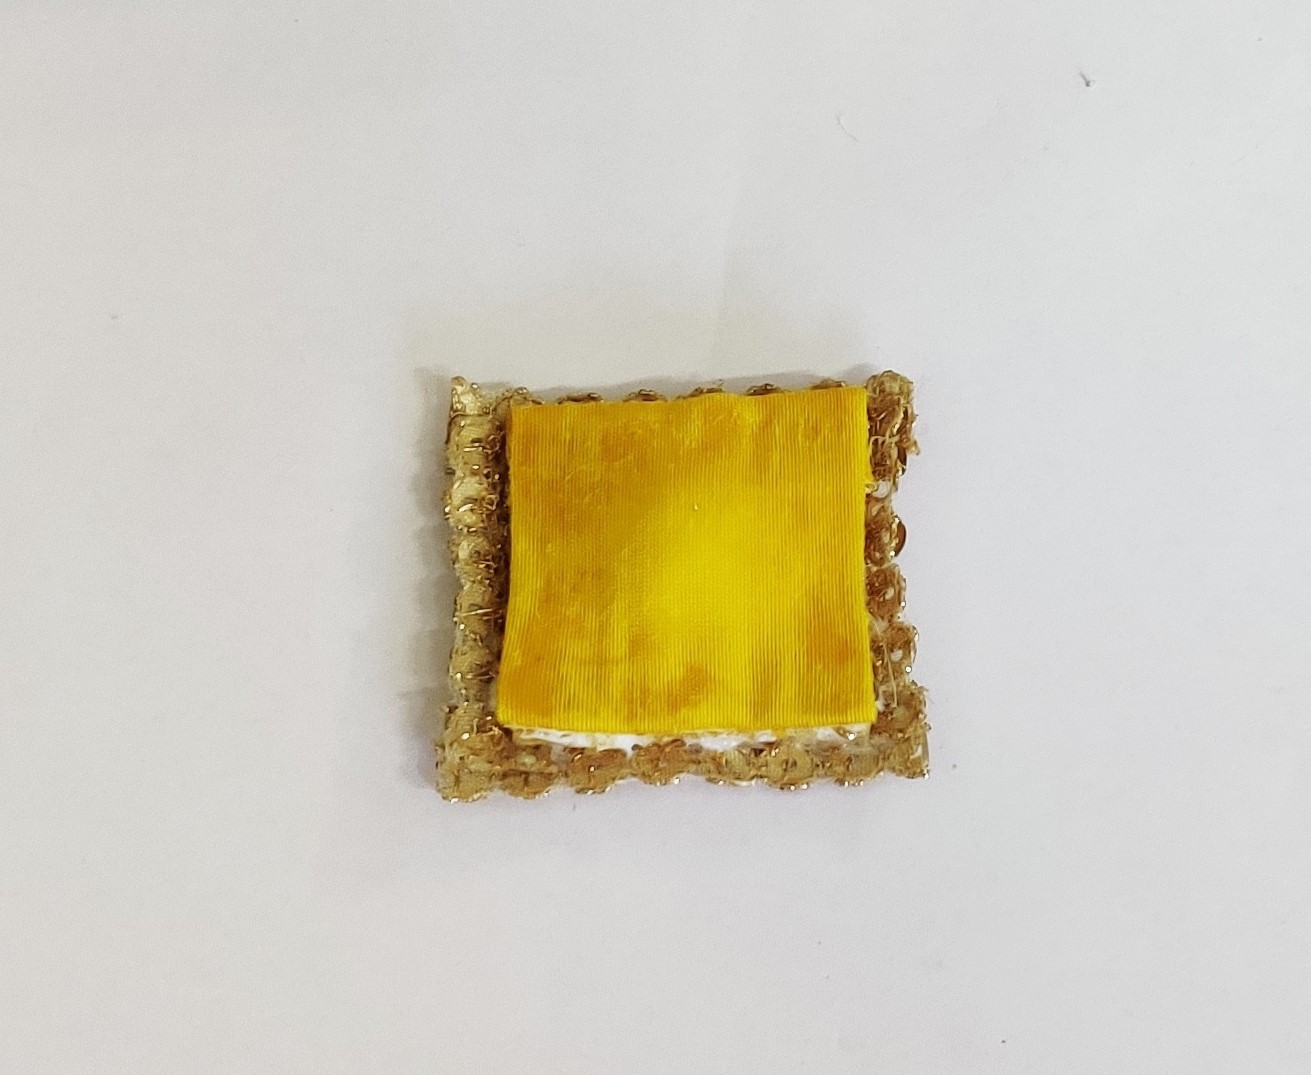
- Take the 2nd plain yellow piece and stick it on the cotton ball by folding the sides inwards.
- Use Fevicryl Fabric Glue to stick it.
- Let it dry.
STEP 11 : Three main pieces
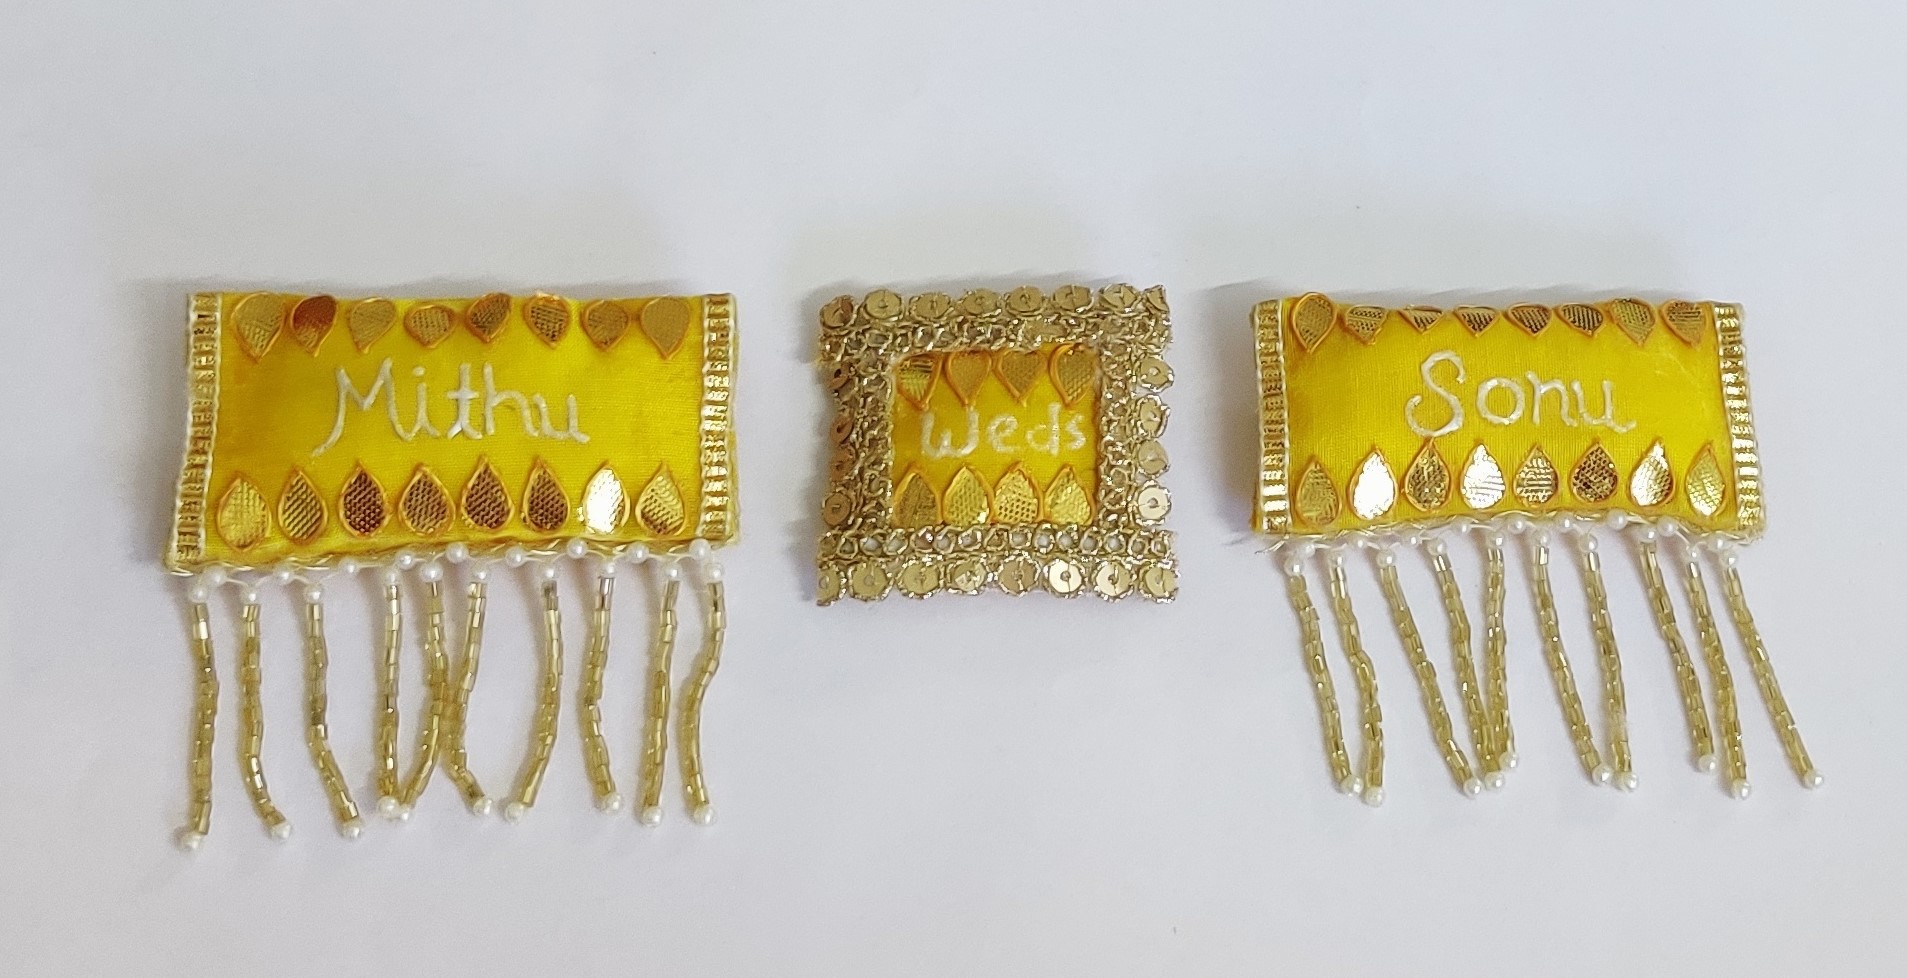
- Create a similar rectangular yellow pouch with another name written on it.
- You will finally have 3 such yellow pieces.
STEP 12 : White Tassel

- Take a plain cloth , draw a circle on it using fabric chalk measuring 4” diameter
- U can take the help of a paper cut circle to draw on fabric.
- Once the circle is cut, apply fabric glue to the edges to avoid fraying.
- Let it dry.
STEP 13 : Cutting
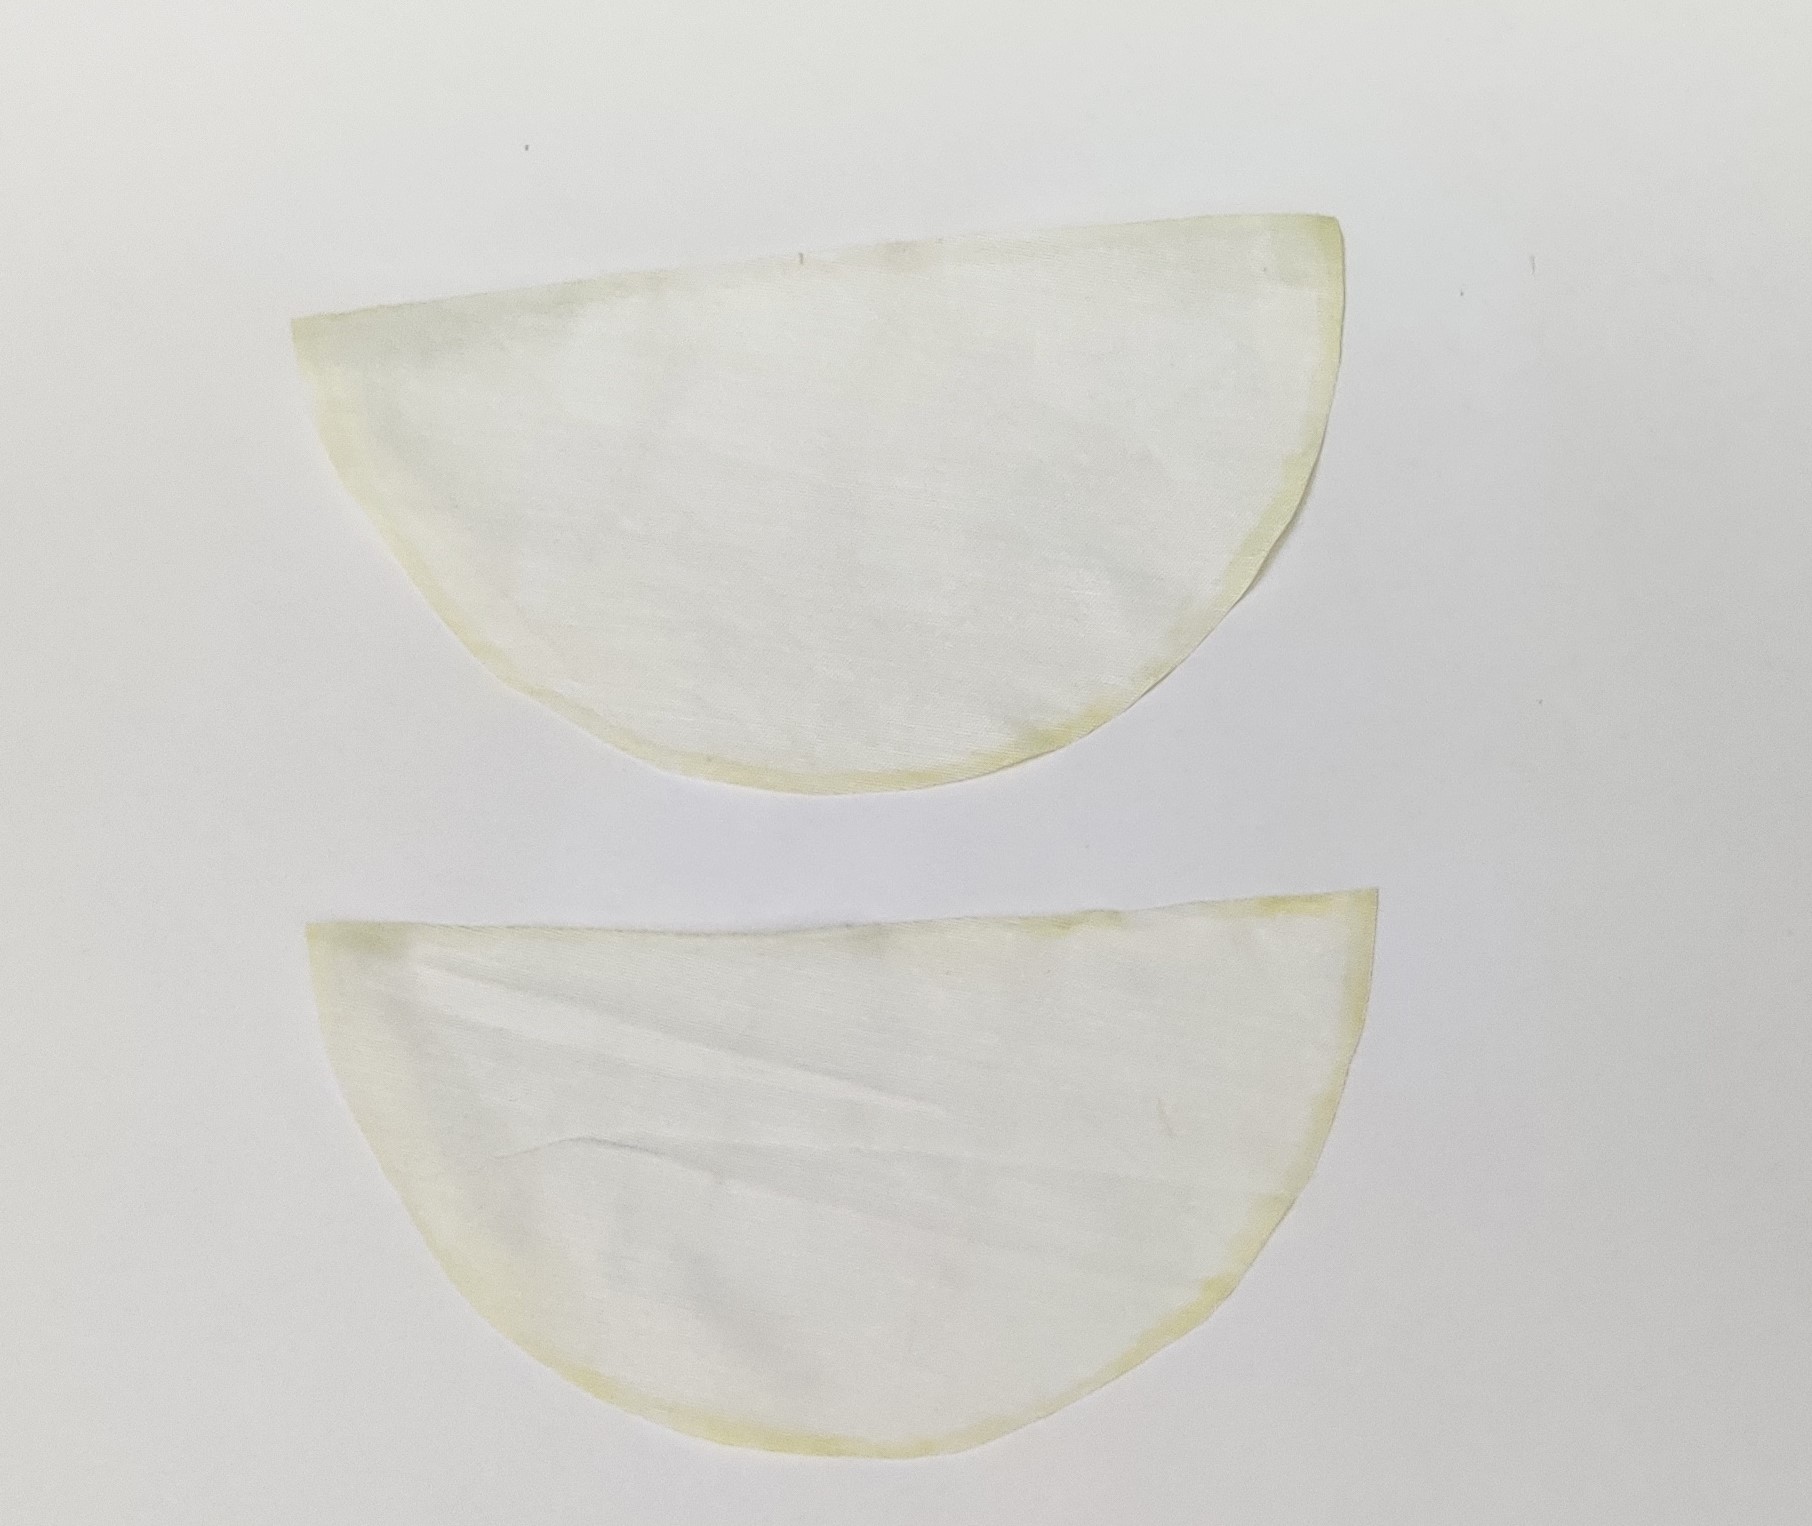
- Cut the circle into 2 equal pieces as seen in the image.
- Make sure to apply Fevicryl Fabric Glue on the cut side as well
- Let it dry.
STEP 14 : Sticking the lace
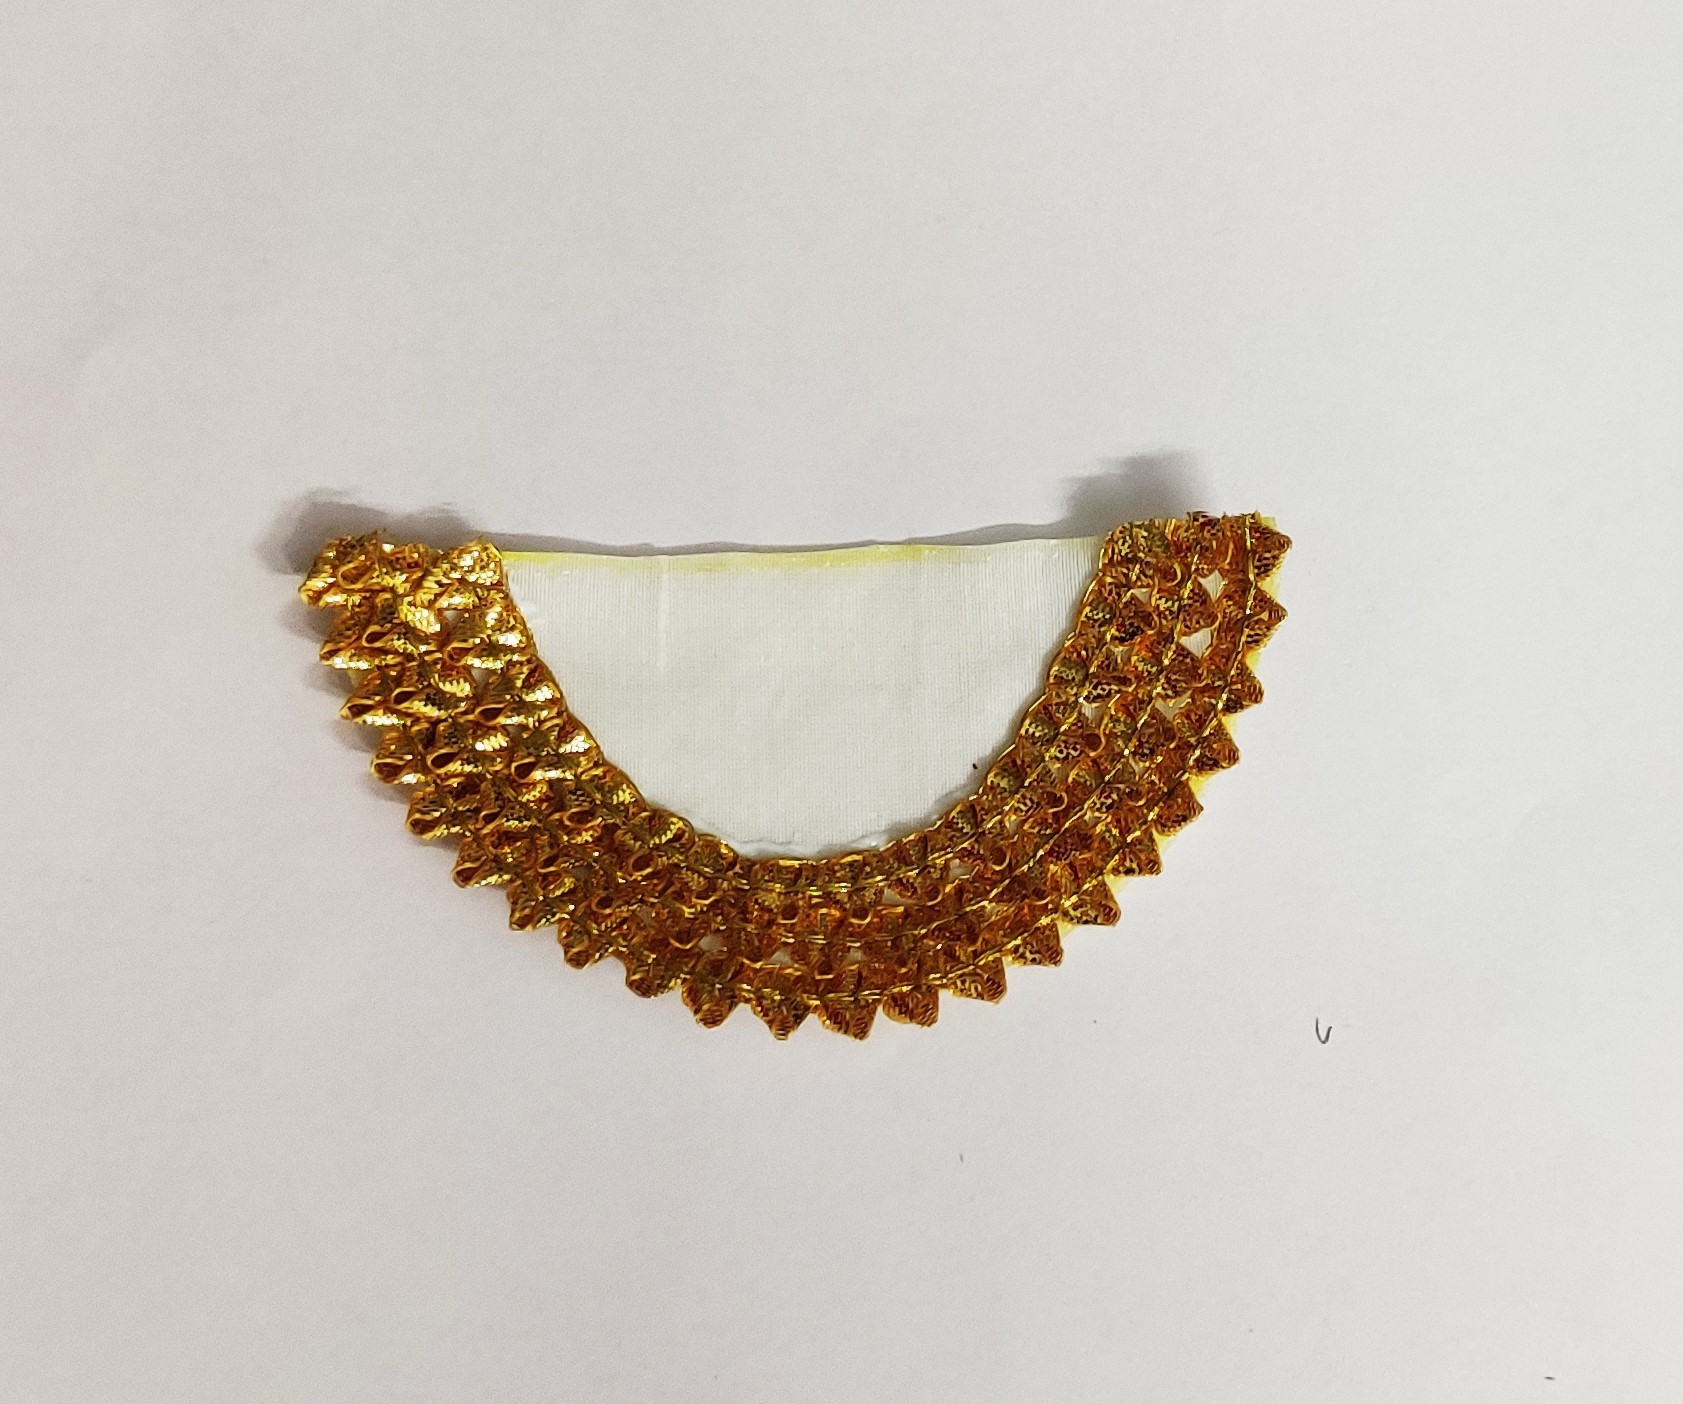
- Take a thin gota lace and stick it around the curved side 3 times to create a thick border.
- Stick it using Fevicryl Fabric Glue.
- Let it dry.
STEP 15 : Replicas
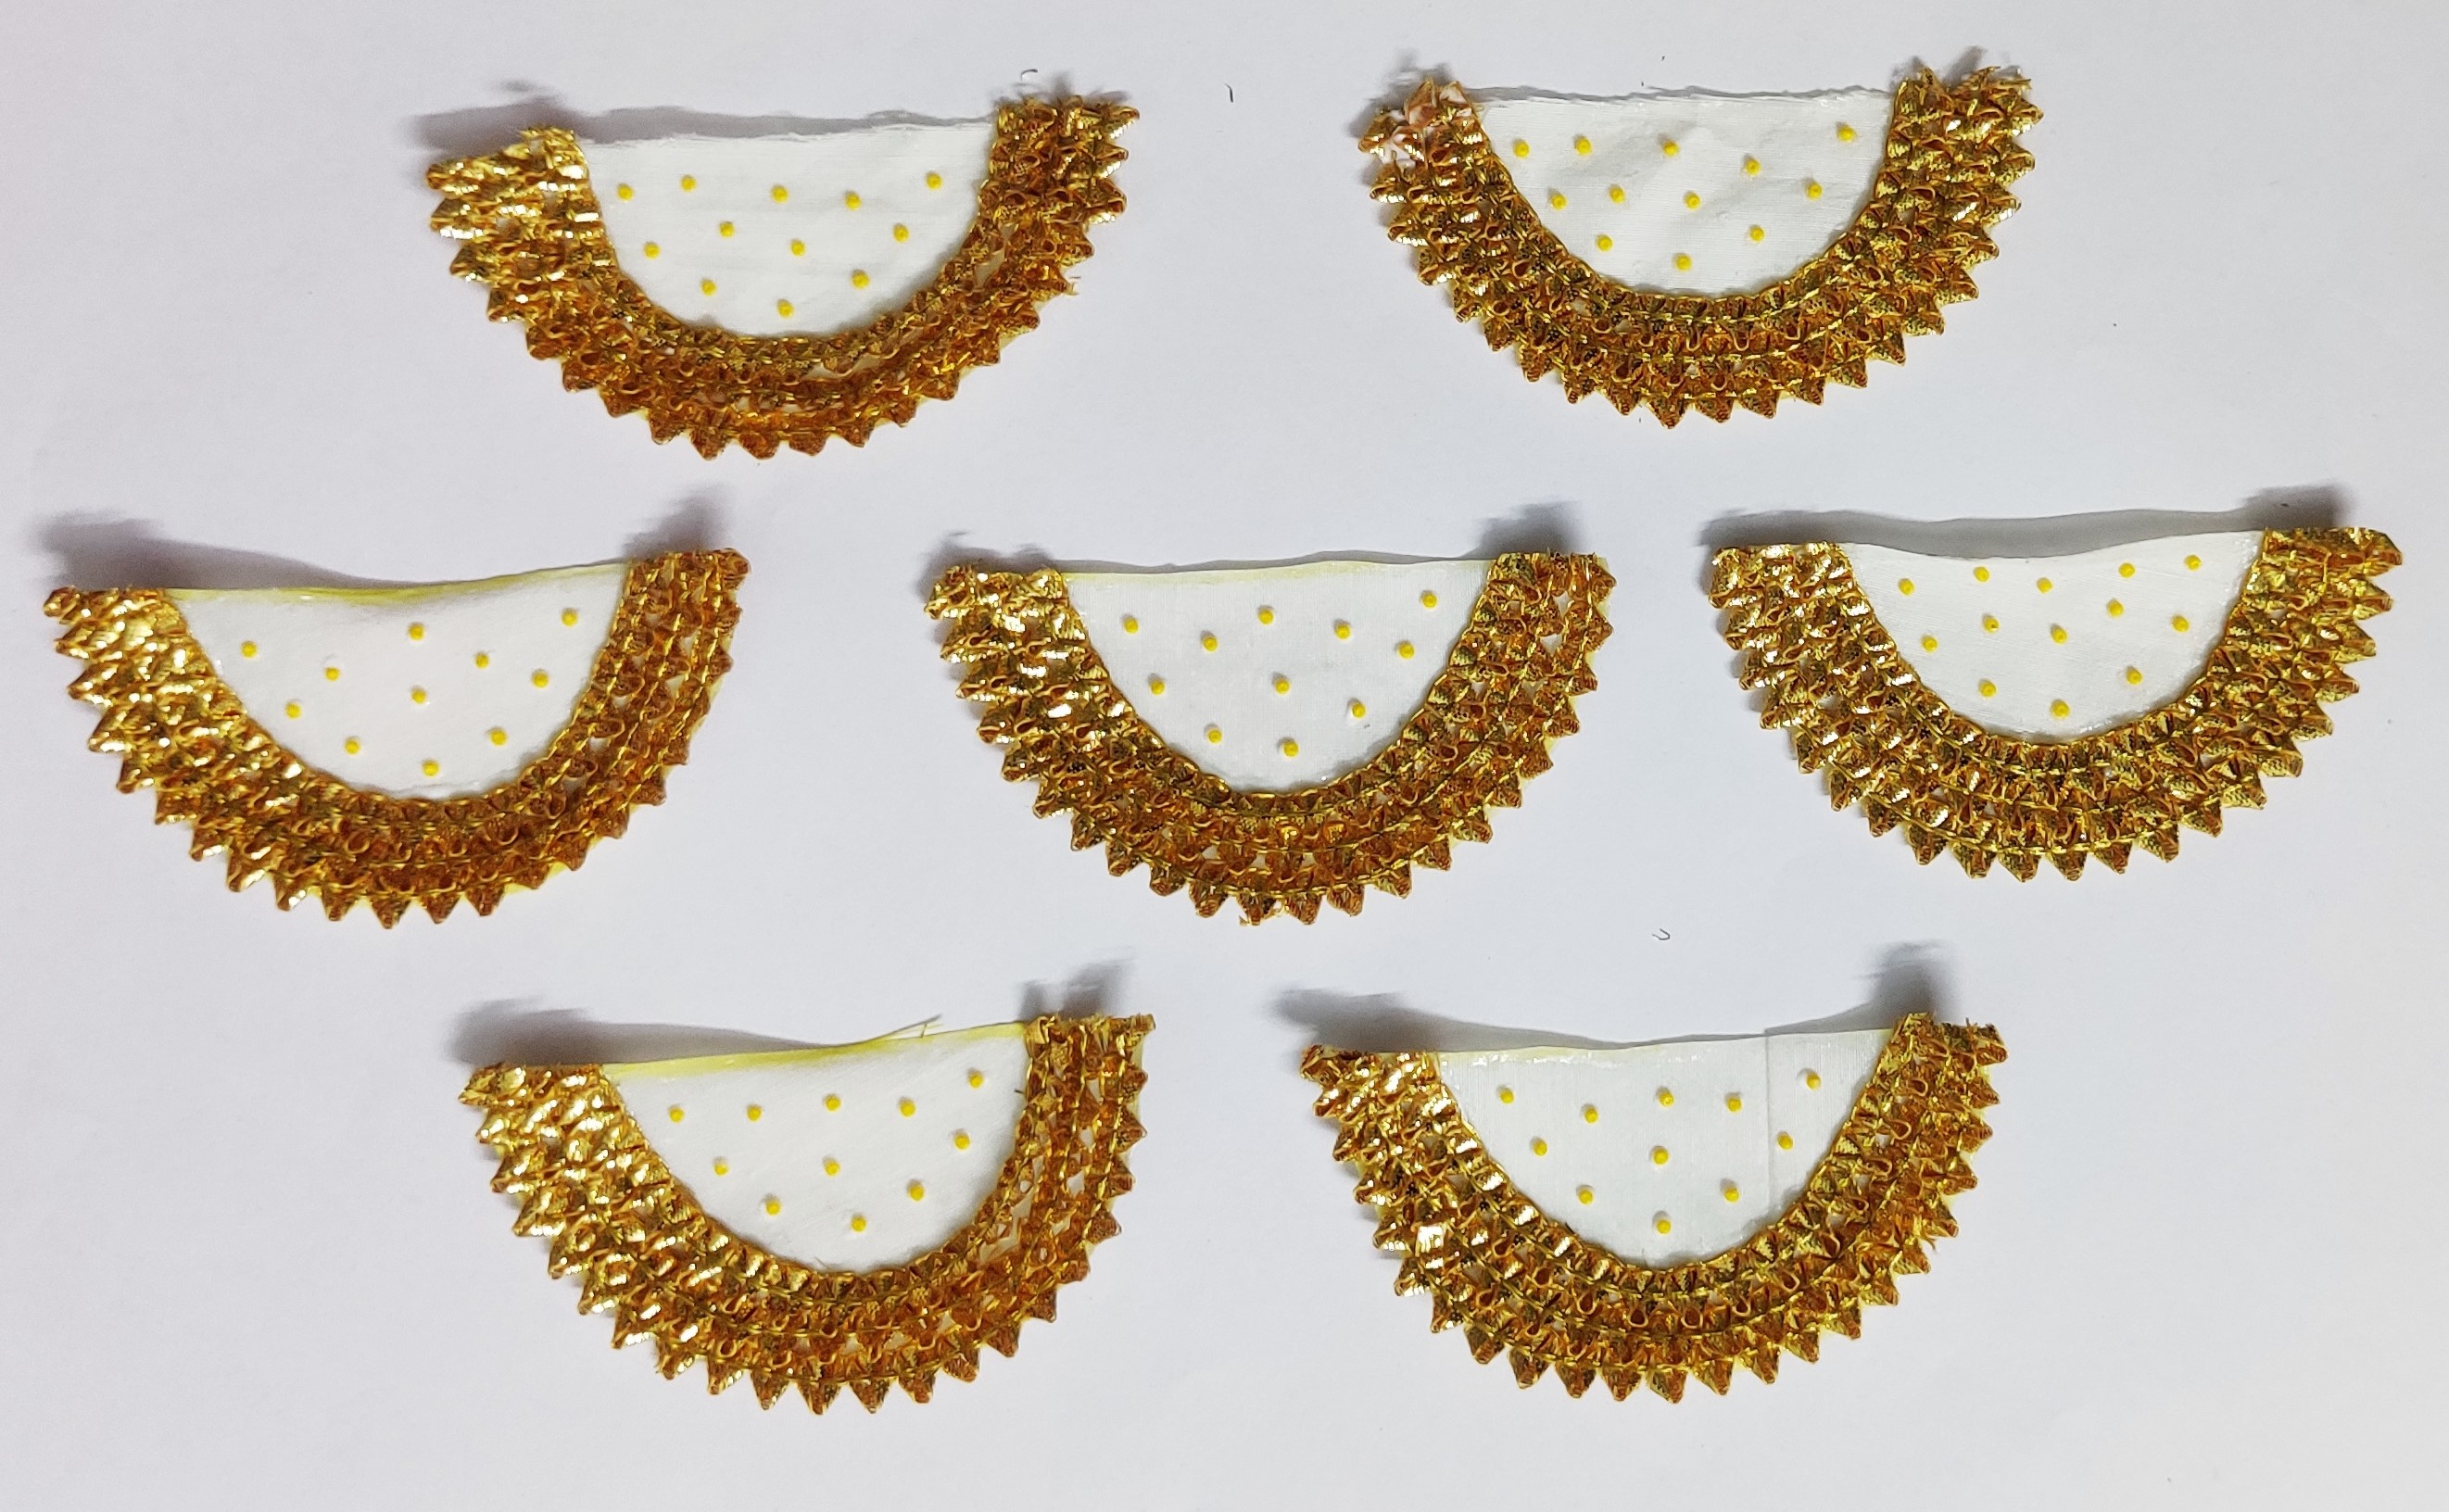
- Make 7 such pieces as seen in the image given.
- Create dots on the surface using fevicryl 3d outliner yellow.
- Let it dry.
STEP 16 : Making cones
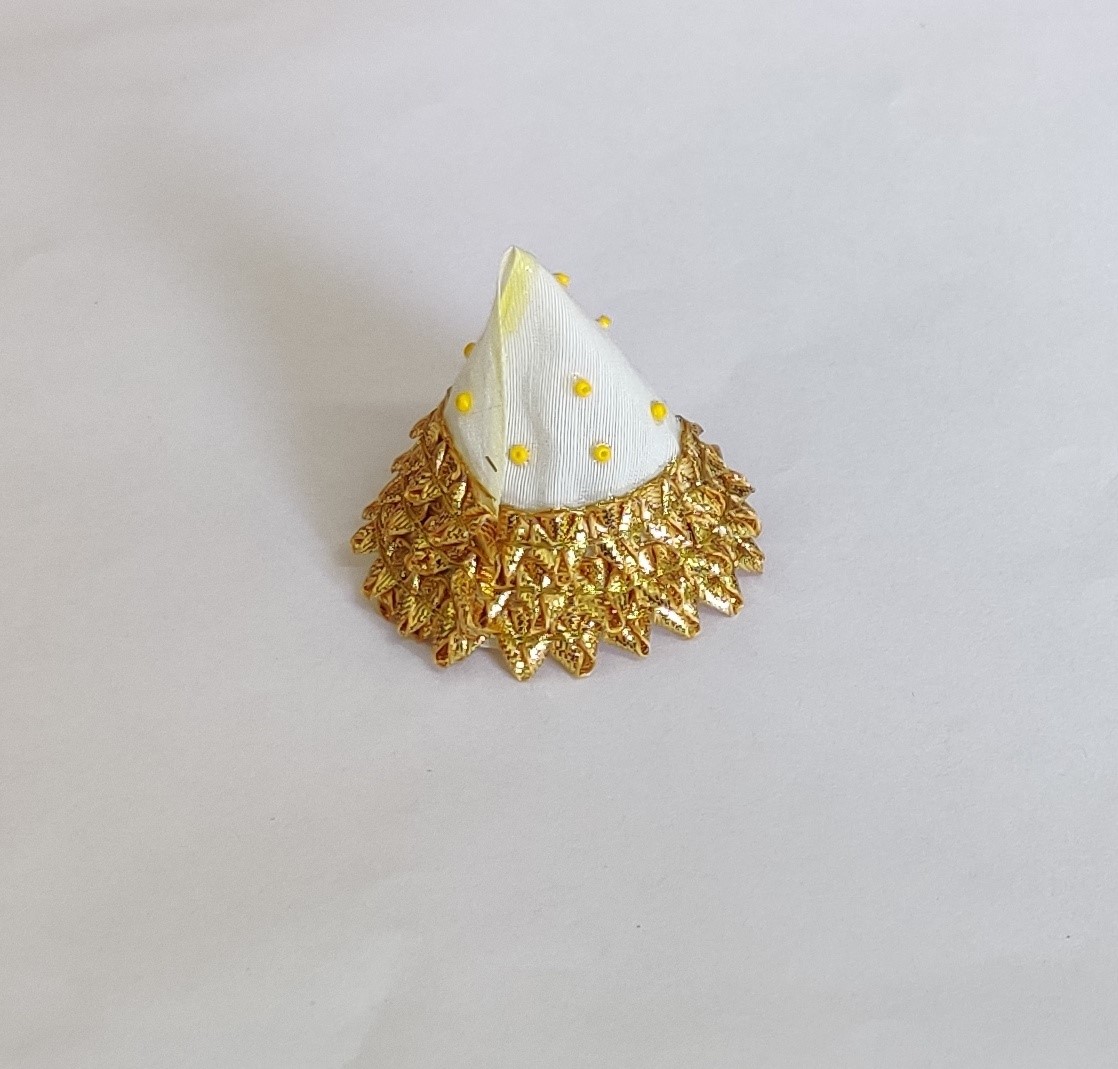
- Take each half cut pieces and make them into a cone as seen in the image.
- Use Fevicryl Fabric Glue to stick them.
- Let it dry.
- Do this with all the pieces.
STEP 17 : Making of the ring
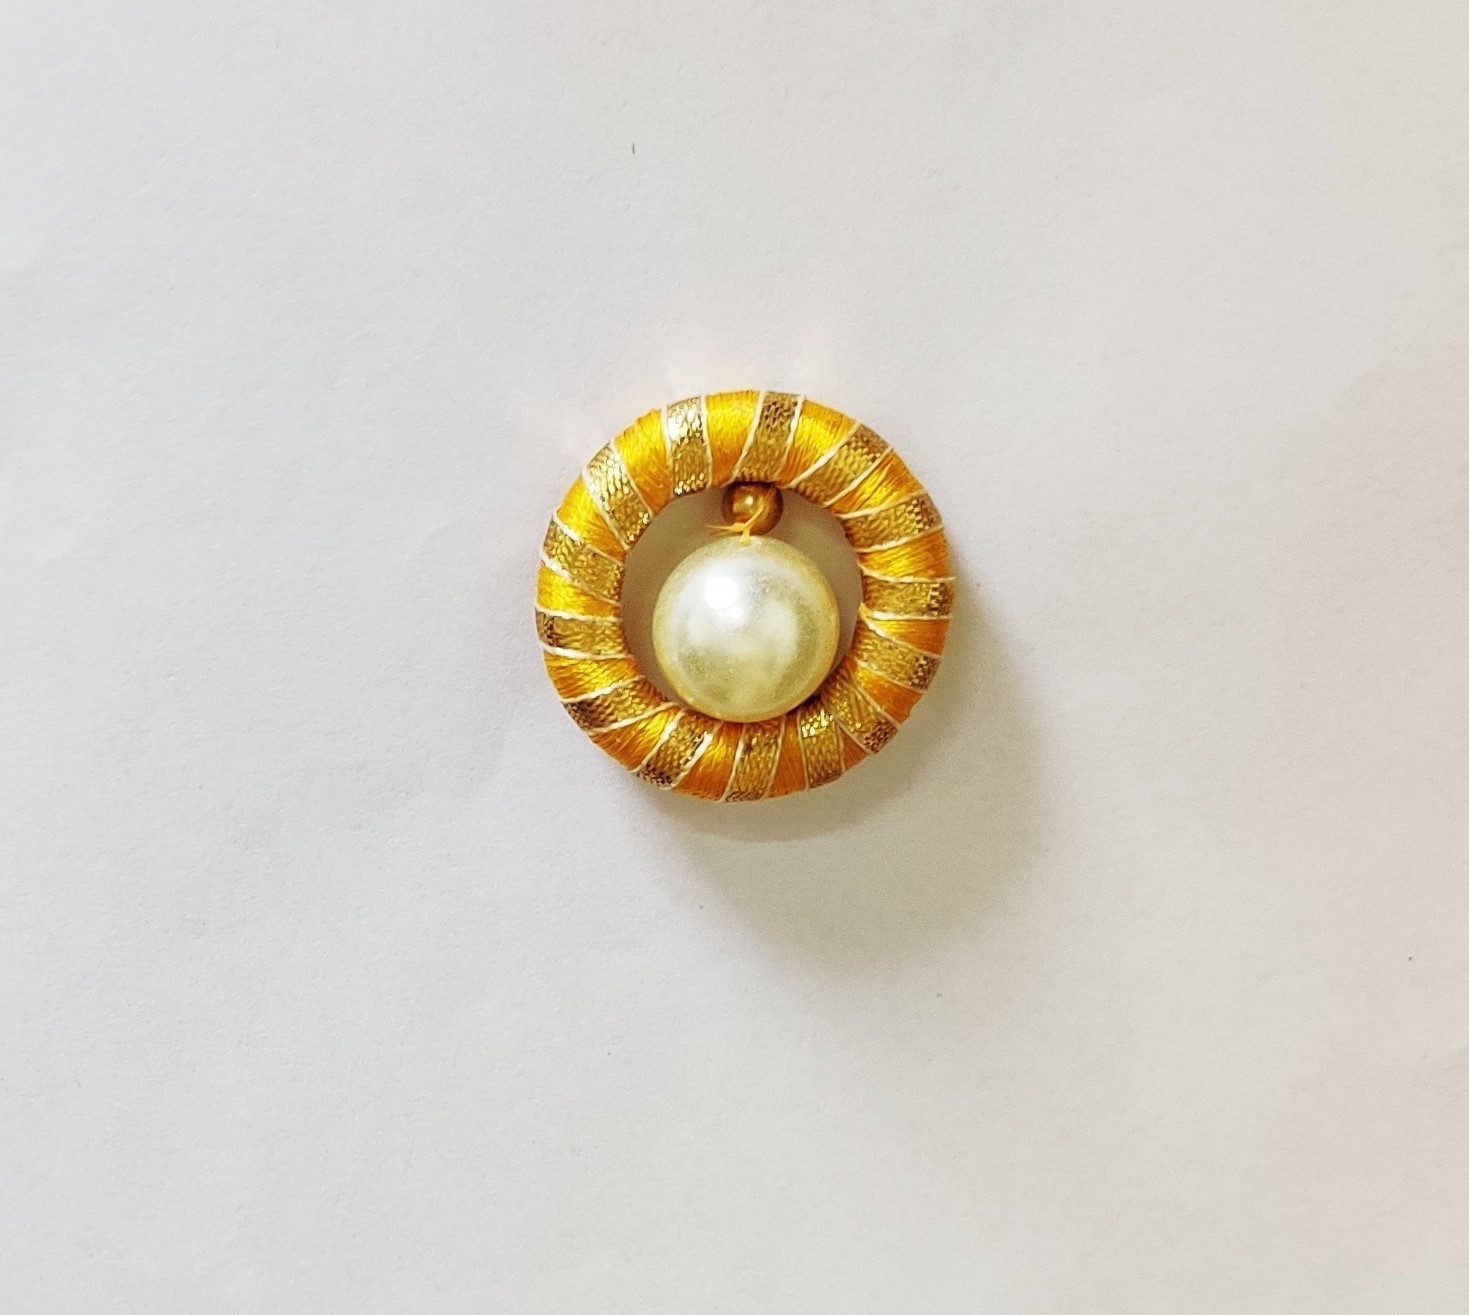
- Take a small wooden ring and wrap yarn and gota lace around it as seen in the image.
- Apply Fevicryl Fabric Glue around the ring to keep the yarn and gota in place.
- Stitch 2 beads in the middle as shown in the image.
- Make 2 such rings
STEP 18 : Stringing it together
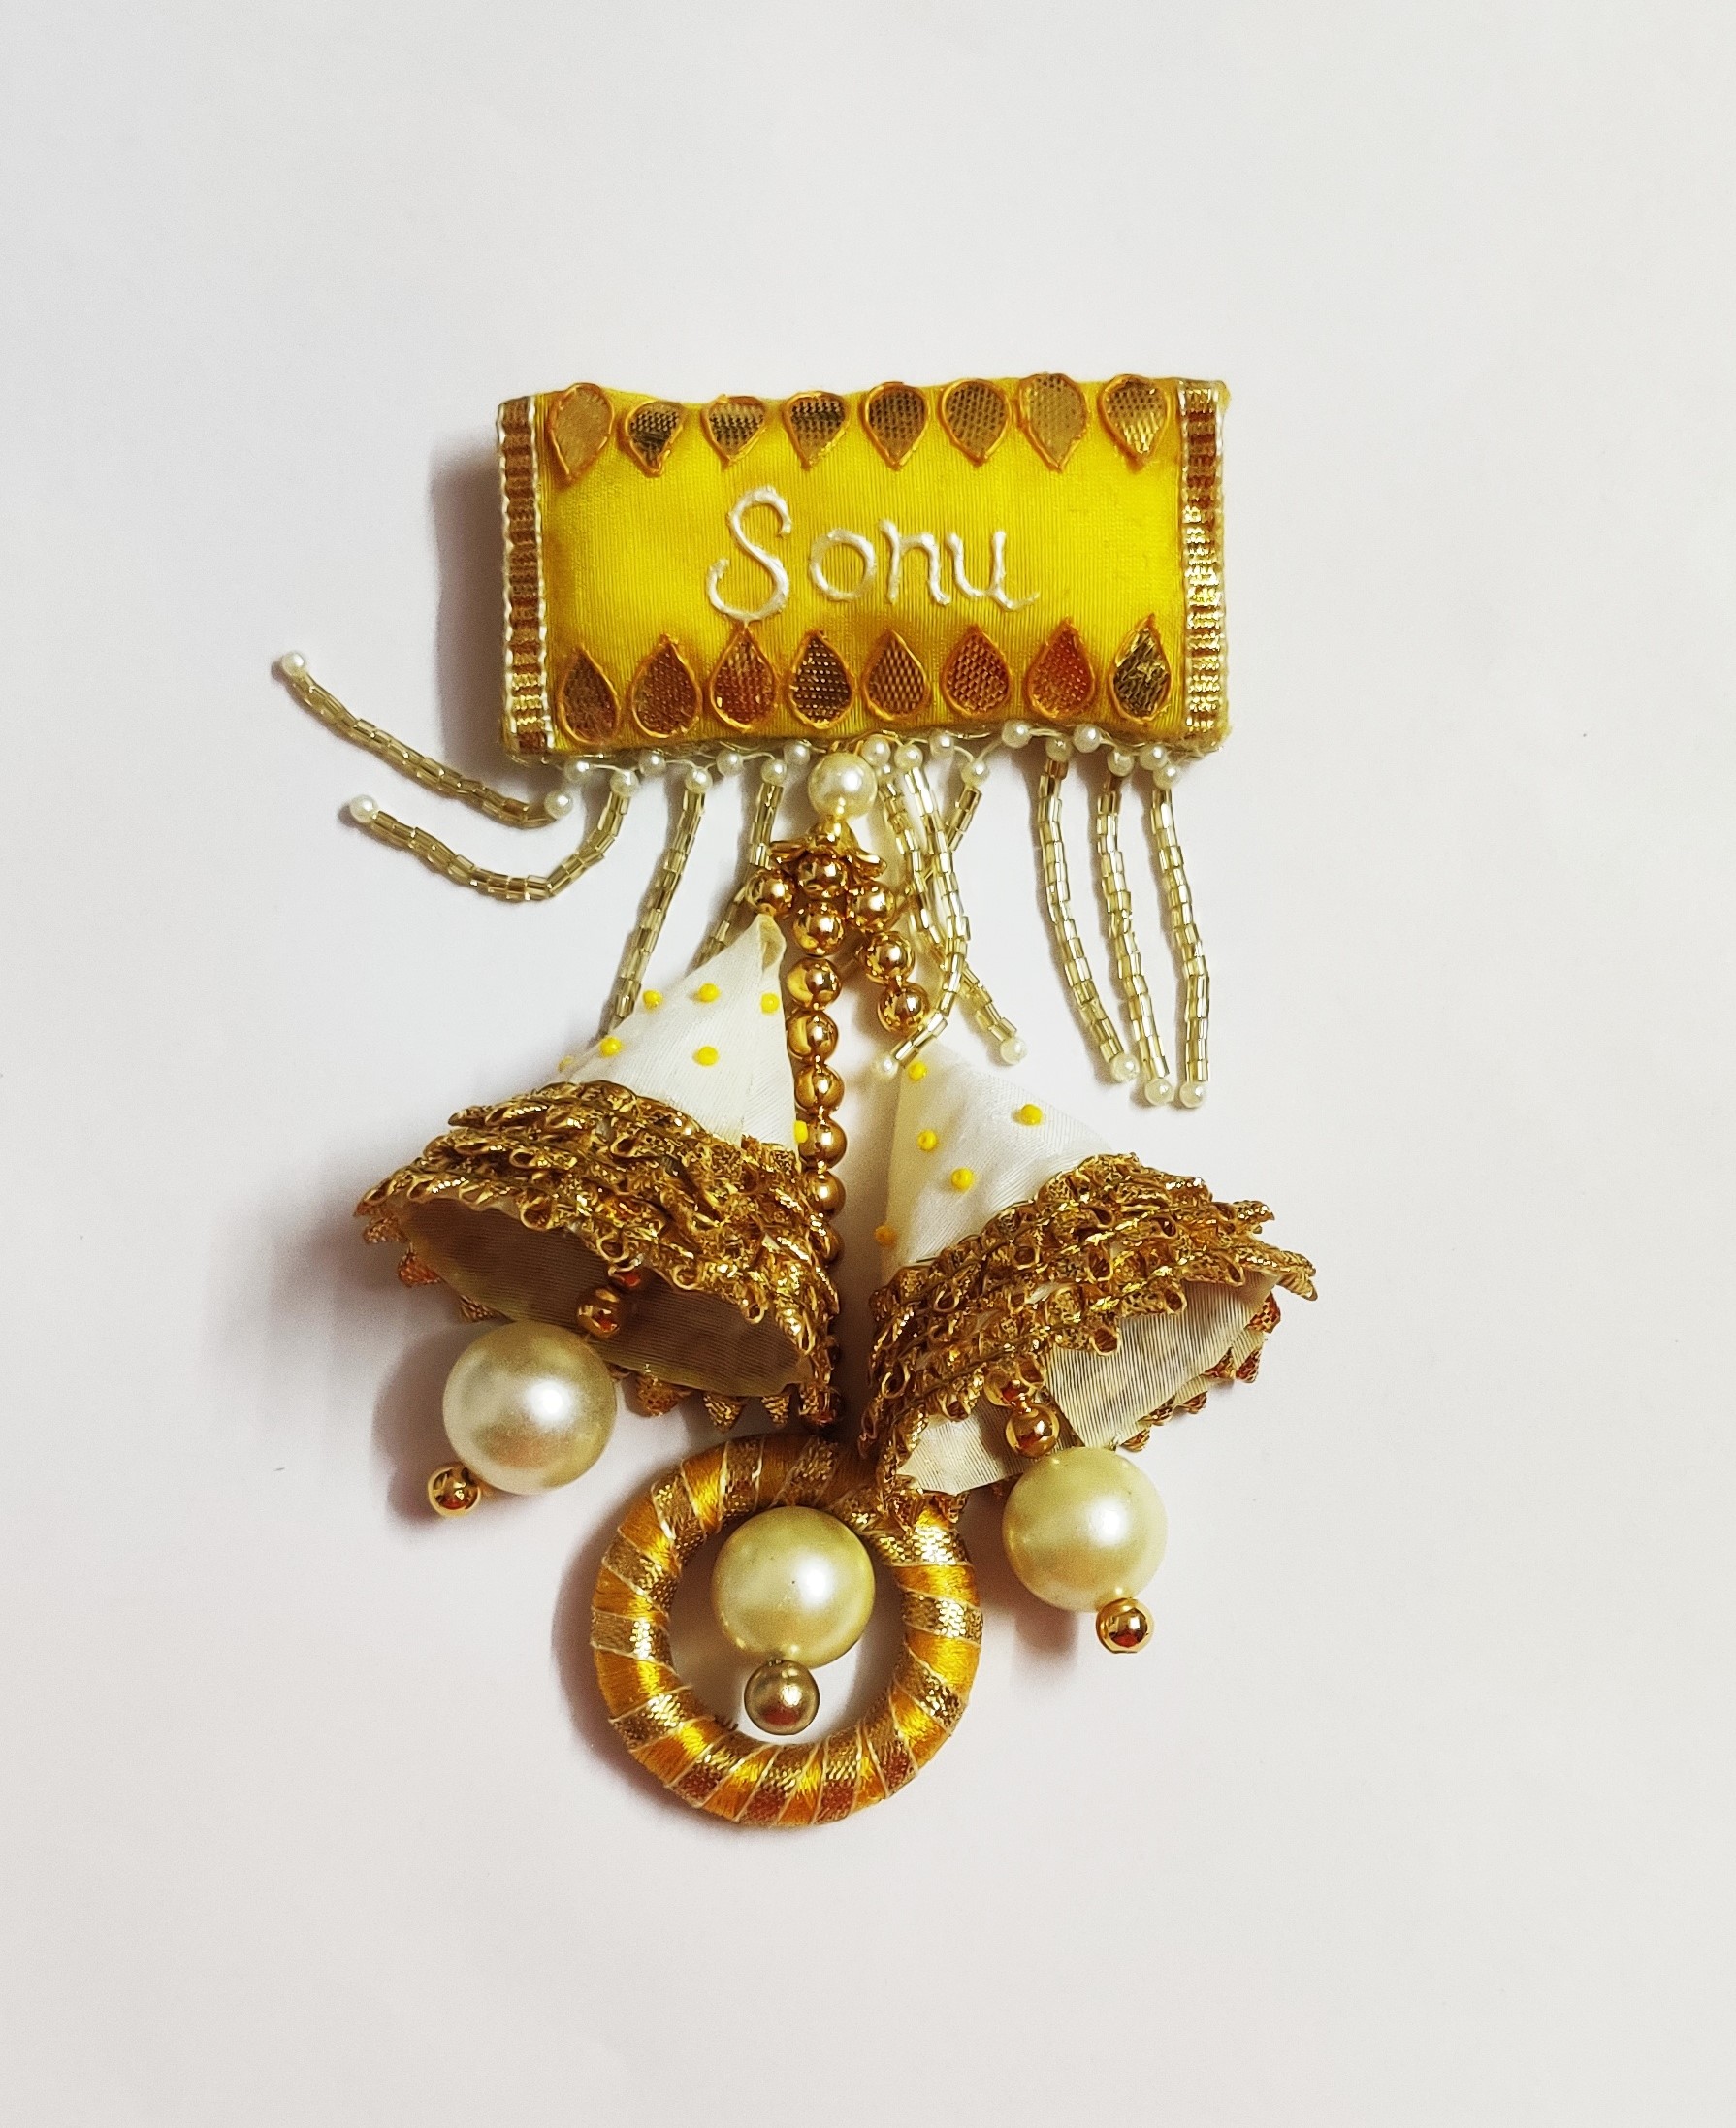
- Take the yellow pouch and attach it with the fabric cones and the ring with the help of a beaded string.
- This part will be stitched.
STEP 19 : Stringing it together
- Take the smaller yellow piece and attach it to the top piece along with more fabric cones and ring as shown in the image.
- This will be stitched as well
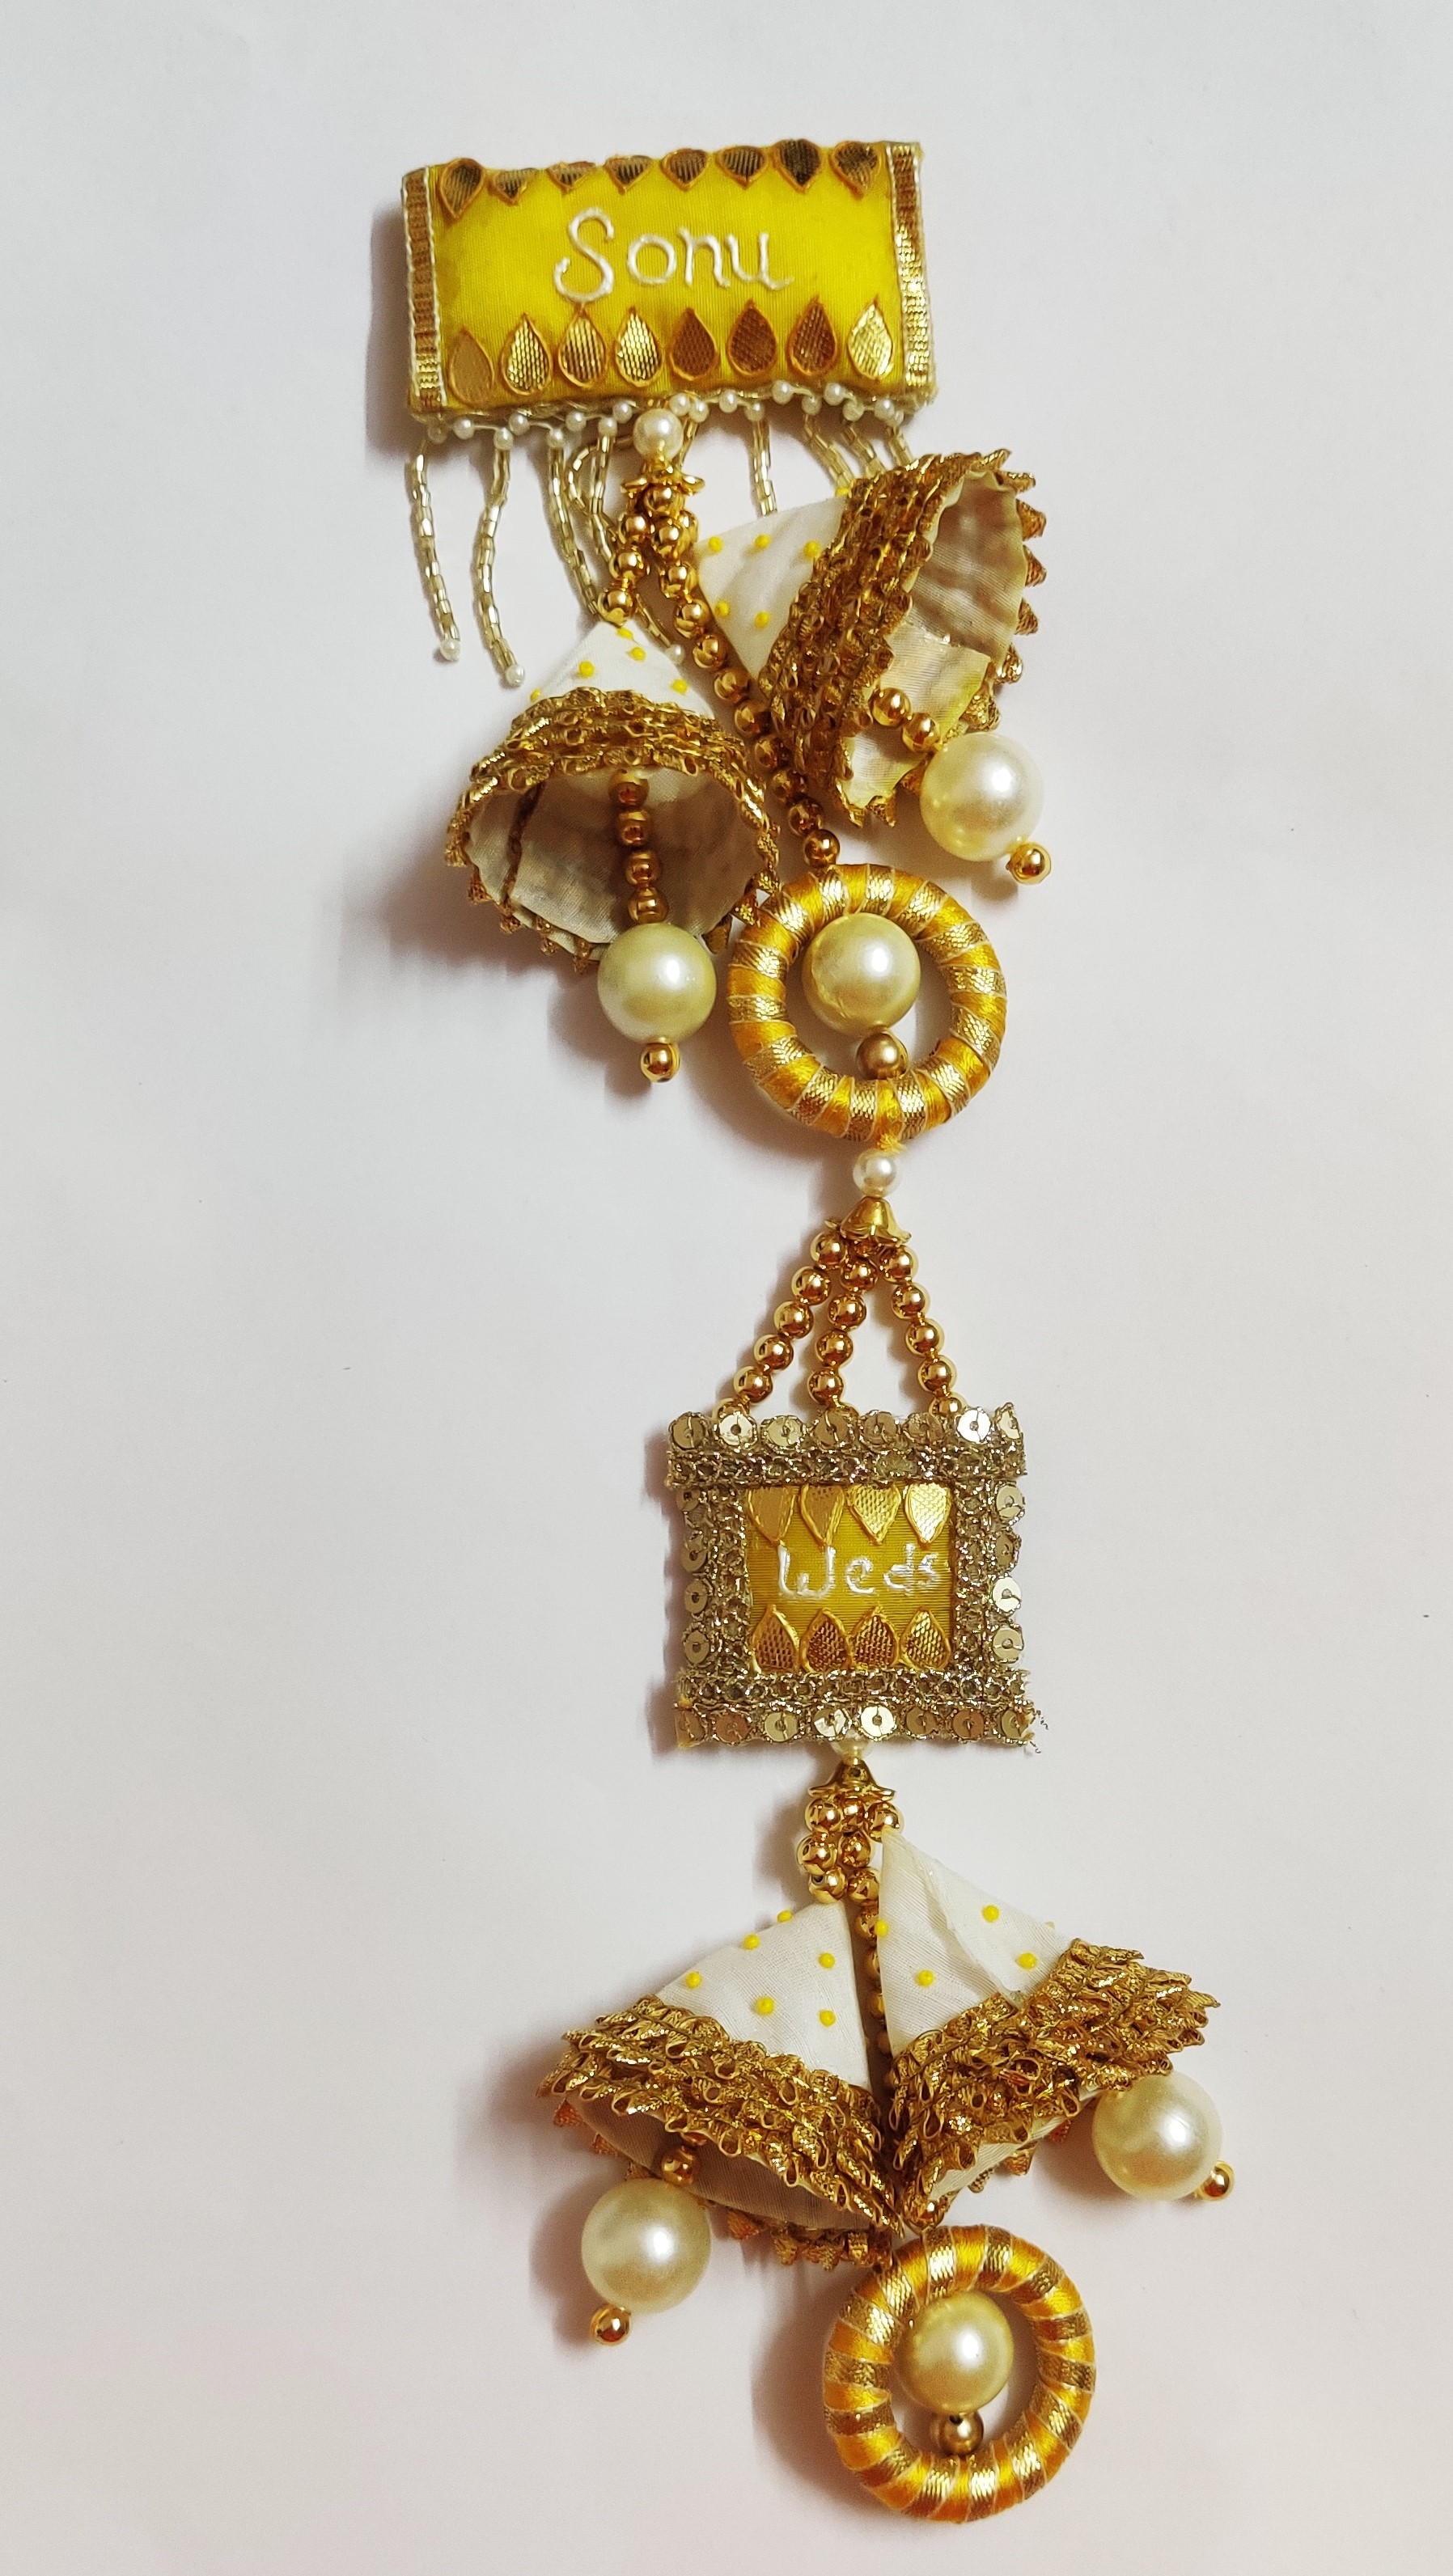
STEP 20 : Finishing

- Attach the last yellow pouch along with the remaining fabric cones as shown in the image.
- Attach a hanging clip on to the top yellow pouch as seen in the image.
- All these will be stitched.
Your beautiful and fun love professing lehenga tassel is ready to be worn duing your wedding day!


 +91 99676 55545