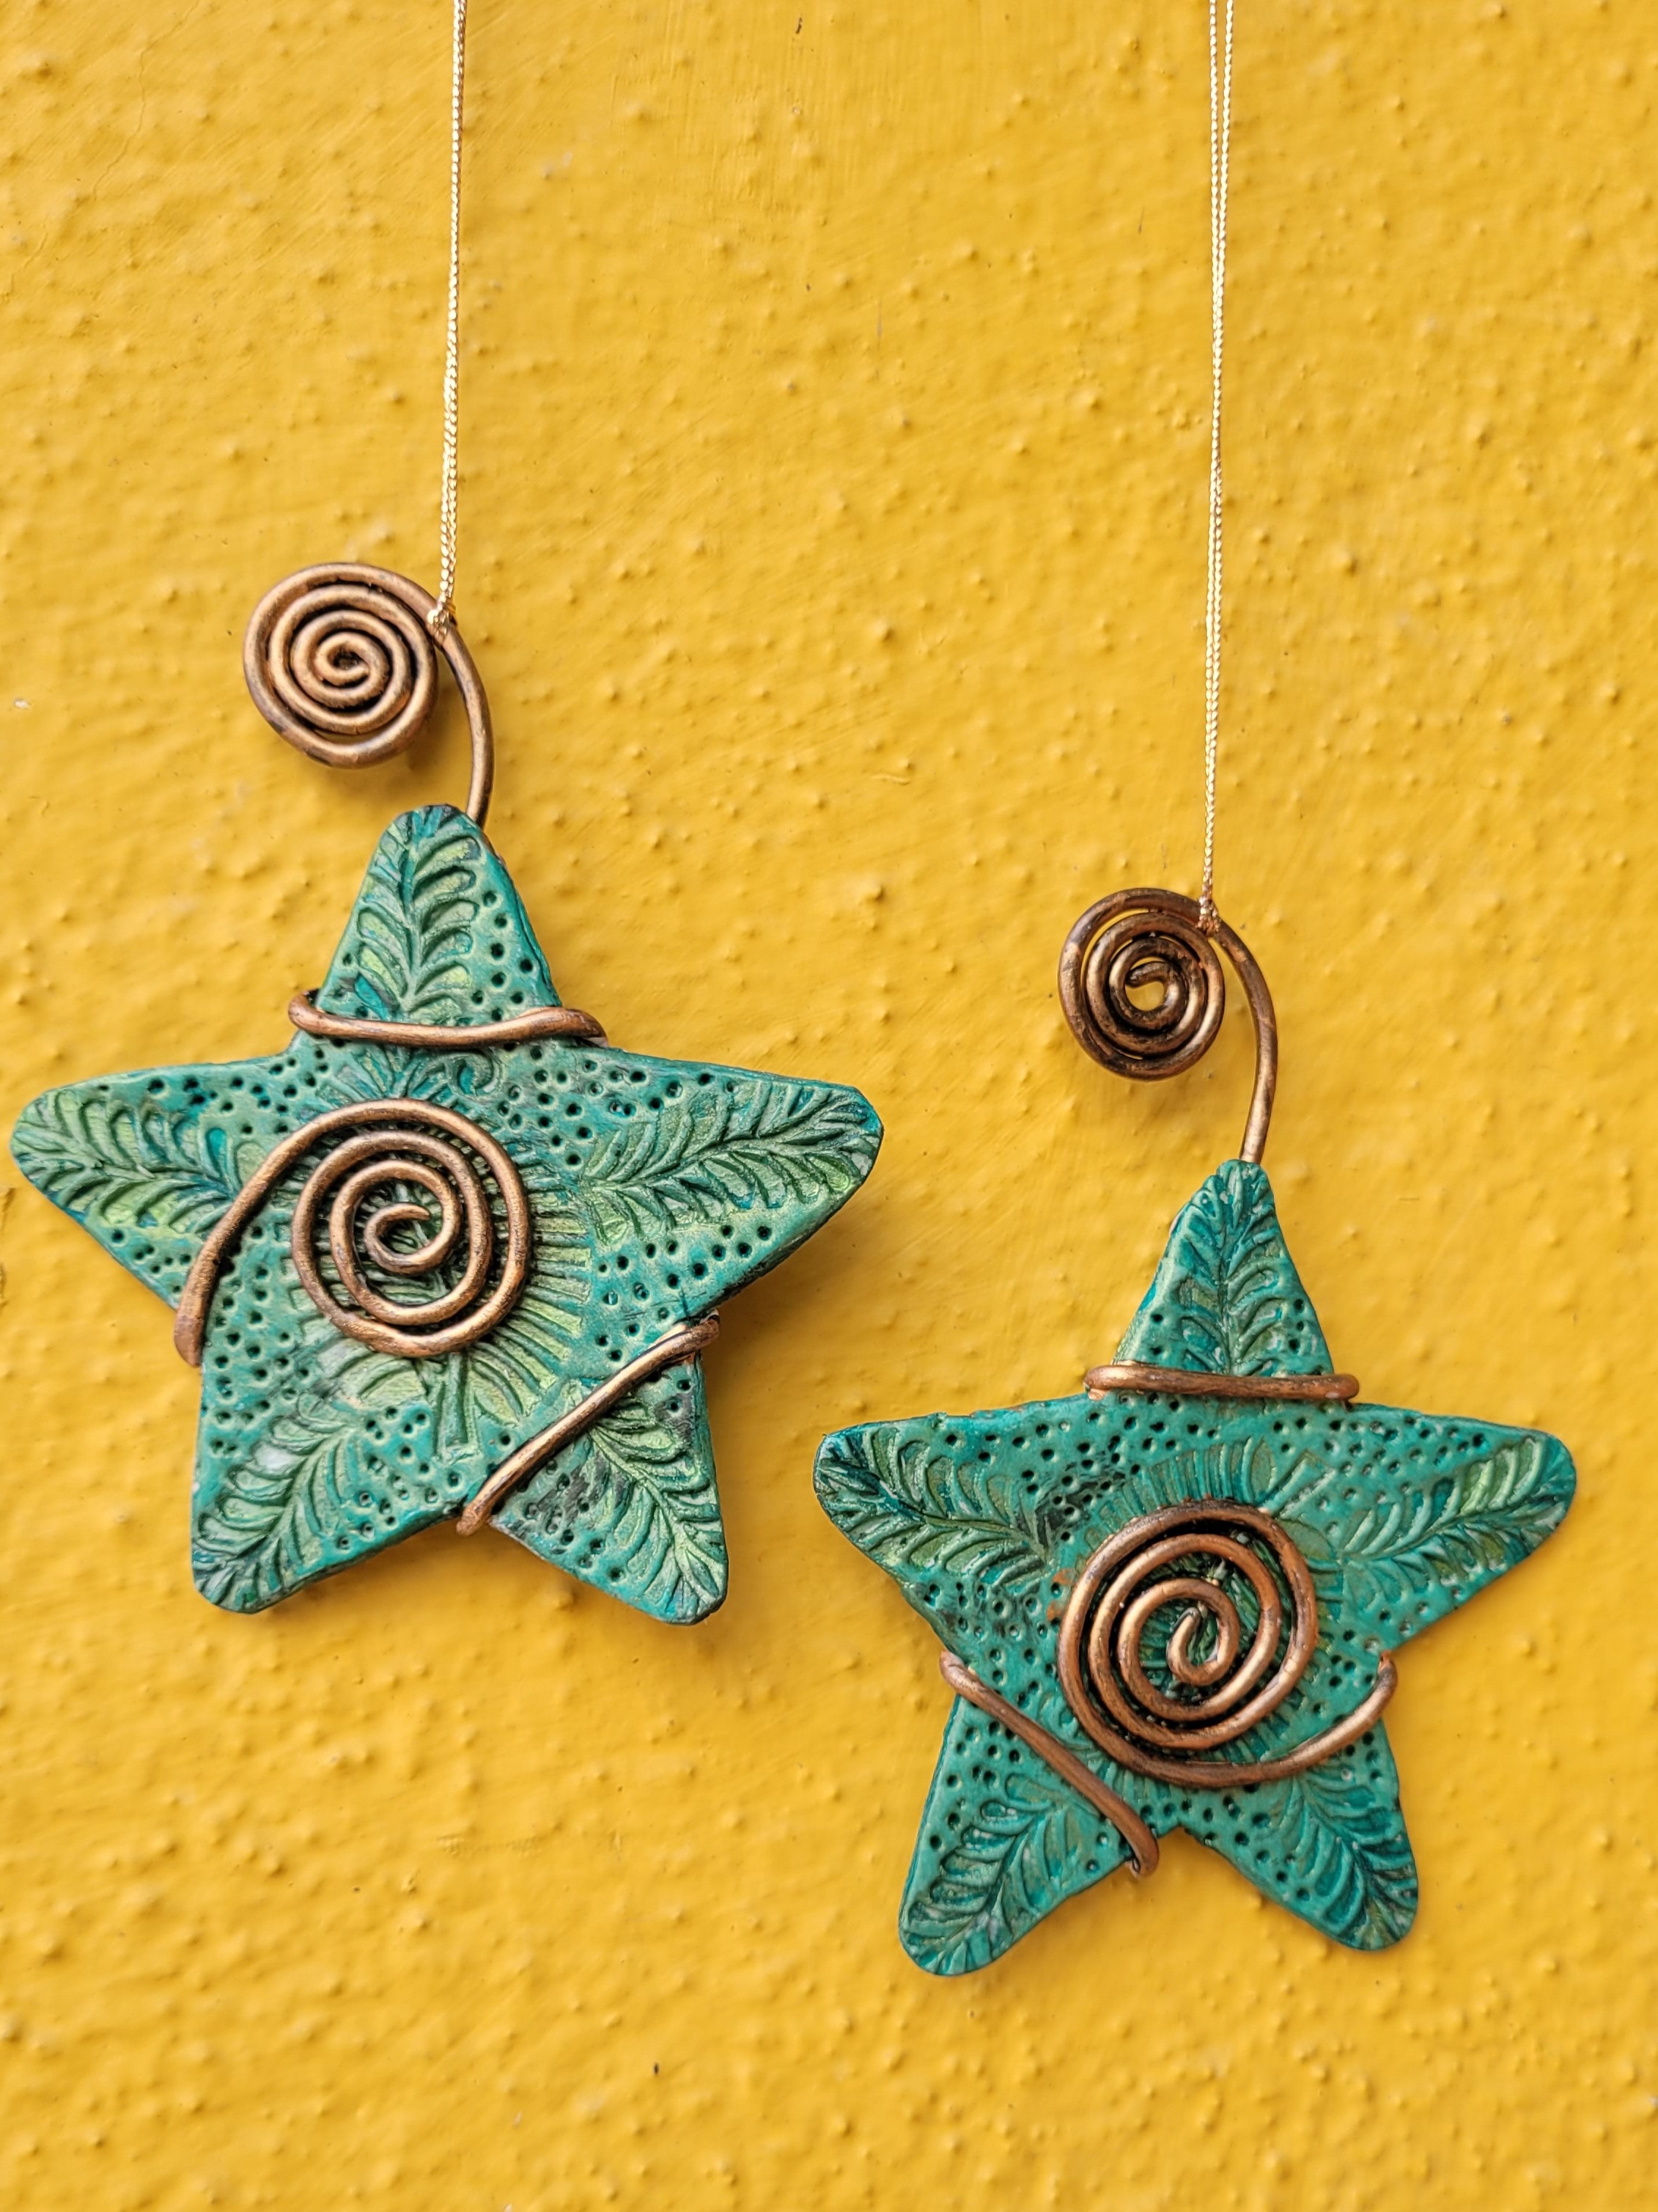
X'Mas Star Decoration

You Will Need:
Fevicryl Acrylic Colour Black 02, Dark Green 06, Fevicryl Acrylic Colour Sparkling Pearl Golden Green 911, Fevicryl Acrylic Colour Pearl Metallic Bronze 355, Fevicryl Mouldit, Fevicryl Fabric Glue, Fine Art Bushes, Rolling Pin, Clay Carving Tools, Paper Cutter, Pencil, Wooden Block (Any Carved Design), Pencil, Bronze Colour Cord, Scissors, Colour Palette, Water Container
Product Used:


Description :
Make this beautiful DIY using Fevicryl Mouldit and hang it on your Christmas tree this season!
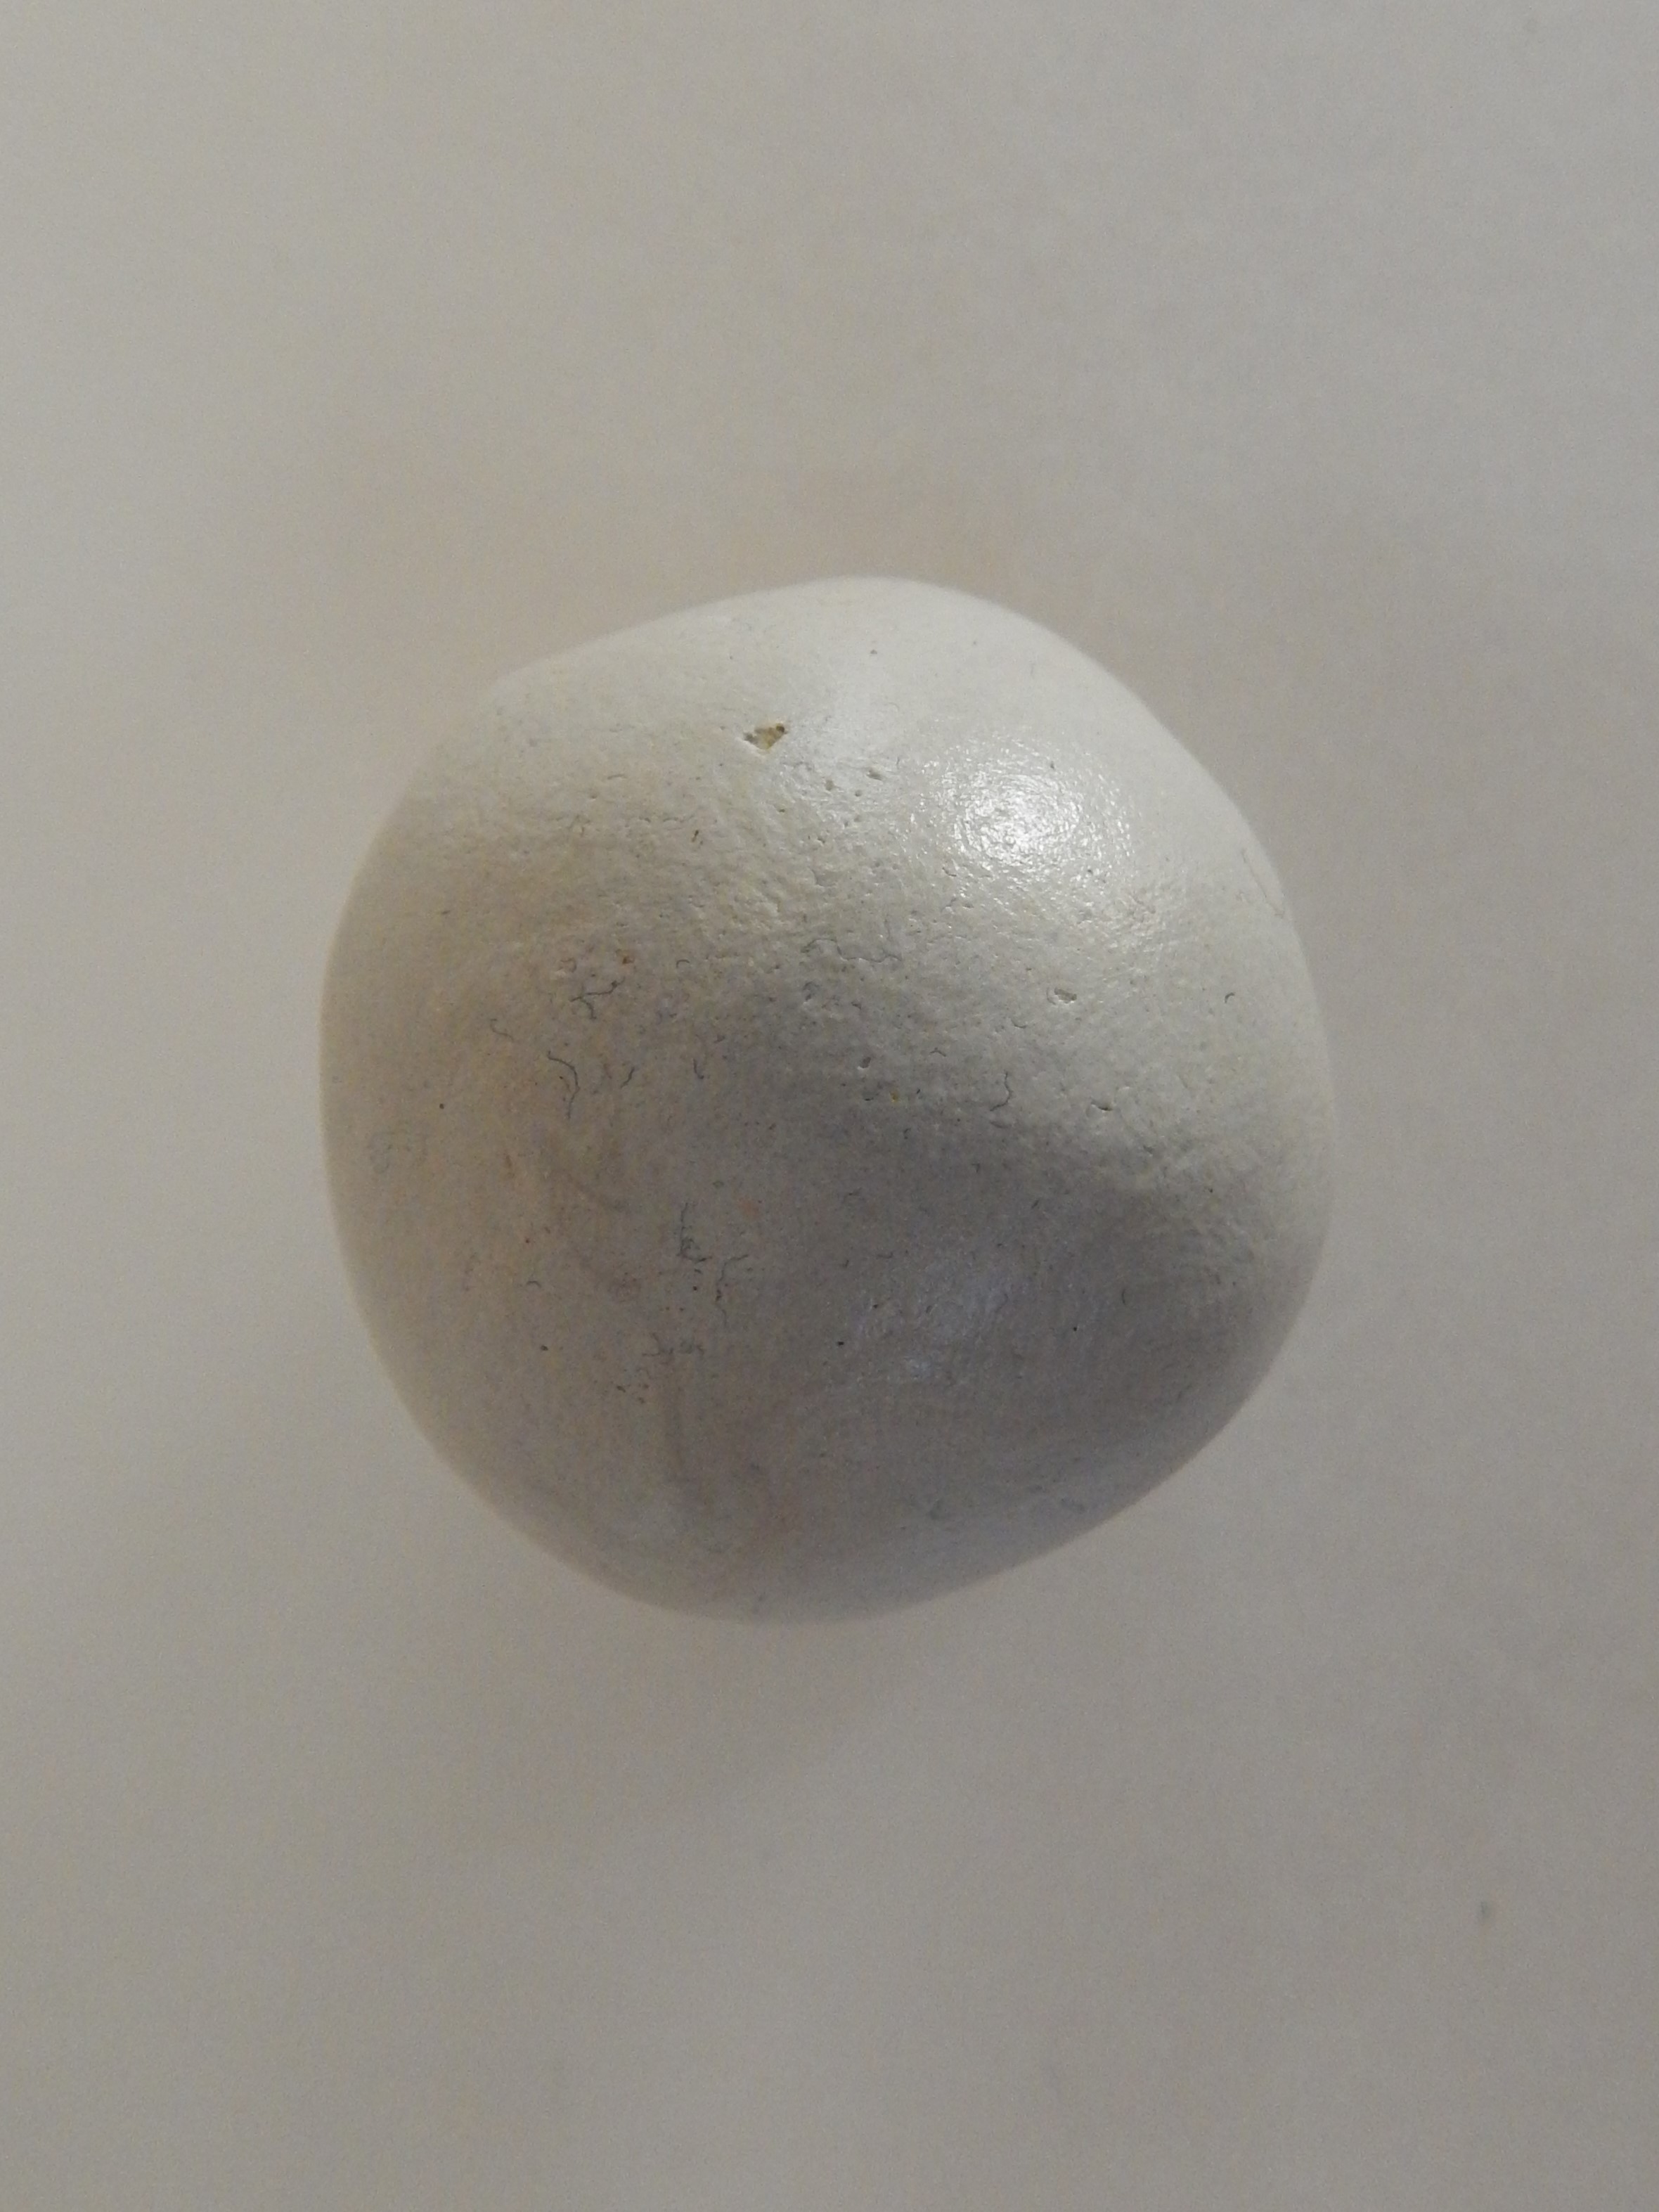
Take Fevicryl Mouldit Resin base & hardener, mix well to form an even soft dough.
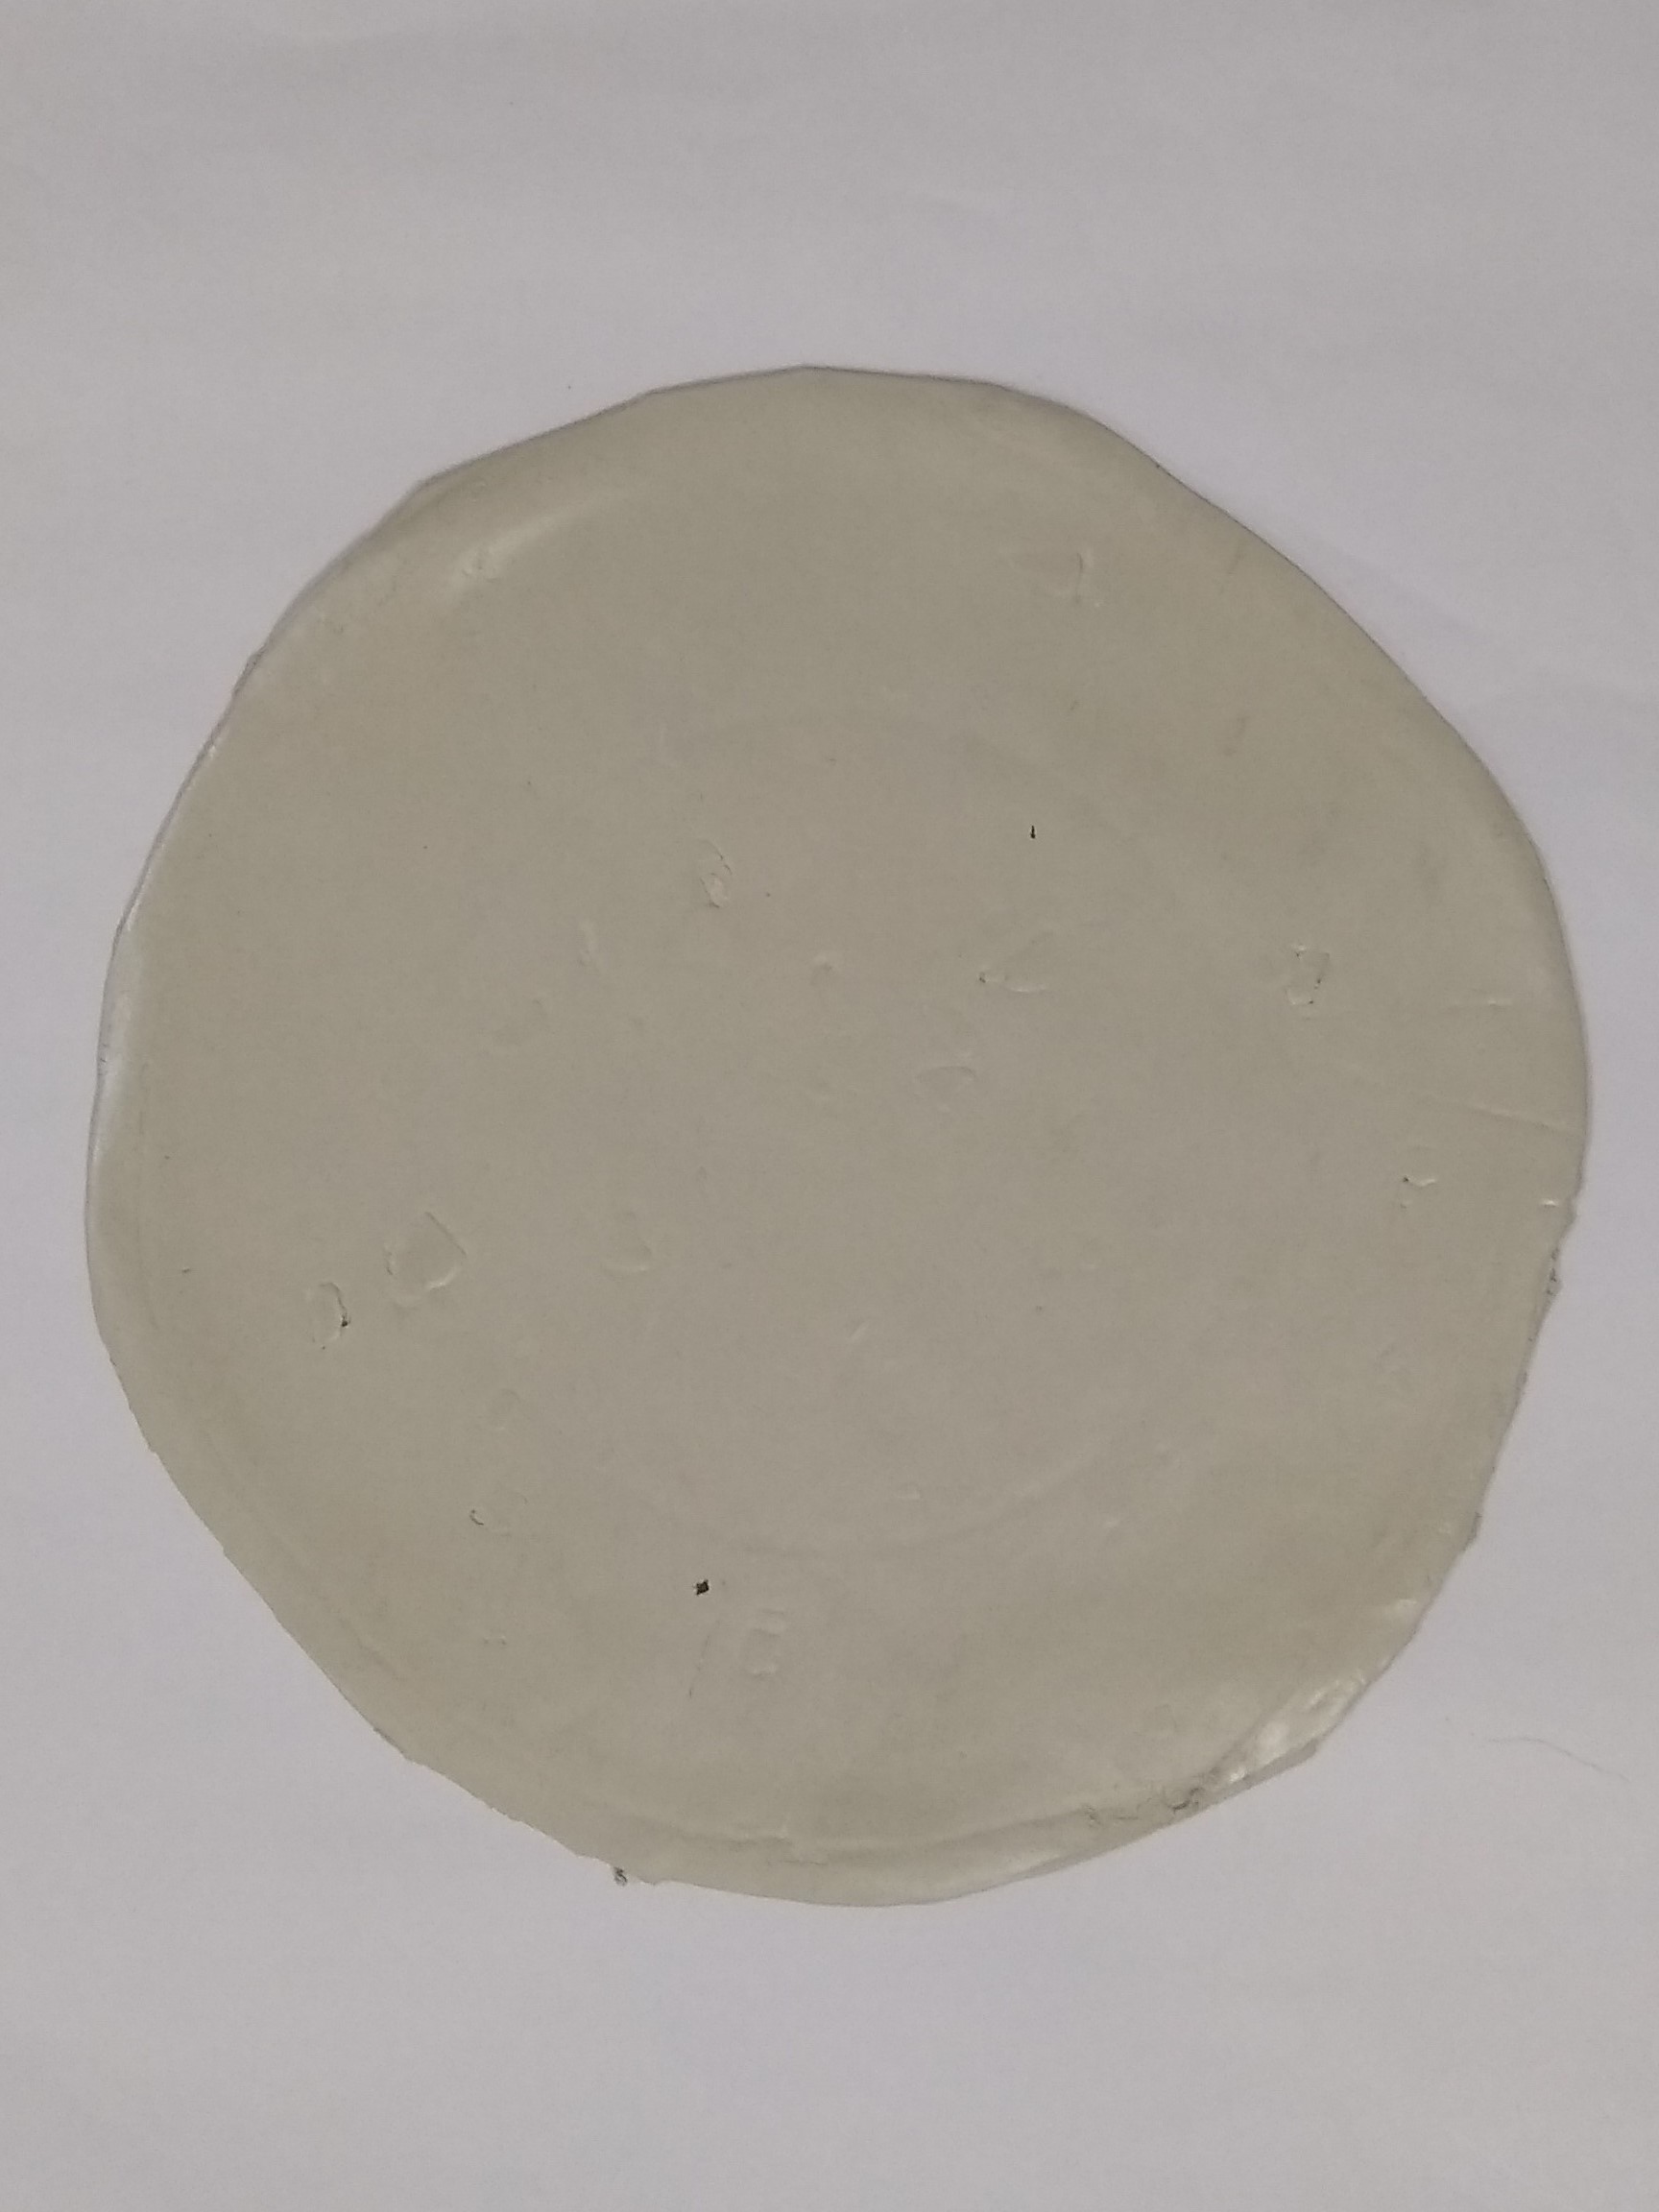
Take the dough, roll it to make the medium thick slab with rolling pin.

Draw and cut the star shape from the slab. Make 2 such stars.
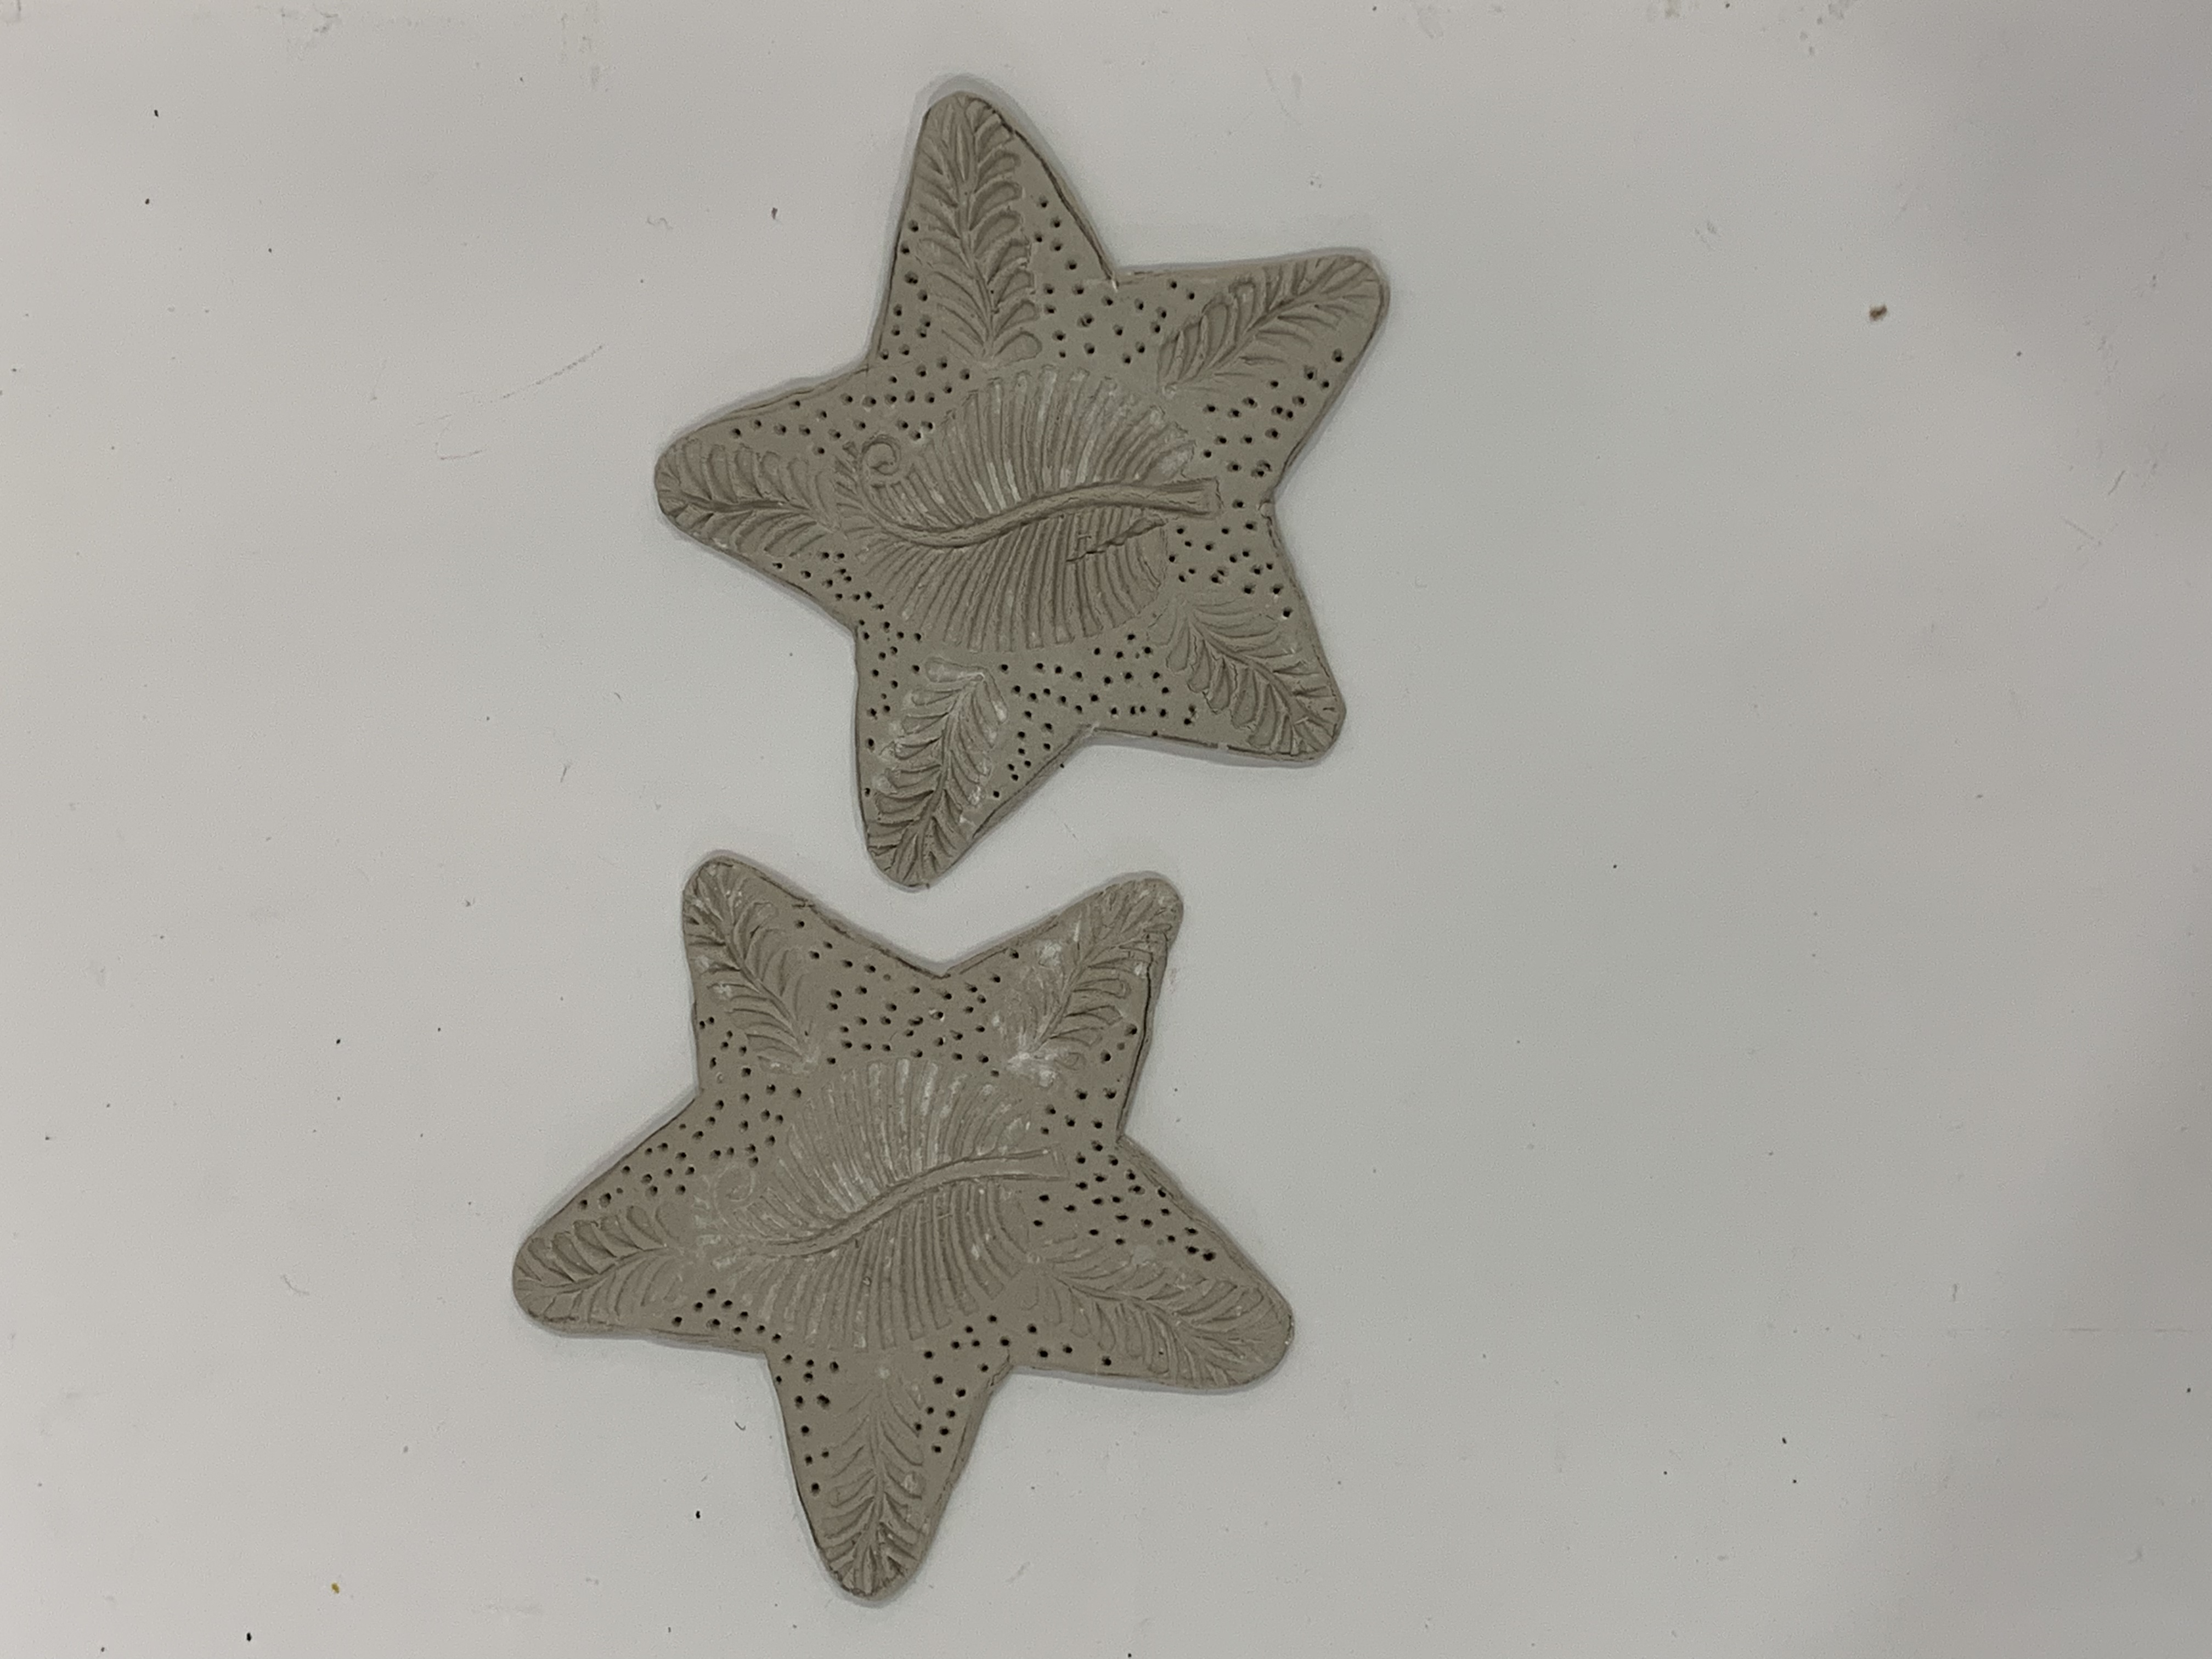
Take a wooden block (we have taken the leaf design block), create the impression on the stars to make engraved effect design. Let it dry
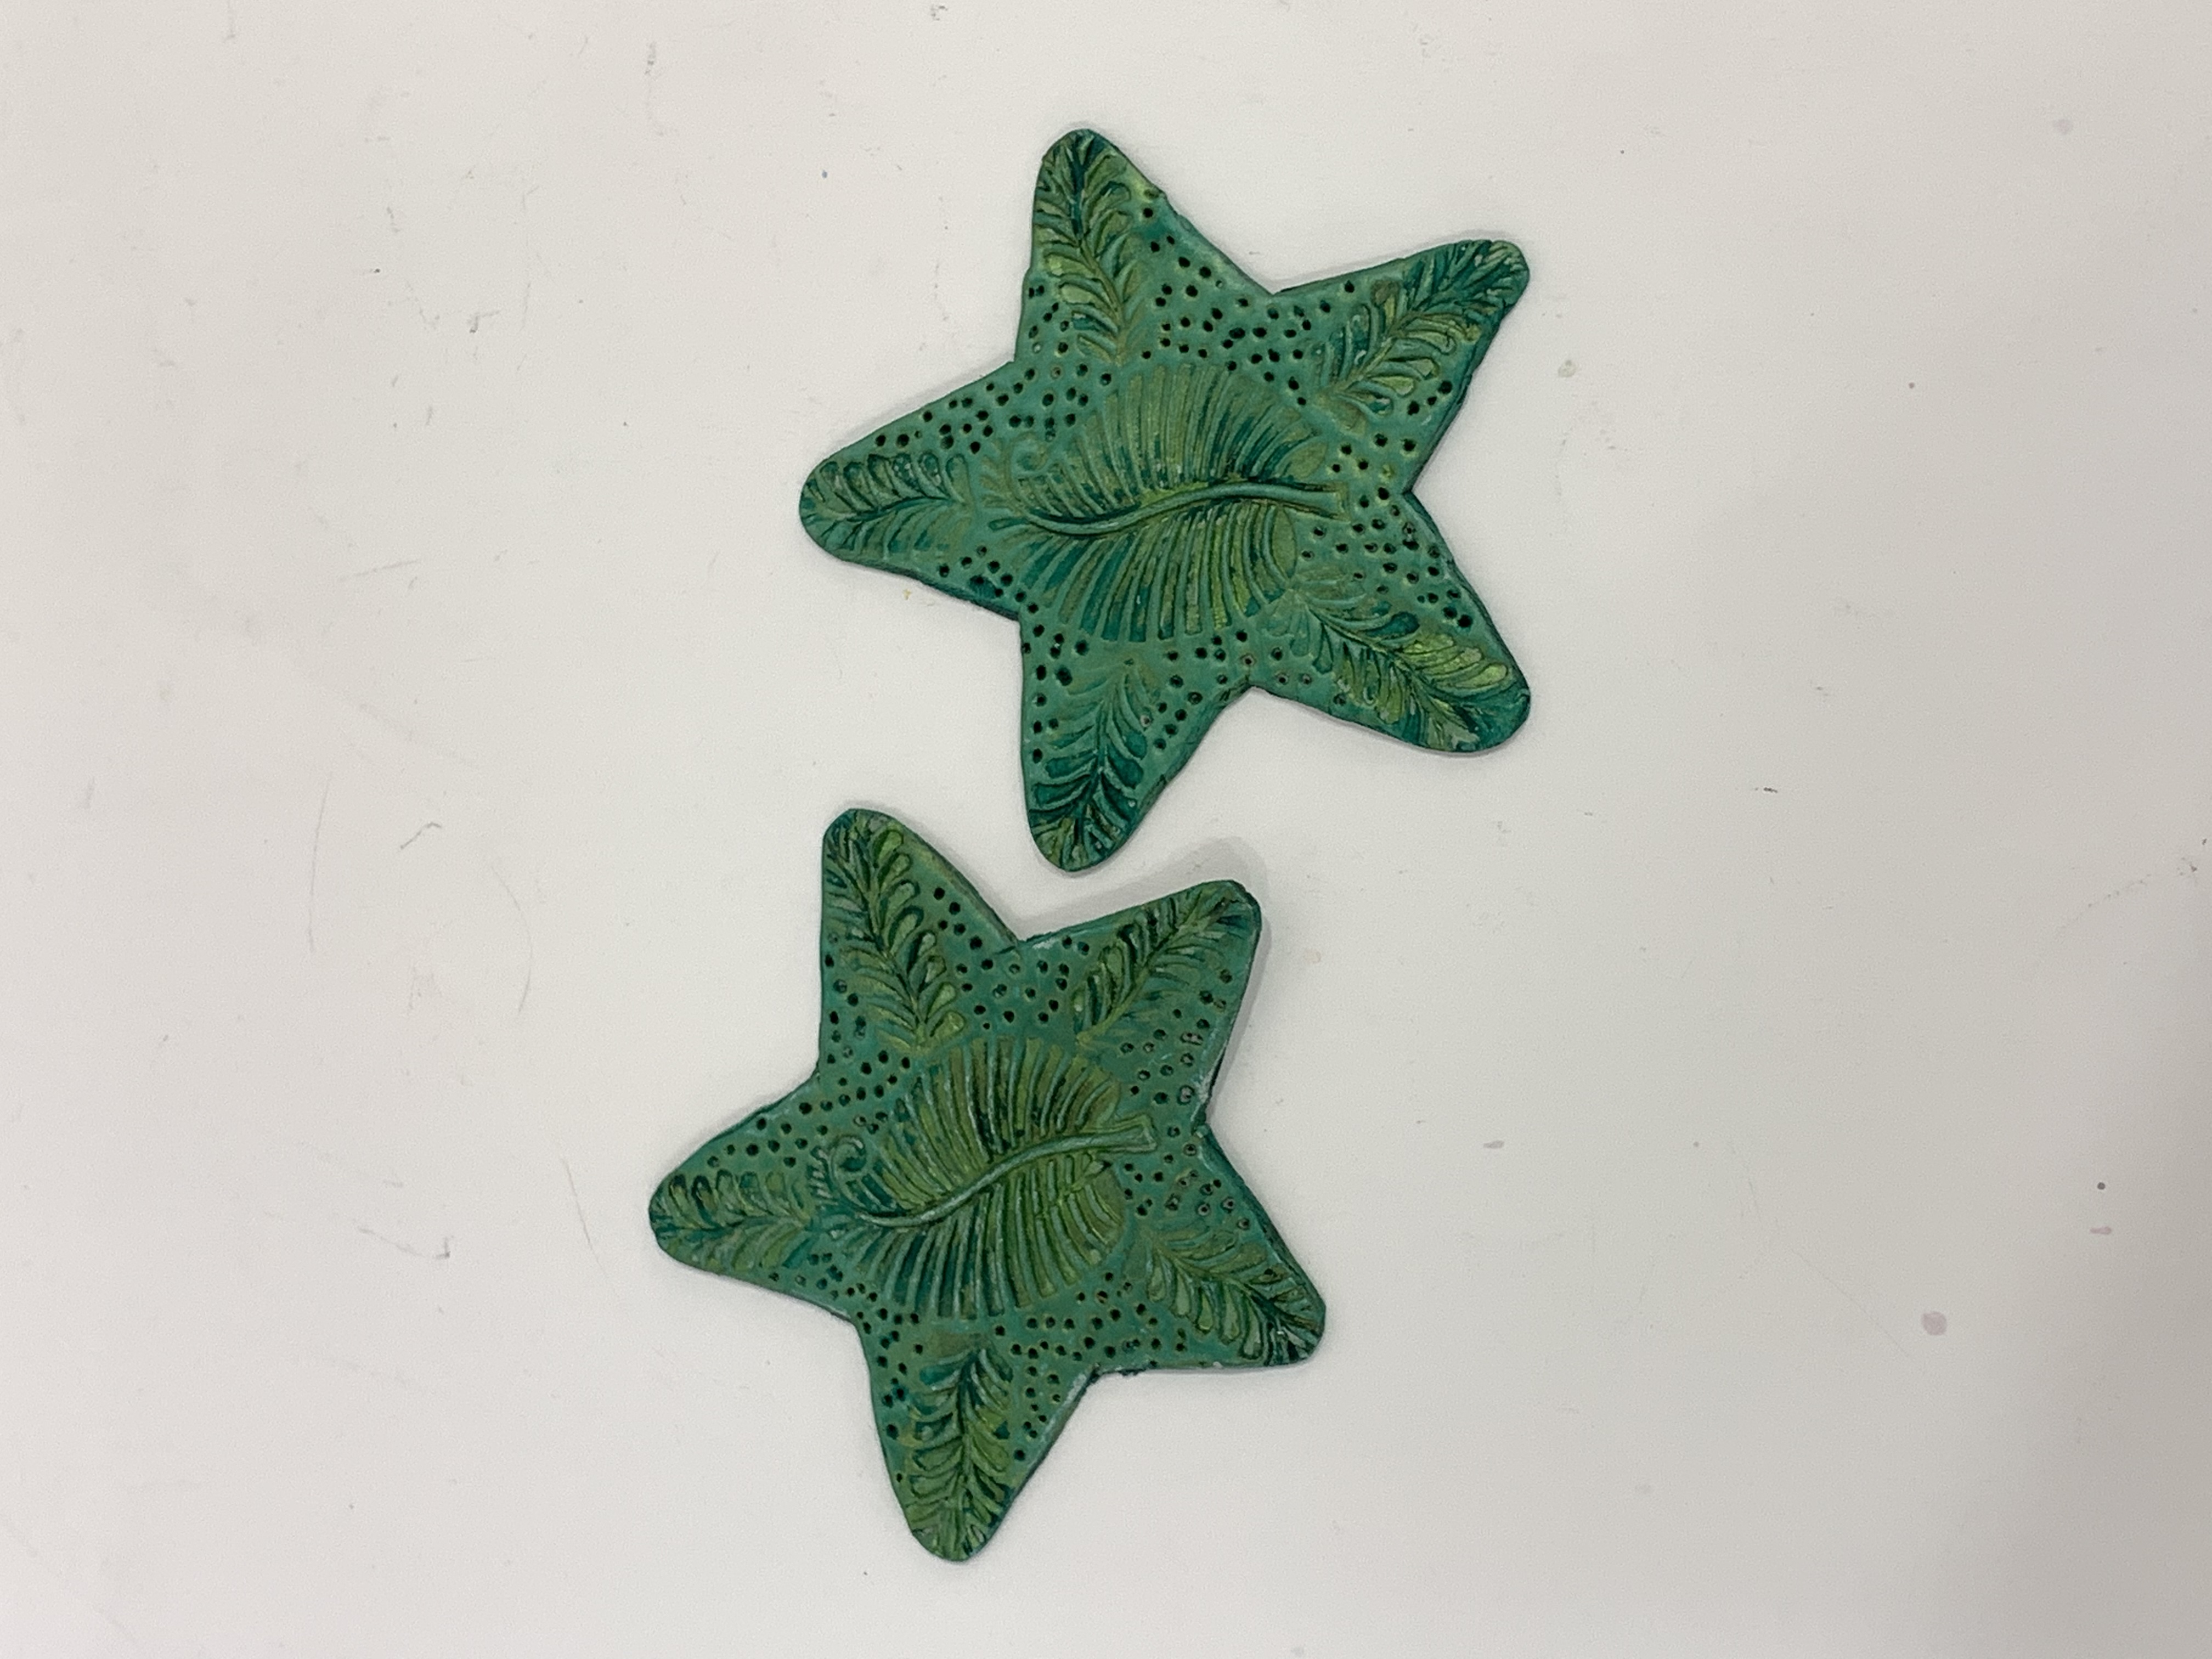
Paint the stars first with a base coat of Fevicryl Acrylic Colour Dark Green 06, wipe out the colour from the base to get the rustic look. Paint the second coat with Fevicryl Acrylic Colour Sparkling Pearl Golden Green 911. Let it dry.
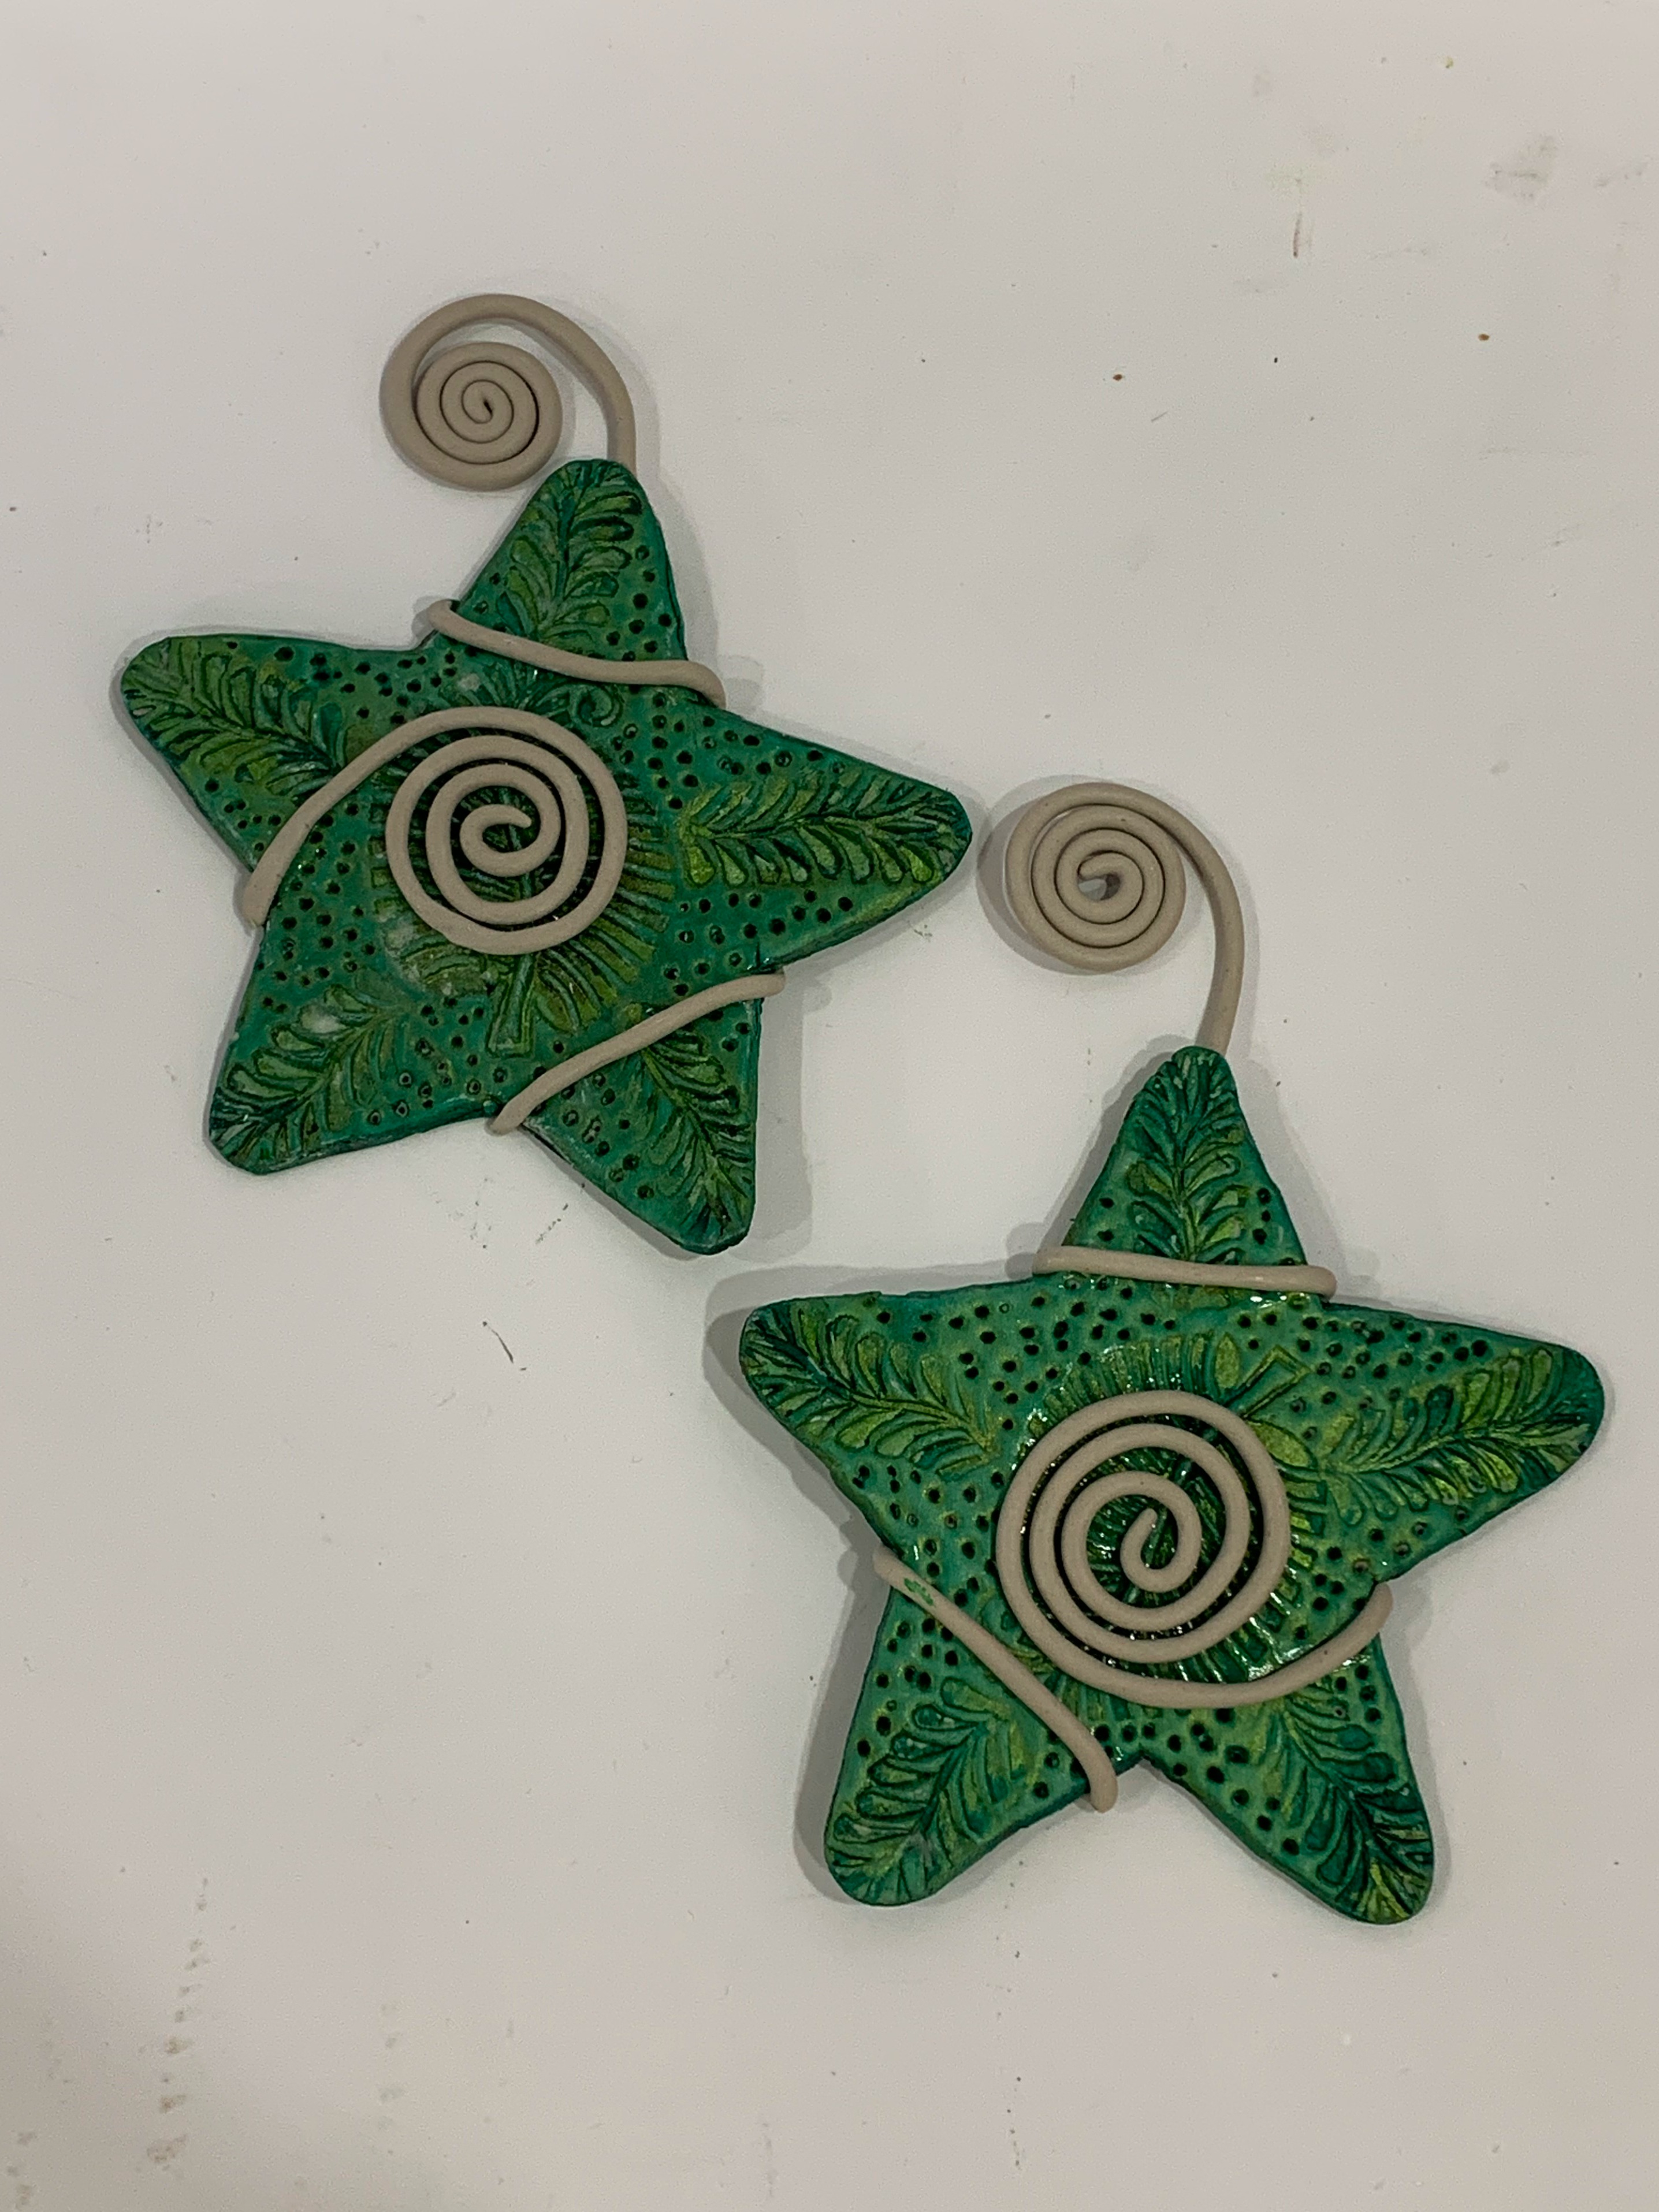
Take some clay, roll it to make the coils out of it. Wrap and stick the coil around the star using Fevicryl Fabric Glue and keep the end of the coil as the holder. Let it dry.
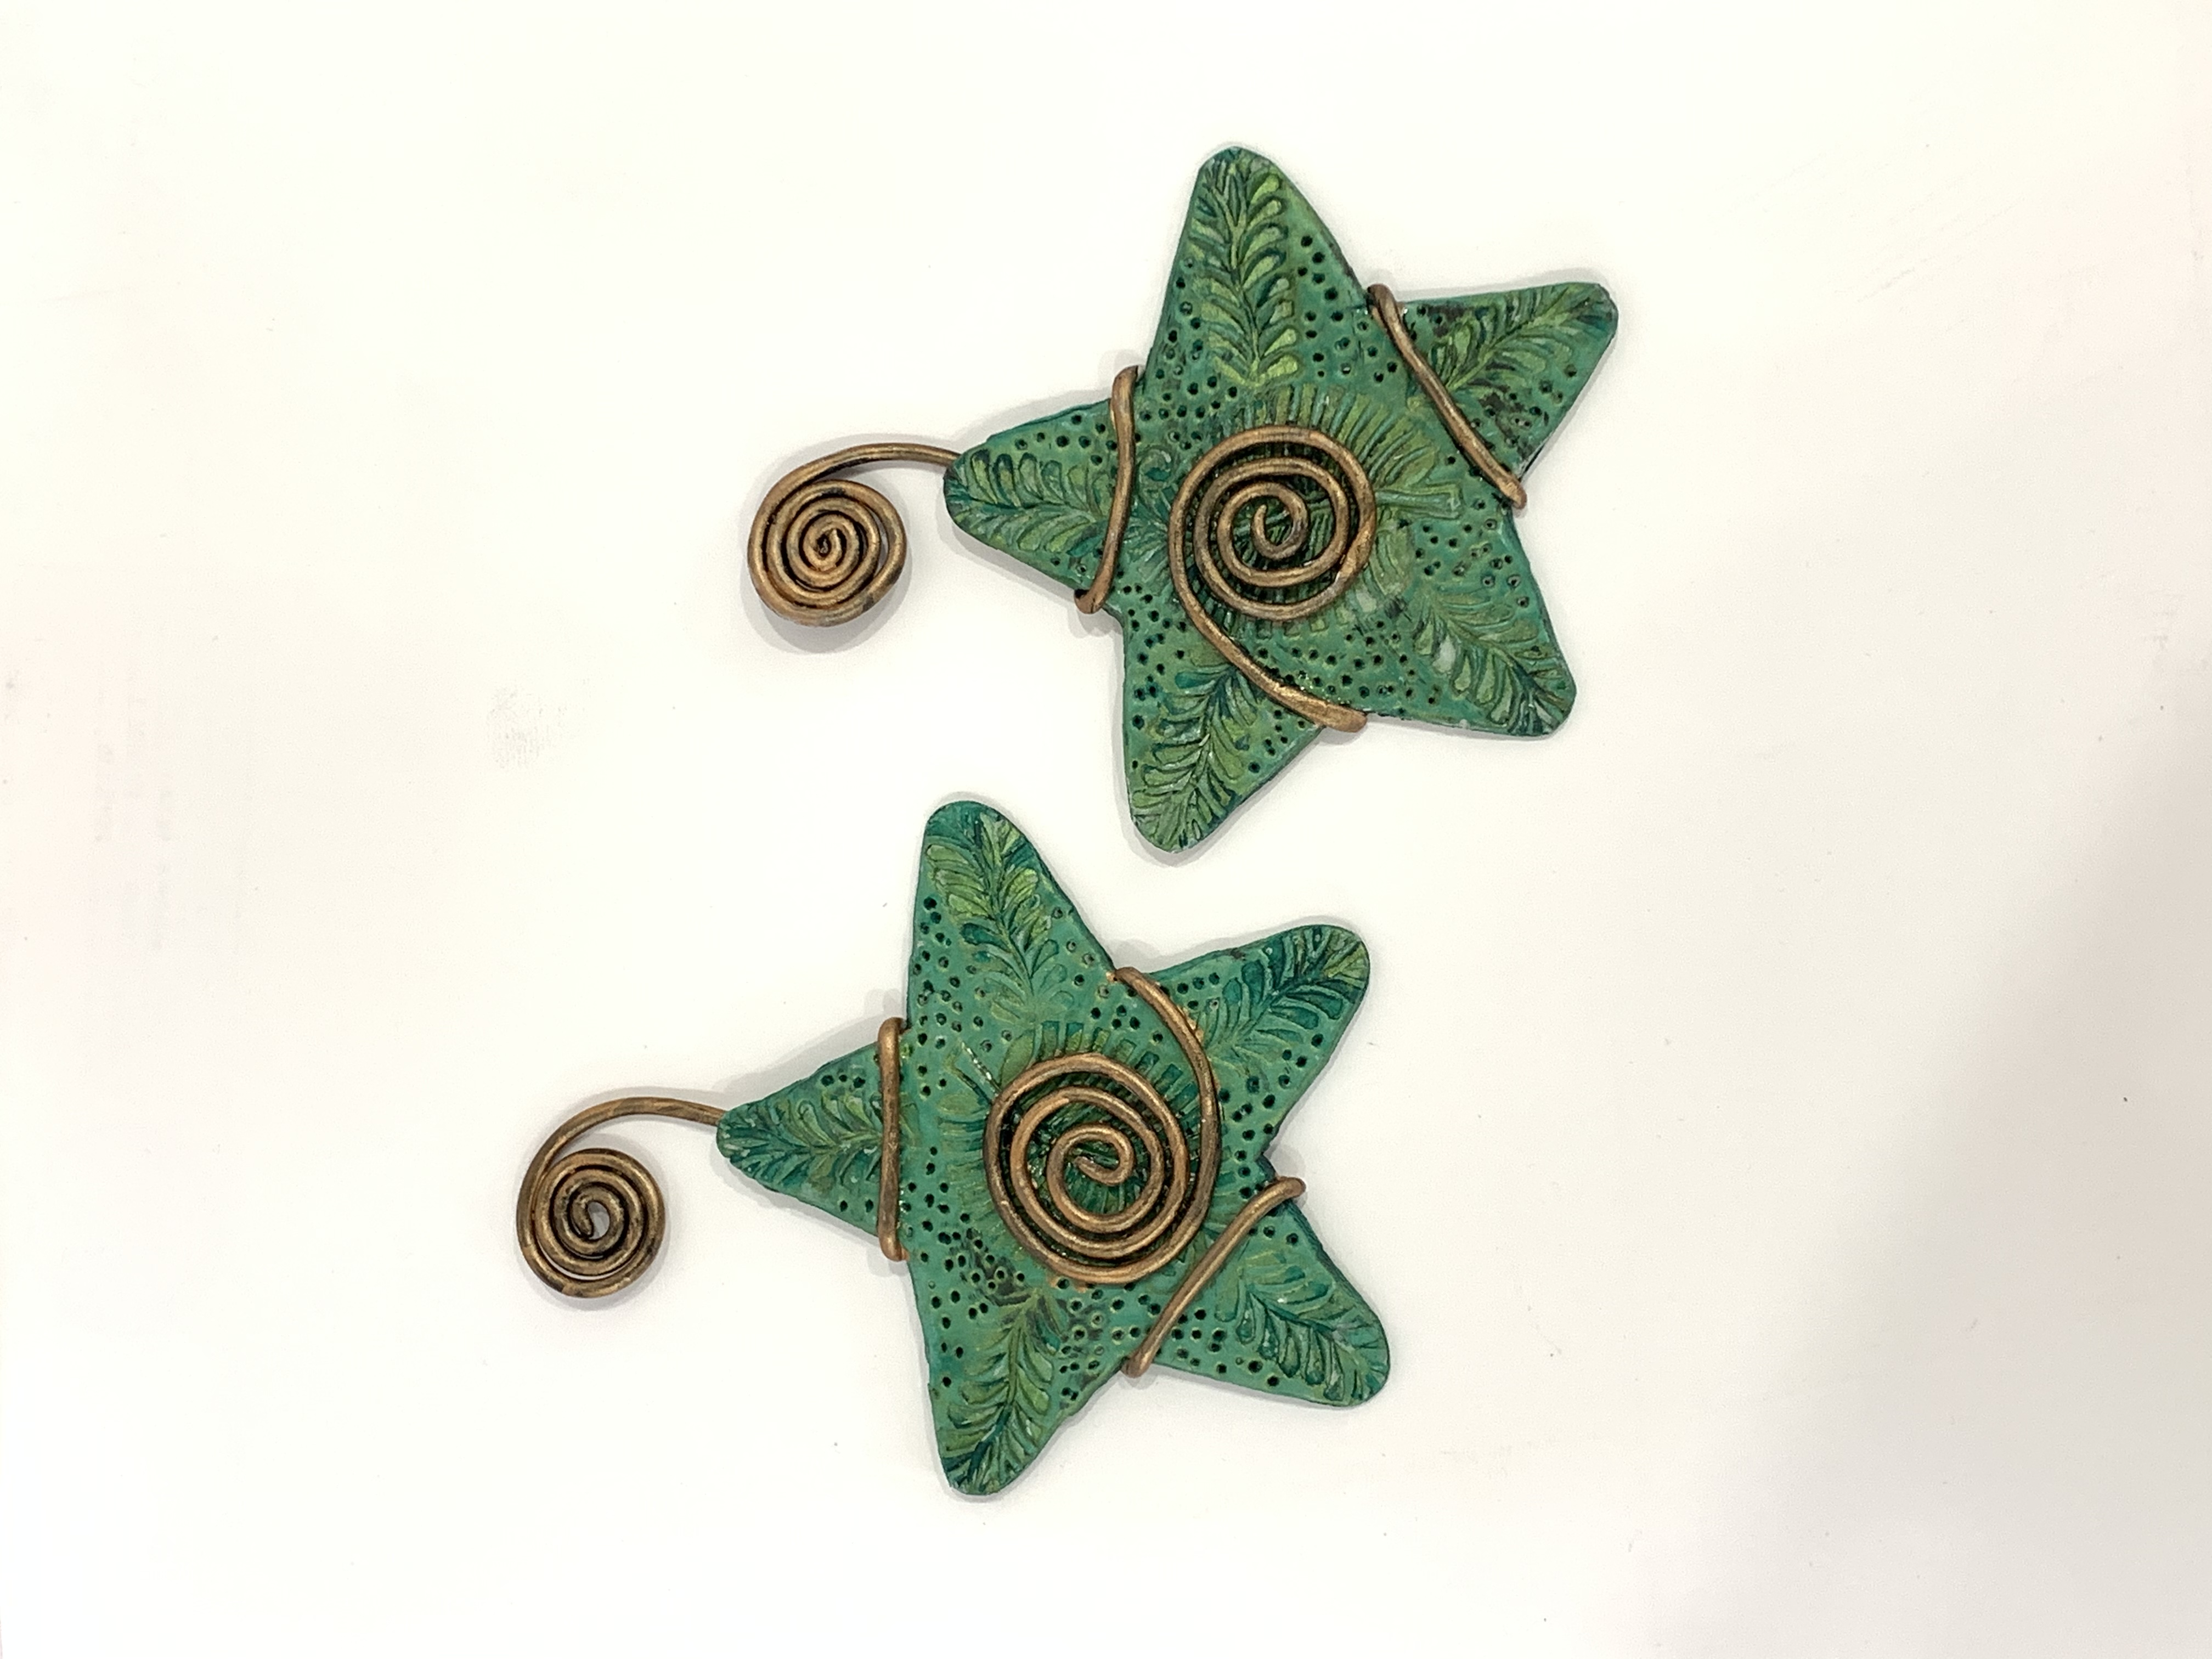
Paint the wrapped coil hanger in antique style using Fevicryl Acrylic Colours Pearl Metallic Bronze 355 and Fevicryl Acrylic Colour Black 02. Let it dry.
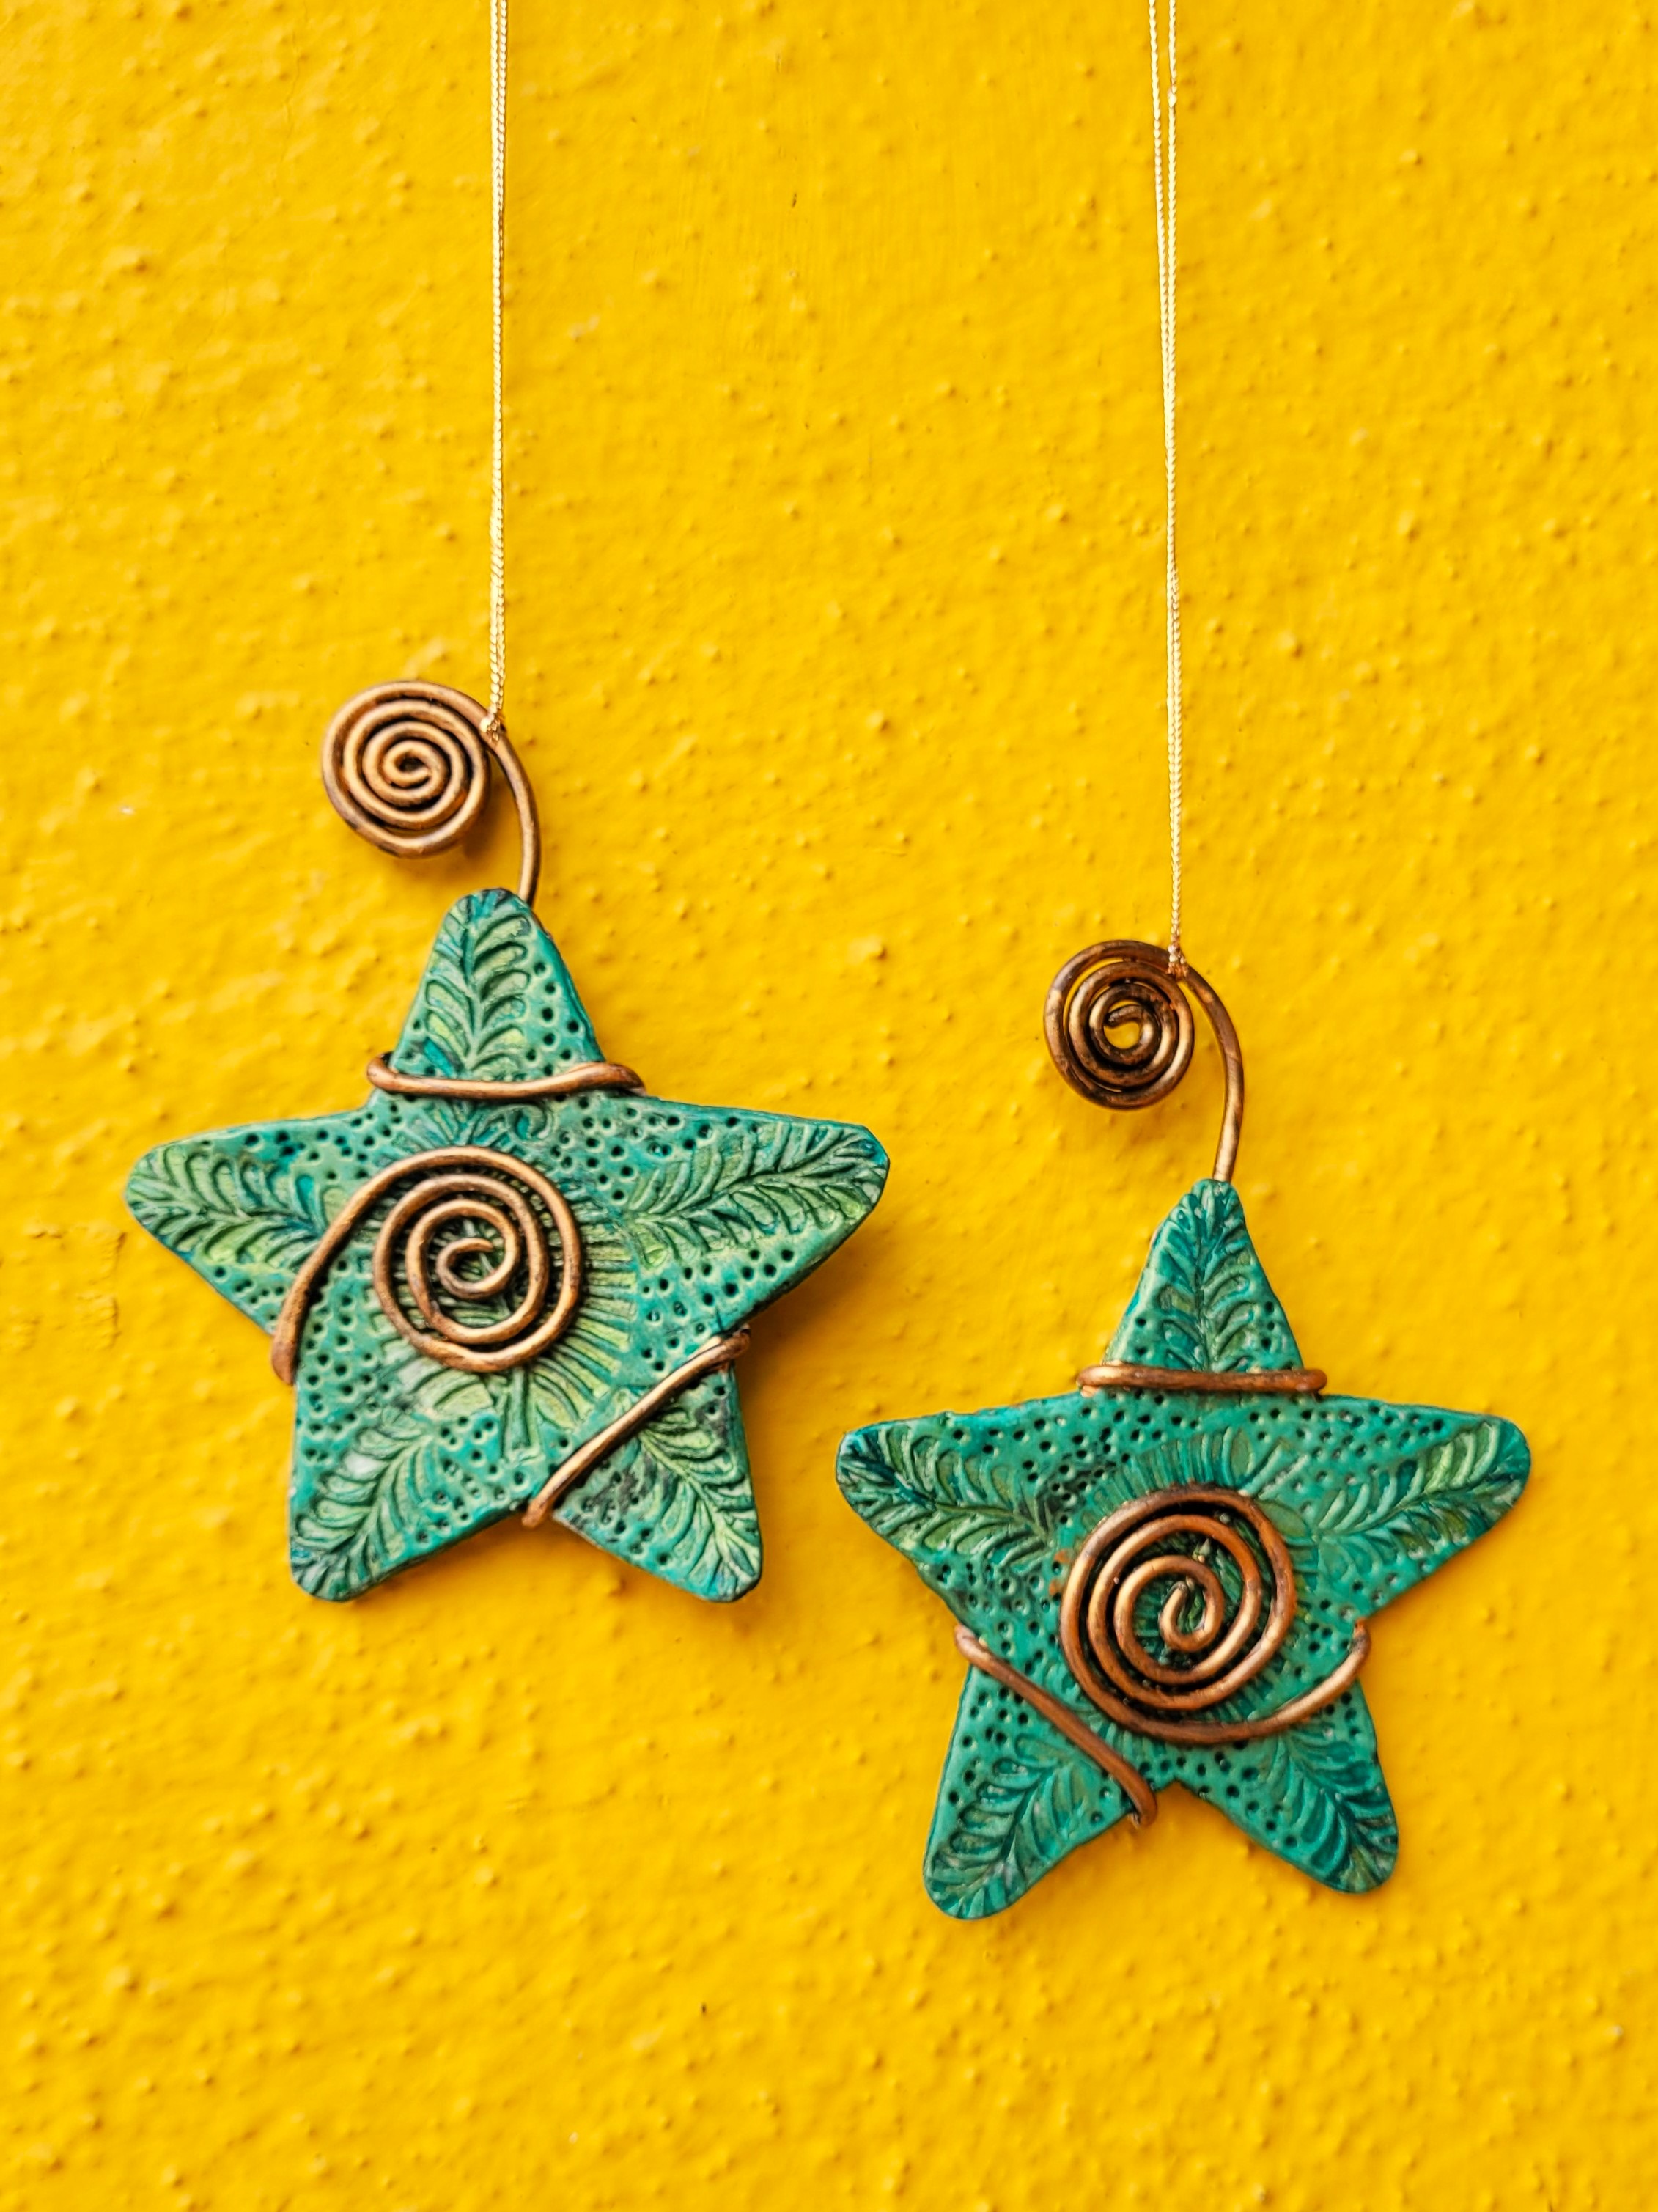
Attach a bronze colour cord to the stars. Your stars for the X’mas tree decorations are ready.


 +91 99676 55545