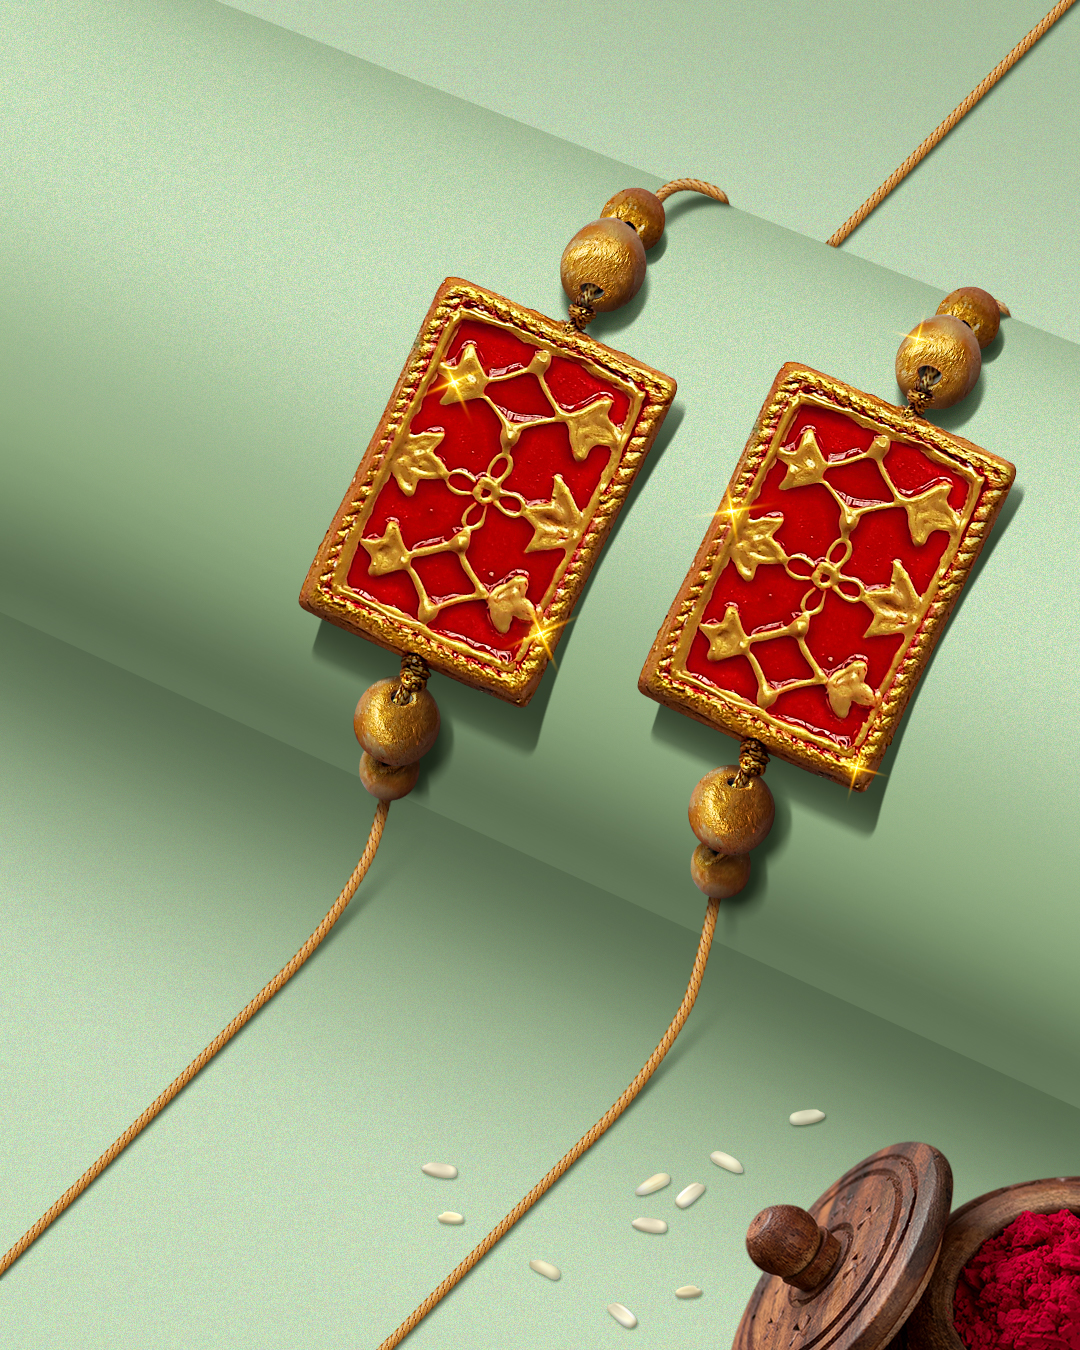
Theva Rakhi

You Will Need:
Fevicryl Acrylic Colours - Crimson 04, Fevicryl Acrylic Colour Pearl Metallic - Gold 352, Fevicryl 3D Outliner Pearl Metallic - Gold 352, Fevicryl - Water Based - Glass Colour - Tomato Red, Fevicryl Mouldit, Fevicryl Fabric Glue, Fine Art Brushes, Rolling Pin, Clay Carving Tools, Paper Cutter, Pencil, Golden Thread, Scissors, Colour Palette, Water Container
Product Used:


Description :
Traditional Theva rakhi made using Fevicryl Mouldit. Painted in a festive shade, making it an apt Rakshabandhan DIY. Nothing ever beats a handmade rakhi that’s made with love and affection.

Take Fevicryl Mouldit – resin base & hardener, mix well to form an even soft dough.
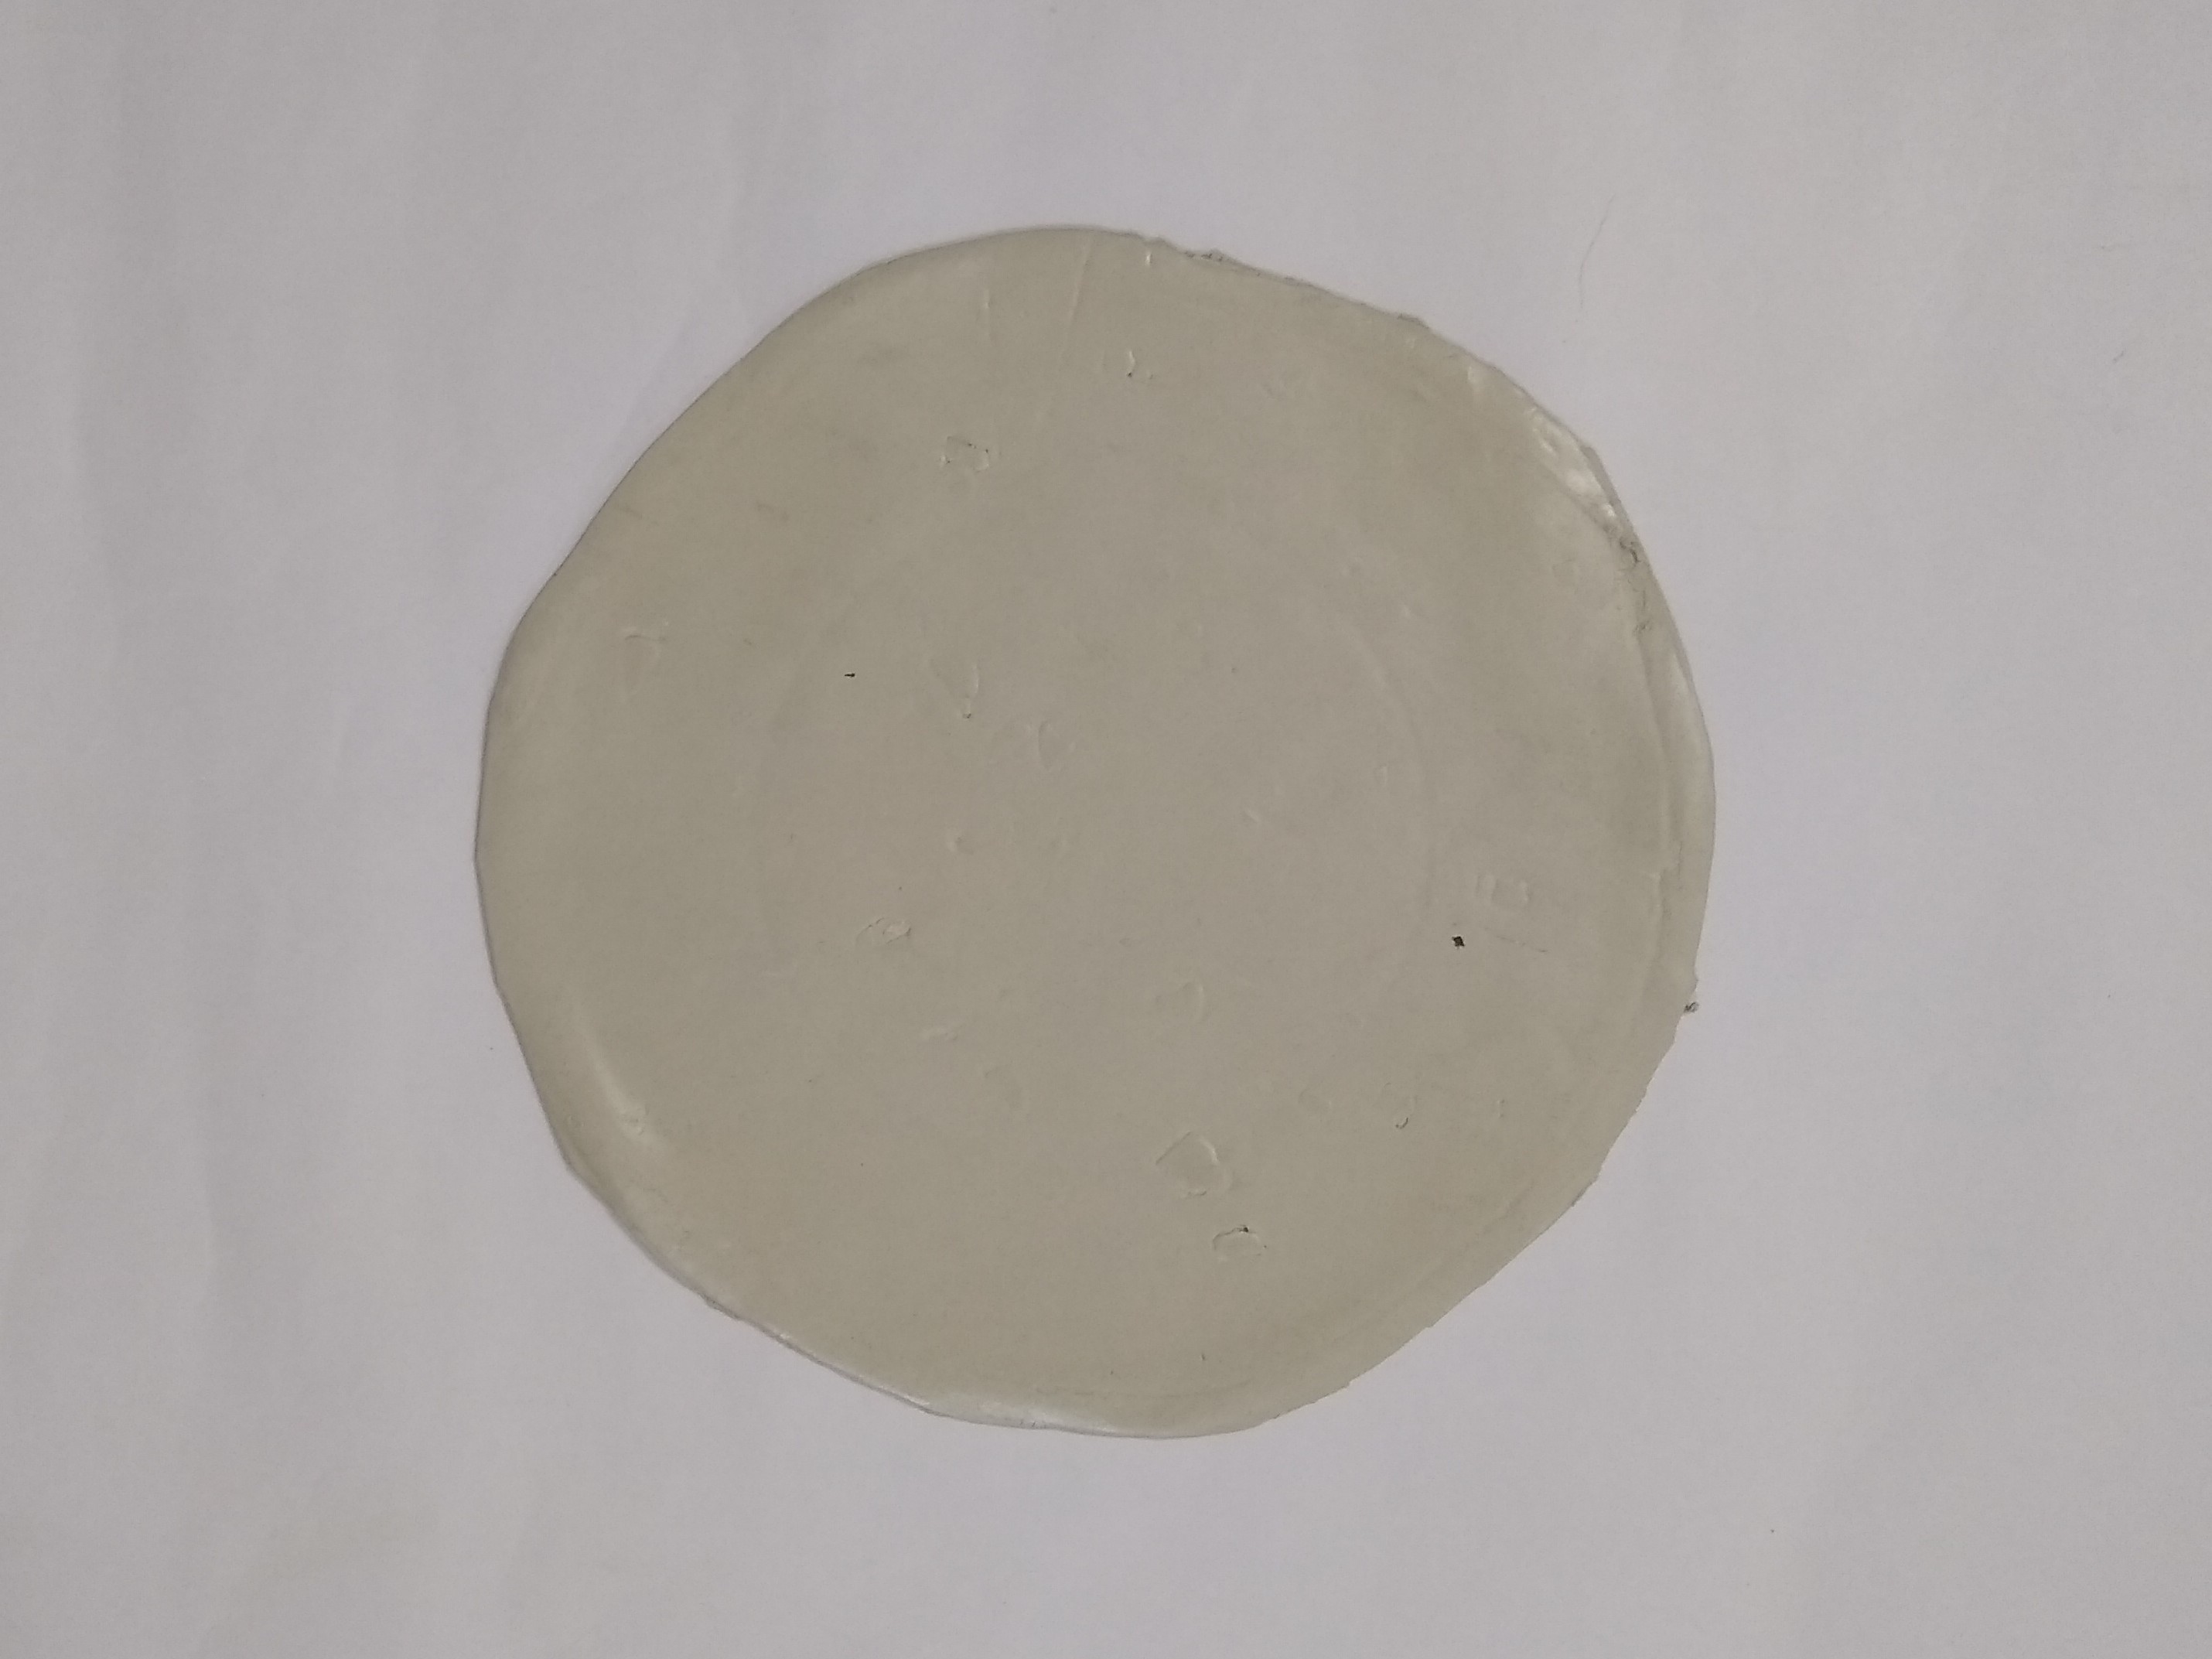
Roll the dough to make a medium thick slab using a rolling pin.
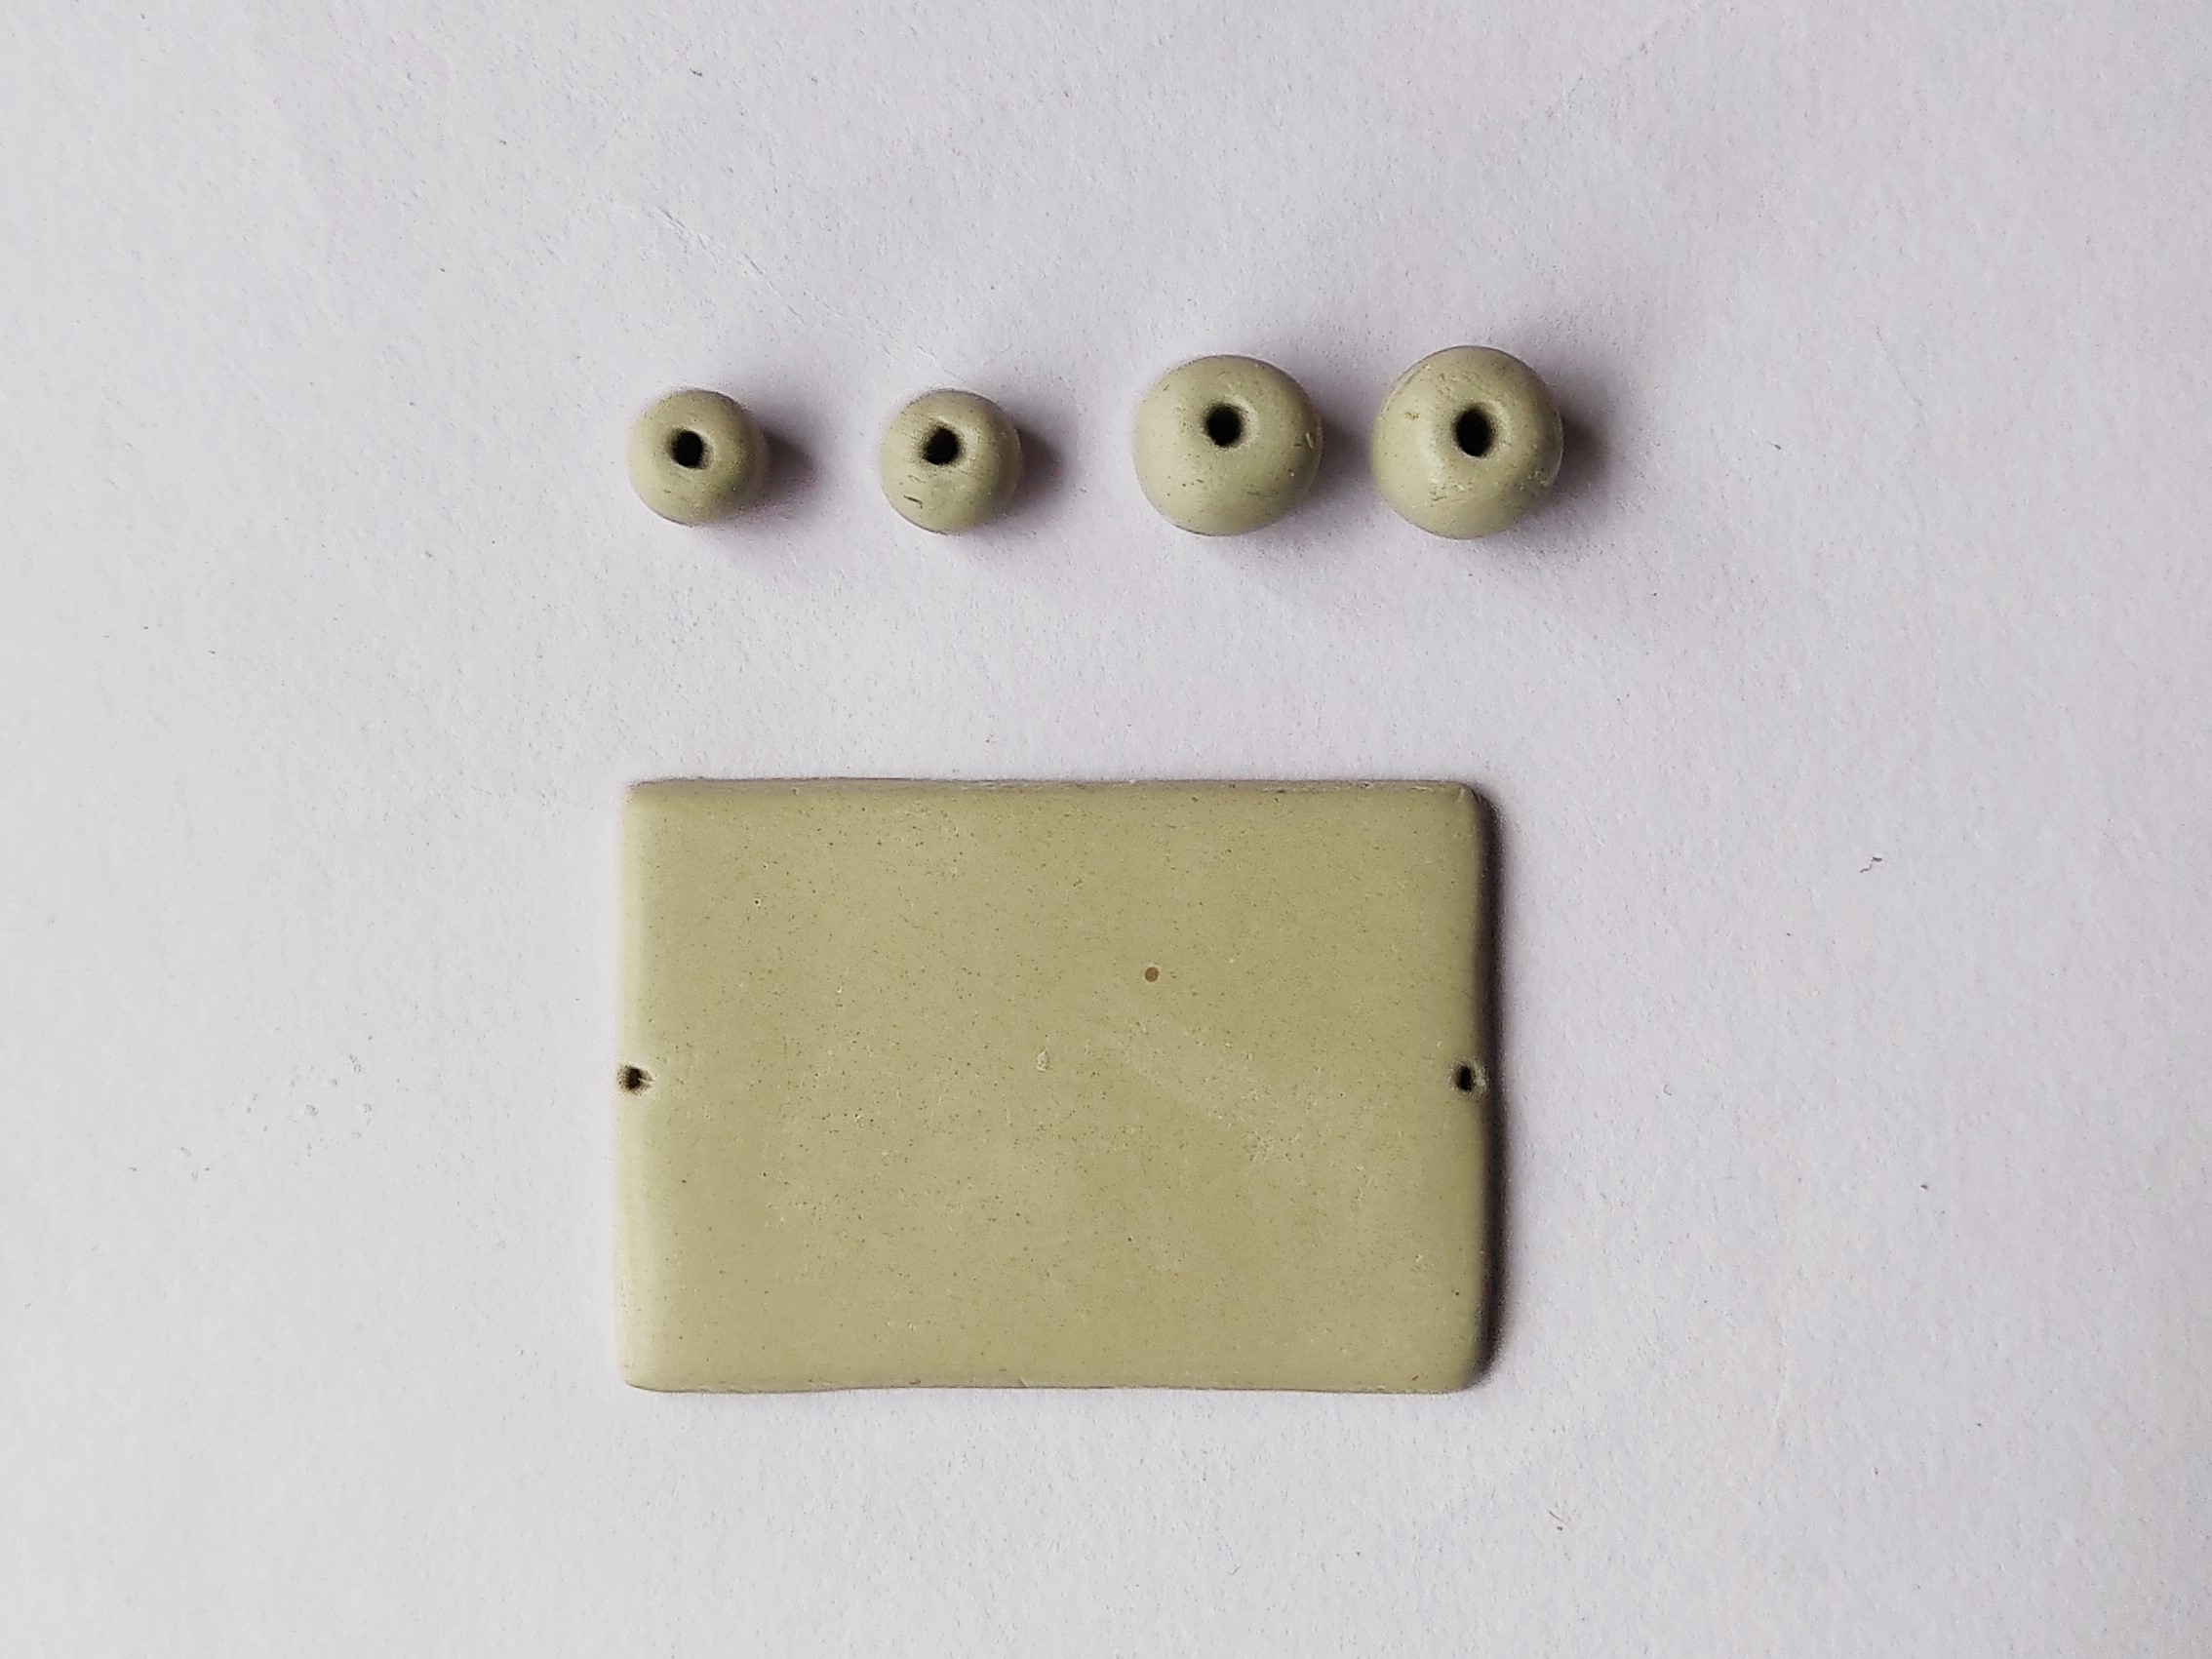
To make the base of the rakhi, shape the clay to make a small 2” x 1” rectangular slab, appropriate enough for the wrist. Make four beads with holes in each of them.
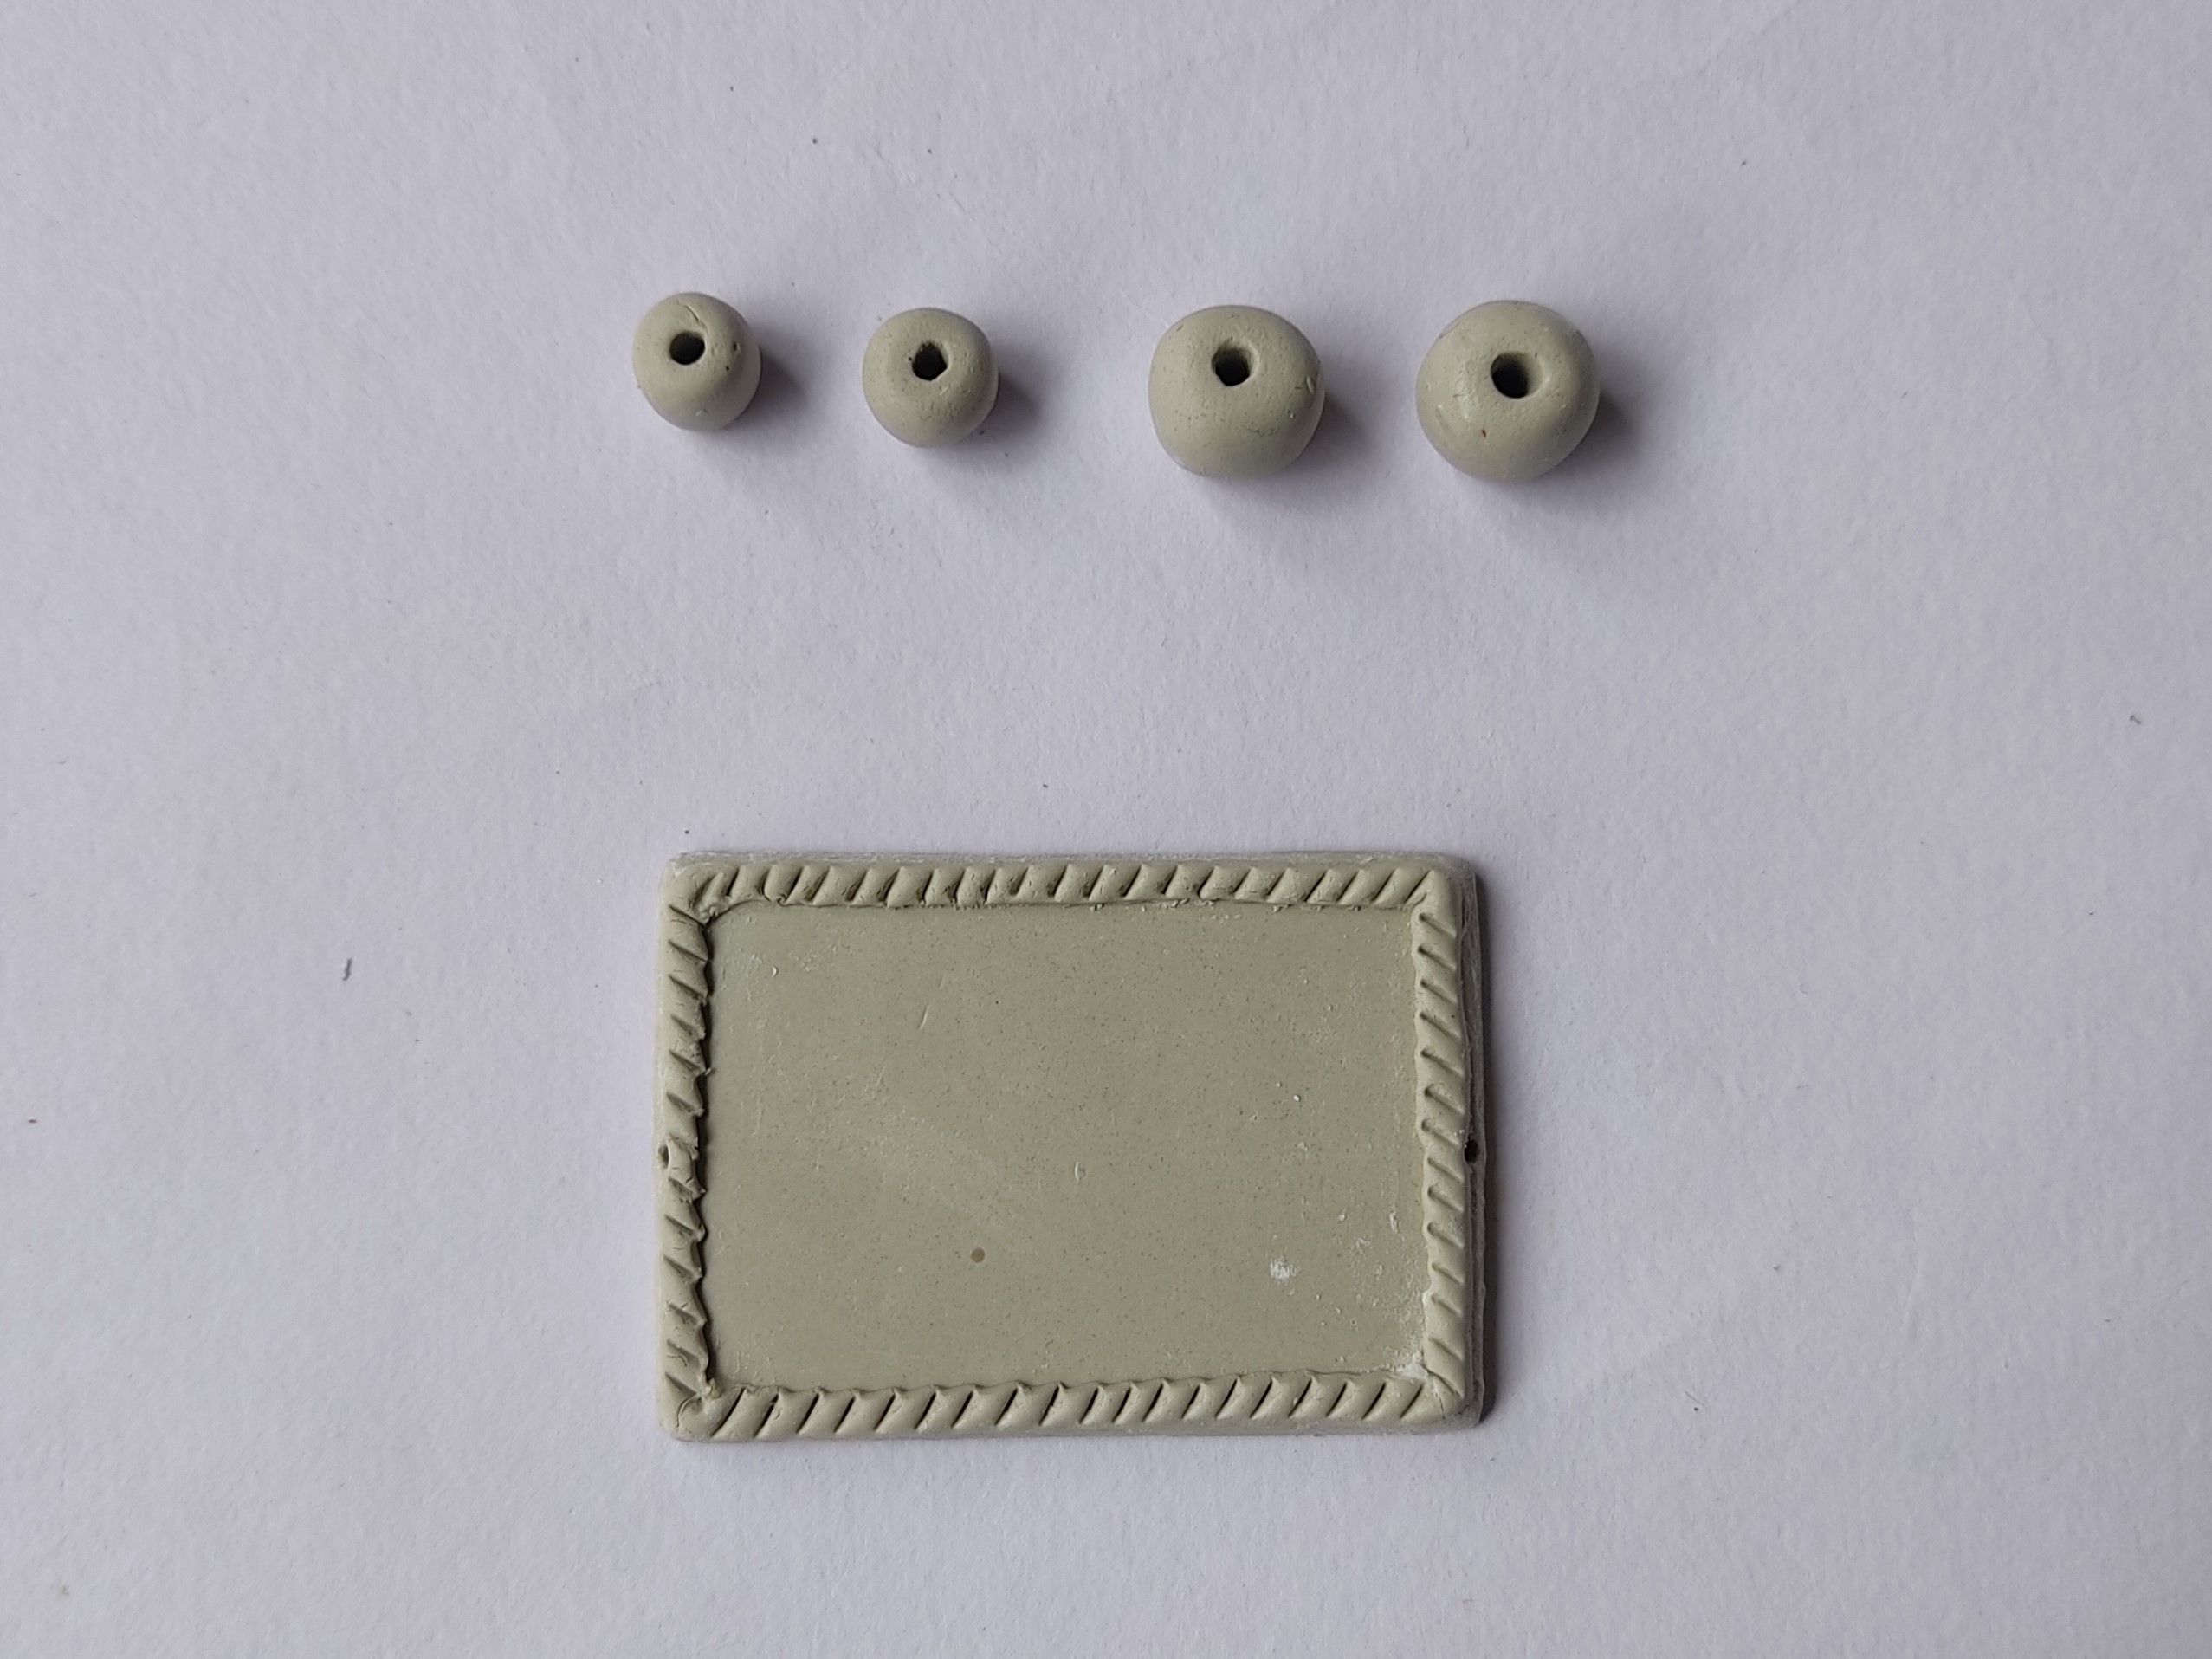
Take the clay and make long rope-like strips, stick and border the rakhi base and create textures on it using clay carving tools.
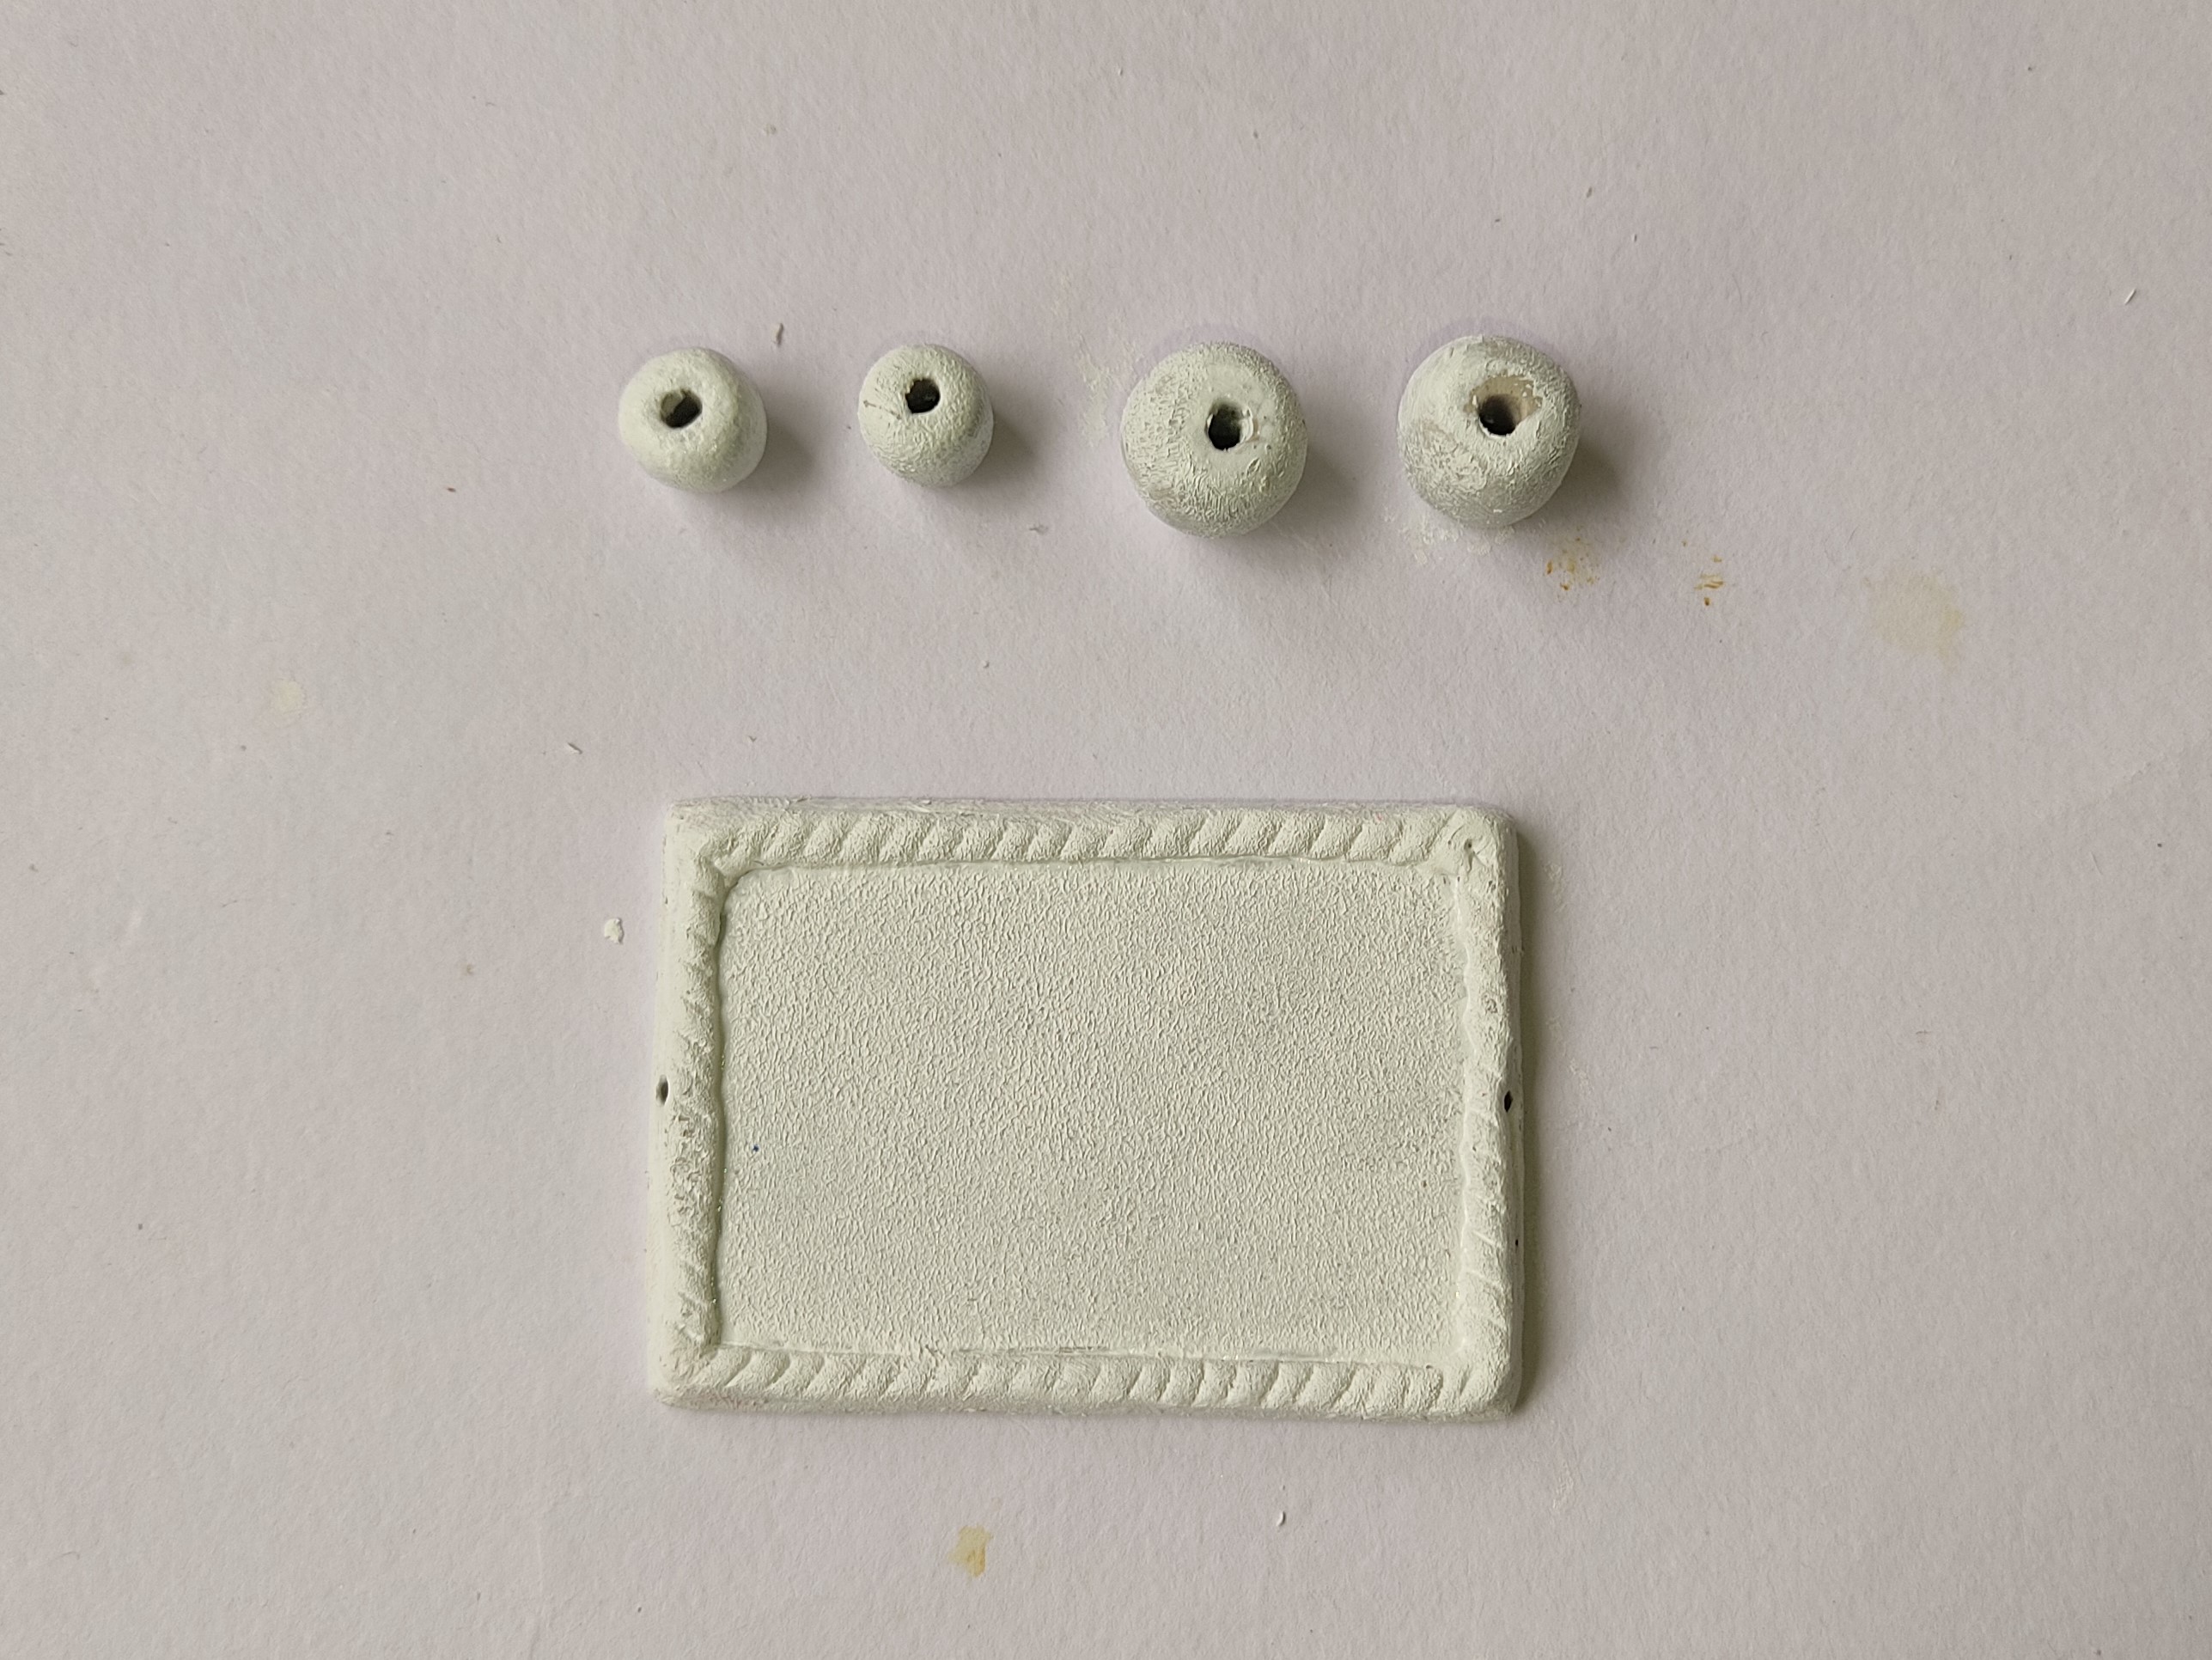
Paint the rakhi base & the beads with a base coat of Fevicryl Acrylic Colour – White 27. Let it dry.
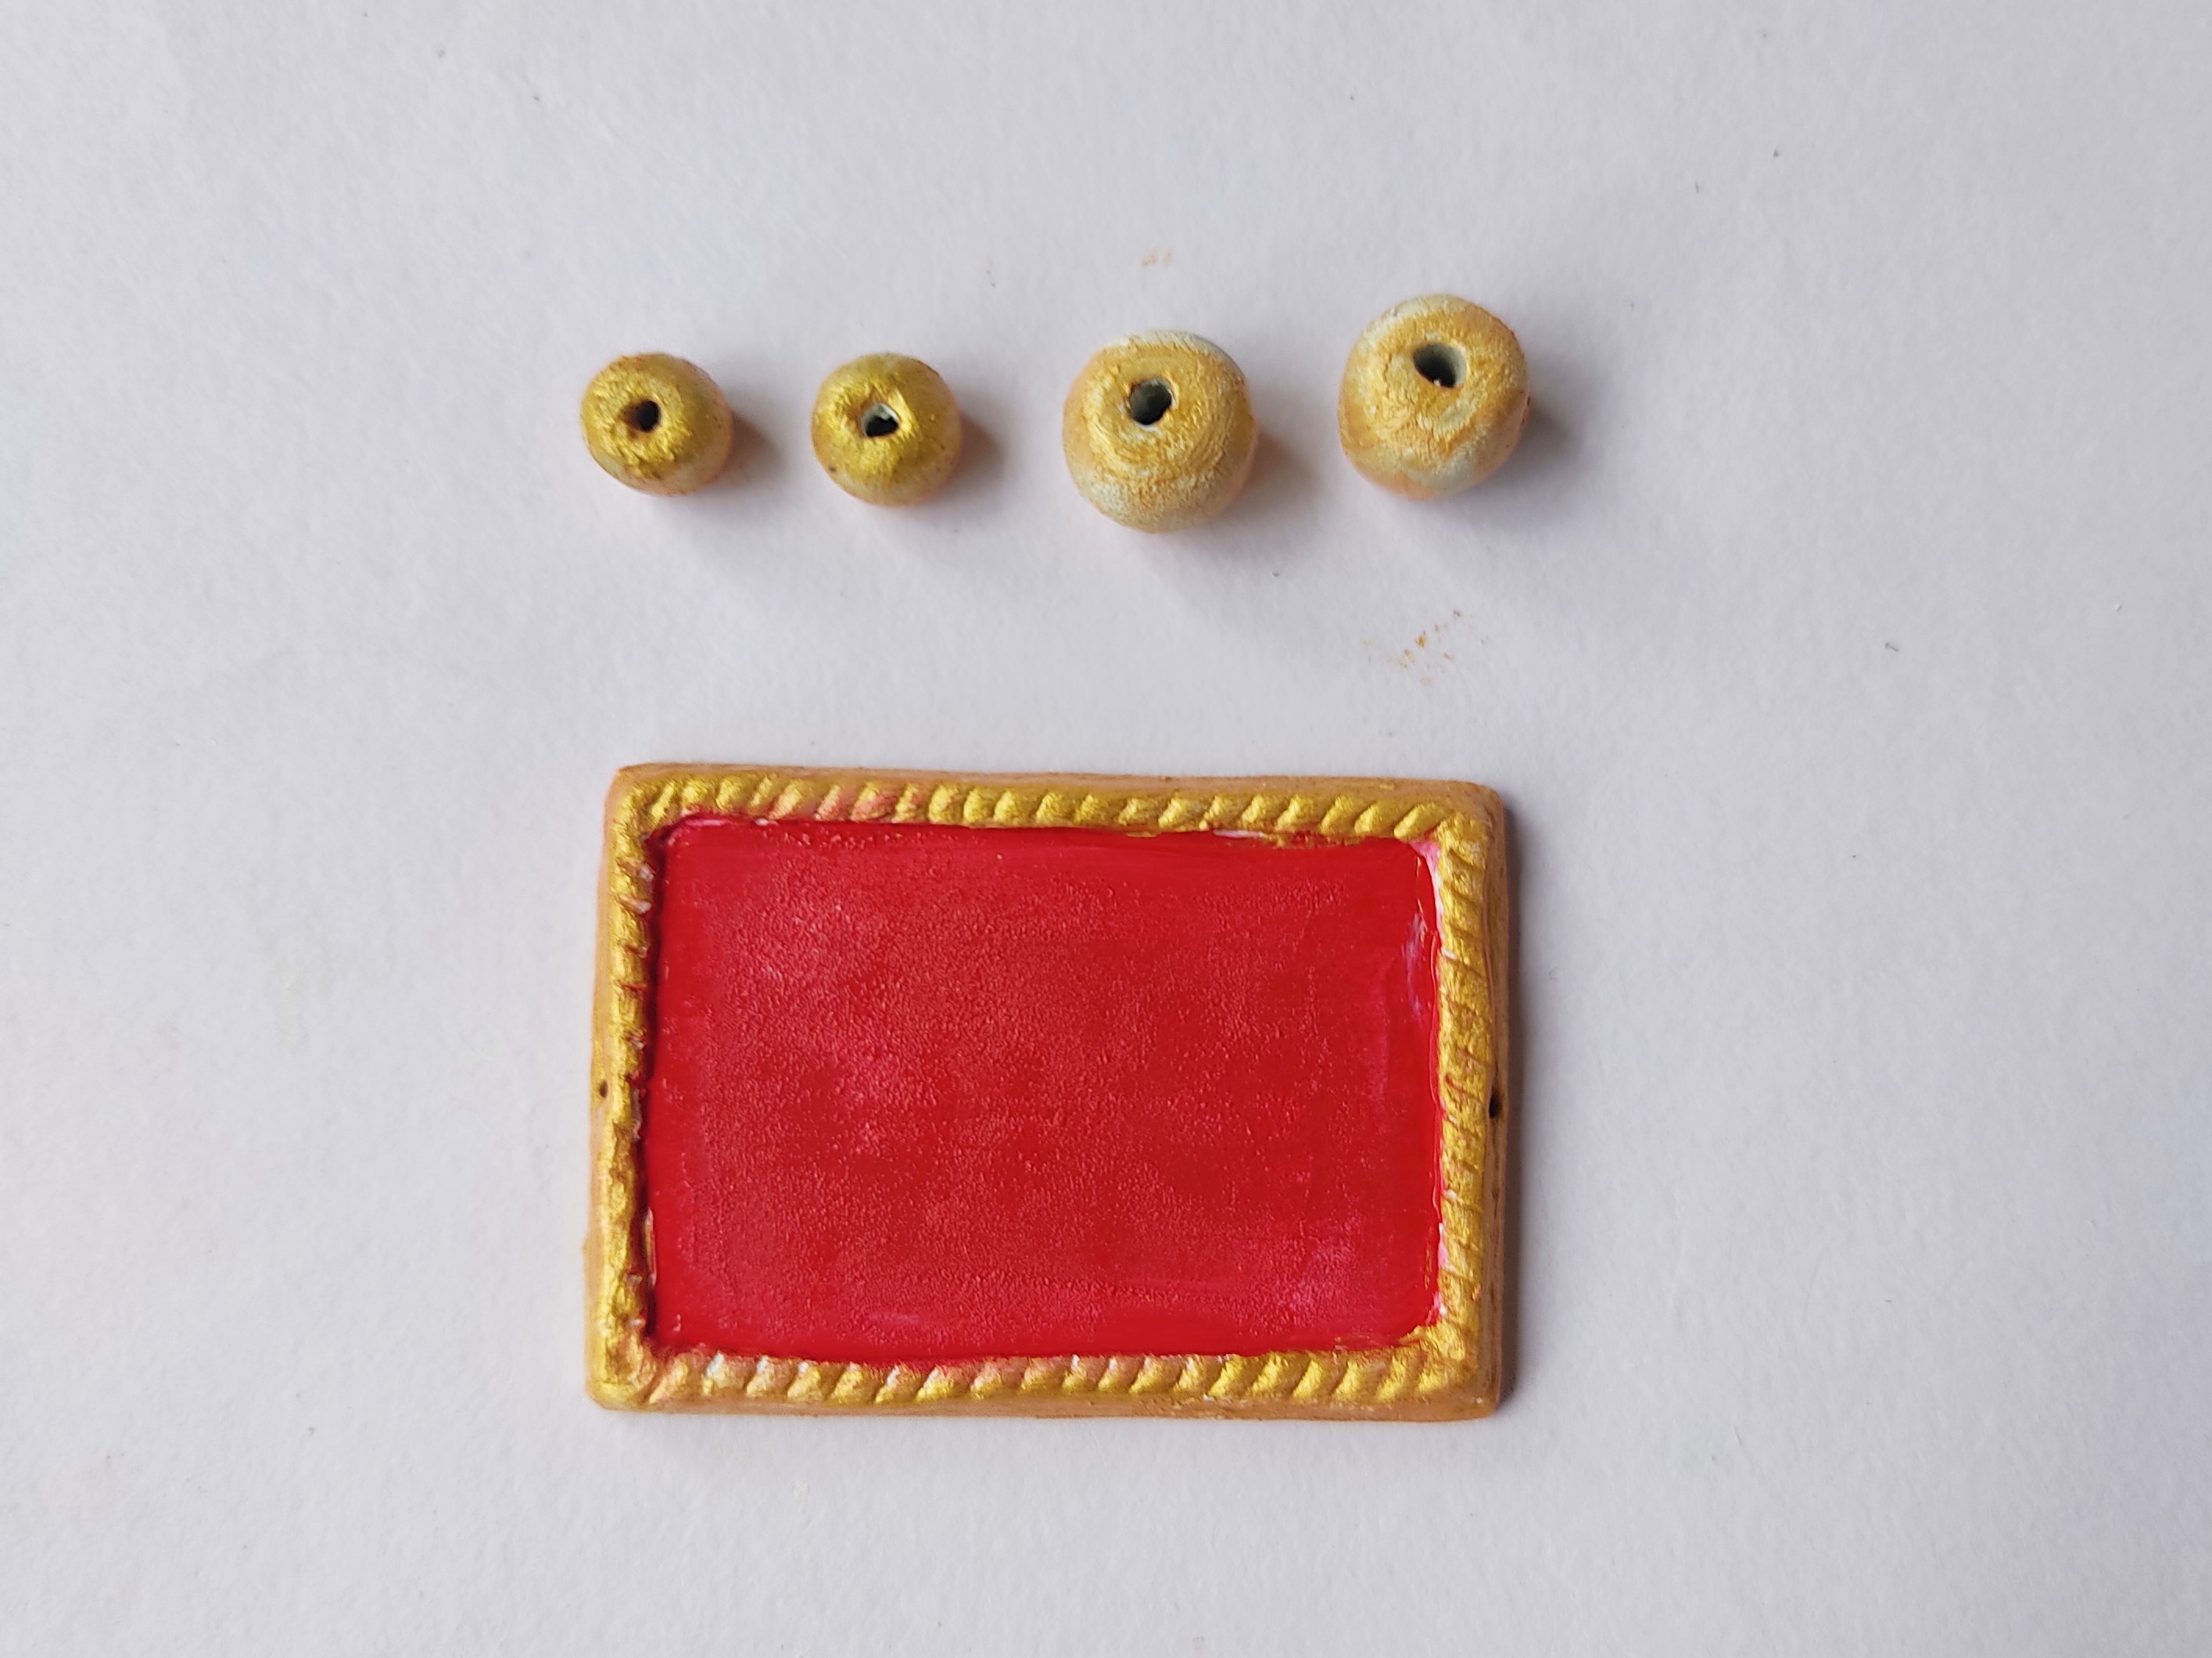
Paint the beads using Fevicryl Acrylic Colour Pearl Metallic - Gold 352. The rakhi with Crimson 04, the borders with Gold 352.
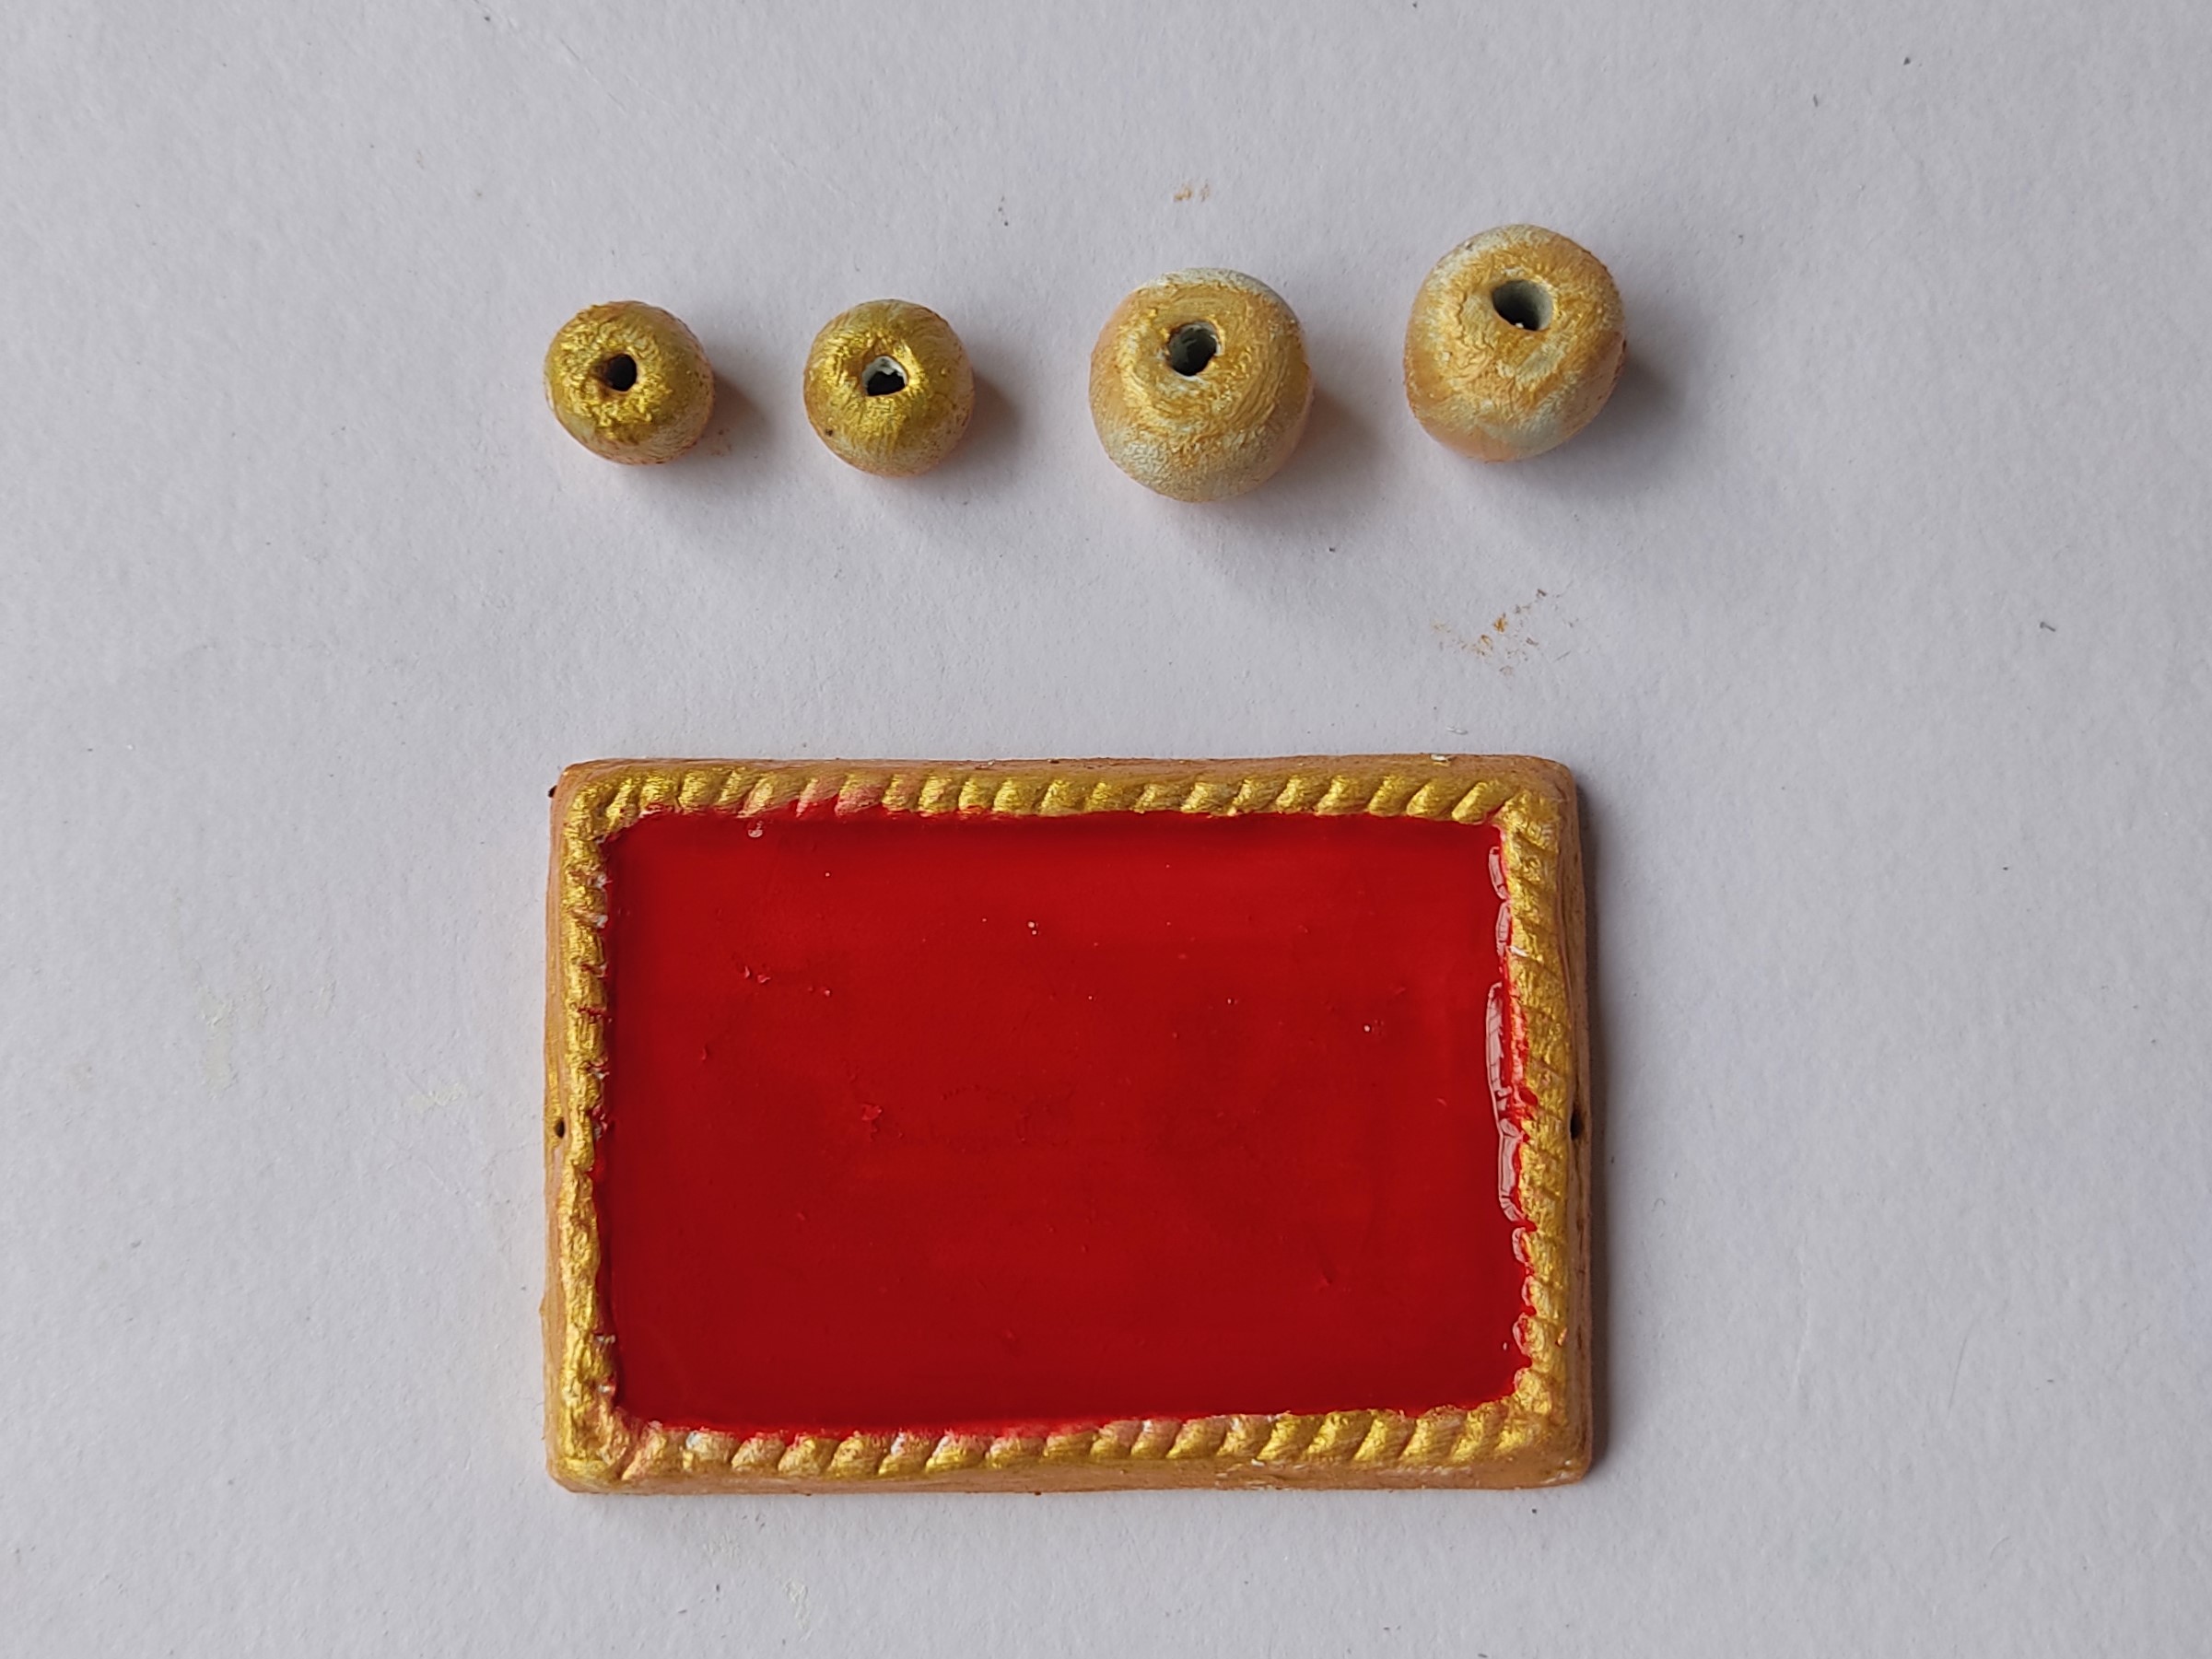
Paint the rakhi base with a coat of Glass Colour – Tomato Red, let it dry.
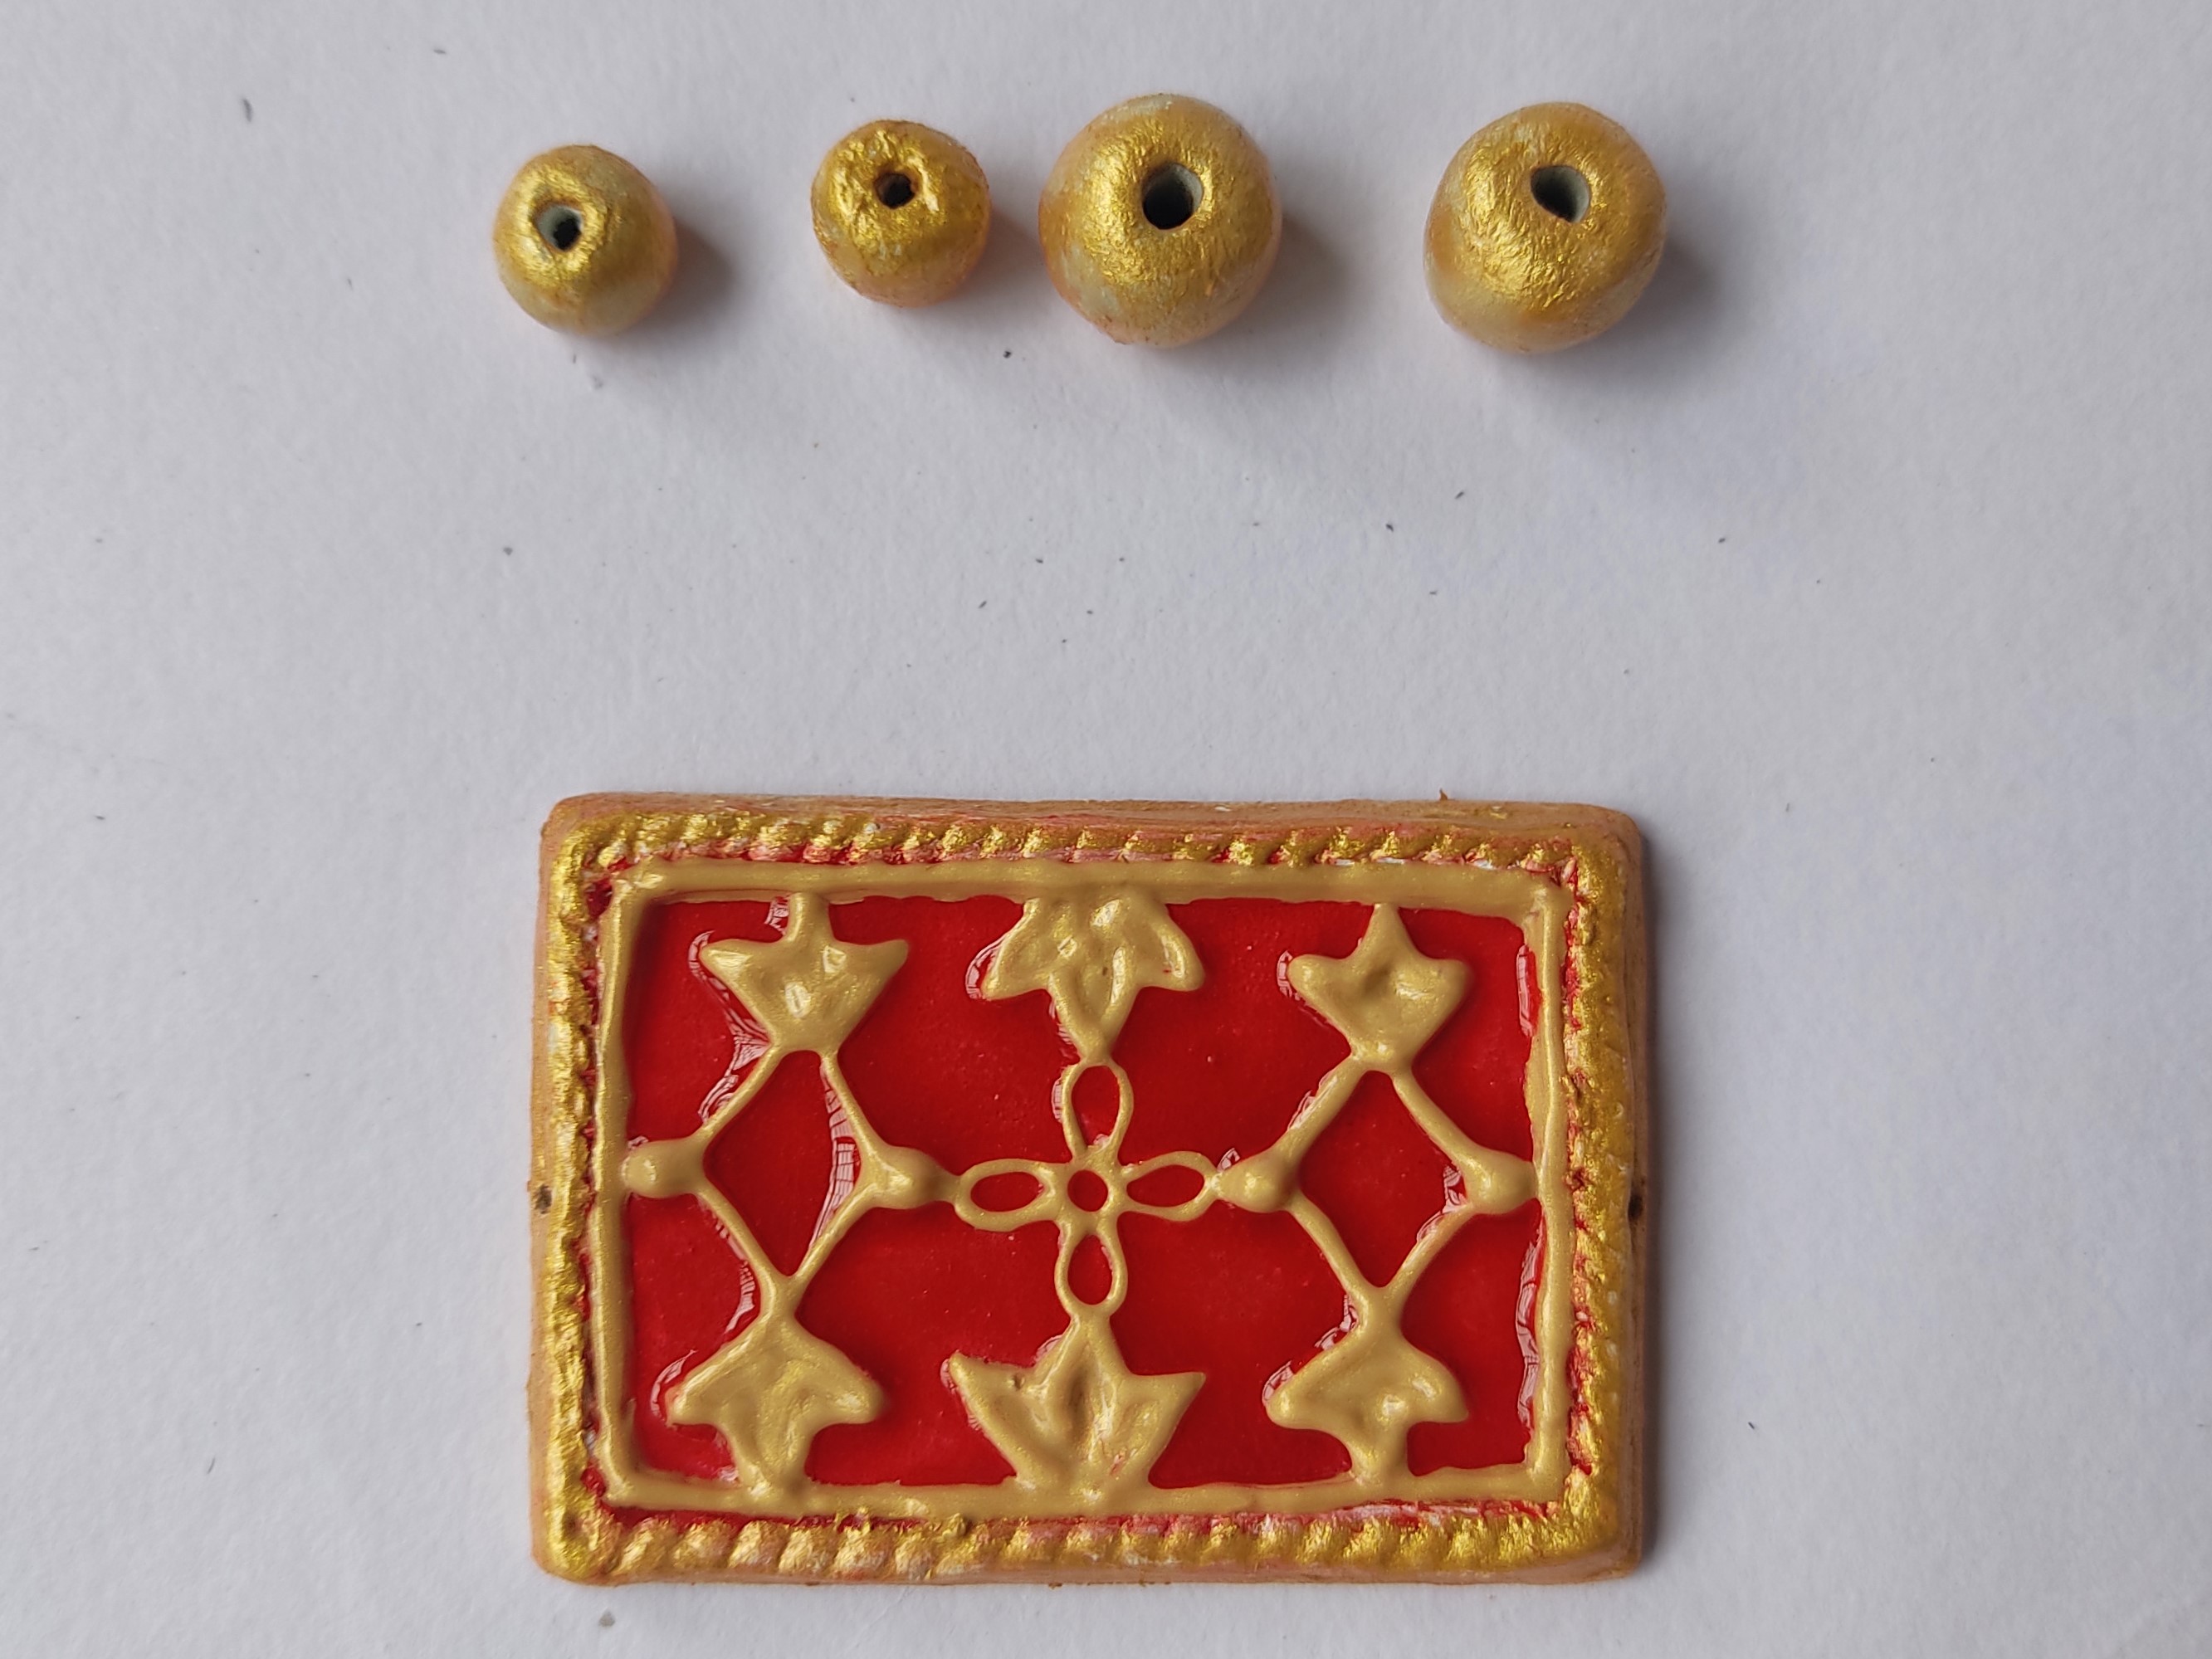
Create a Theva patten on the base of the rakhi using Fevicryl 3D Outliner Pearl Metallic - Gold 352. Let it dry.
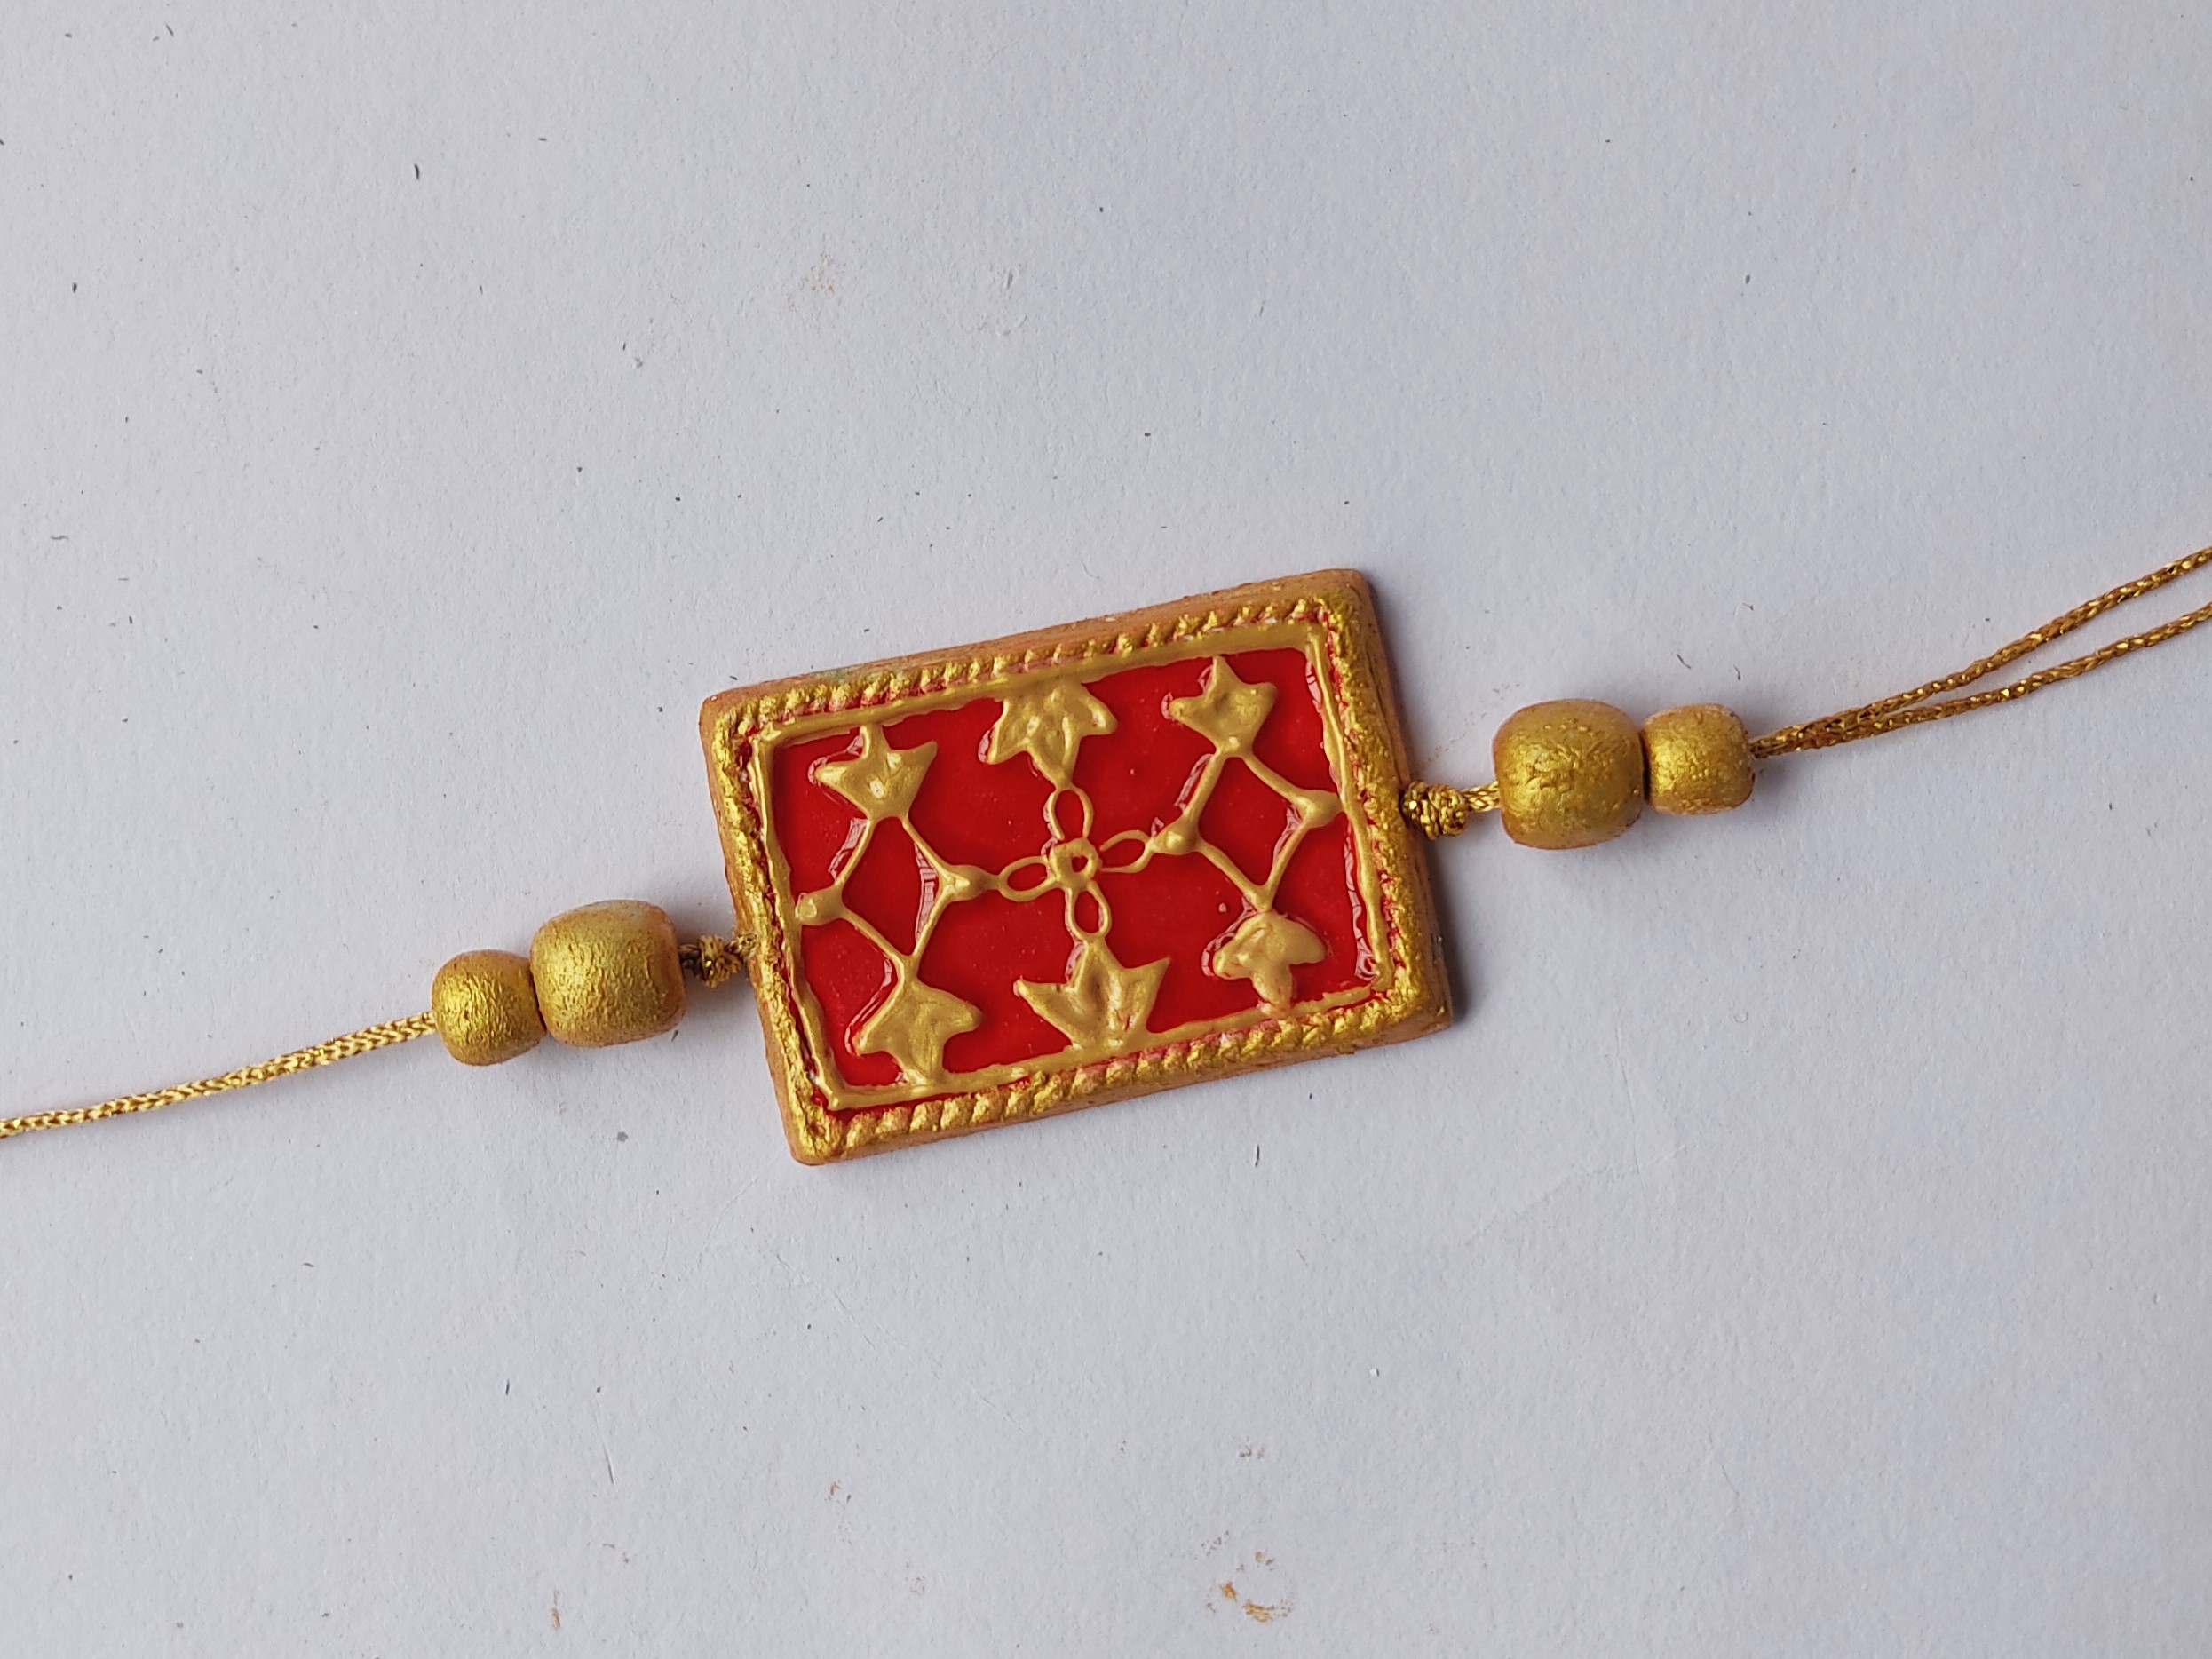
Take a gold thread and stick it from the rear side of the rakhi using Fabric Glue. String in the golden beads and there you have your very own handmade rakhi for Rakhshabandhan.


 +91 99676 55545