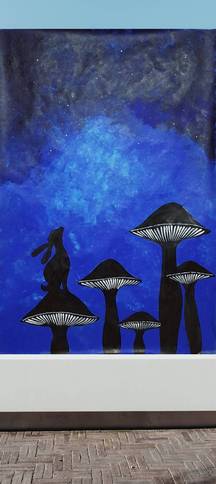
Reverse Sponge Dab Technique On Wall
Oct. 12, 2020
You Will Need:
Fevicryl Acrylic Colours Black 02, Prussian Blue 19, Ultramarine Blue 23, White 27, Sky Blue 63, Fine Art Brushes, Pencil, Thick Card Paper, Paper Cutter, Scissors, Sponge, Colour Palette, Water Container
Description :
Fevicryl Acrylic Colours Black 02, Prussian Blue 19, Ultramarine Blue 23, White 27, Sky Blue 63, Fine Art Brushes, Pencil, Thick Card Paper, Paper Cutter, Scissors, Sponge, Colour Palette, Water ContainerSTEP 1 : Drawing the design
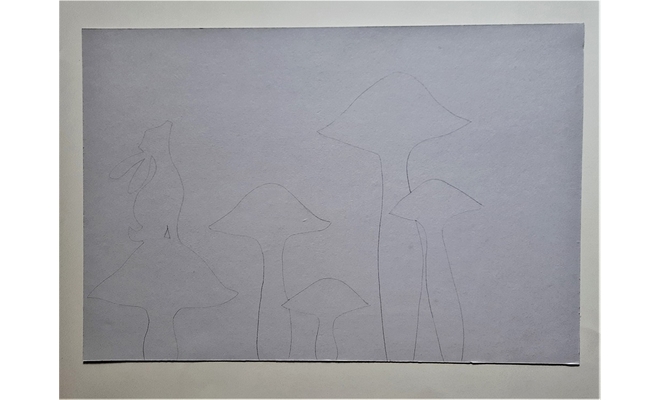
• We are going to make the design of mushrooms and rabbit for kids’ room.
• Take thick card paper; draw the design of the mushrooms and the rabbit on it.
STEP 2 : Stick the cut outs on wall
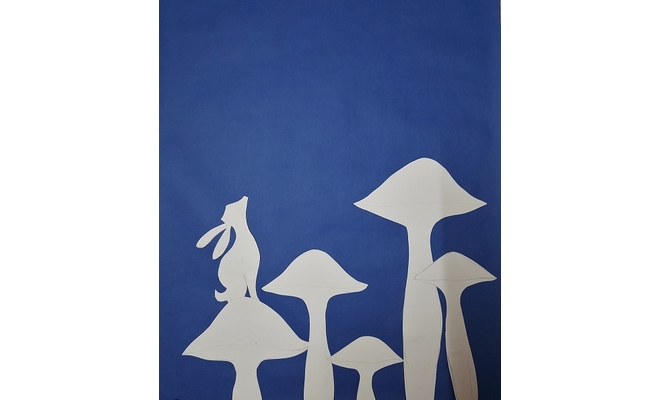
• Mark and cut the design with the help of a paper cutter or a pair of the scissors.
• We have painted this on a dark blue wall. Place the cut out of the design on the wall with a paper tape.
• Refer to the image.
STEP 3 : Sponge dab the wall around the cut outs
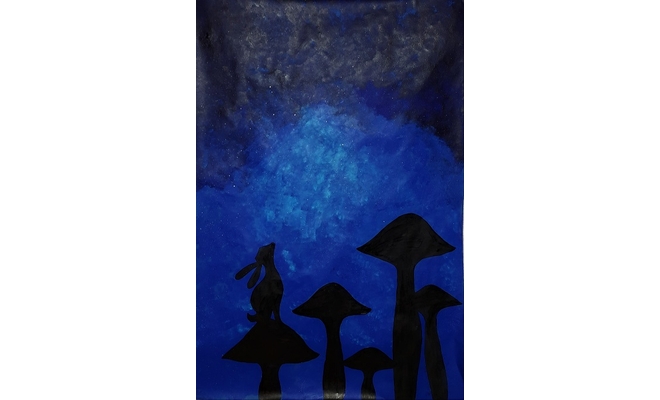
• Sponge the shade of the blue colour around the cut out design of the mushrooms and rabbit using Acrylic Colours Black 02, Prussian Blue 19. Ultramarine Blue 23, White 27 and Sky Blue 63.
• Let it dry completely.
STEP 4 : Remove the cut outs and finish
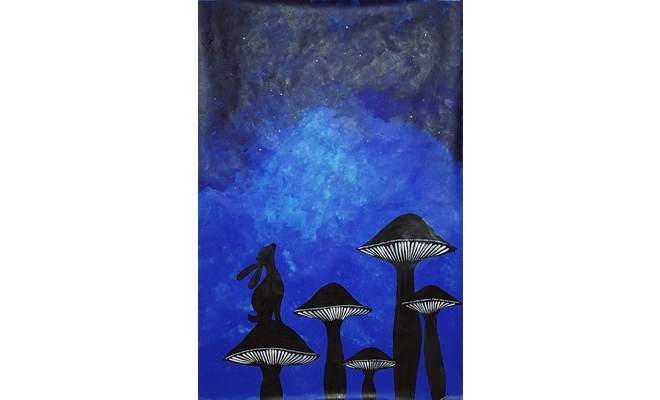
• Remove the cut outs and paint the mushrooms and the rabbit in silhouette using Acrylic Colour Black 02. Let it dry.
• Spray Acrylic Colour White 27 to depict the stars in the sky.
• Leave it to dry.
• Highlight the bottom side area of the mushrooms with Acrylic Colour White 27.let it dry.


 +91 99676 55545