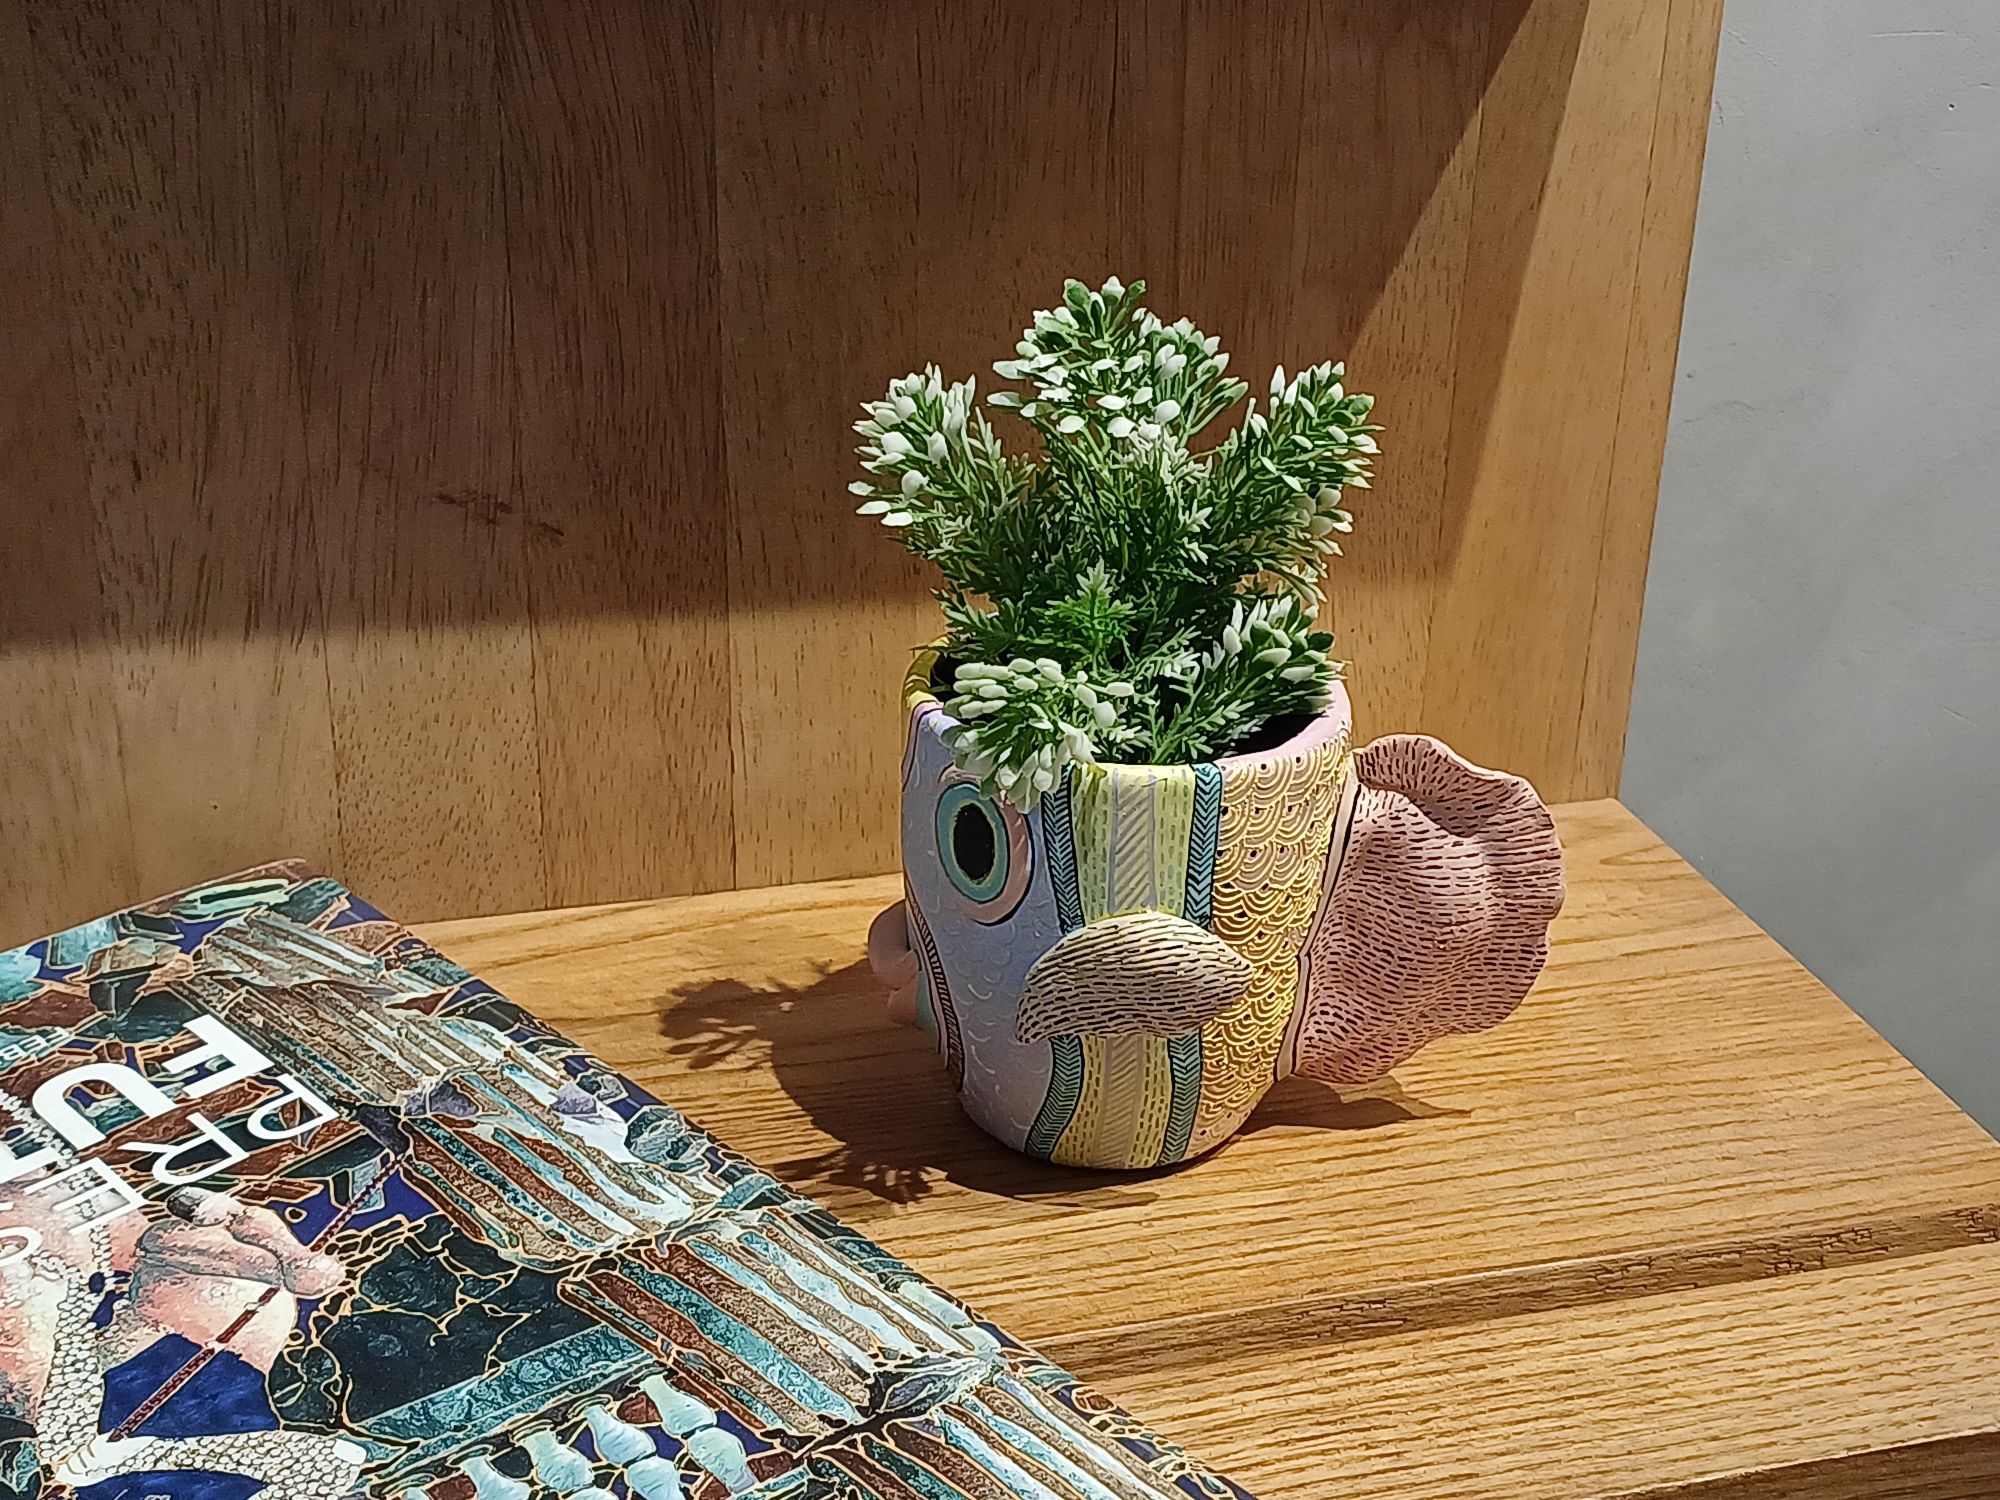
Paper Mache` Planter


You Will Need:
Fevicryl Fabric Glue Premium, Waste Paper, Coloured Yarn (Cotton, Paper Etc), Waste Fabric Pieces, Cotton Cord, Scissors, Paper Cutter, Pencil, OHP Sheet, Container For Moulding
Product Used:

Description :
Here is an amazing DIY of a planter with paper, fabric & yarn that has been made using Fevicryl Fabric Glue Premium.
STEP 1 : Base material
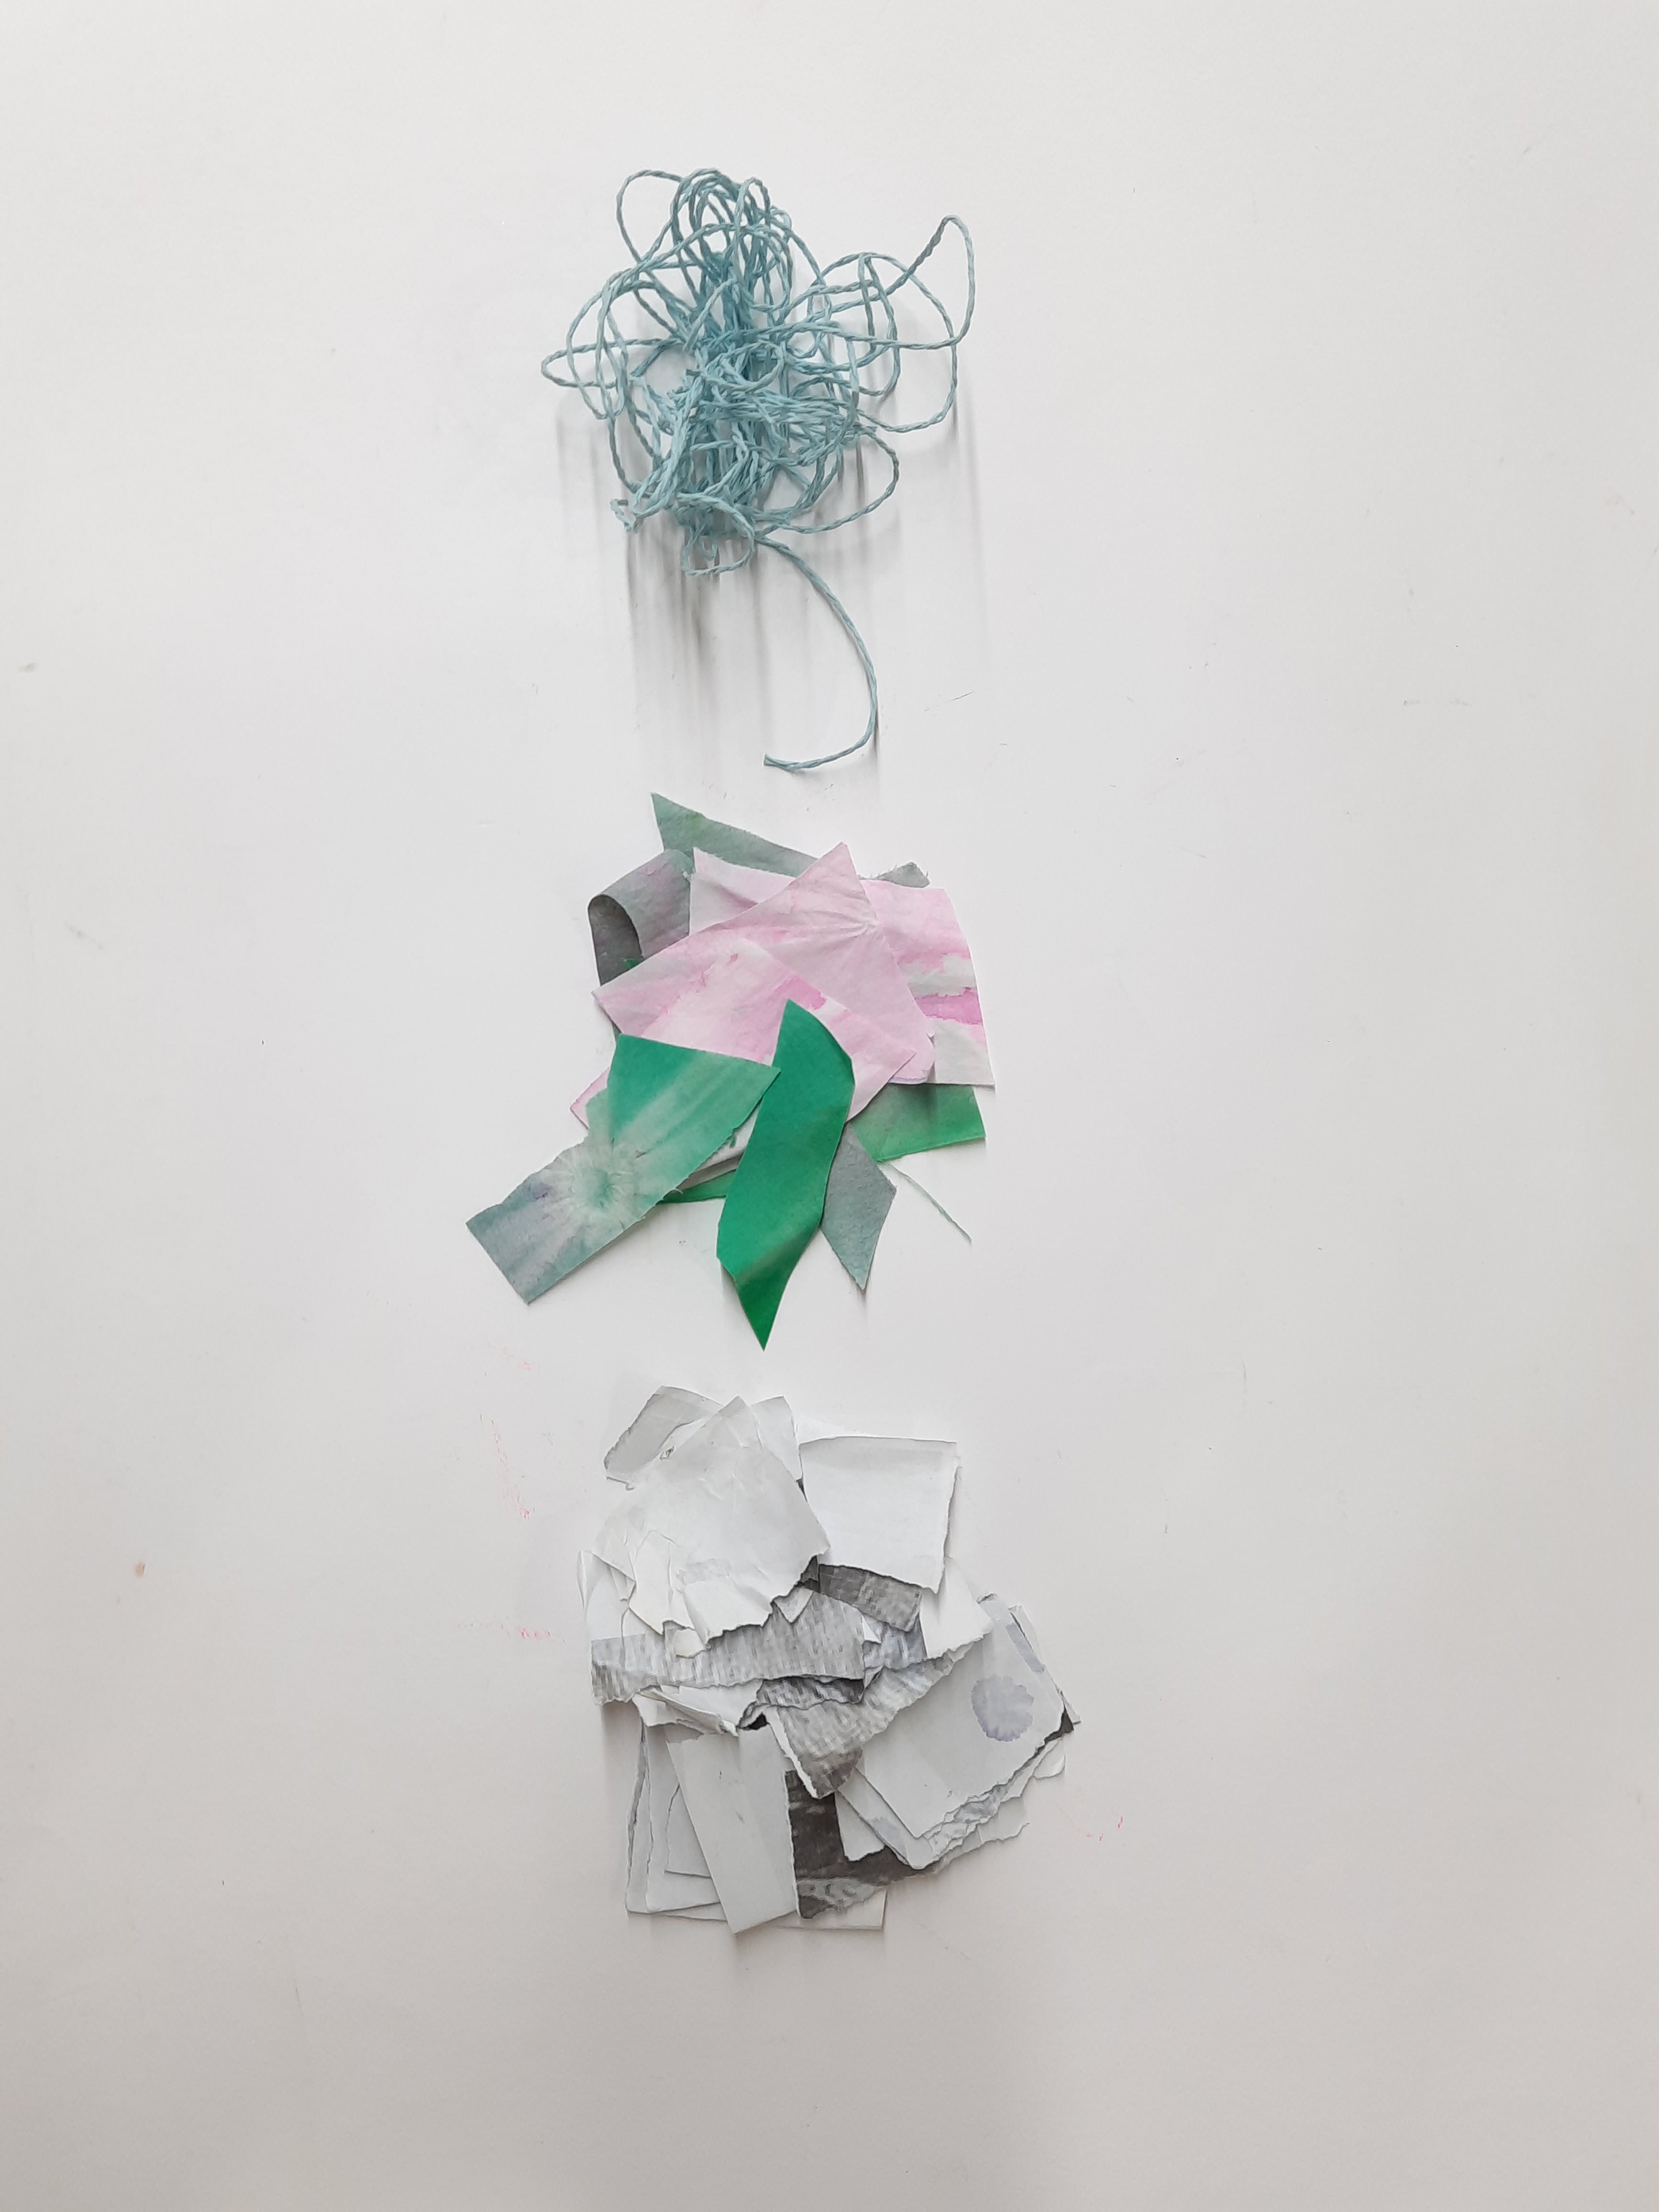
- Take waste yarn, waste fabric pieces & waste paper.
- Soak the paper in water overnight.
STEP 2 : Mixture of materials

- Tear the wet paper and put them in a blender to create paper pulp.
- Mix the fabric pieces and the waste yarn with the pulp.
STEP 3 : Addition of adhesive
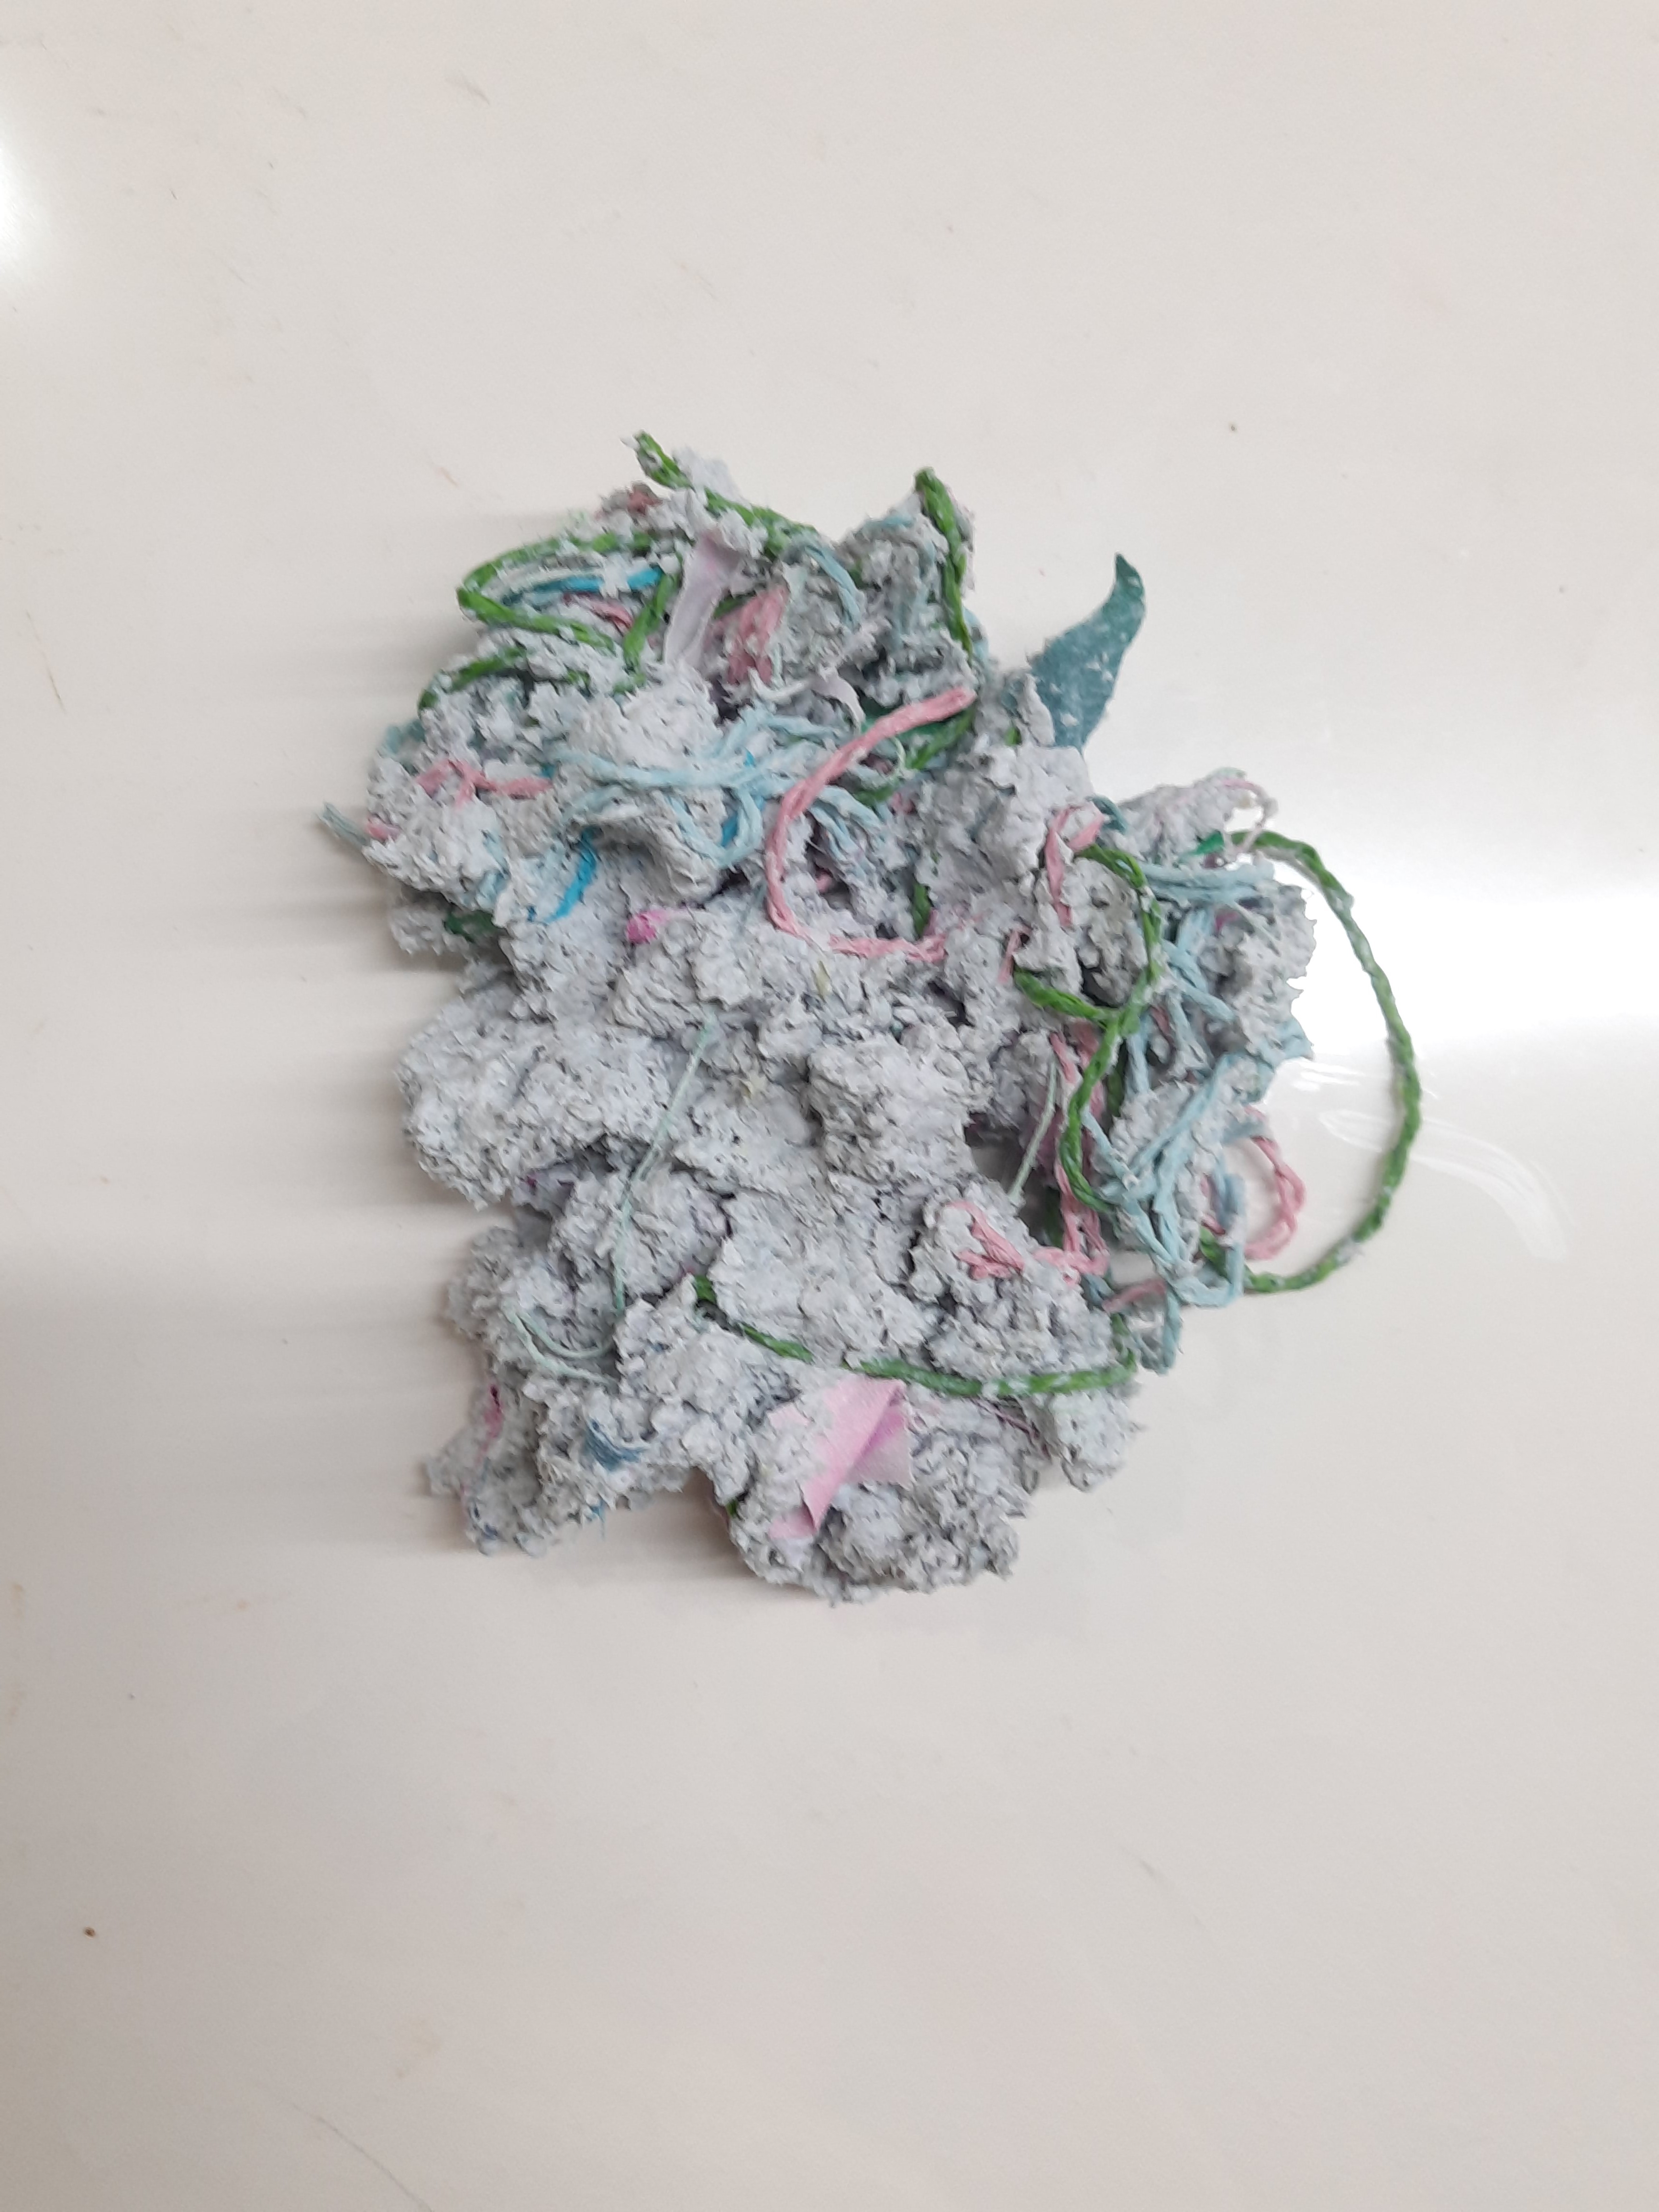
- Take 3 bottles of Fevicryl Fabric Glue Premium and add it to the mixture.
- Mix them well to create a paste consisting of all the materials required for this process
- Extra materials can be added from the top.
STEP 4 : Moulding

- Take a small plastic container and wrap it with OHP SHEET
- Mould the paper pulp mix around the container evenly.
- Make sure all the sides are of equal thickness.
STEP 5 : Mould removal

- Keep it for drying in sunlight for the next 6-7 days.
- Once dried, slowly loosen the sides and remove the paper mache mould off the container.
STEP 6 : Cutting
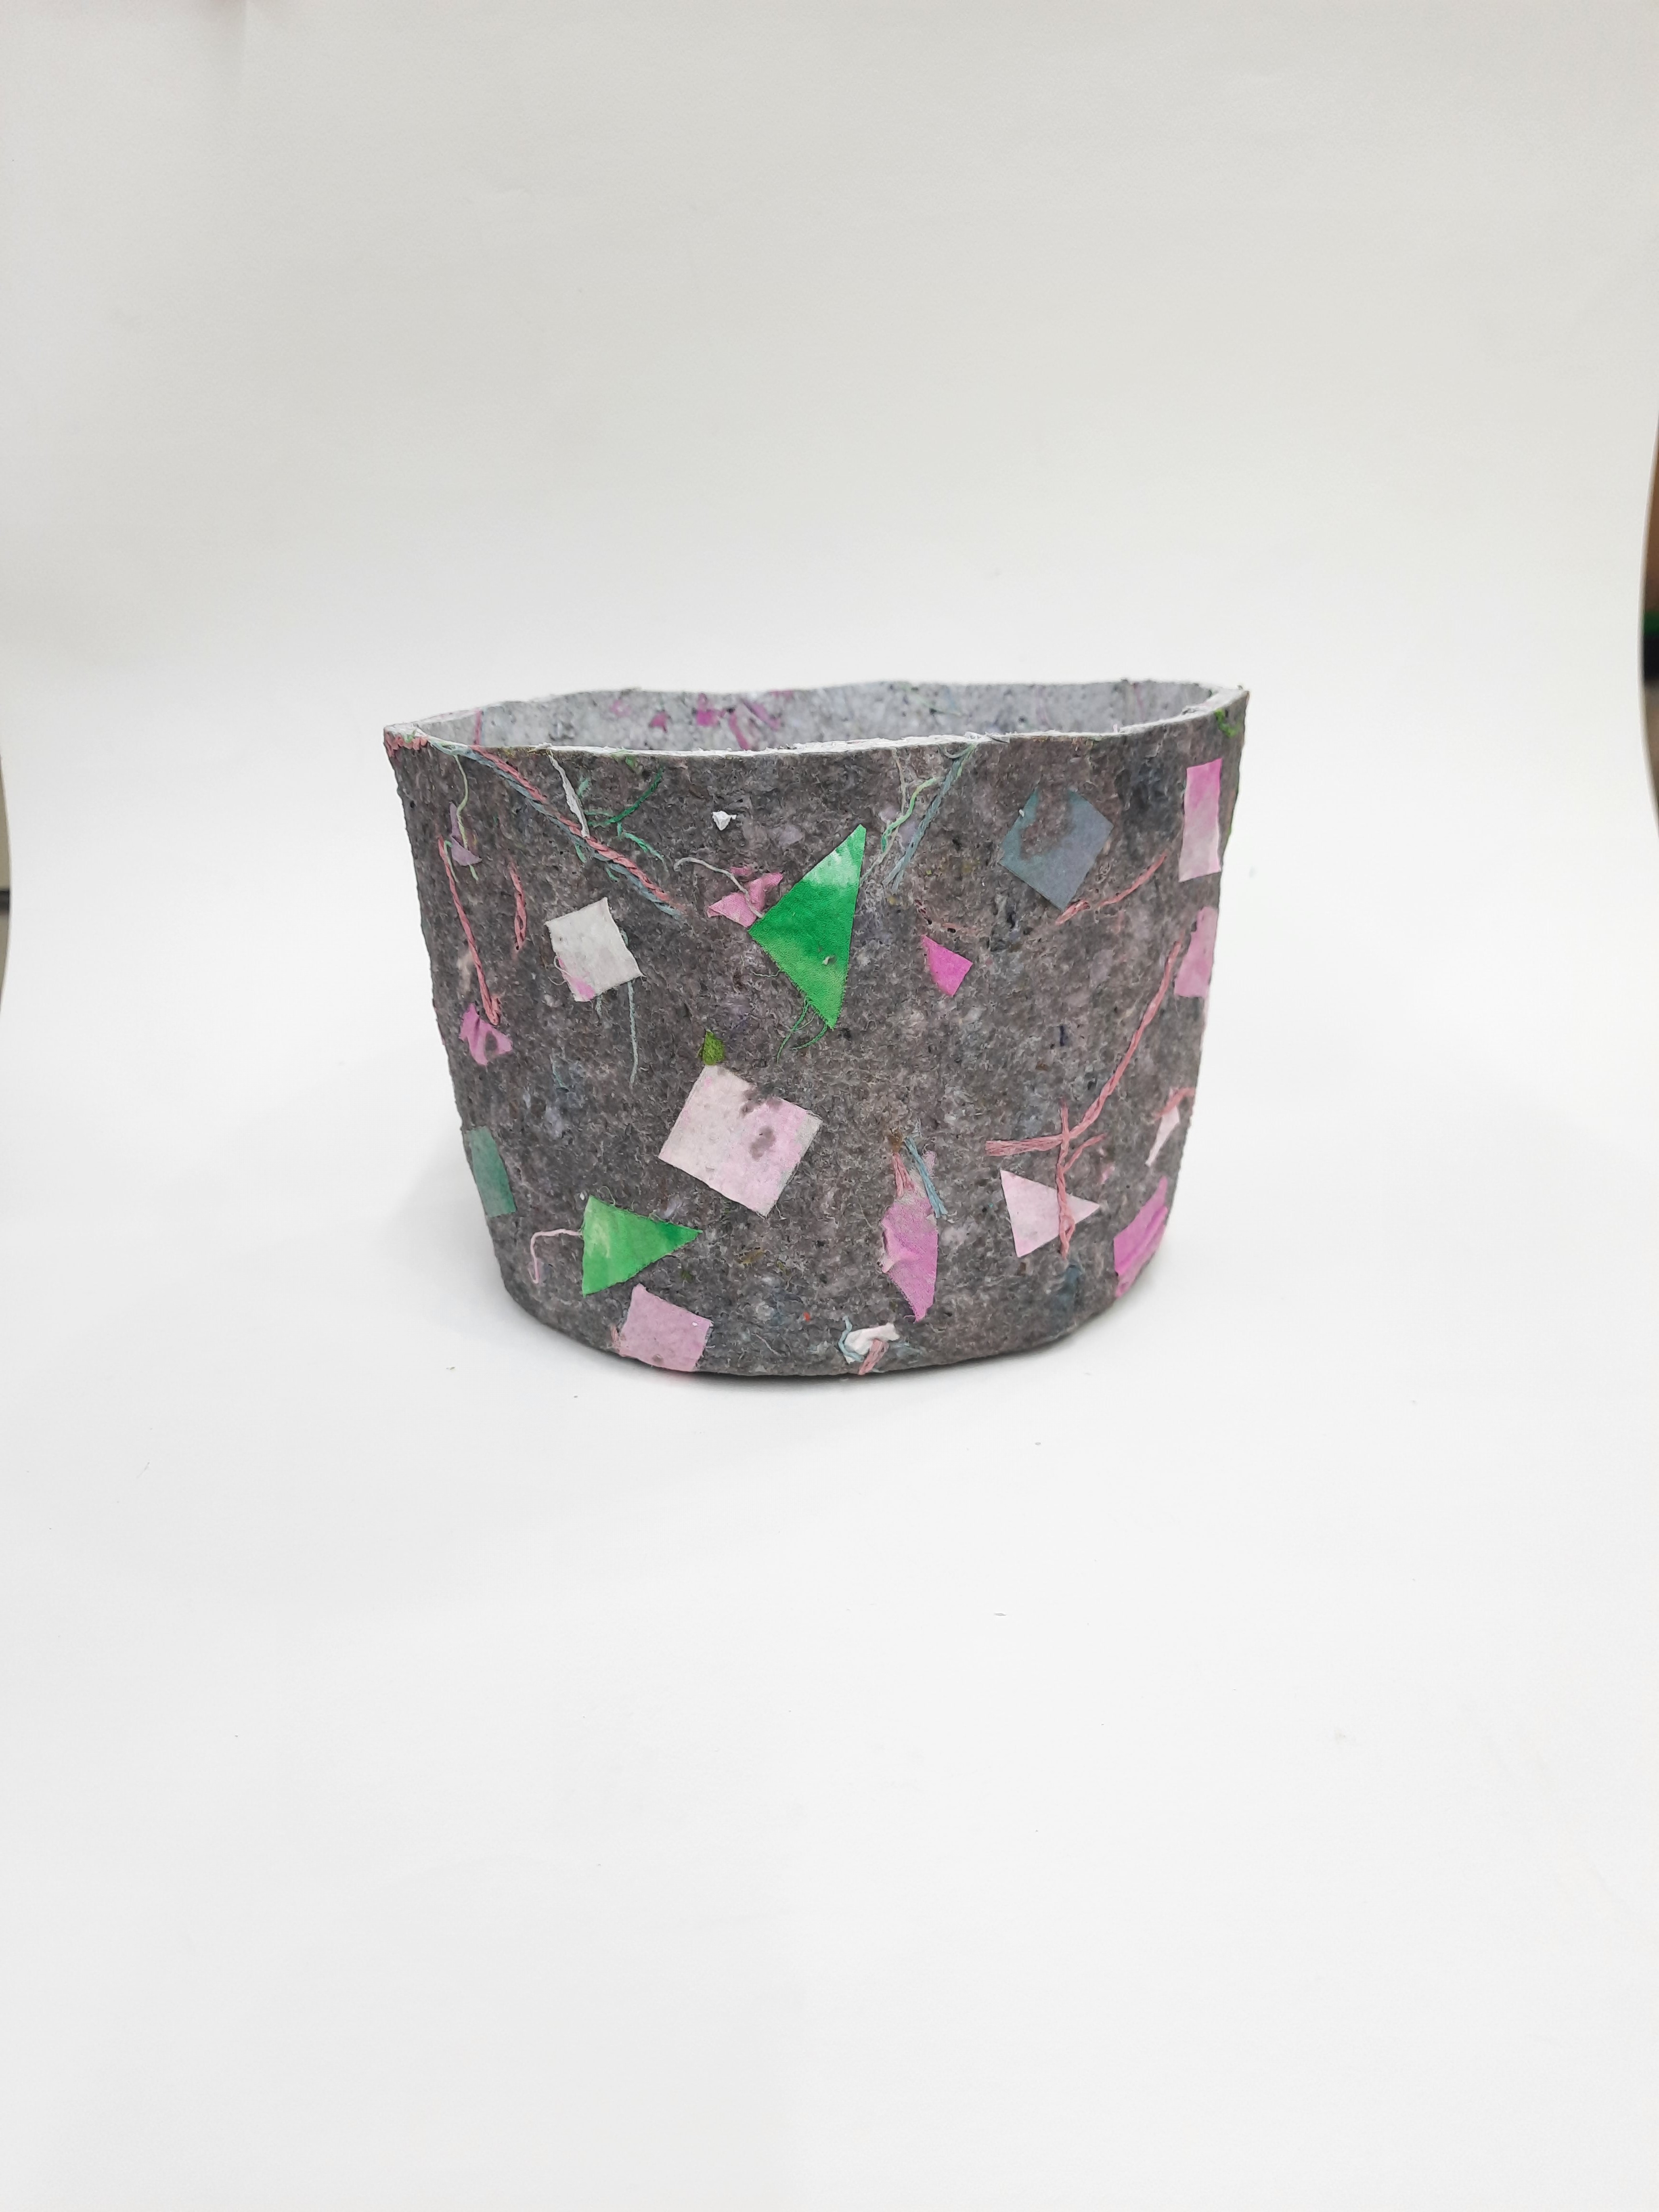
- Cut the top edges using paper cutter or scissors and look for any cracks on the surface.
- The basic mould is ready.
STEP 7 : Addition of trims
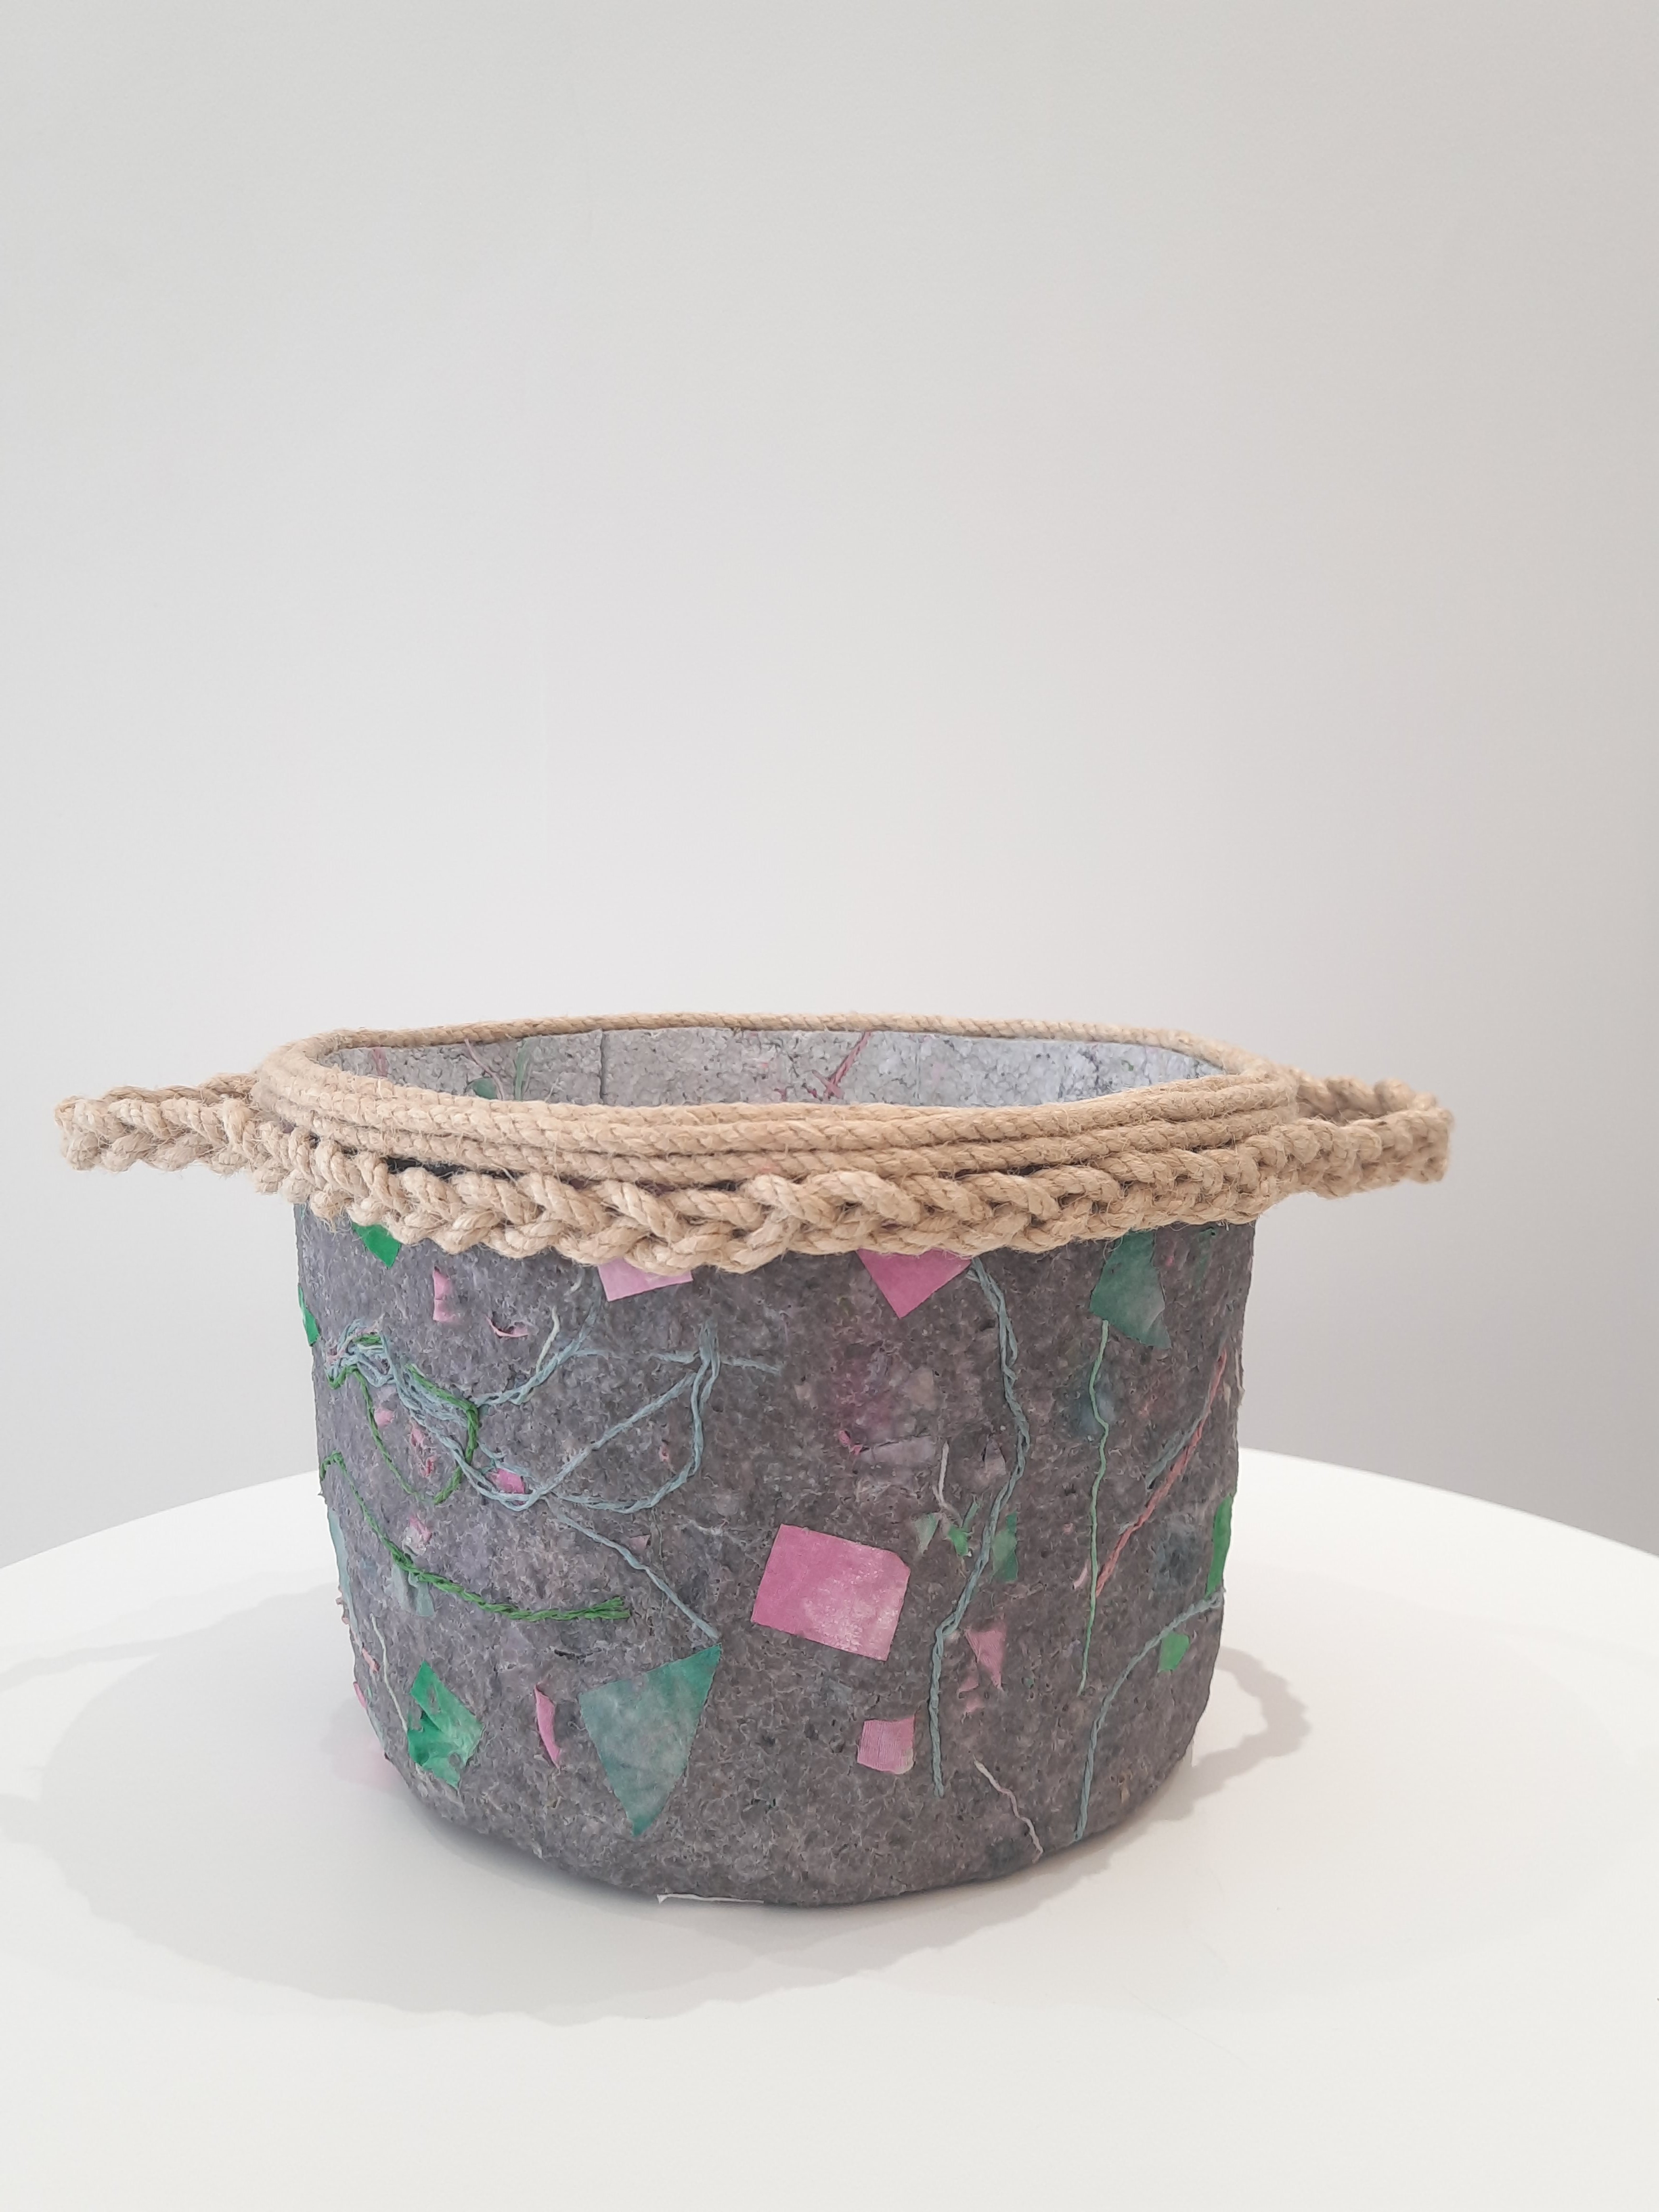
- The mould can be further enhanced by adding trims like yarns and braids to it.
- Use Fevicryl Fabric Glue Premium to stick them.
- Let it dry.
STEP 8 : Plant placement

- Place plants, chart paper rolls, toys, store small trinkets etc in this container.
STEP 9 : Final Look

The Paper mache` planter is ready to be placed in your favorite corner of your home.


 +91 99676 55545