Mouldit Tissue Holder

You Will Need:
Fevicryl Acrylic Colours Burnt Sienns 01, Chrome Yellow 03, Golden Yellow 09, White 27, Fevicryl Mouldit, Fevicryl Fabric Glue, Fine Art Brushes, Rolling Pin, Paper Cutter, Clay Carving Tools, Pencil, Colour Palette, Compass, Water Container
Product Used:


Description :
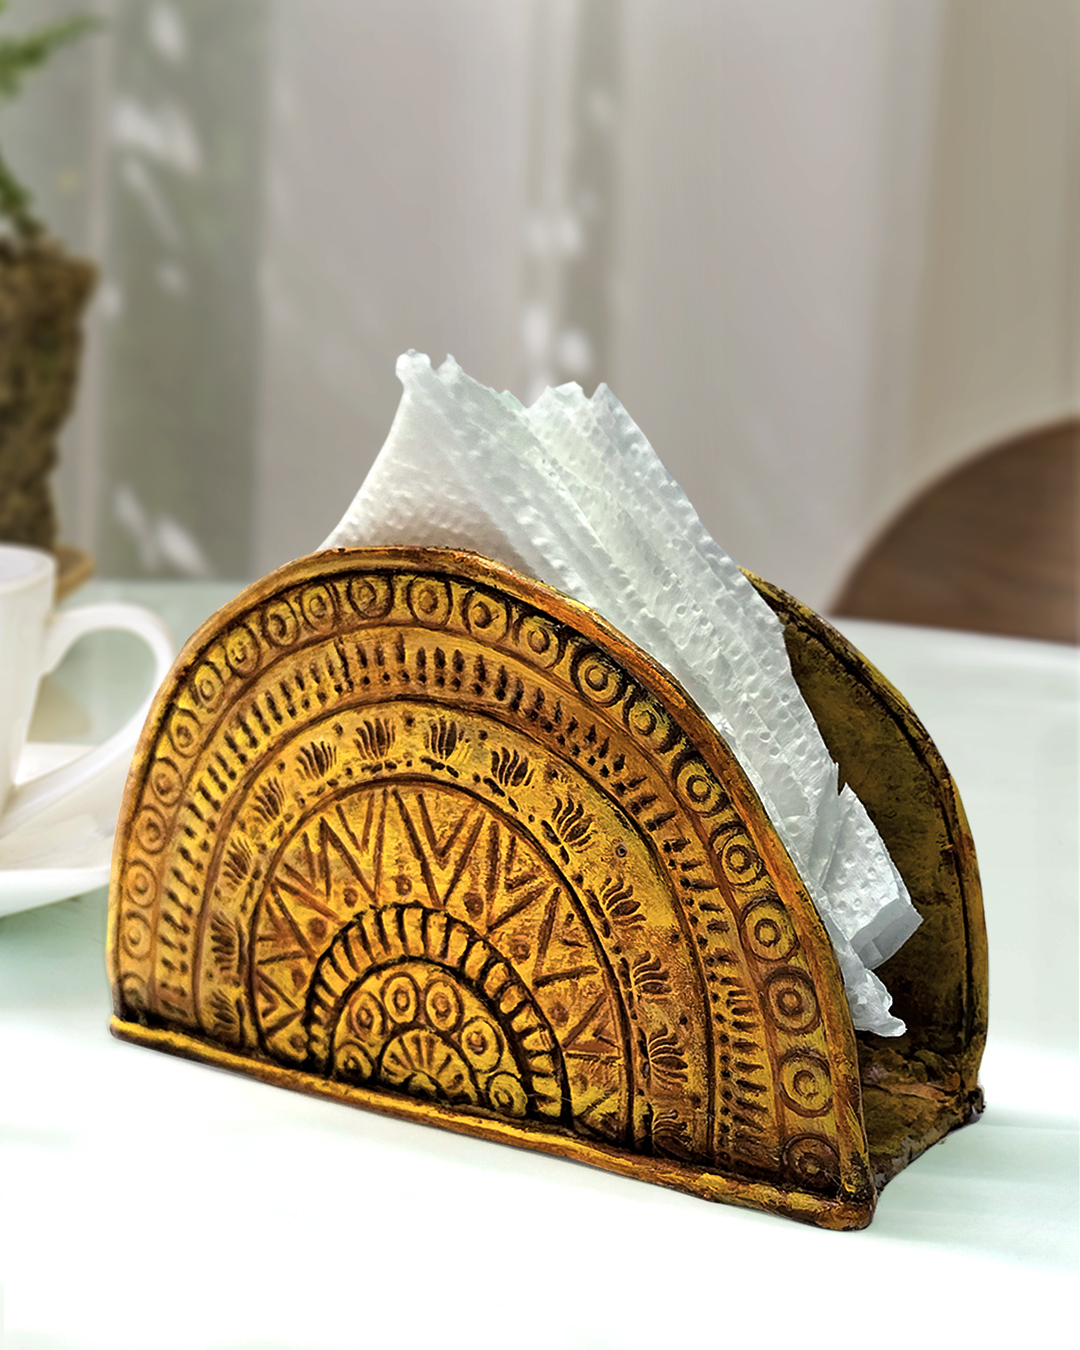
Create this beautiful Tissue holder using Fevicryl Mouldit and enhance your dining area with it.
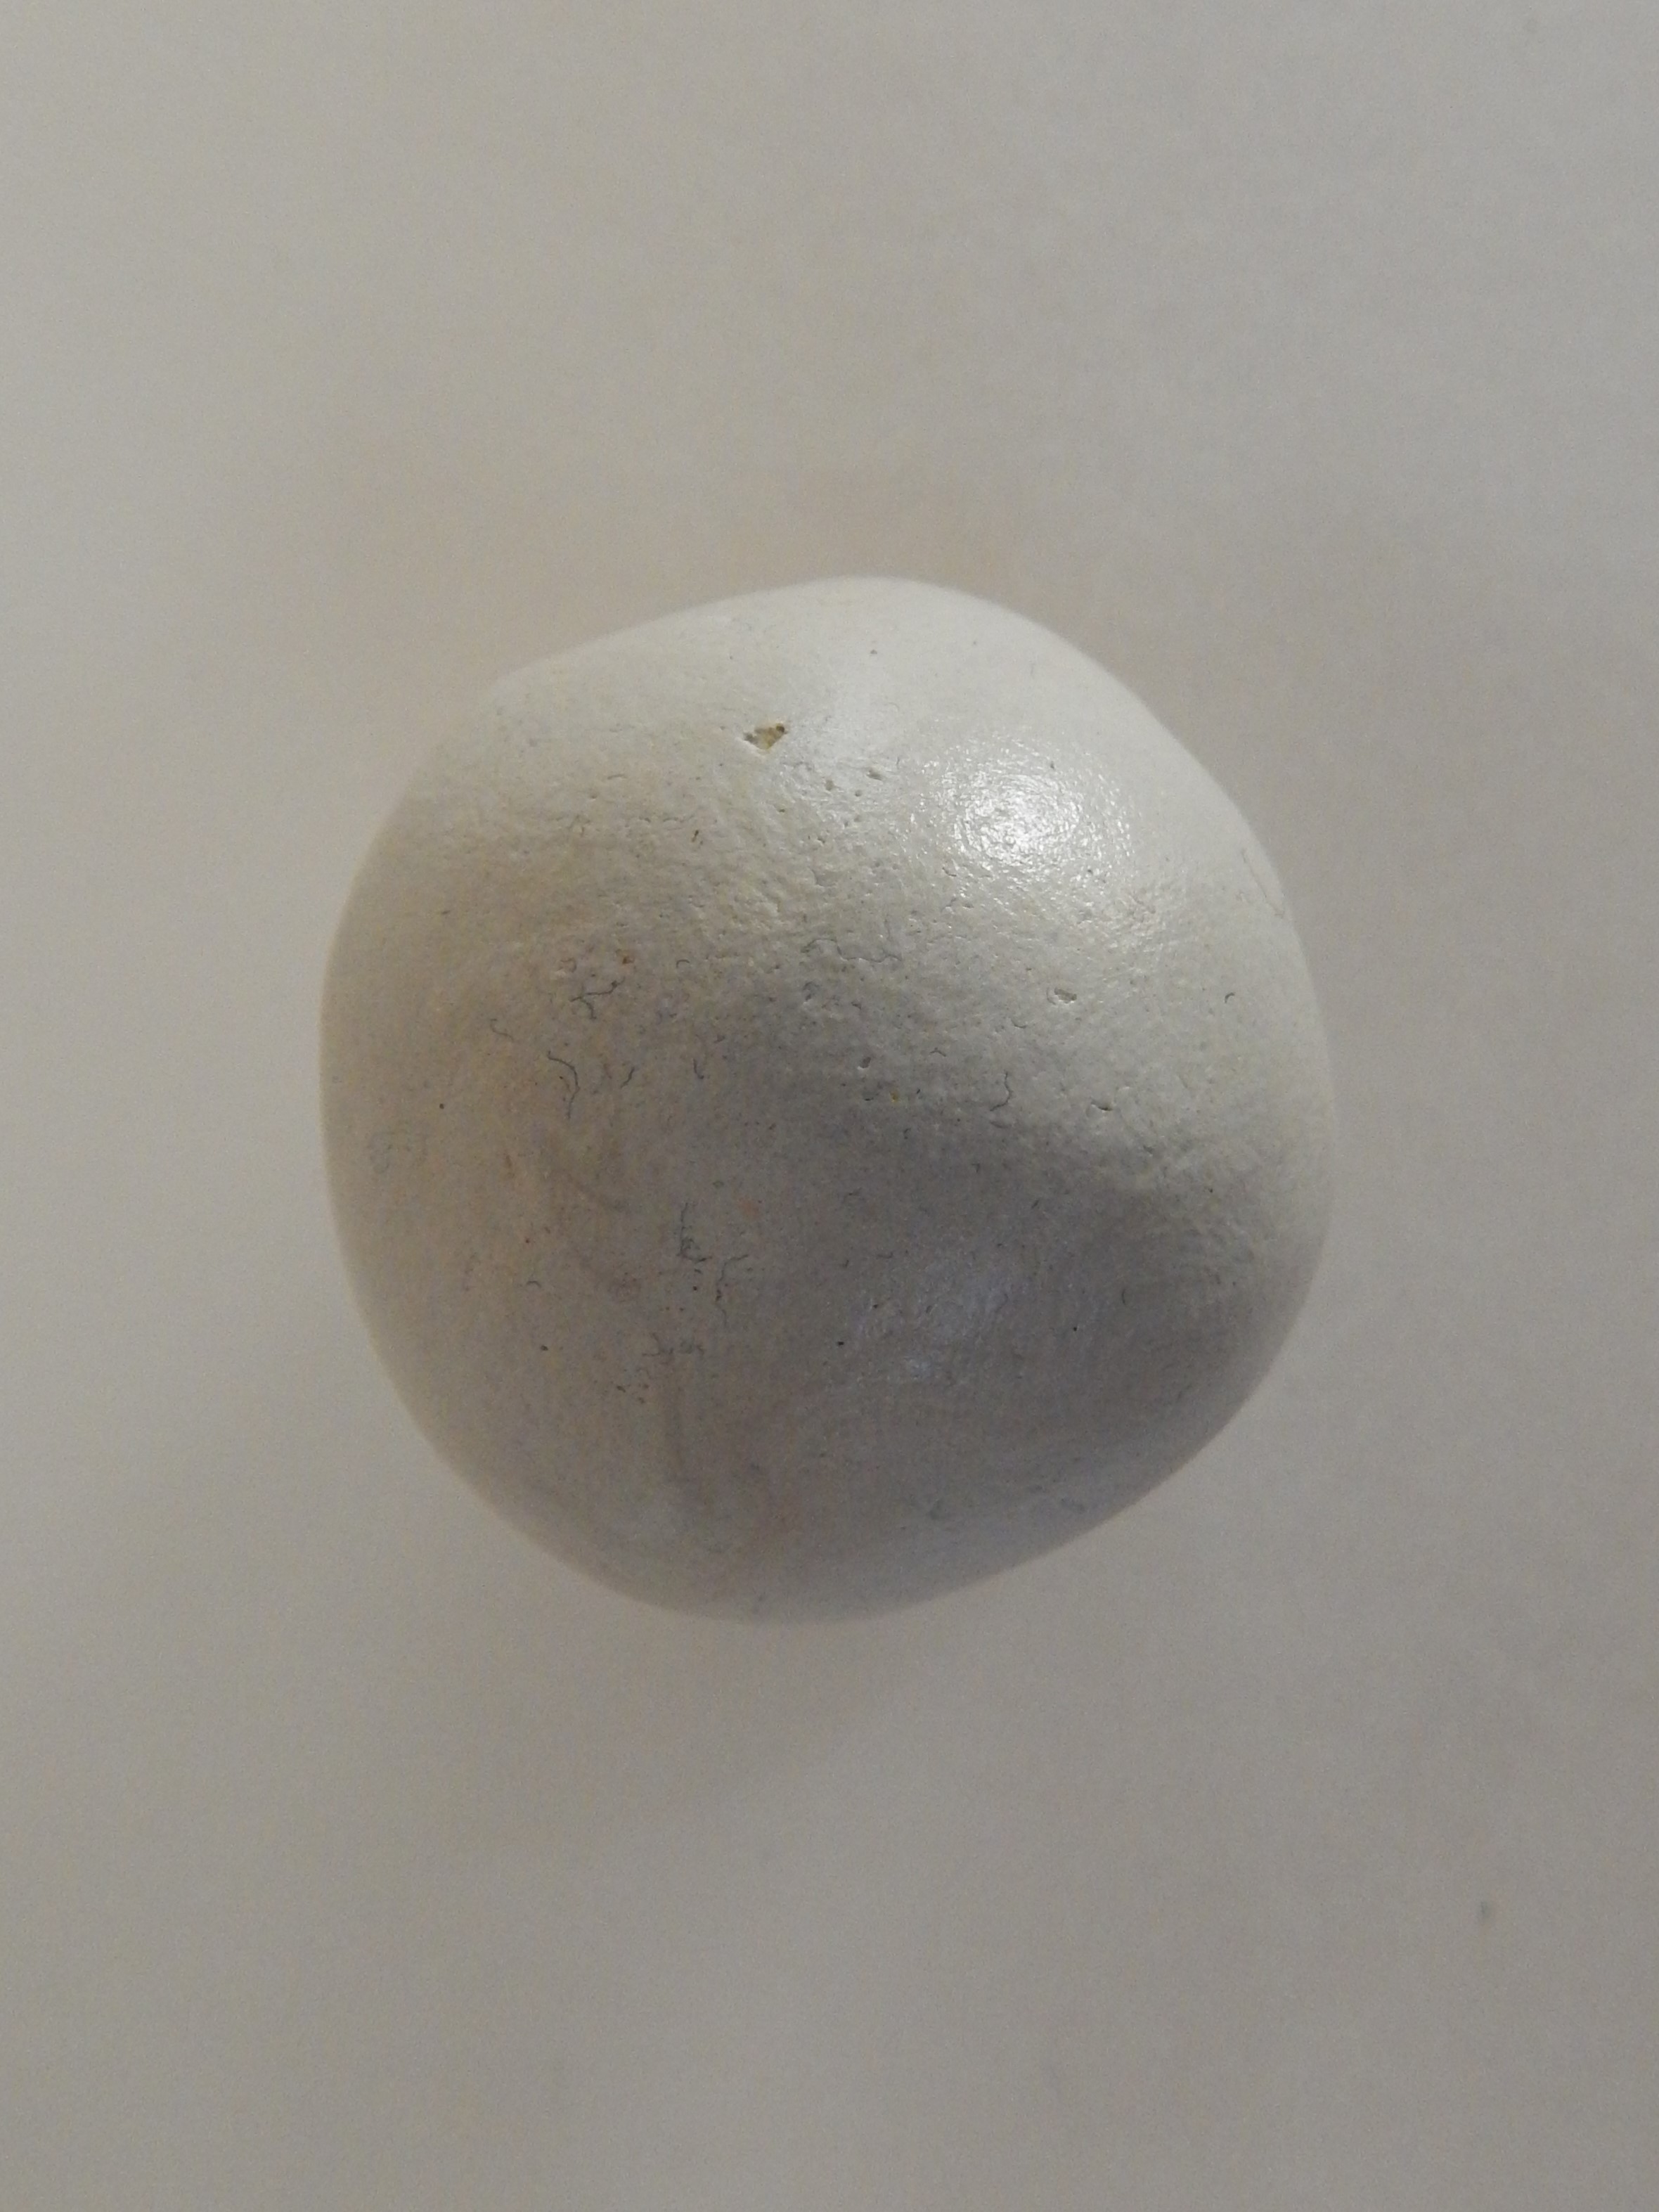
Take Fevicryl Mouldit – Resin base & hardener, mix well to form an even soft dough.
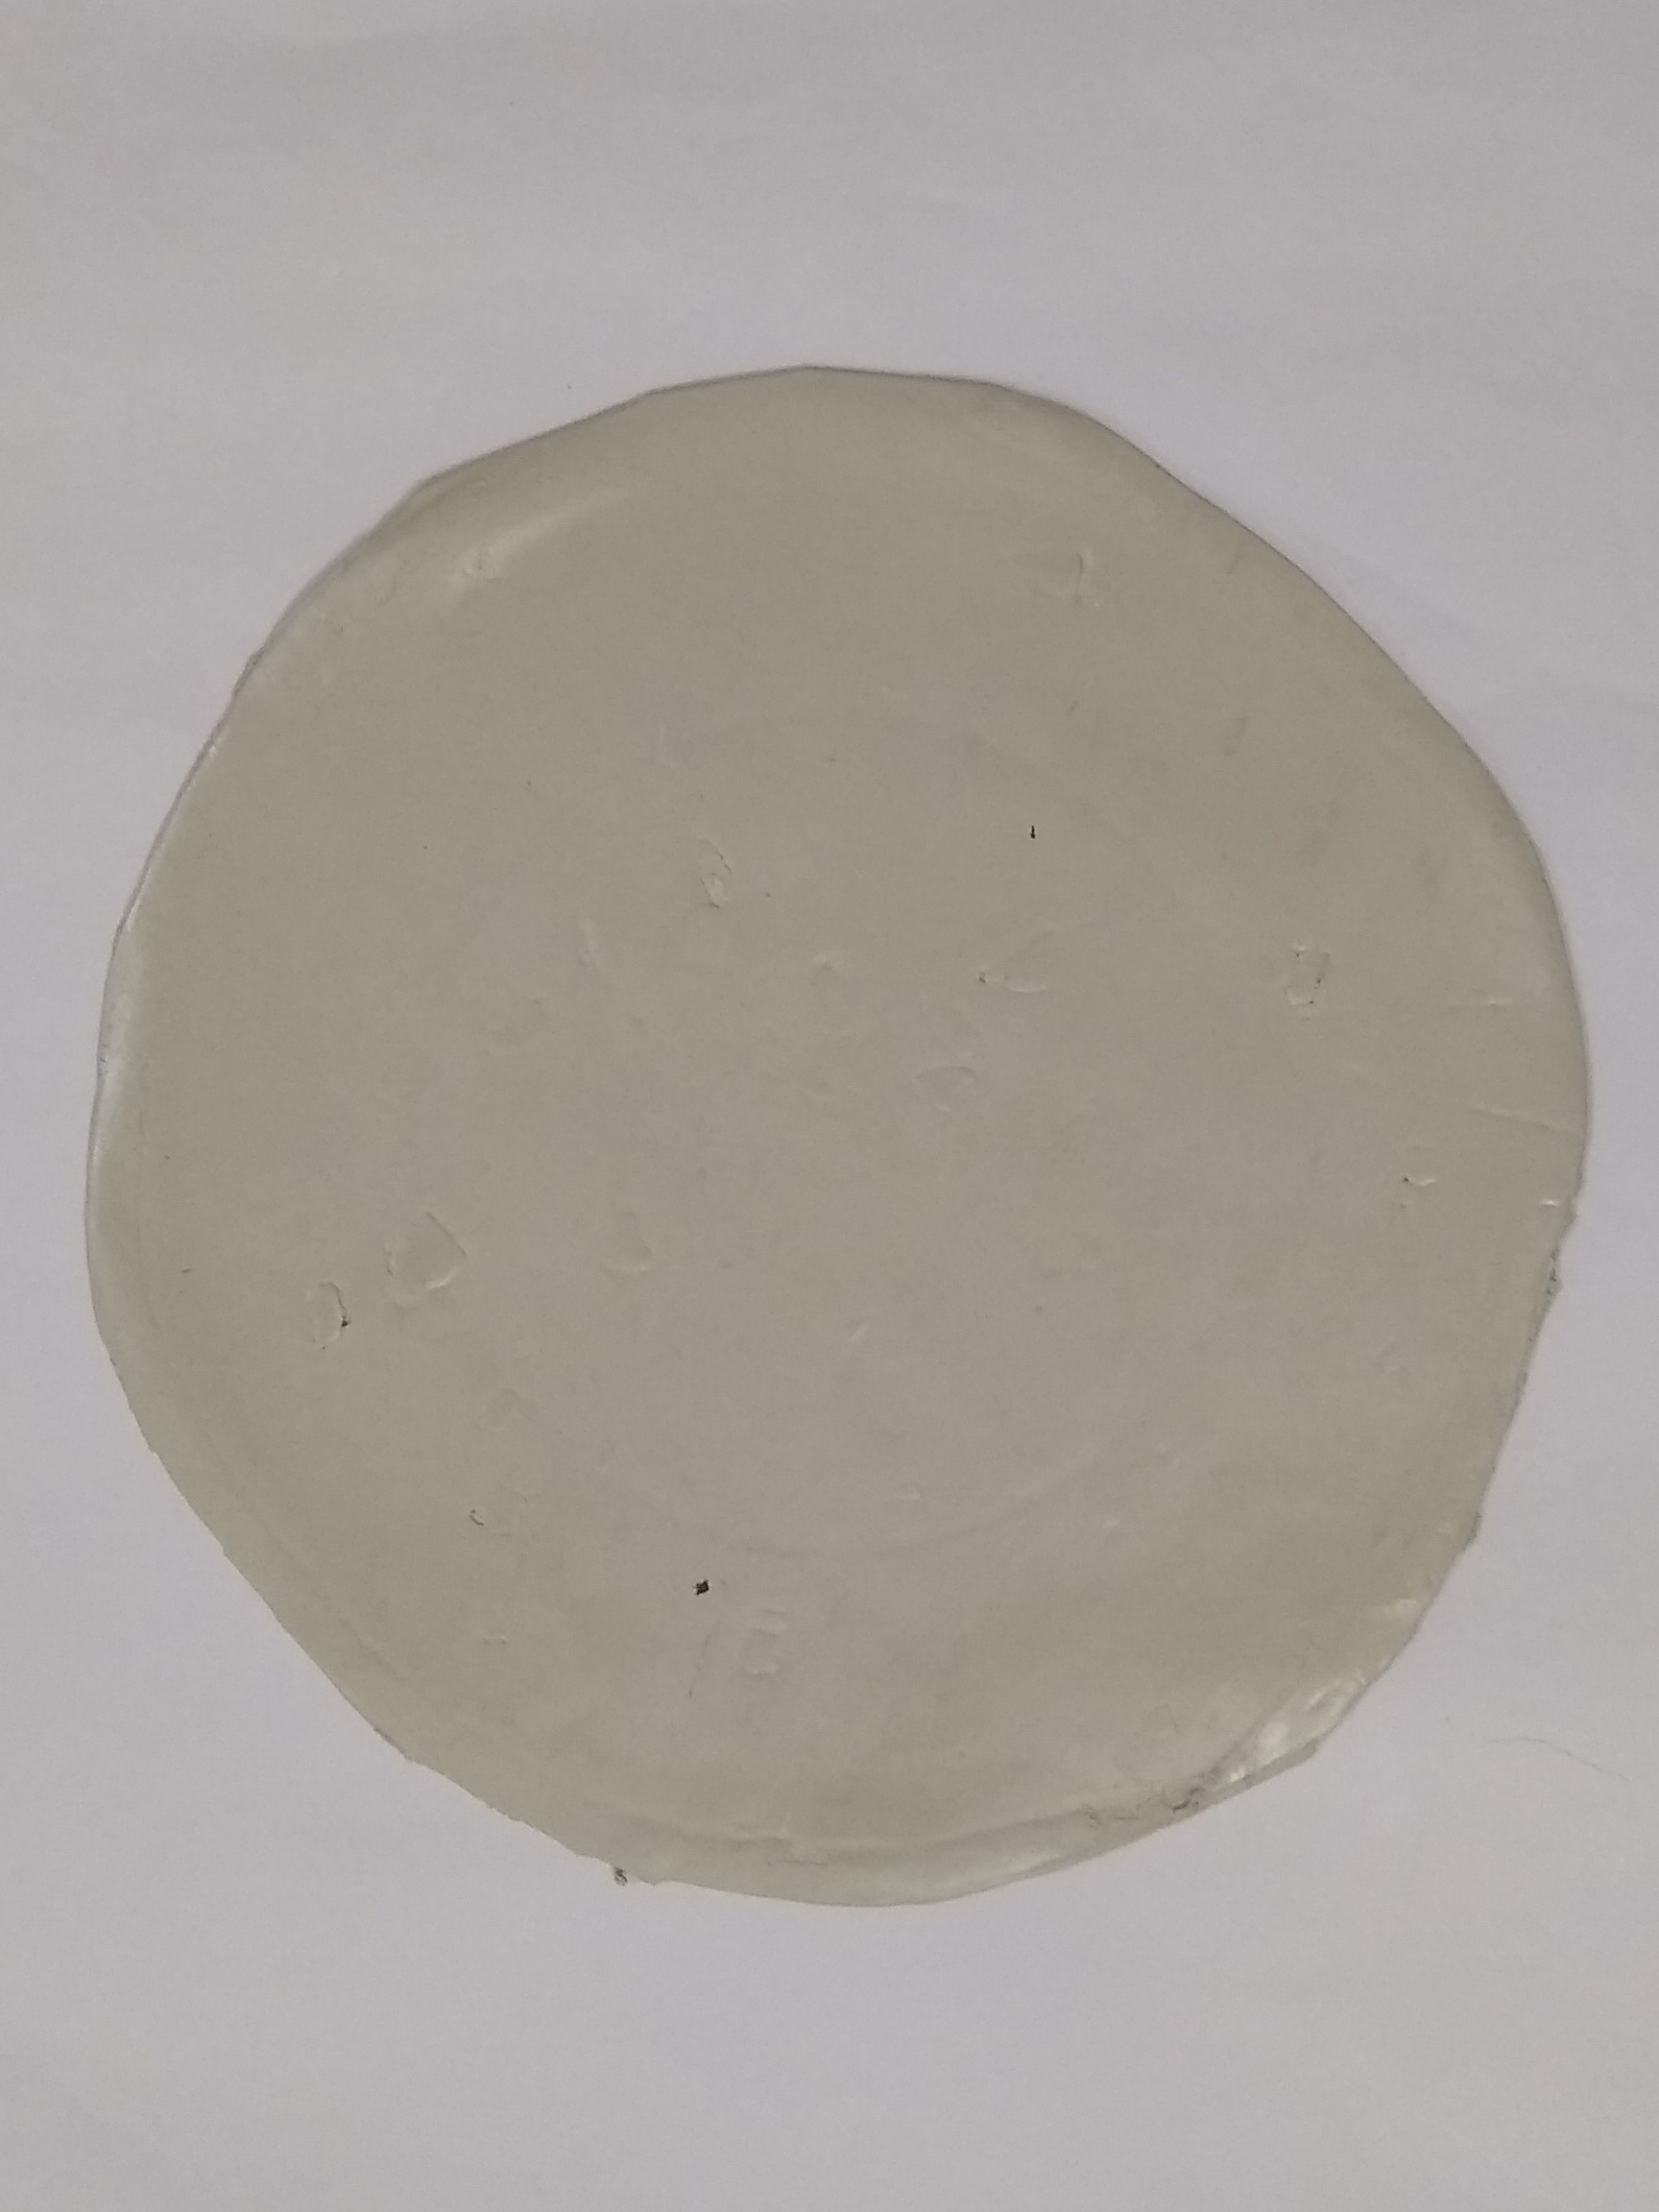
Take the dough, roll it to make the medium thick slab with rolling pin.

Mark and cut 8” diameter circle from the slab. Mark 2” x 8” measured rectangle and 2 semi circles from the marked circle. Create impressions on the semi circles using clay carving tools.

Stick and attach the semi circles to the rectangle base using Fabric Glue to make the holder sides for the tissues. Let it dry.

Paint the tissue holder with the base coat of Fevicryl Acrylic Colours Burnt Sienns 01. Wipe out the colour with rough rag to get a rustic look. Paint the second coat using Chrome Yellow 03, Golden Yellow 09 and White 27. Let it dry.

Your tissue holder with the tissues will look like this.


 +91 99676 55545