Mouldit Telephone


You Will Need:
Fevicryl Acrylic Colours - Black 02, Ultramarine Blue 23, White 27, Neon Yellow 011, Neon Pink 018, Fevicryl Mouldit, Fevicryl Fabric Glue, Fine Art Brushes, Rolling Pin, Pencil, Ruler, Paper Cutter, Clay Carving Tools, Colour Palette, Water Container
Product Used:


Description :
Are you in search of the perfect blend of nostalgia and creativity? Look no further than our DIY Mouldit Telephone!
Create this DIY using Fevicryl Acrylic Colours and Fevicryl Mouldit, this phone will surely connect you with creativity.
STEP 1 : Prepare the dough
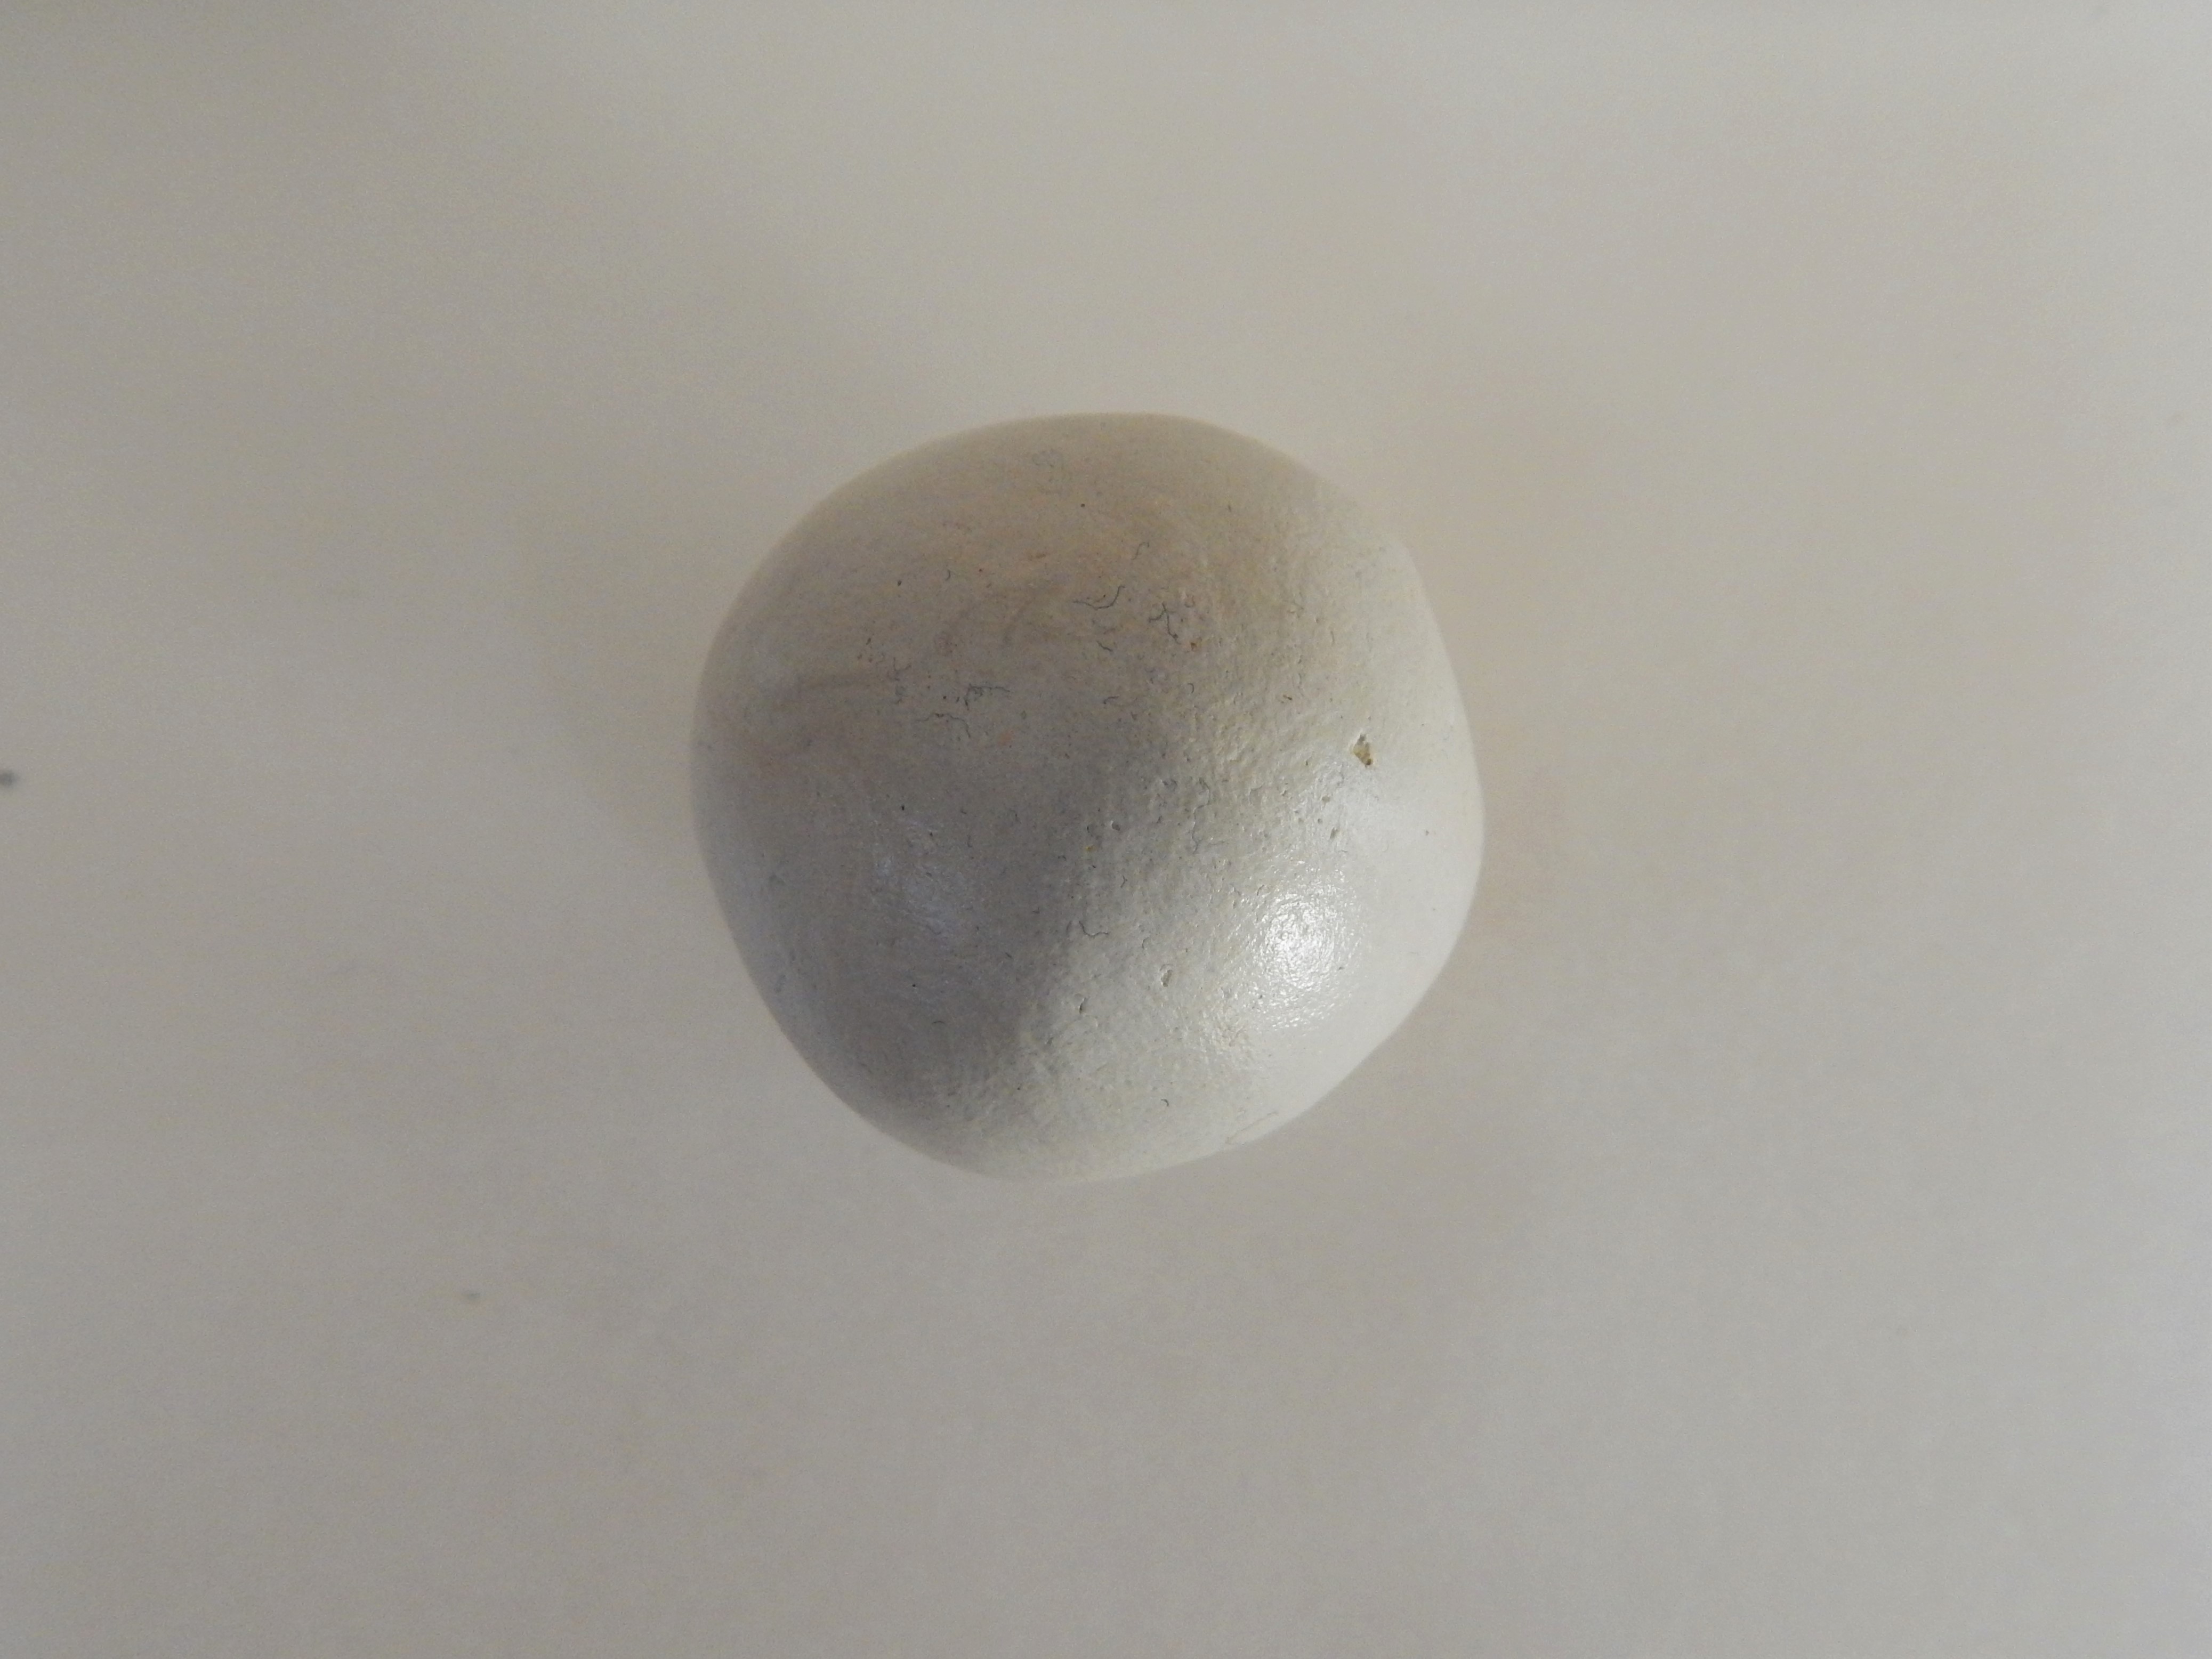
- Take Fevicryl Mouldit – resin base & hardener, mix well to form an even soft dough.
STEP 2 : Clay slab technique
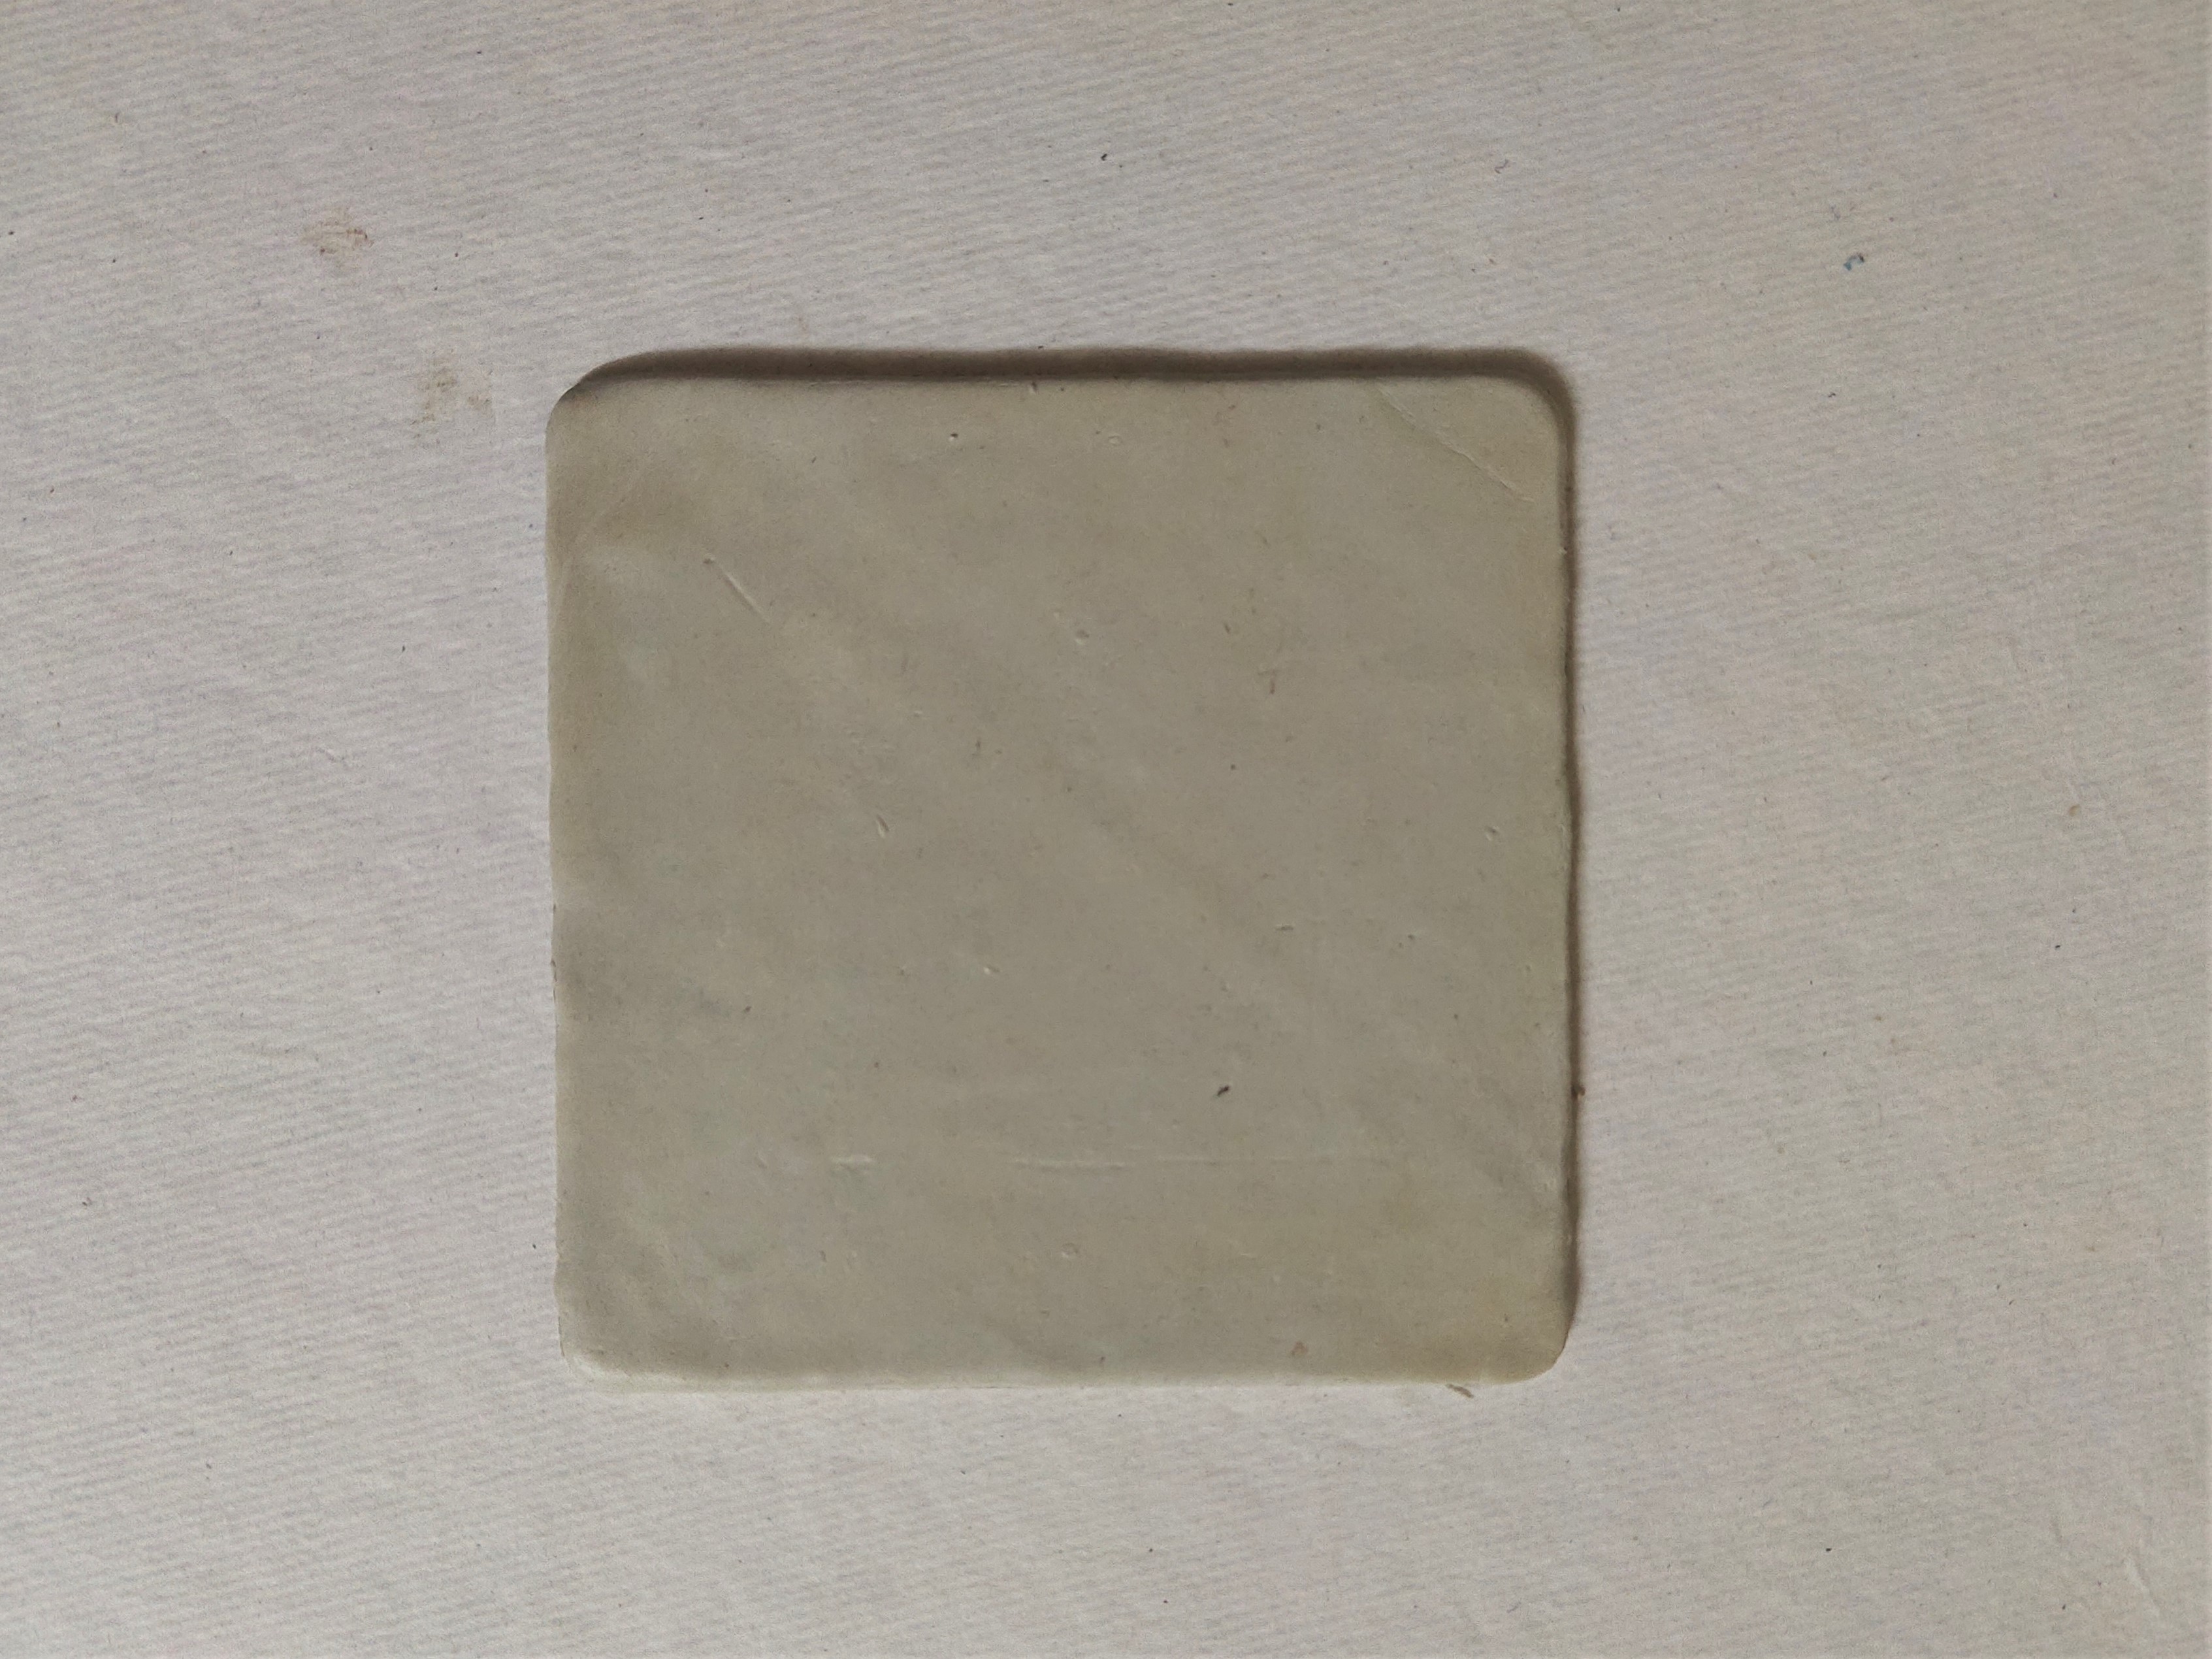
- Roll the dough to make a medium thick slab using a rolling pin. Cut a square with rounded corners using clay carving tools and a paper cutter. The shape roughly measures 4”x4” in size.
STEP 3 : Shaping the telephone parts
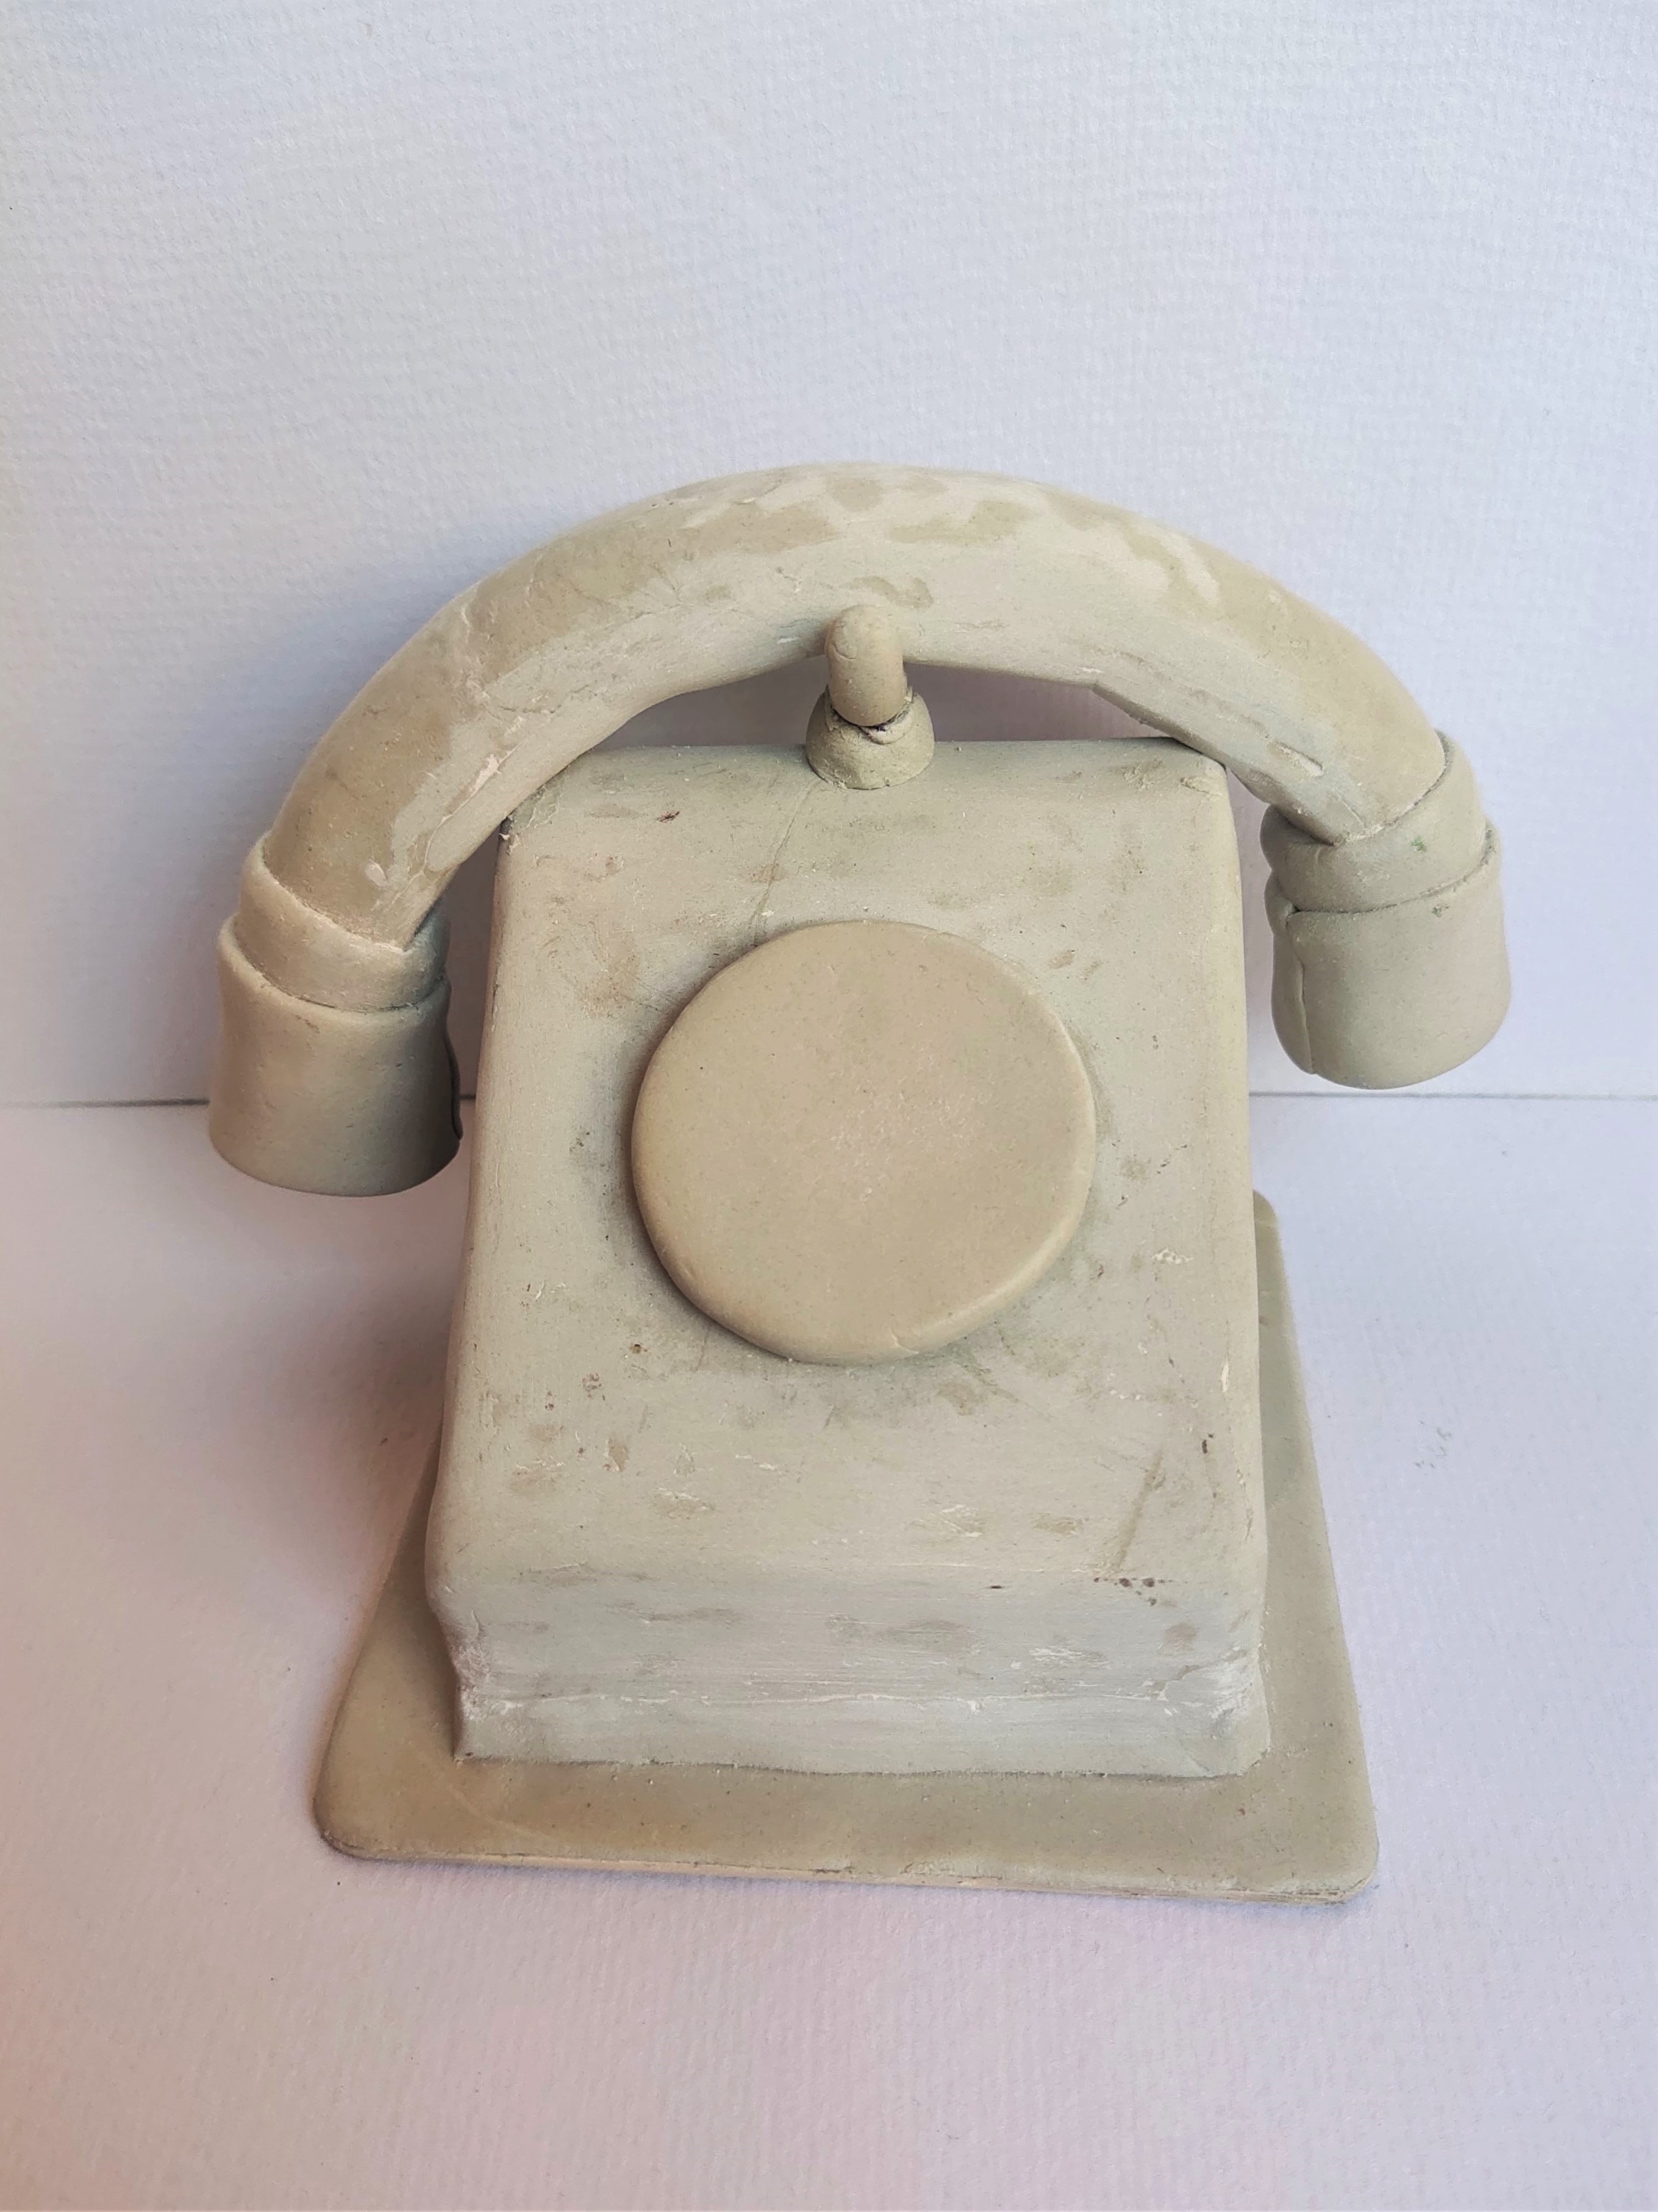
- Take the clay and shape the receiver, dial, base of the telephone and its base. Use clay tools for ease.
- Assemble & stick the parts appropriately to make a telephone using Fevicryl Fabric Glue.
STEP 4 : Paint the base coat
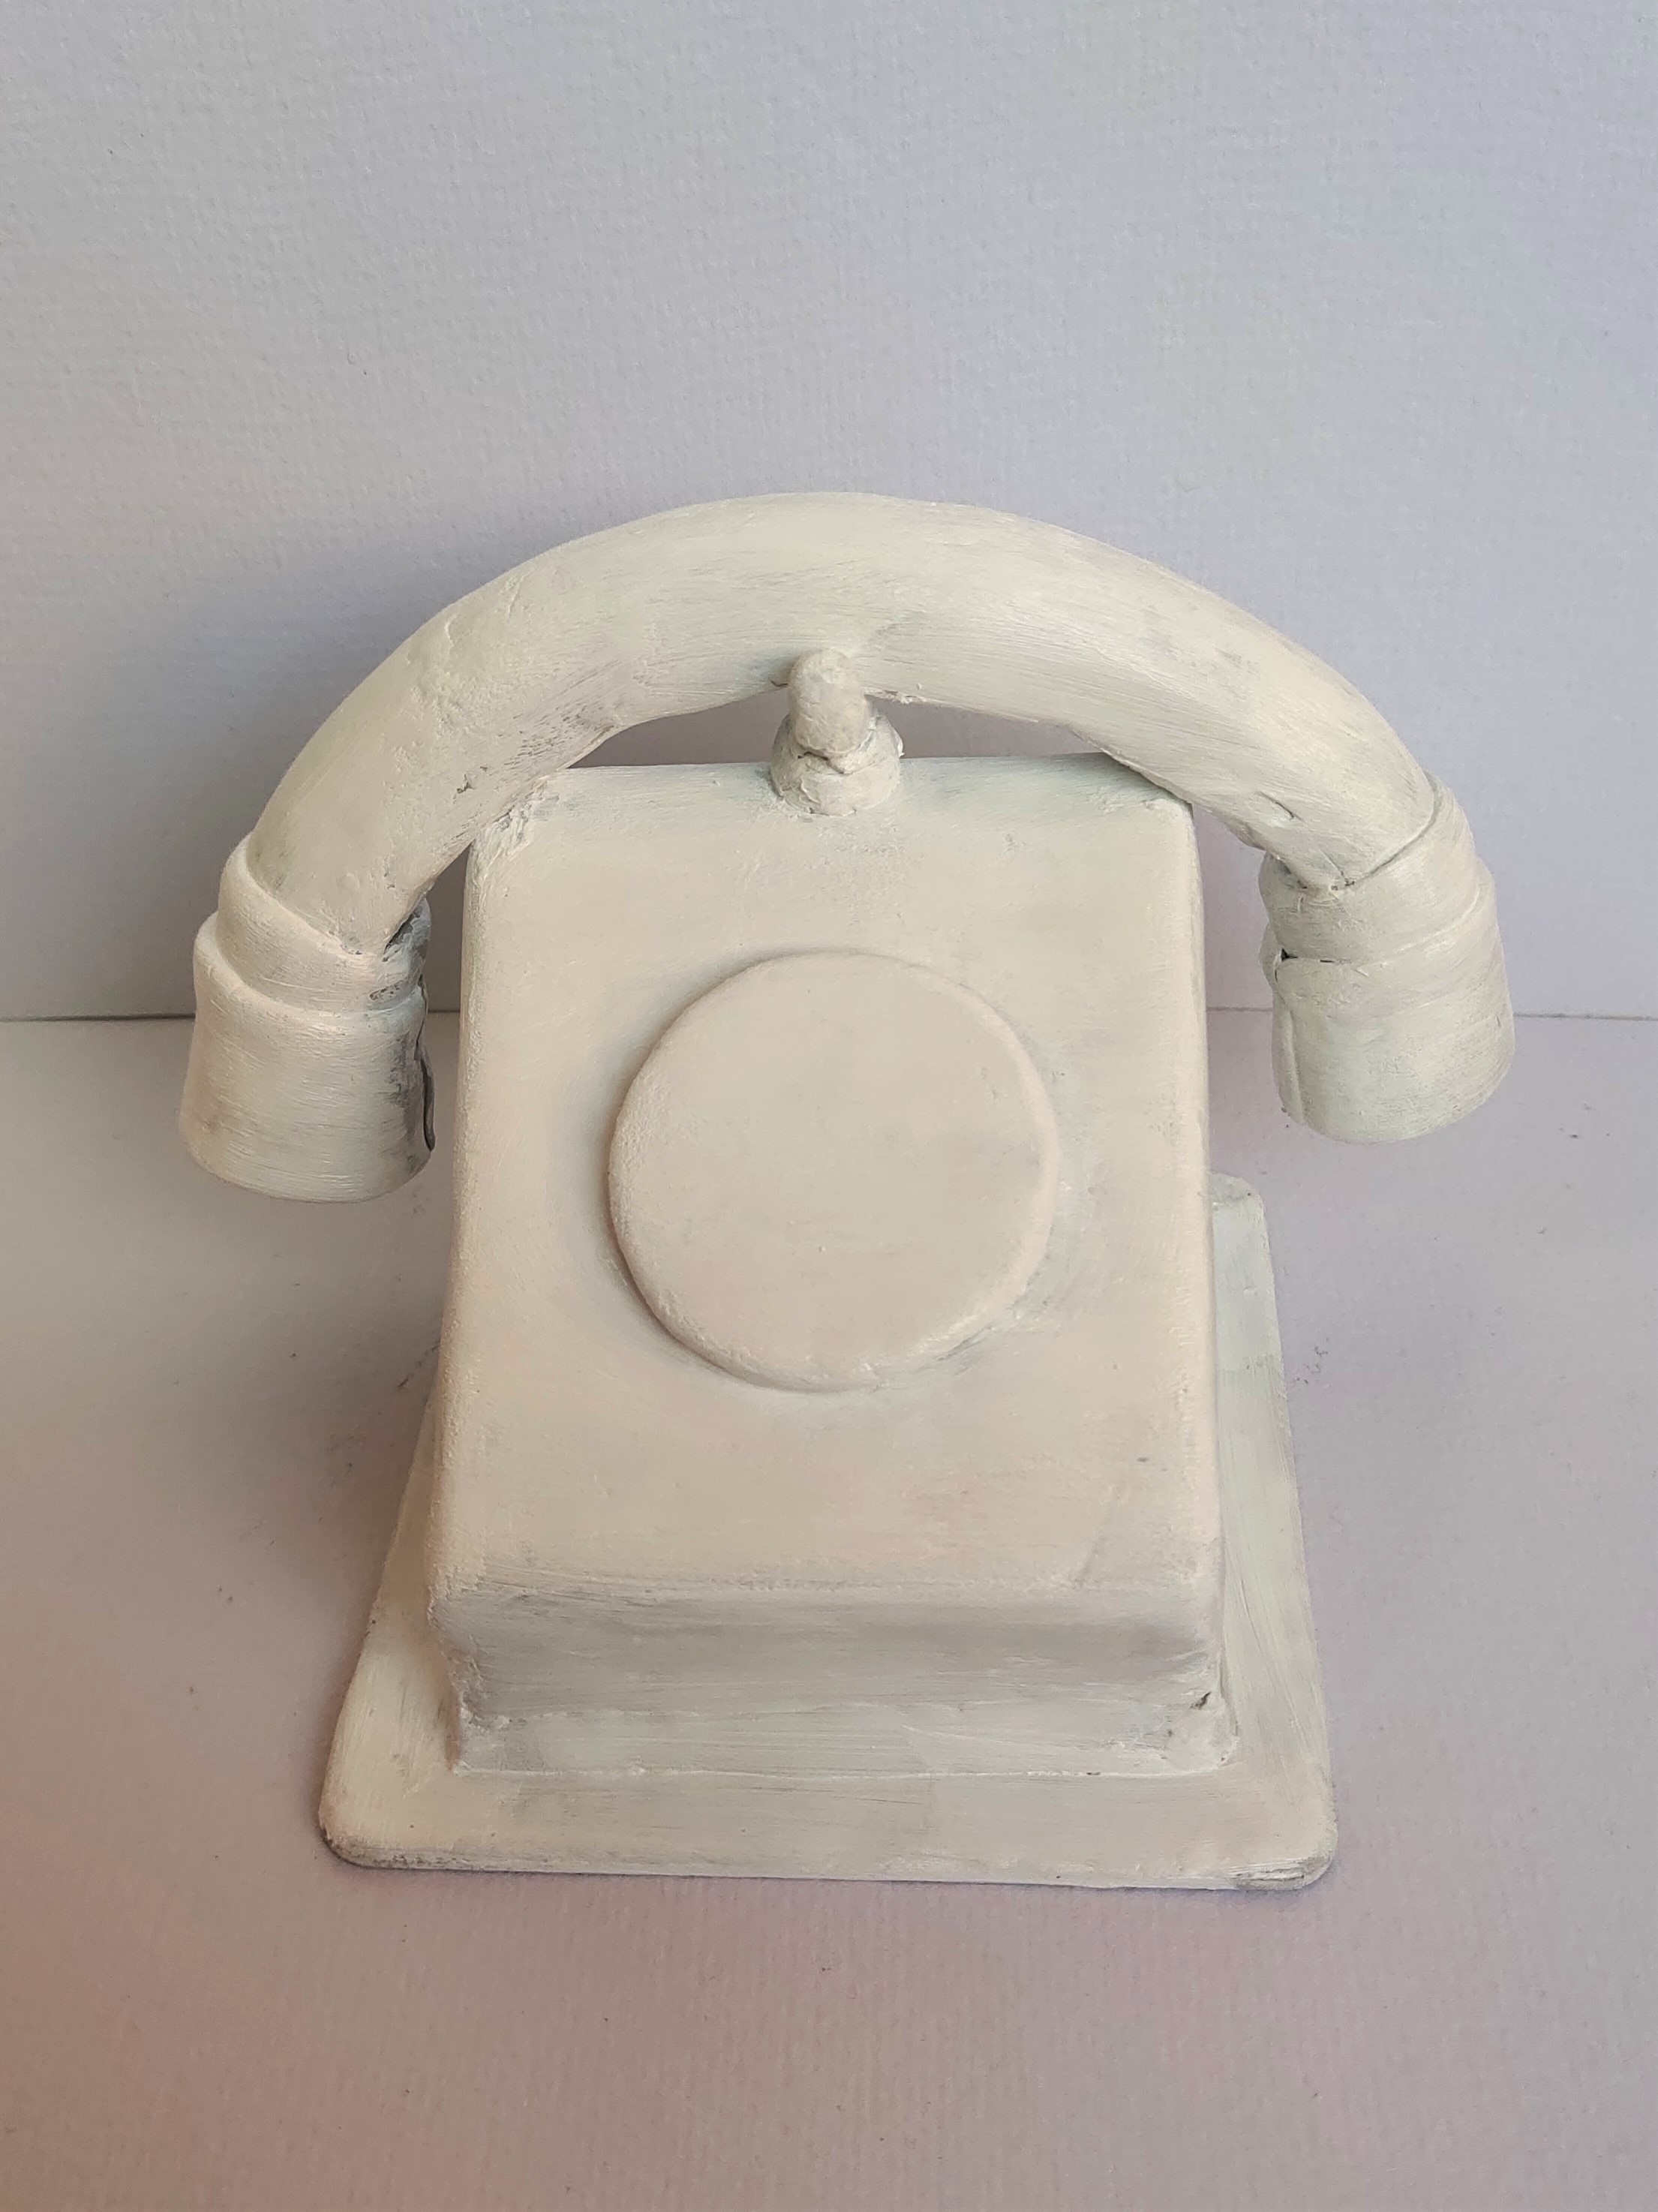
- Give a base coat of Fevicryl Acrylic Colour – White 27. Let it dry.
STEP 5 : Paint the telephone
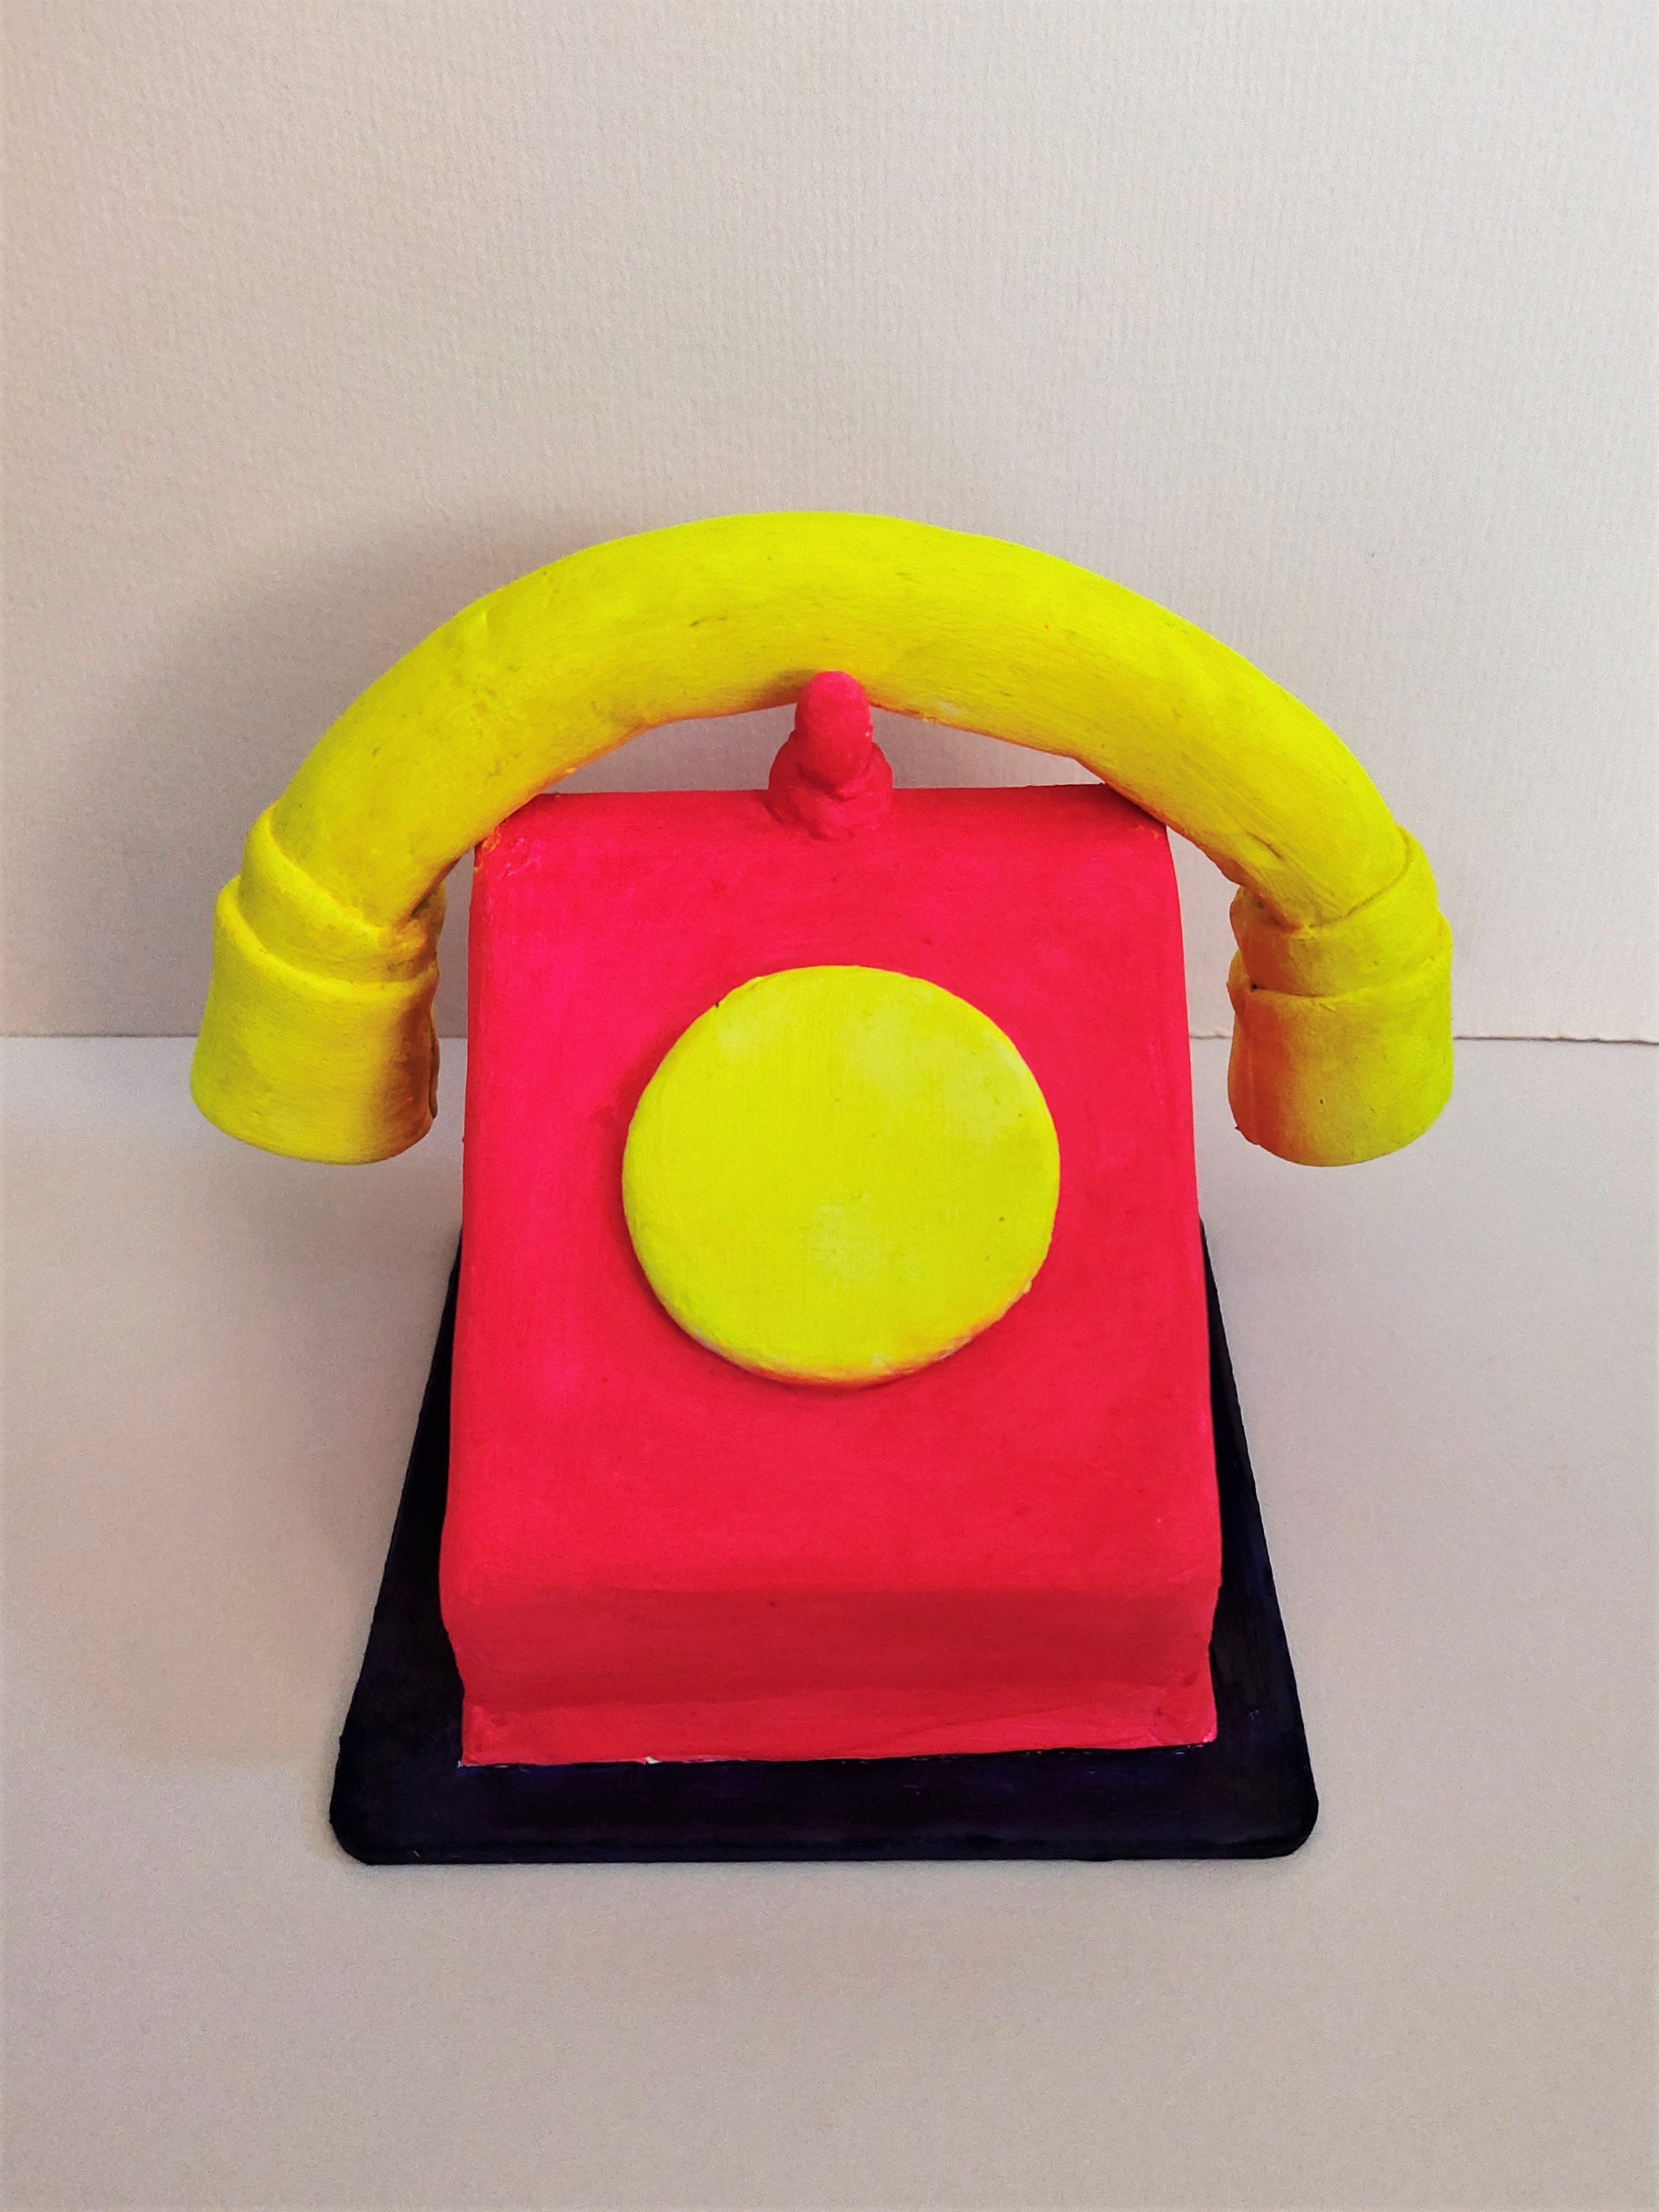
- Start painting the telephone in bright and resplendent shades using Fevicryl Acrylic Colours - Black 02, Ultramarine Blue 23, White 27, Neon Yellow 011 and Neon Pink 018.
STEP 6 : Doodling & final look
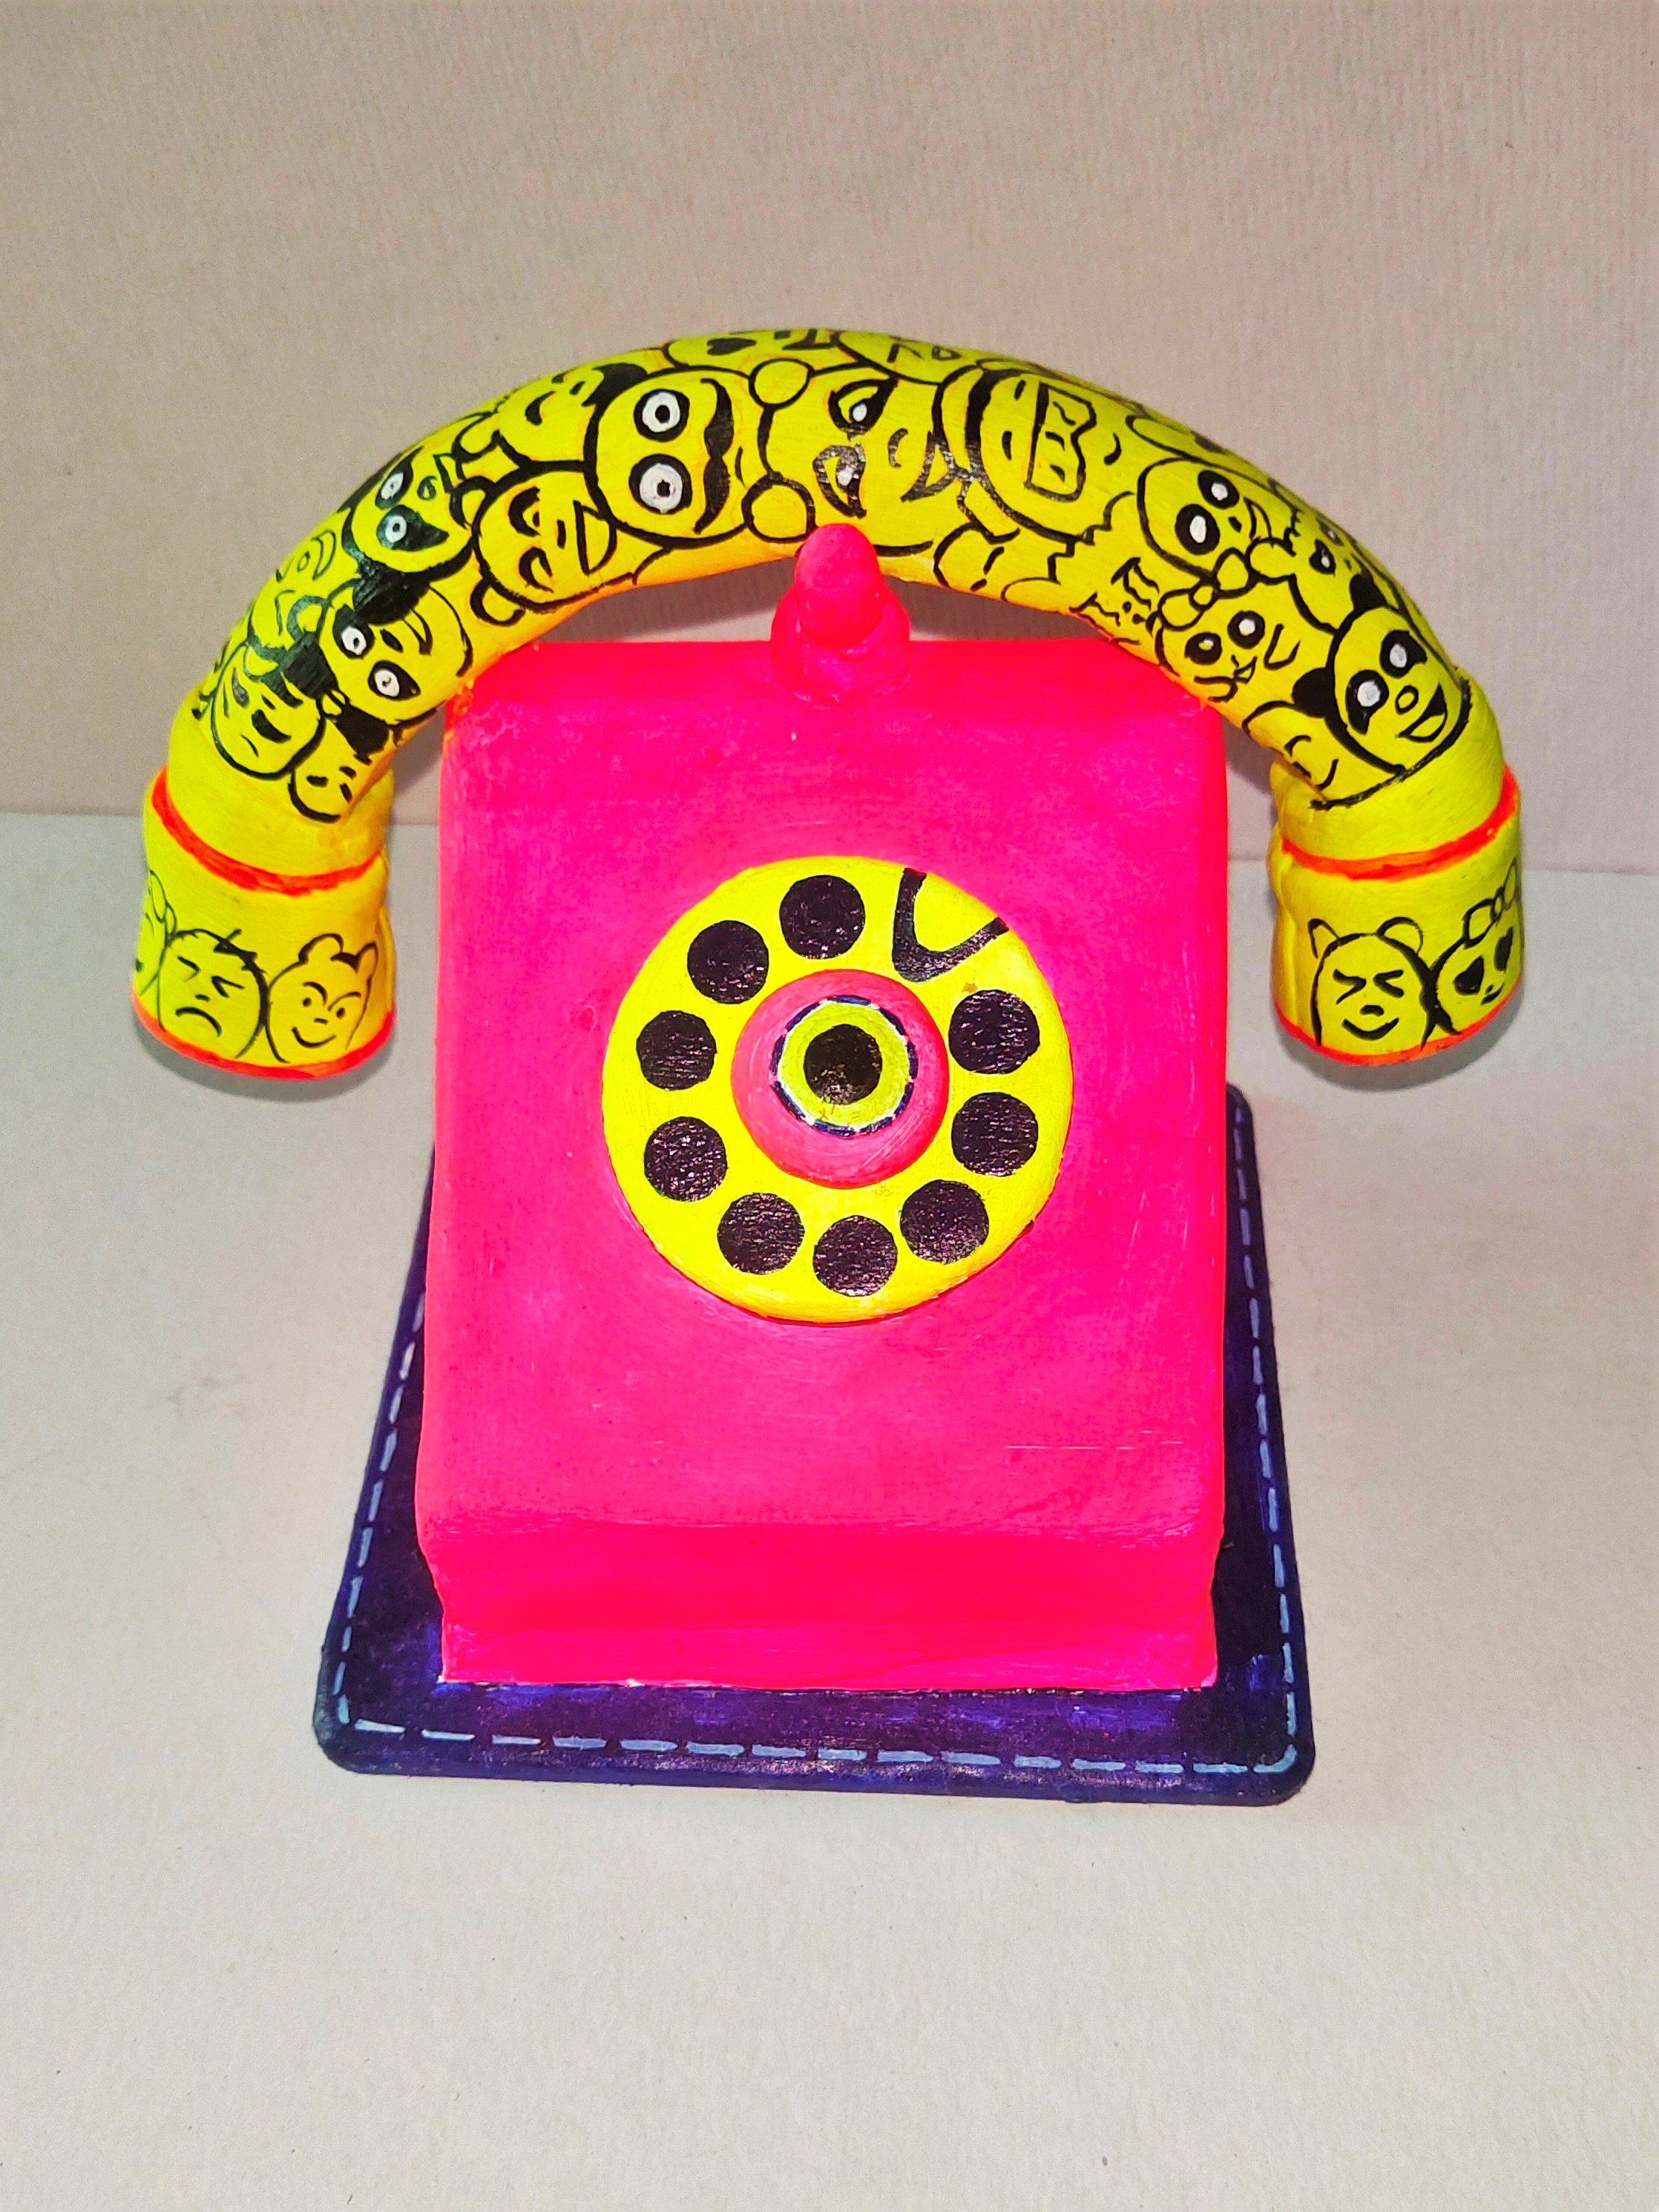
- Paint doodles on the receiver using Black 02, just like you see in the image. Paint the dial, base and body of the telephone too. Let it dry.
- Here you have your brilliantly painted clay moulded telephone, to be placed in your favourite space or corner.


 +91 99676 55545