Cutwork Design Planter Holder

You Will Need:
Fevicryl Acrylic Colours - Burnt Sienna 01, Black 02, Crimson 04, Dark Brown 05, Fevicryl Acrylic Colour Pearl Metallic Gold 352, Fevicryl Mouldit, Fevicryl Fabric Glue, Fine Art Brushes, Rolling Pin, Clay Carving Tools, Paper Cutter, Sharp Pointed Blade with a Holder, Black Wool, Scissors, Colour Palette, Water Container
Product Used:


Description :
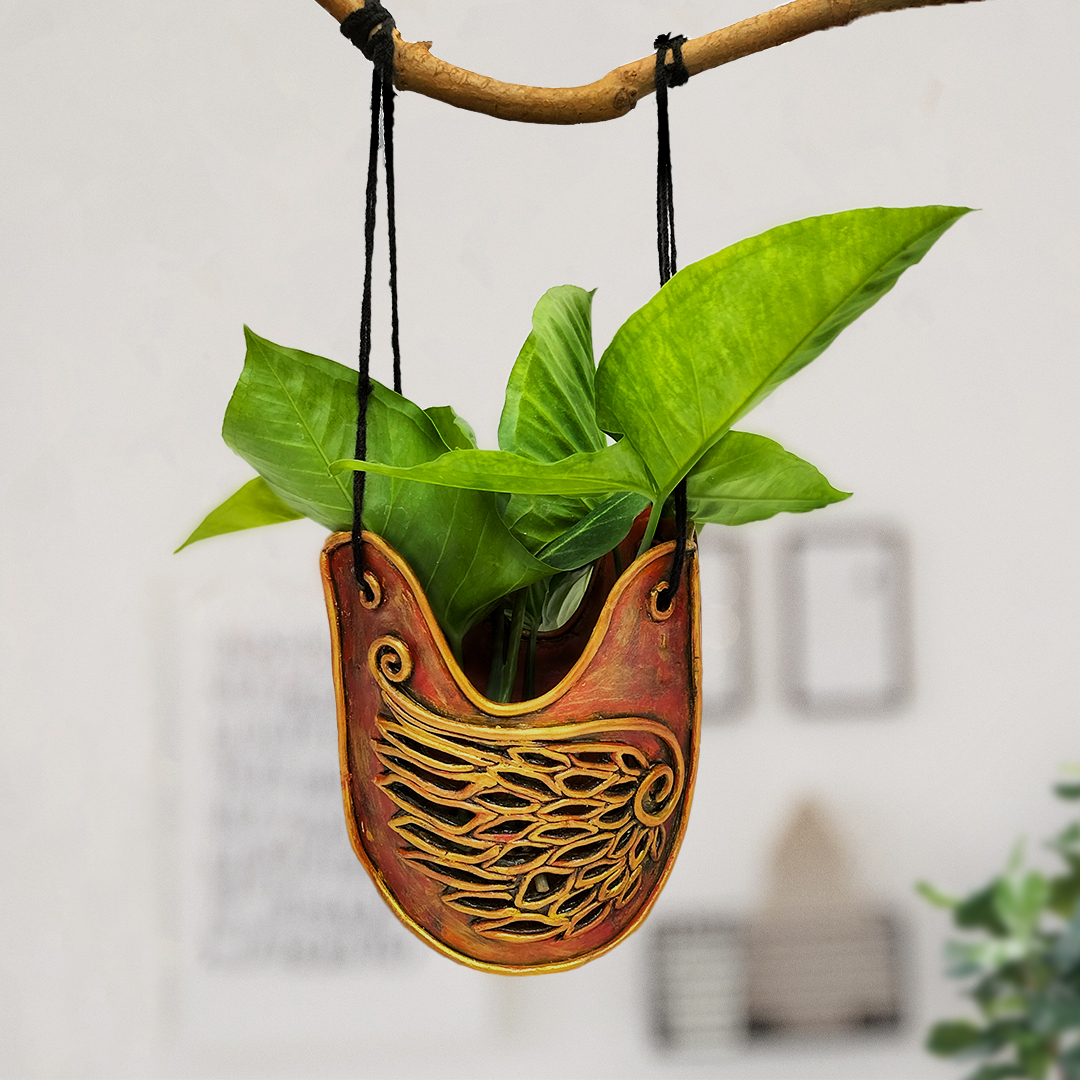
Learn how easily clay can be moulded and made into marvelous décor pieces. Here is a planter that we have made using Mouldit, by engraving and texturing making it into a splendid piece of art for your greens.
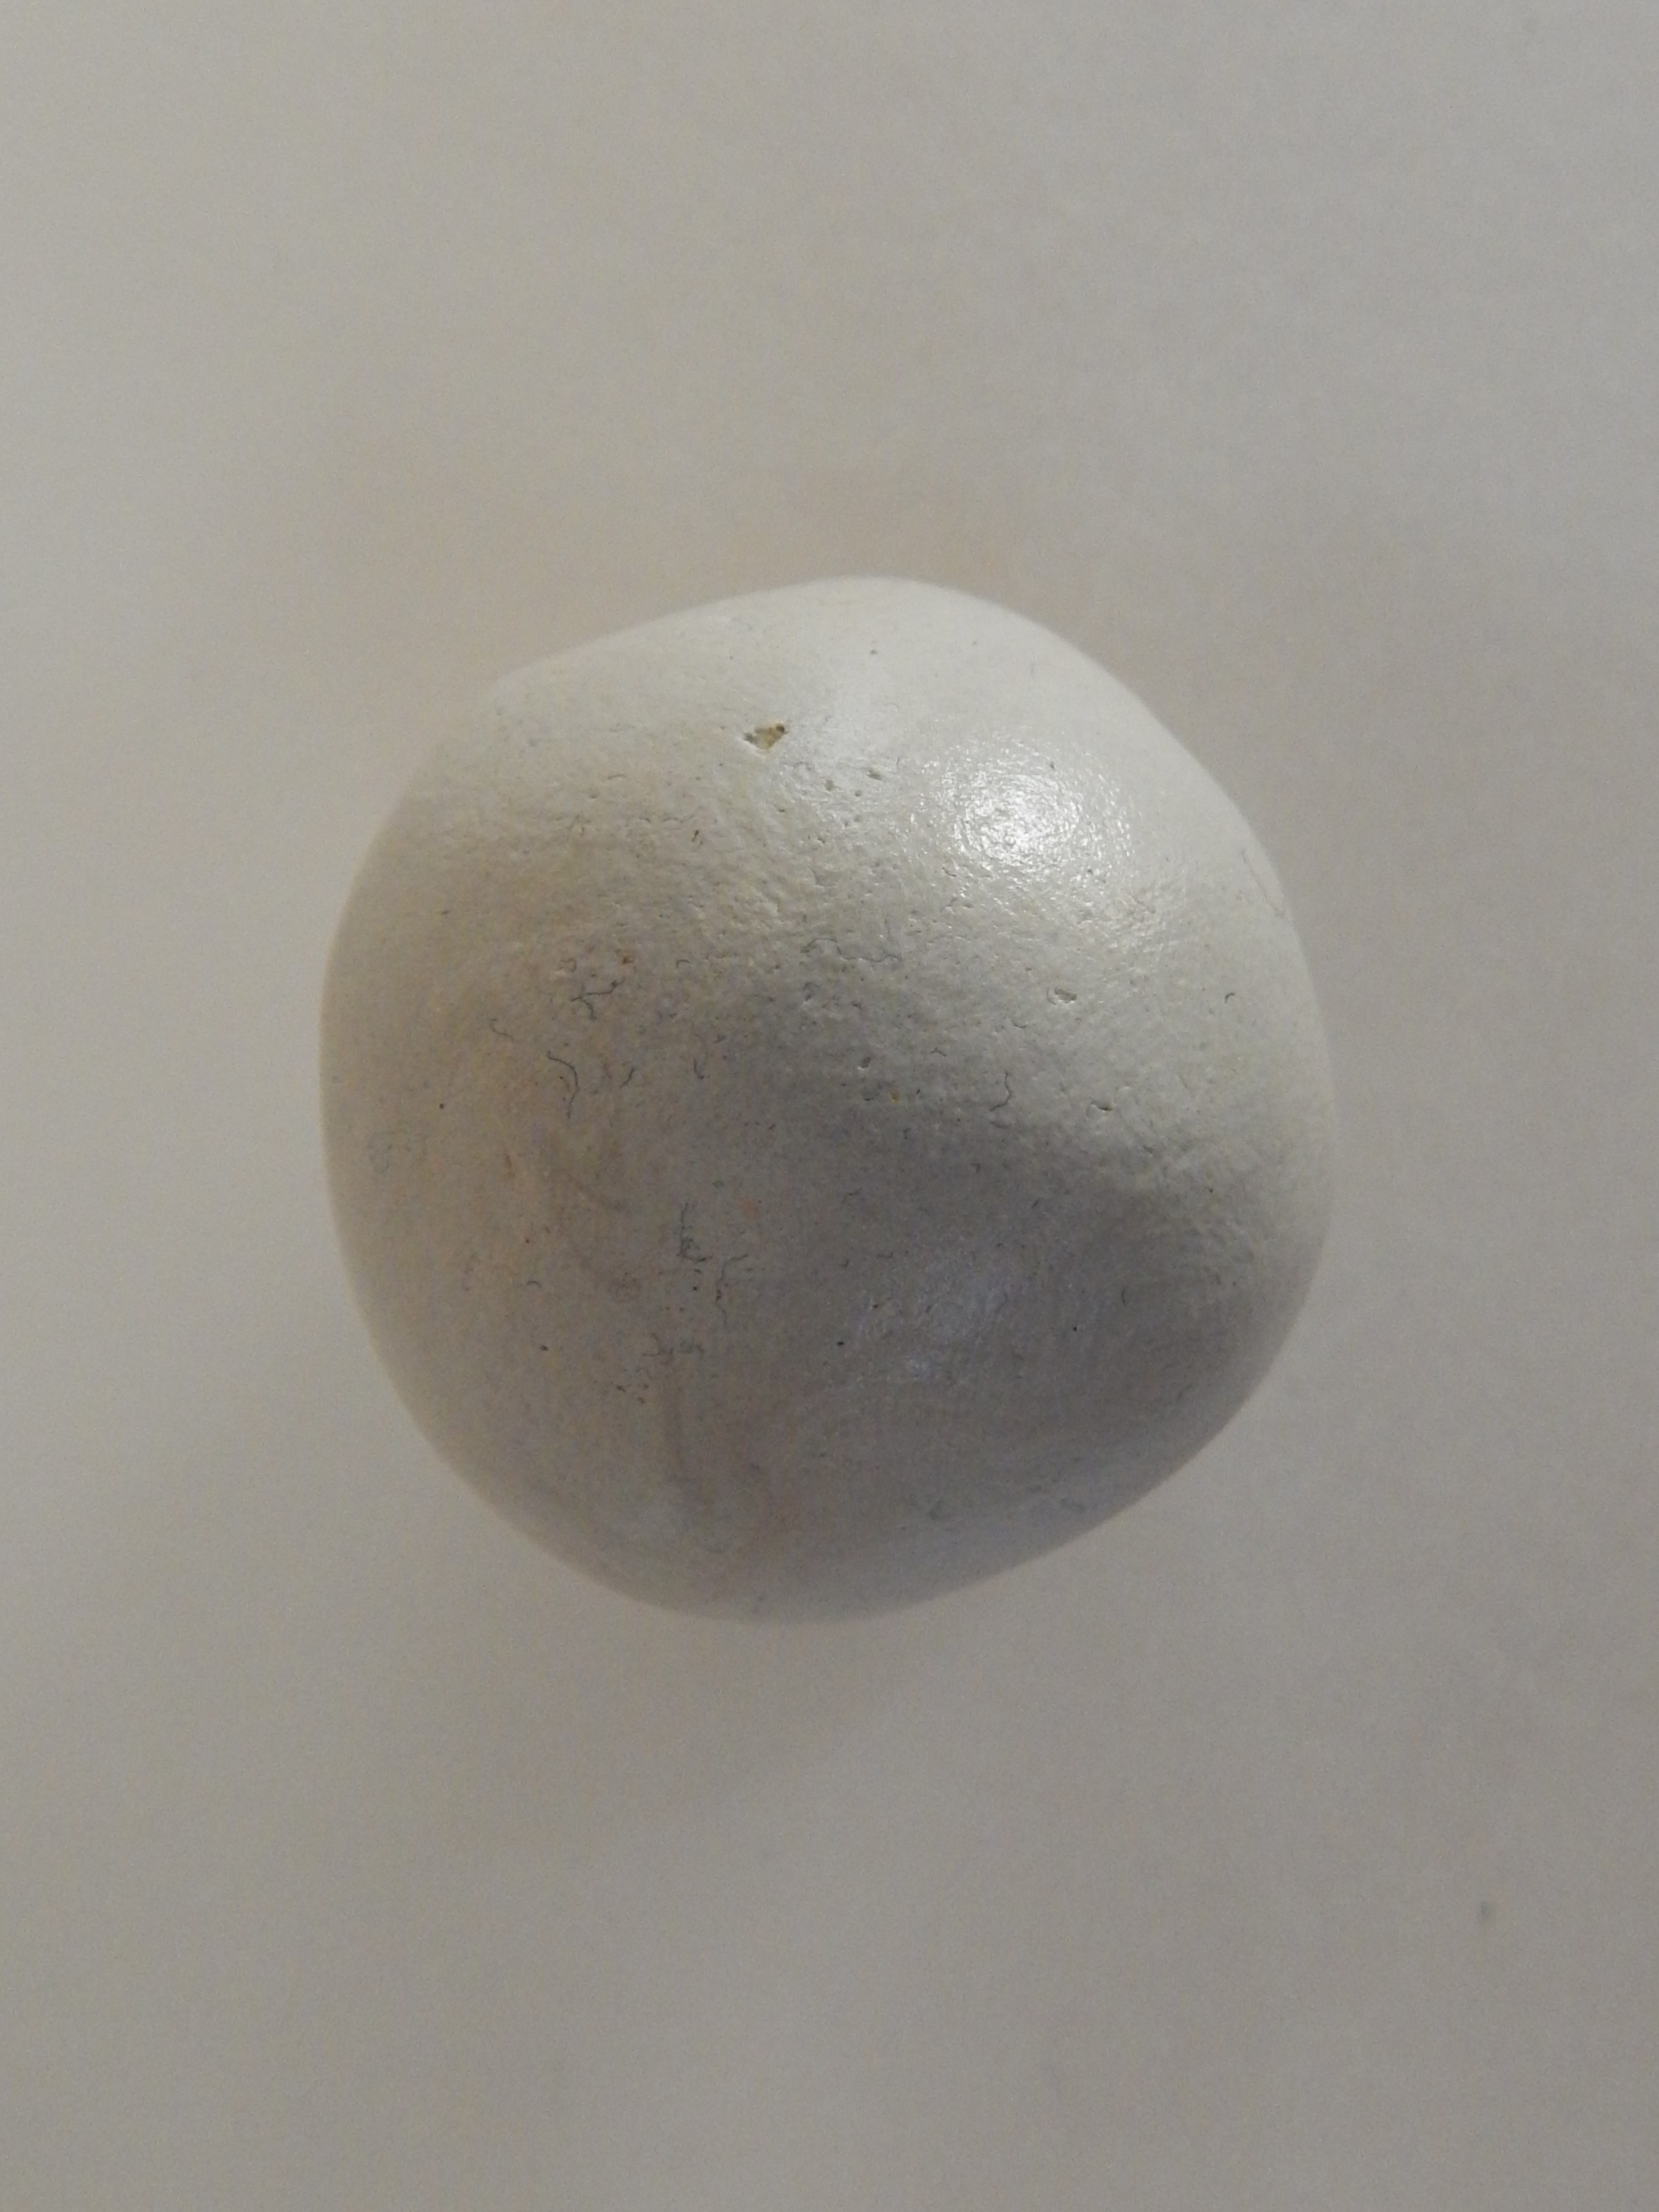
Take Fevicryl Mouldit – resin base & hardener and mix well to make an even soft dough.
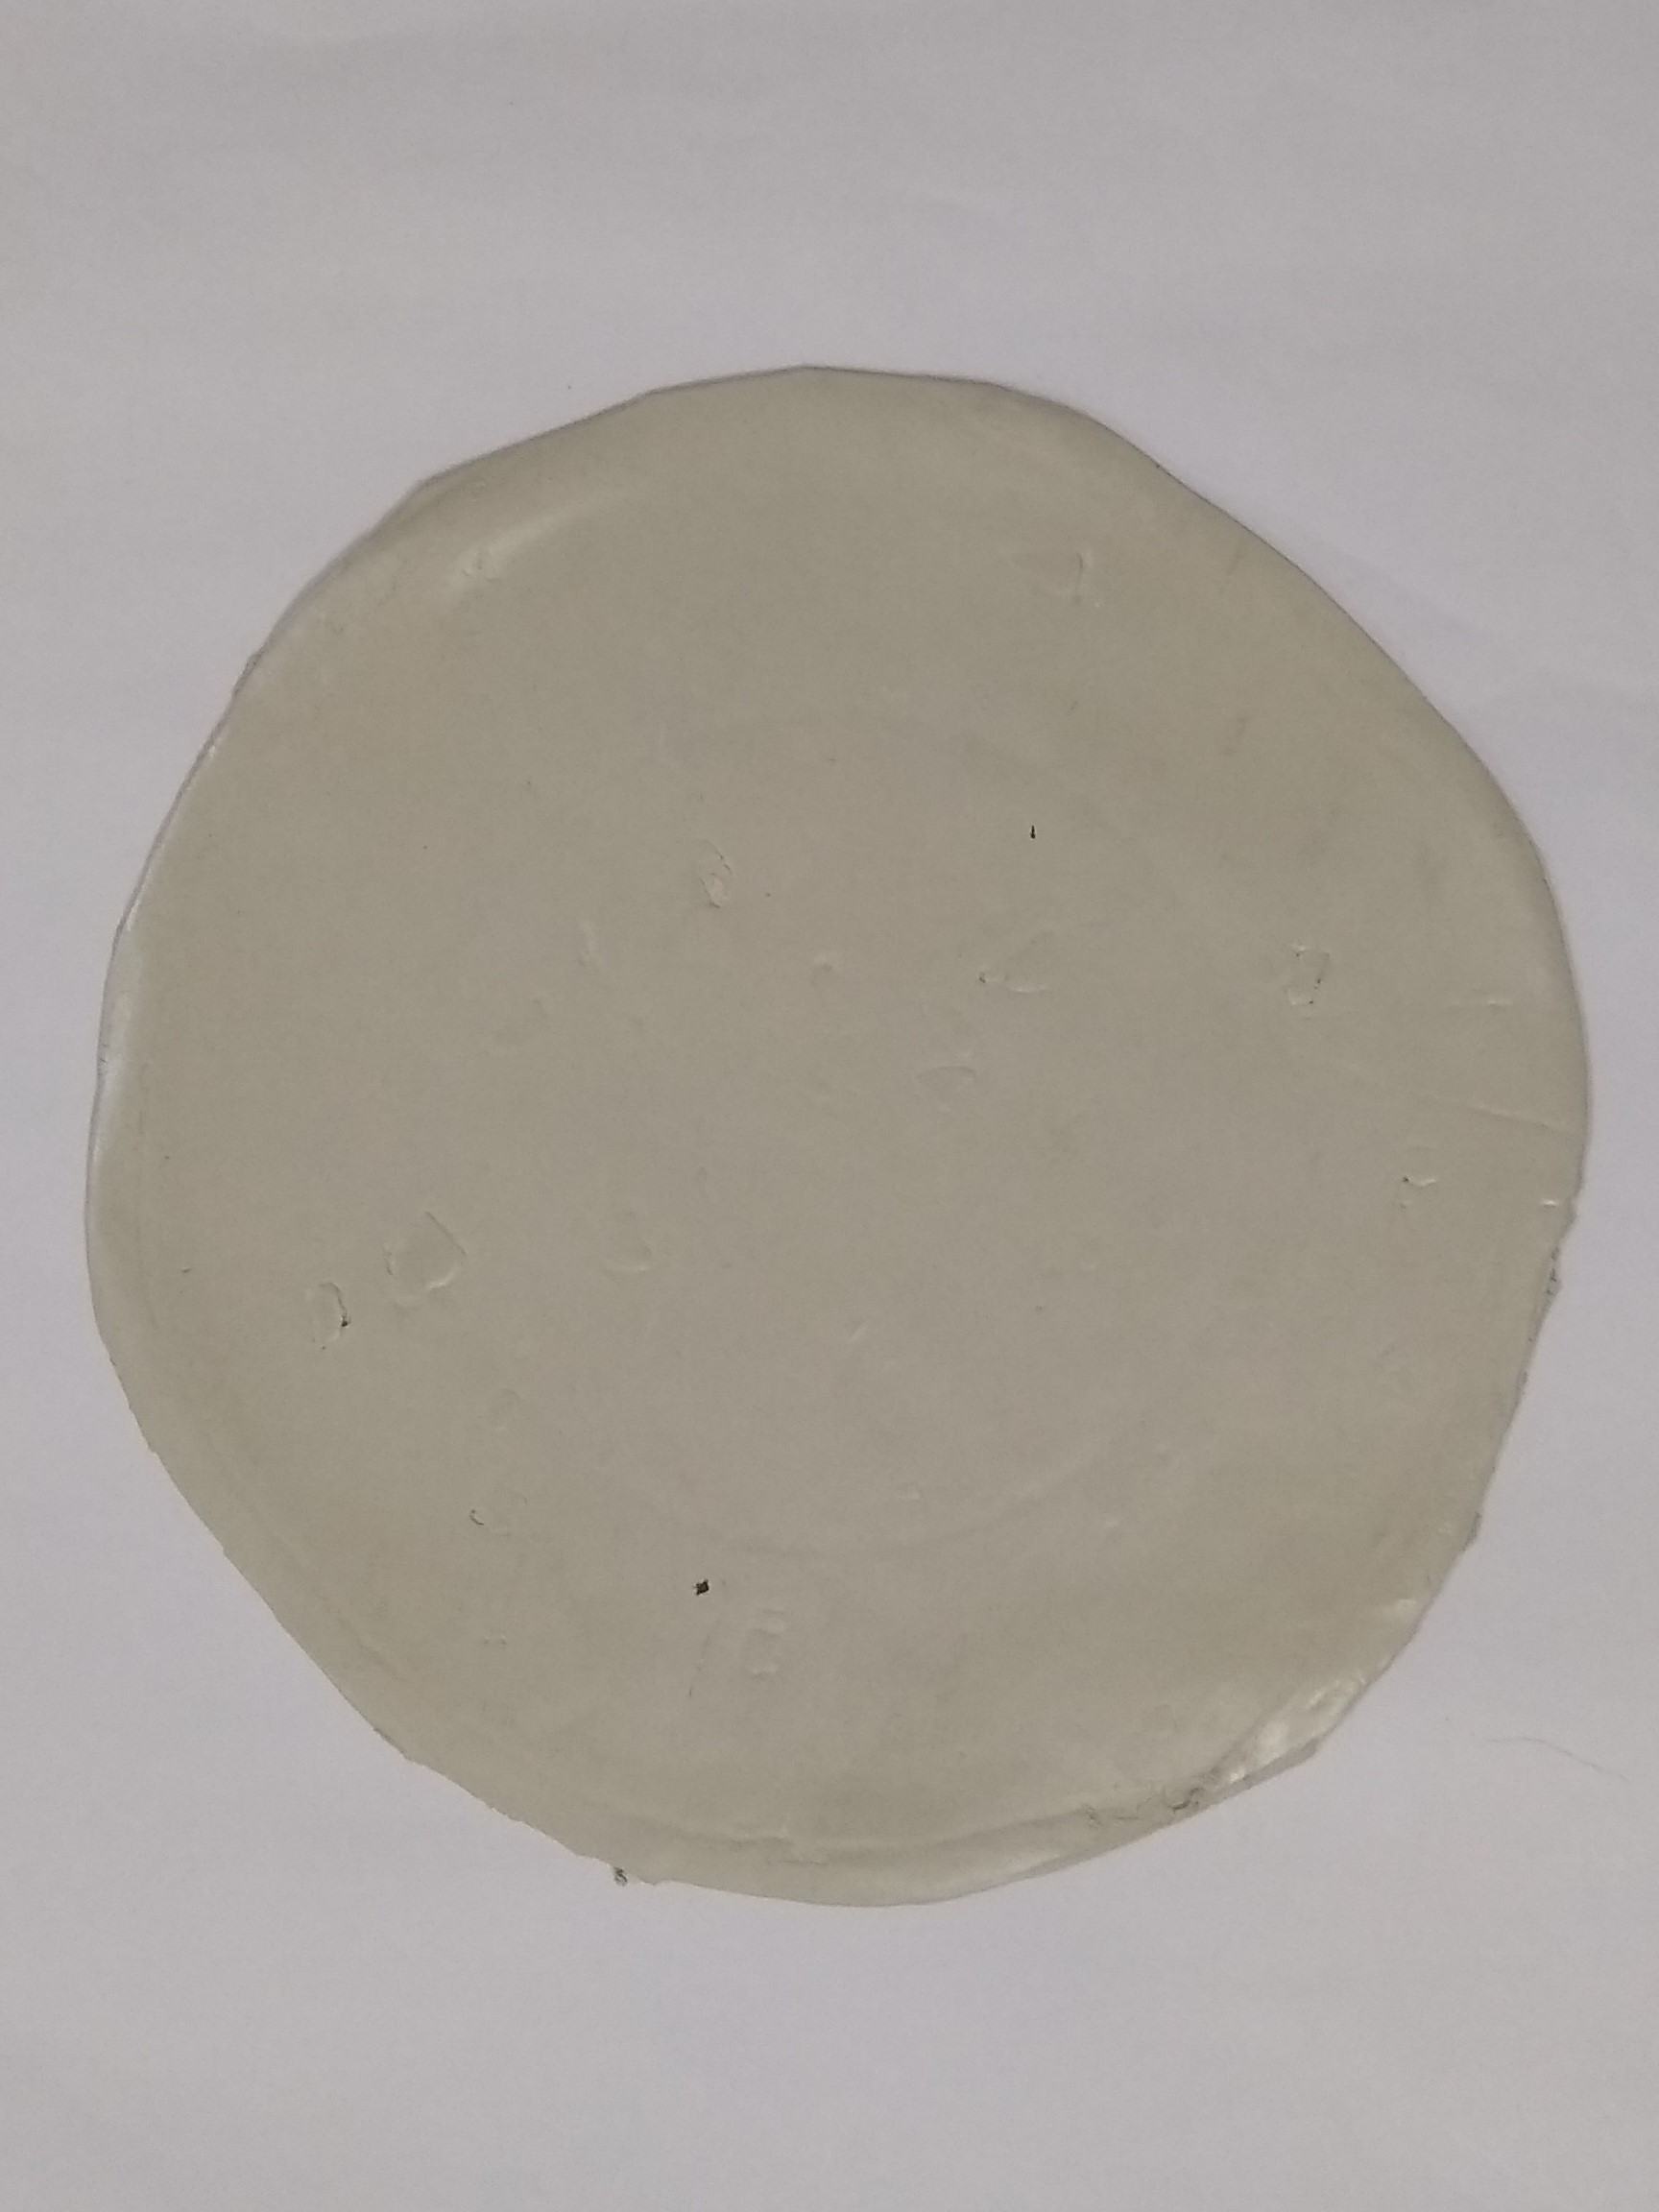
Roll the dough to make a medium thick slab using a rolling pin.
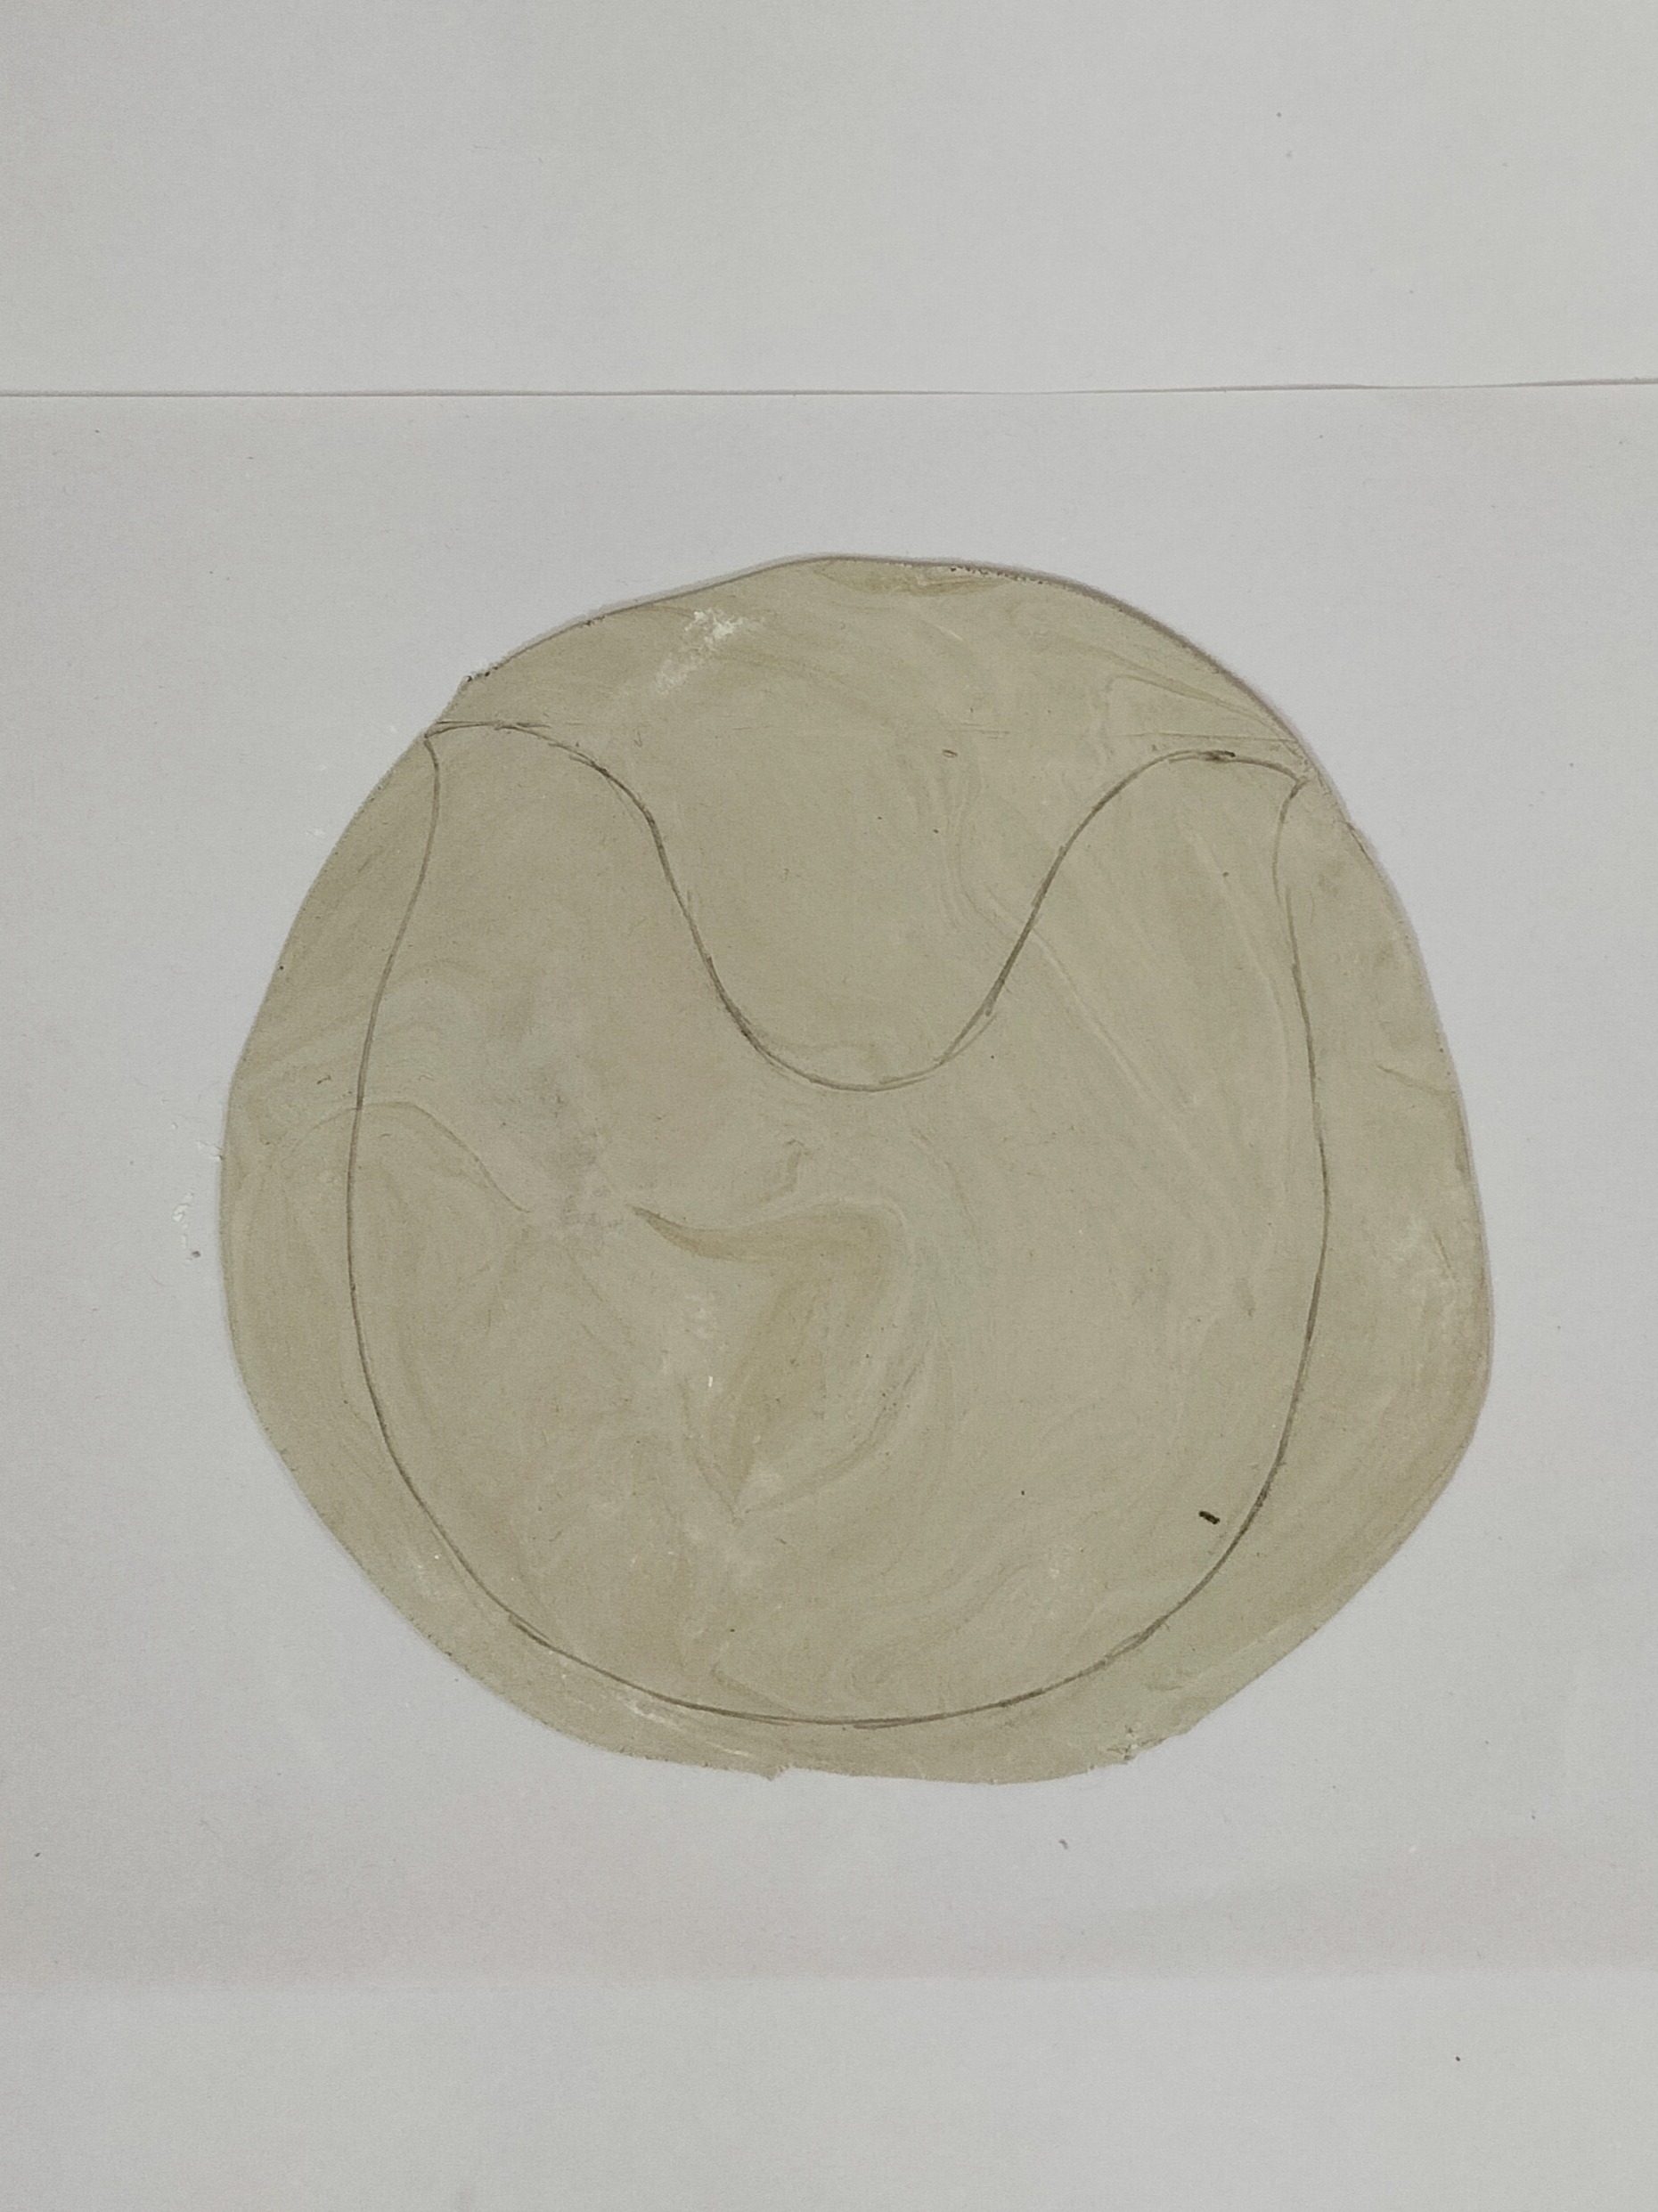
Mark and cut a broad “U” shape from the clay slab using a sharp paper cutter. Make two such shapes, for the front and rear side of the planter, respectively.
Take the clay pieces and place it over a bottle to get a curved shape. Let it semi dry in this position.
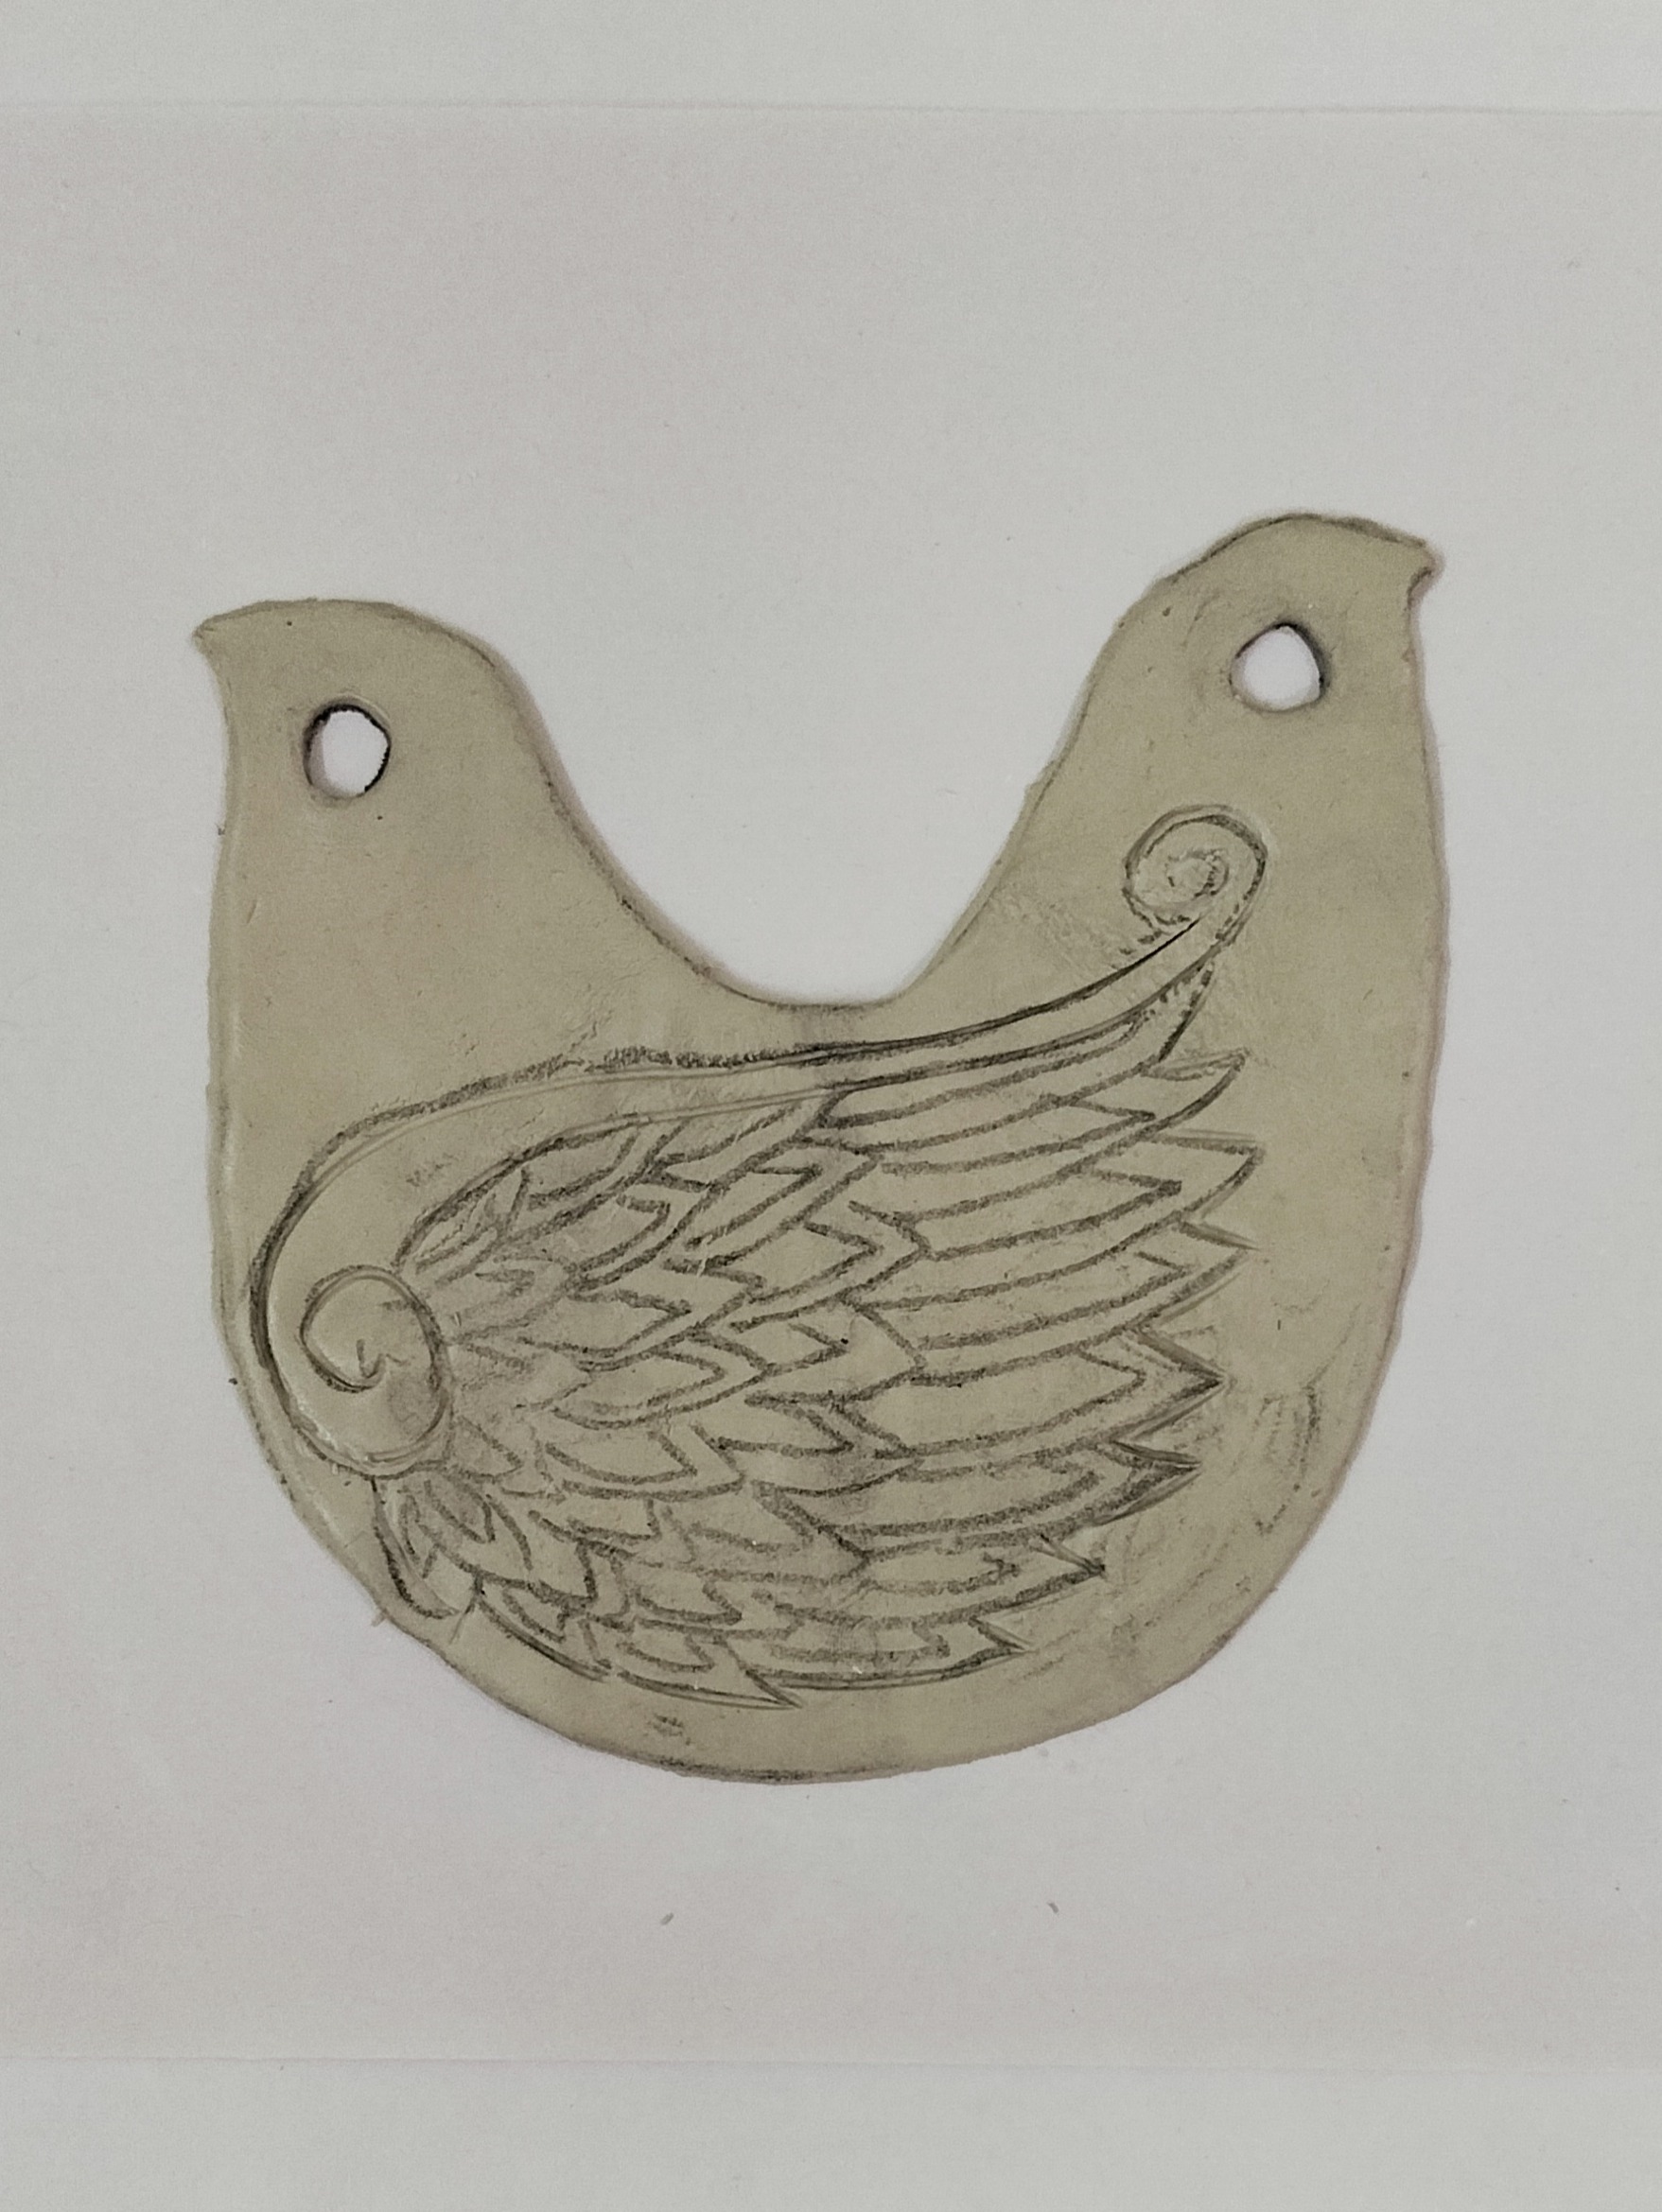
Using clay tools, create a design on the base of one of the shaped clay pieces. Make holes on the two top ends of both the clay pieces, for strings to be attached later, for the planter. Refer to the image. (Step 4 & 5 need to be done whilst in a semi dried state)

While still in a semi dried state, using a blade, cut by following the design on the clay slab, creating a cutwork effect. Do this very carefully & neatly.

Take a 2” broad strip of slab, place & stick the two clay slabs with the help of this broad strip. Use Fevicryl Fabric Glue for sticking. Ensure the two parts are well formed and secured neatly. Your basic structure of the planter is ready and would look like this.

Paint the planter using Fevicryl Acrylic Colours – Burnt Sienna 01, Black 02 & Pearl Metallic Gold 352, to give an antiquated look. Let it dry.

Give a second coat, that of dry brush strokes using Fevicryl Acrylic Colour – Crimson 04. This would give a beautiful burnished look, enhancing the planter.

String in a woolen thread through the holes made on the planter. The planter is now ready to be added to your garden or balcony spaces.


 +91 99676 55545