Card Board Cutout Technique On Wall
Oct. 12, 2020
You Will Need:
Fevicryl Acrylic Colours Black 02, White 27, Fine Art Brushes, Mount Board/ Thick Card Board, Pencil, Paper Cutter, Sponge, Colour Palette, Water Container
Description :
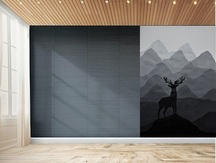
Paint your space in the easiest way using just card board cut outs. Try it yourself to get that surreal feel to your walls.
STEP 1 : Making the cutout
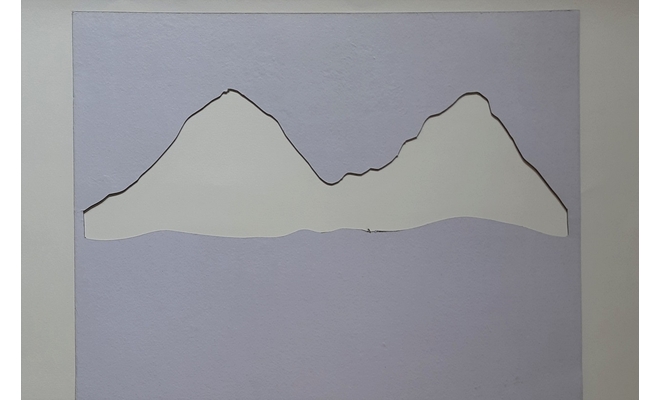
• We are going to make the card board cutout design and we will paint the same design on the walls in repetitive manner with Acrylic Colours.
• Take a thick card board or the mount board. Divide and cut the card board in two parts.
• Draw the design of the mountains and the stag on it.
• Mark and cut the mountains and the stag in stencil style using a paper cutter.
• Refer to the image.
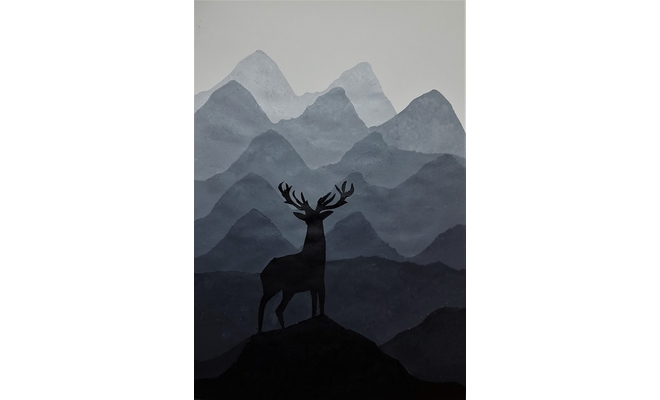
STEP 2 : Stag cut out

• The stag cut out will look like this.
STEP 3 : Sponge dab the design
• Place the card board cut out of the mountain on the wall and sponge dab the design in gradation manner using shades of grey made by mixing Acrylic Colours Black 02 and White 27. Start from the top – light and move towards bottom – darker tones.
• Let it dry.
• Similarly place the cut of the stag and paint it with Acrylic Colours Black 02.
• Leave it to dry.
• Your wall painting will look like this.


 +91 99676 55545