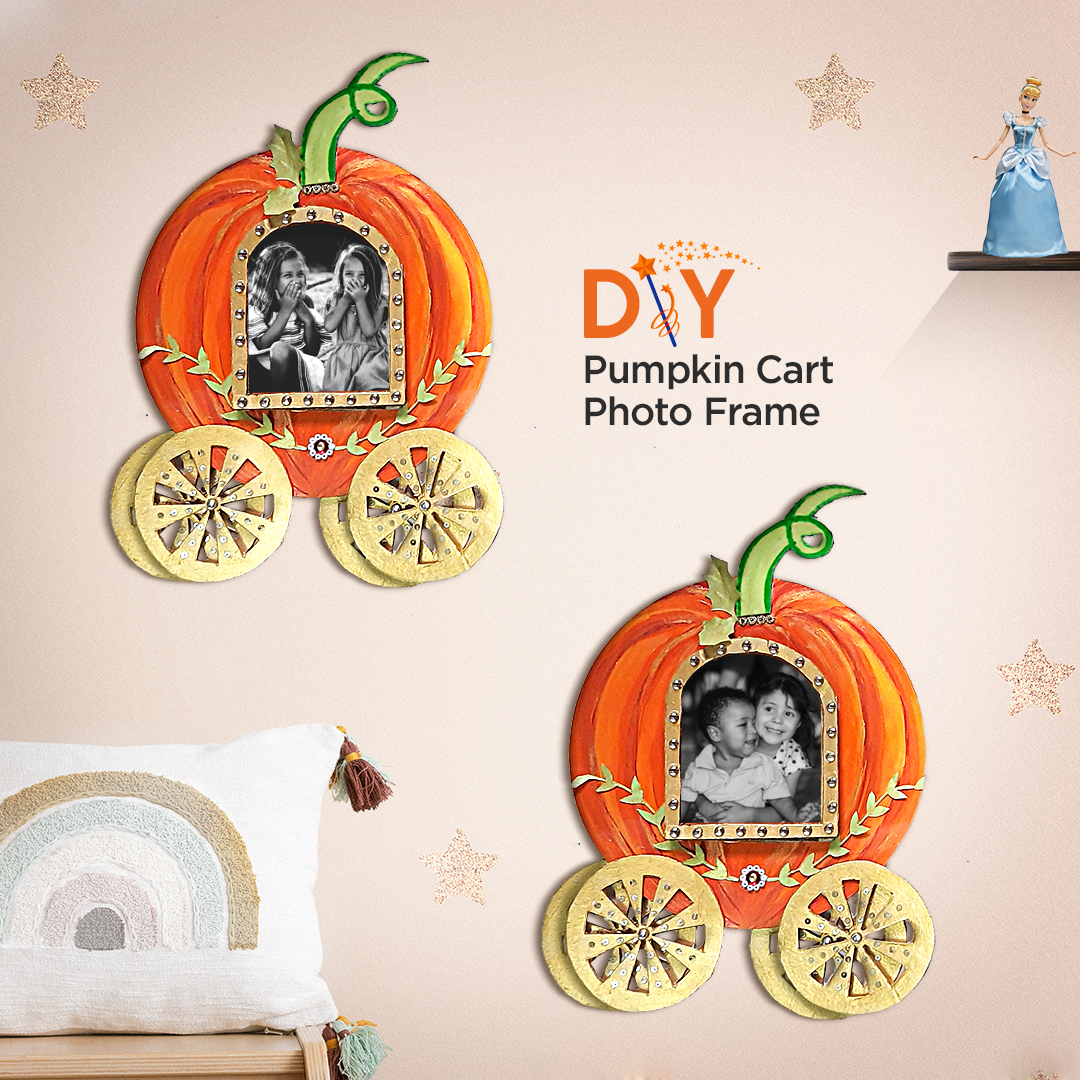
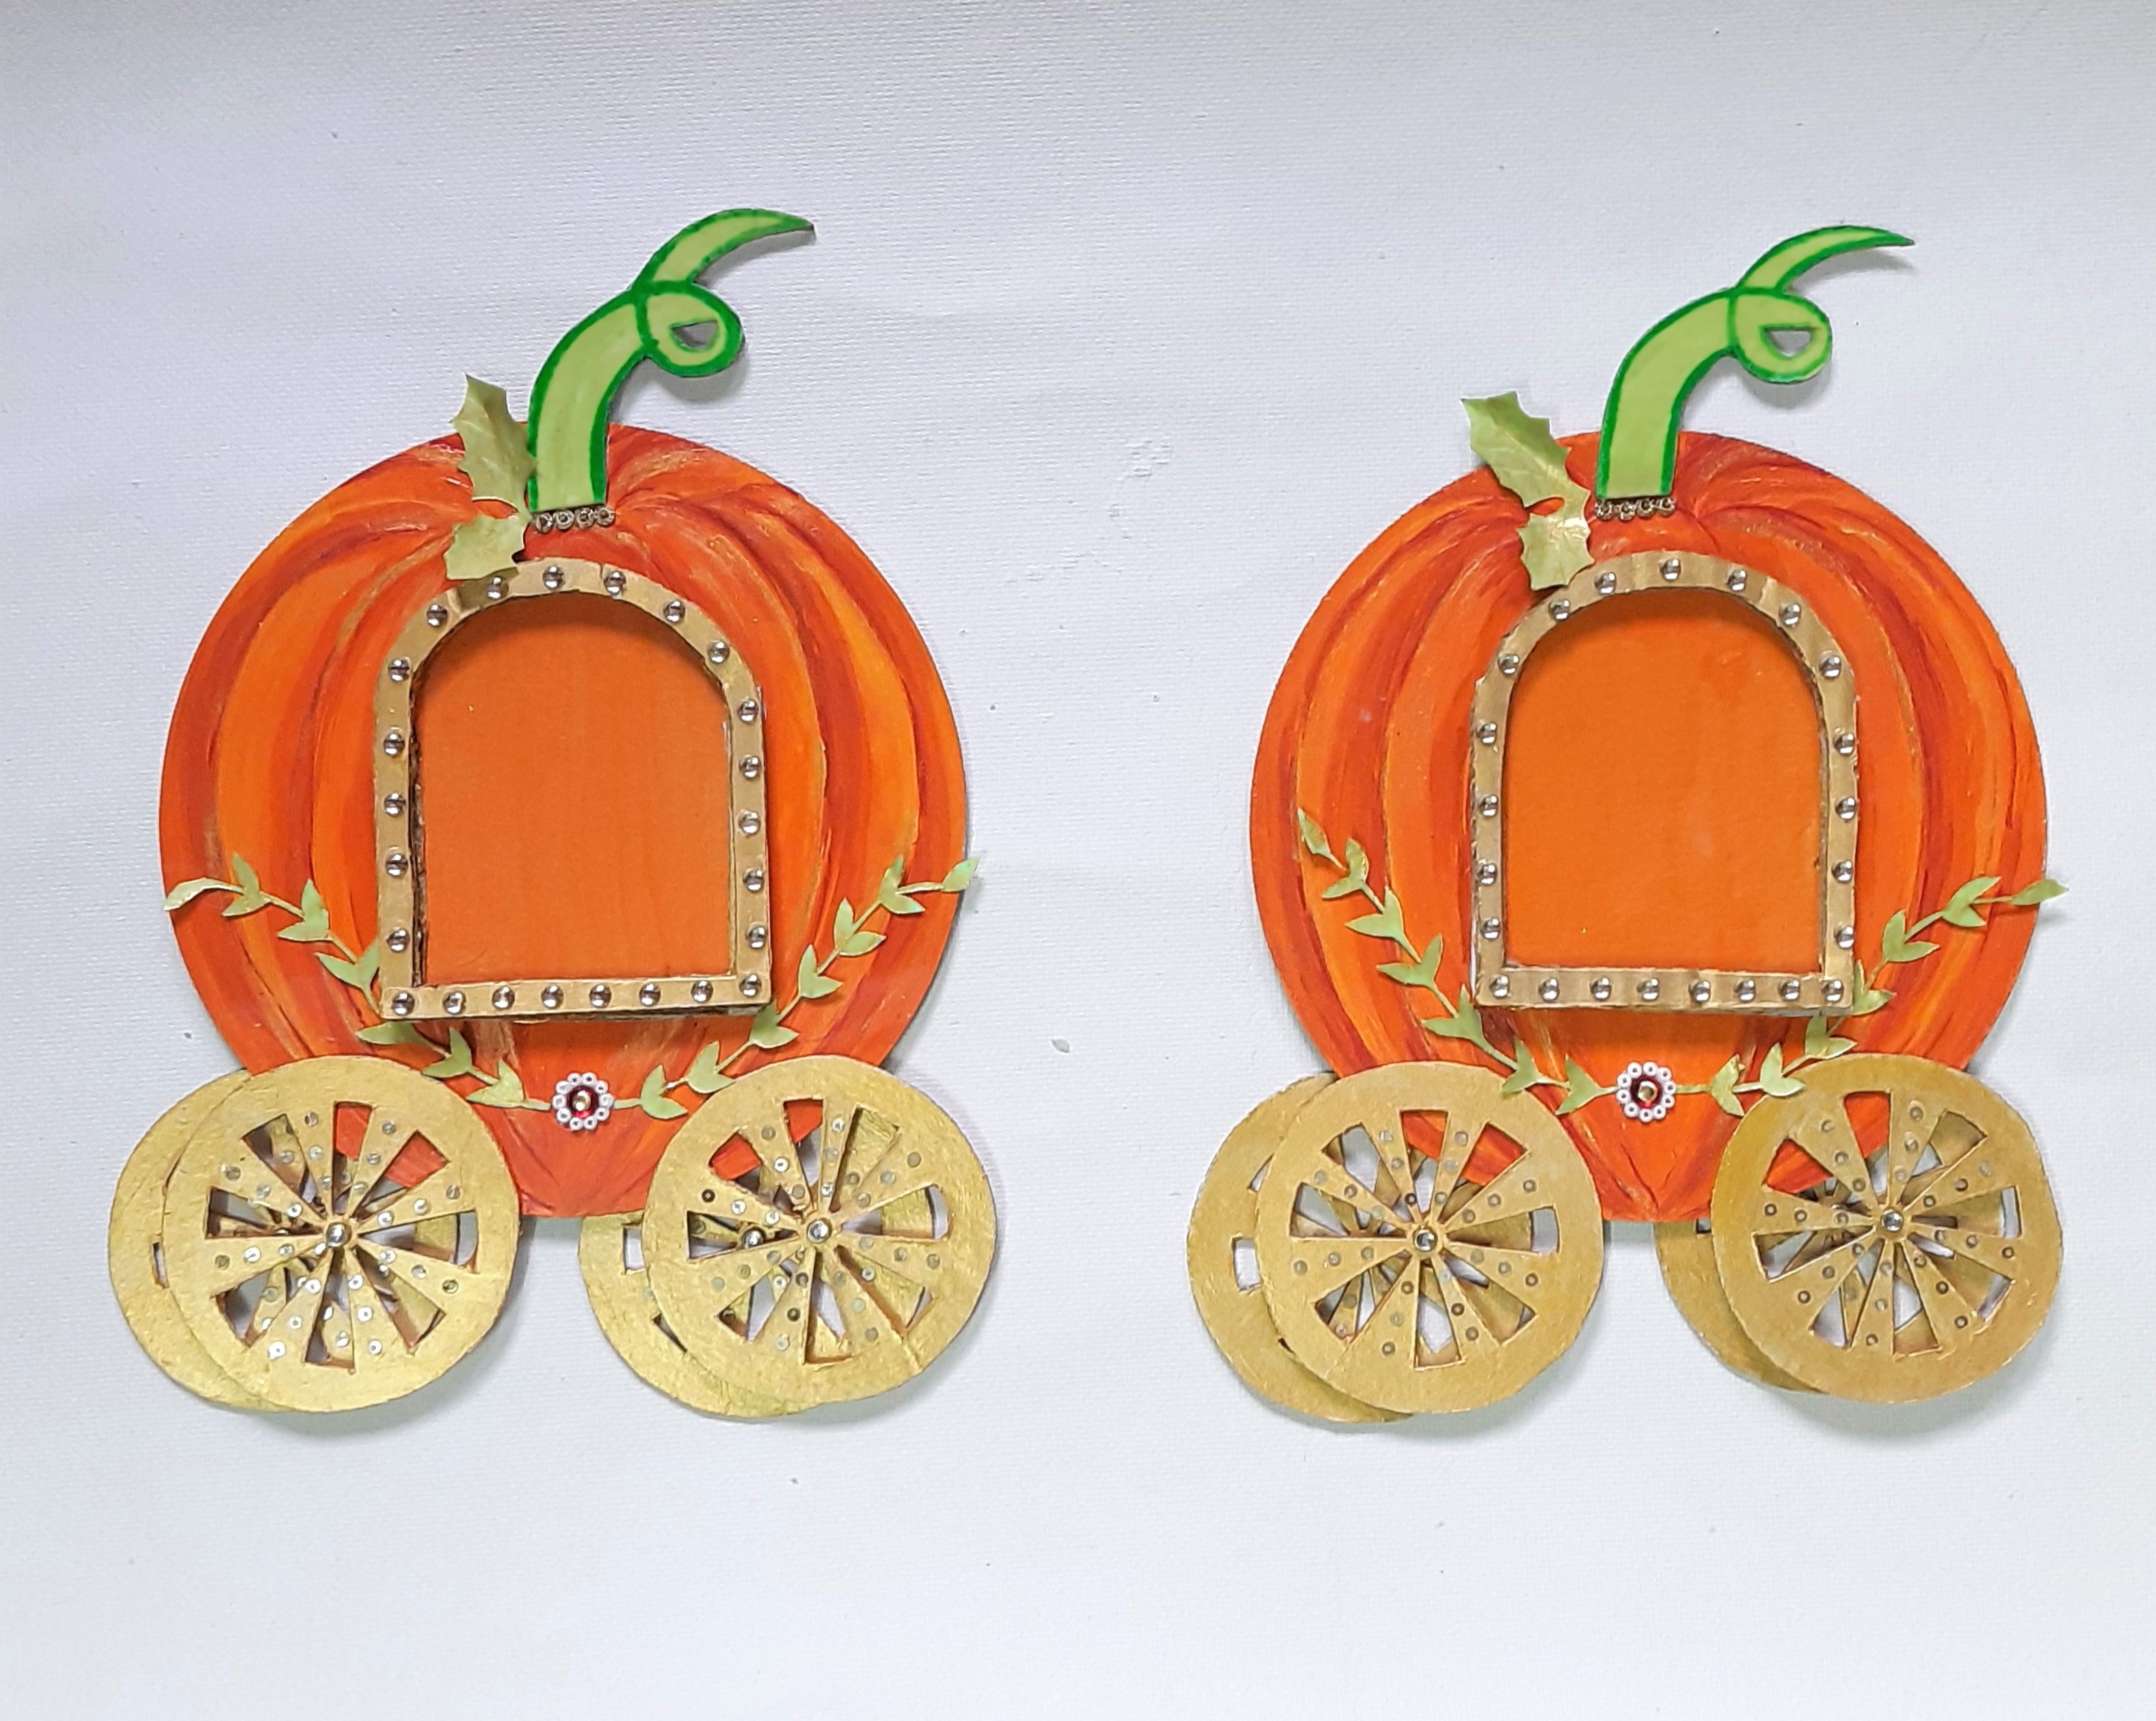
Pumpkin Cart Photo Frame

You Will Need:
Fevicryl Acrylic Colours Burnt Sienna 01, Chrome Yellow 03, Orange 17, Light Green 12, White 27, Leaf Green 62, Fevicryl Acrylic Colour Pearl Metallic Gold 352, Fevicryl Fabric Glue, Fine Art Brushes, Corrugated Box Flap, Pencil, Scissors, Paper Cutter, MDF Round Coasters, Assorted Ornamental Stones, Card Paper, Colour Palette, Water Container
Product Used:


Description :
Wasn’t the pumpkin the hero of this amazing fairy tale Cinderella? They can be converted into anything right a pie, a carriage and some cute photo frames too. Read more to learn how!
STEP 1 : Source the base
- We are going to make the Pumpkin cart photo frame inspired from the famous fairy tale Cindrella.
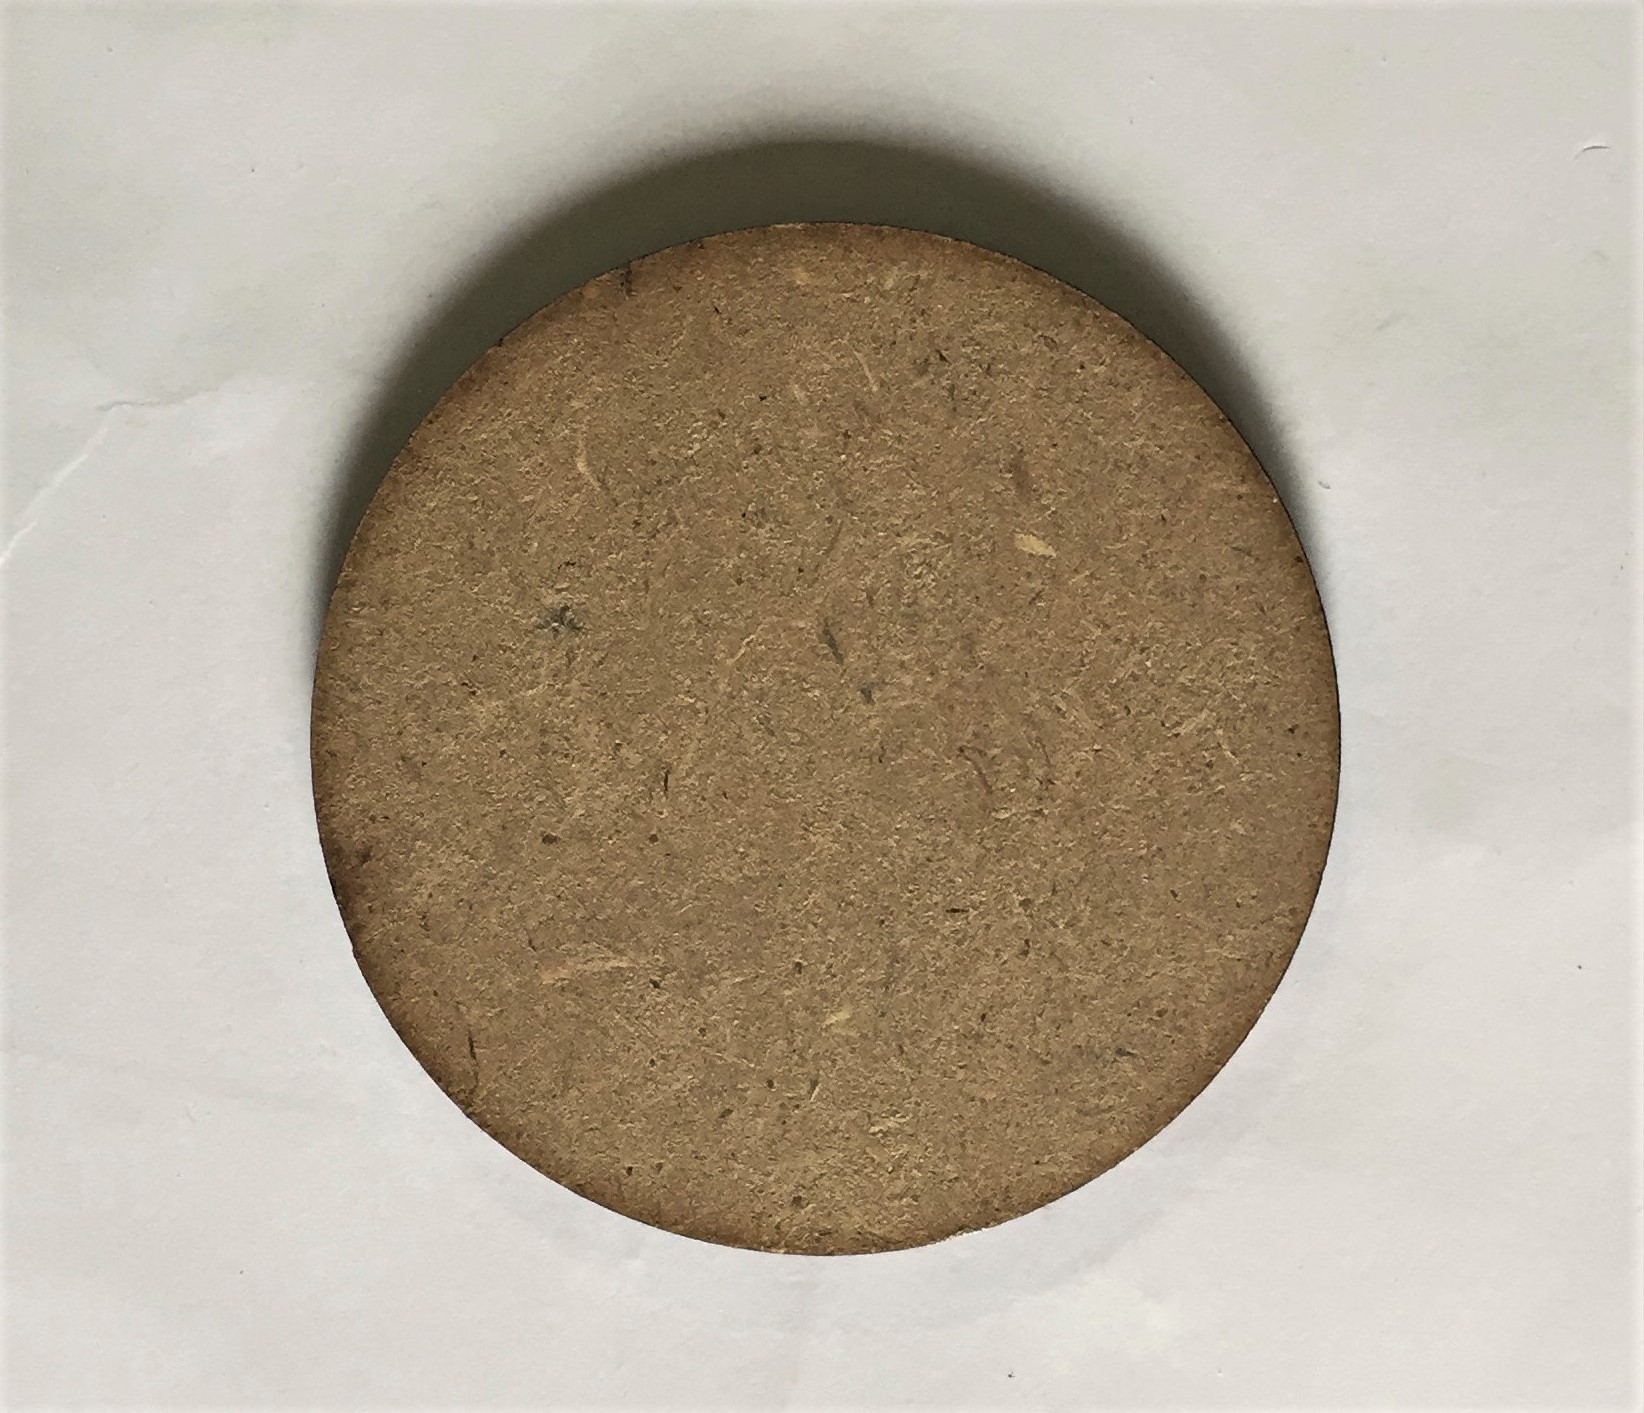
- Take the plain round MDF coaster approximately 5” diameter.
STEP 2 : Paint the base
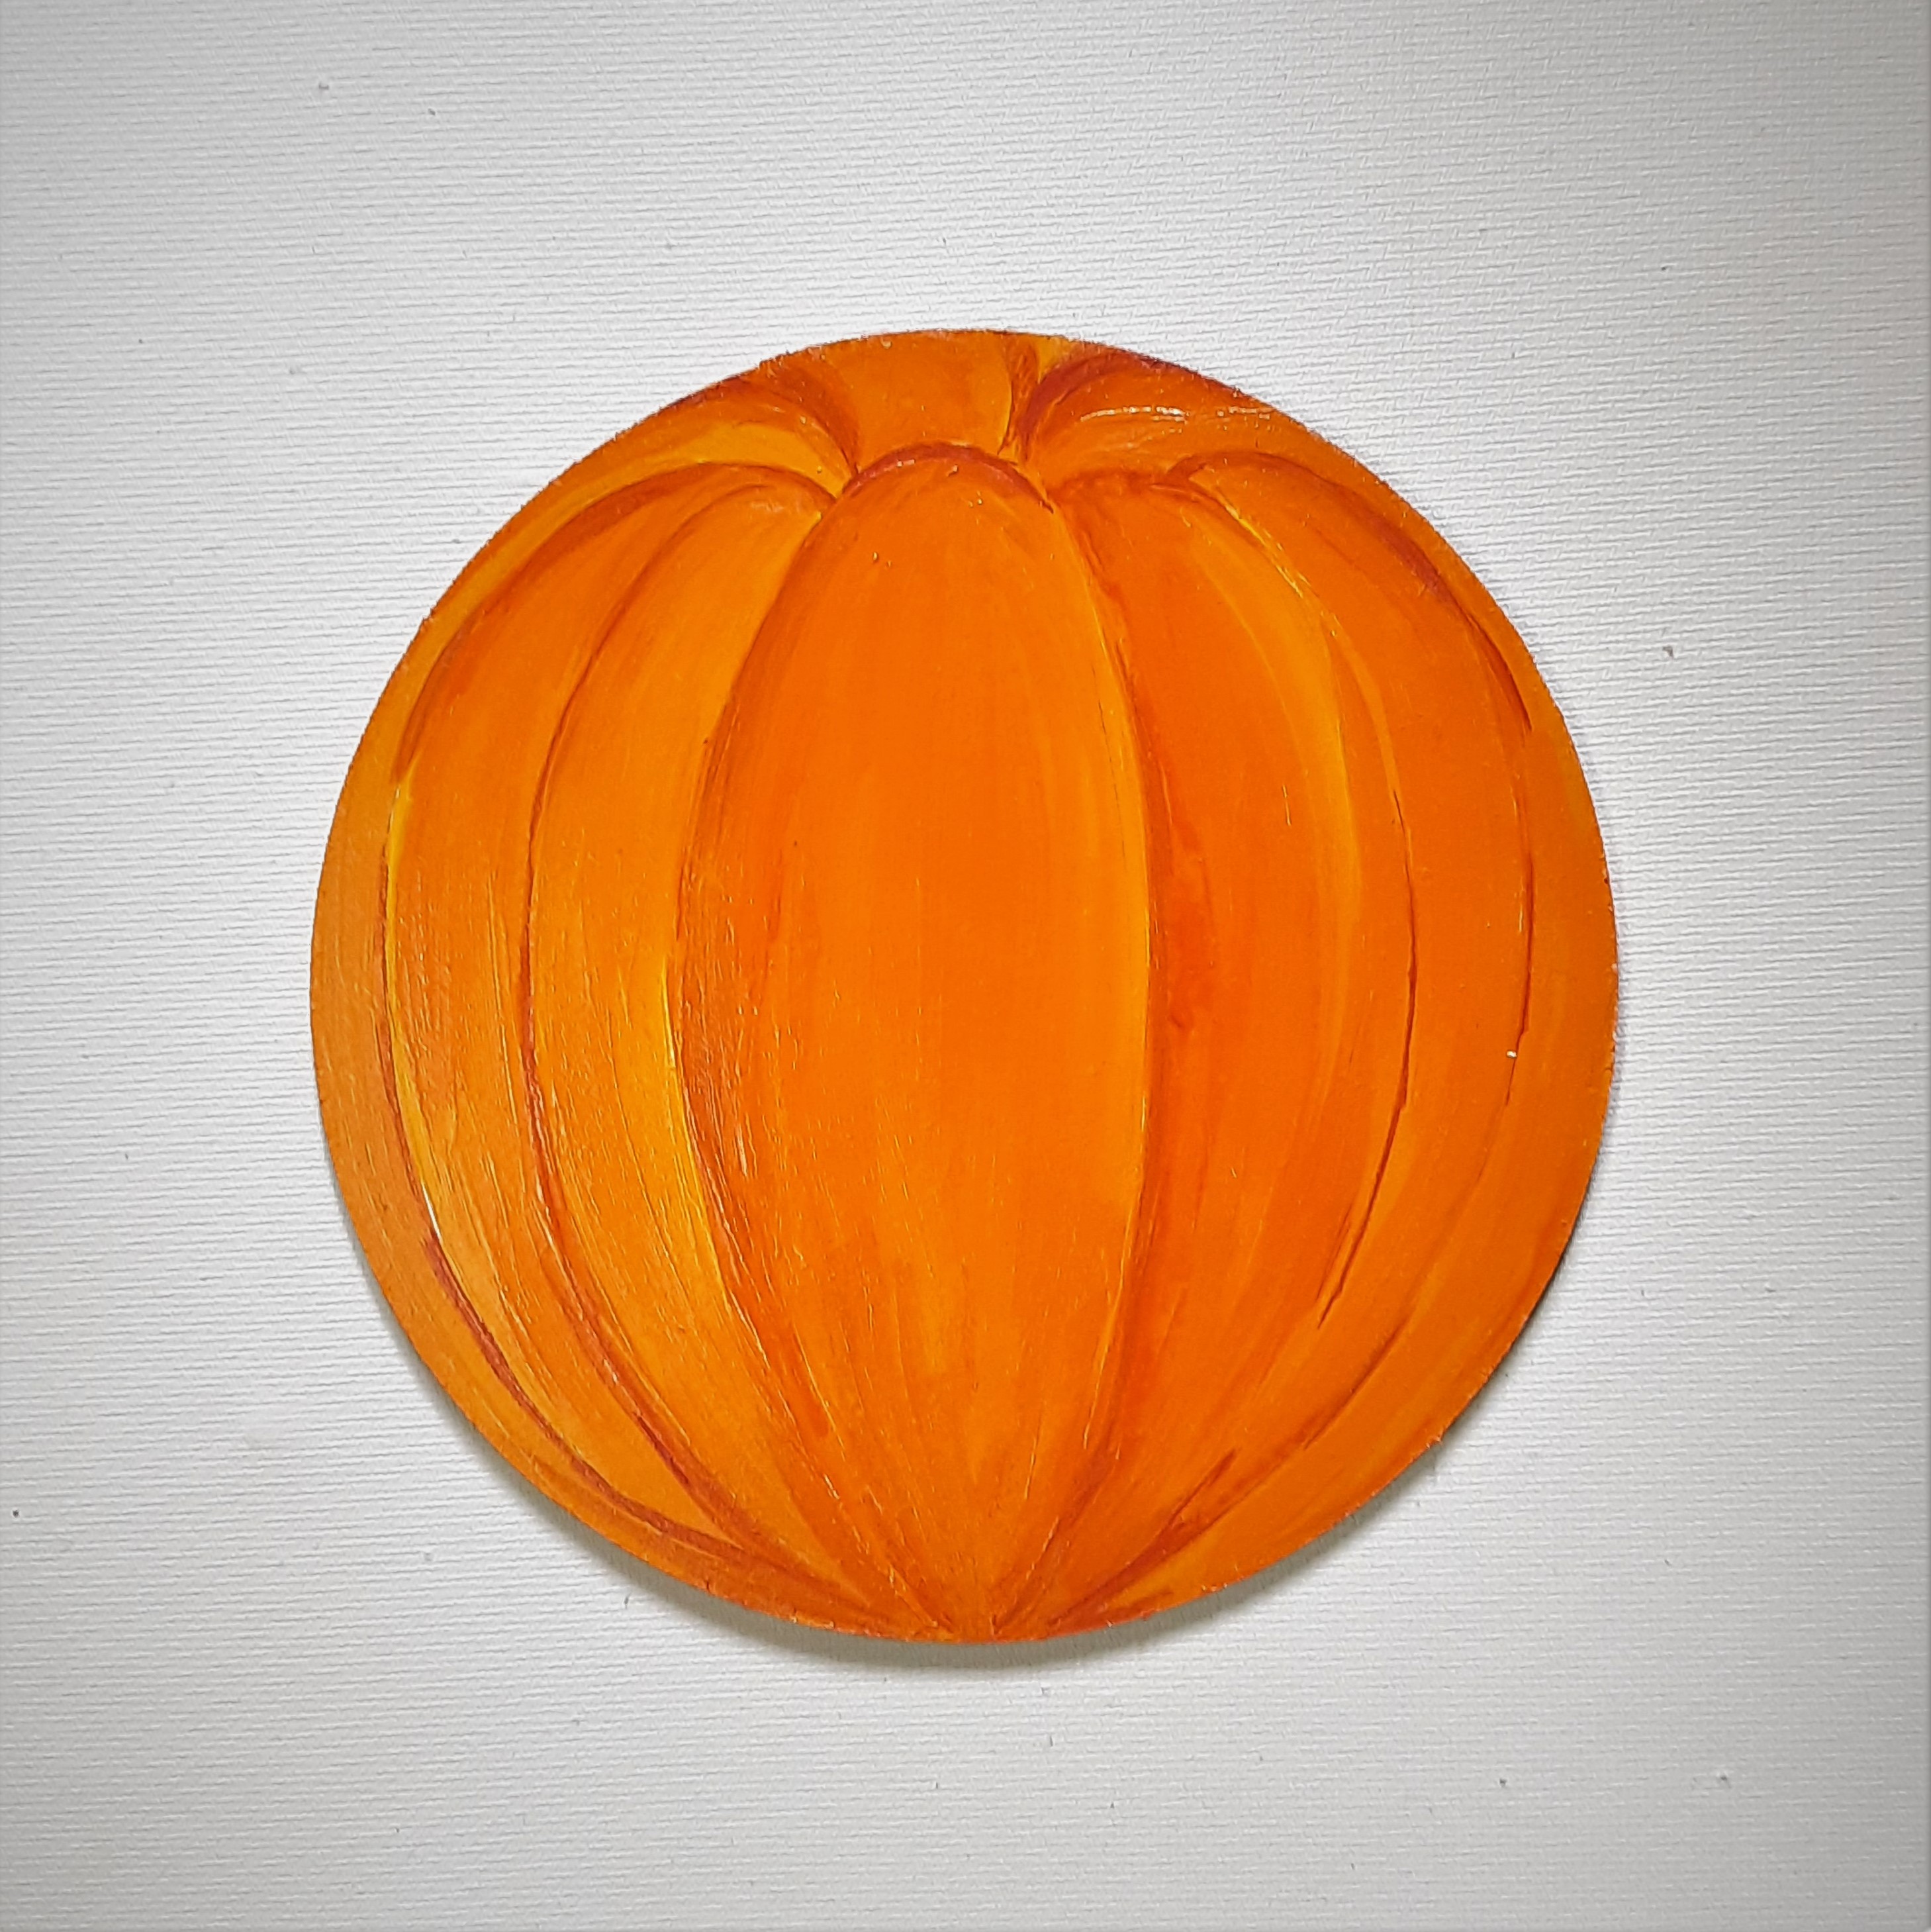
- Paint the coasters with Acrylic Colours Burnt Sienna 01, Chrome Yellow 03, Orange 17 and White 27.
- Let it dry.
STEP 3 : Assembly
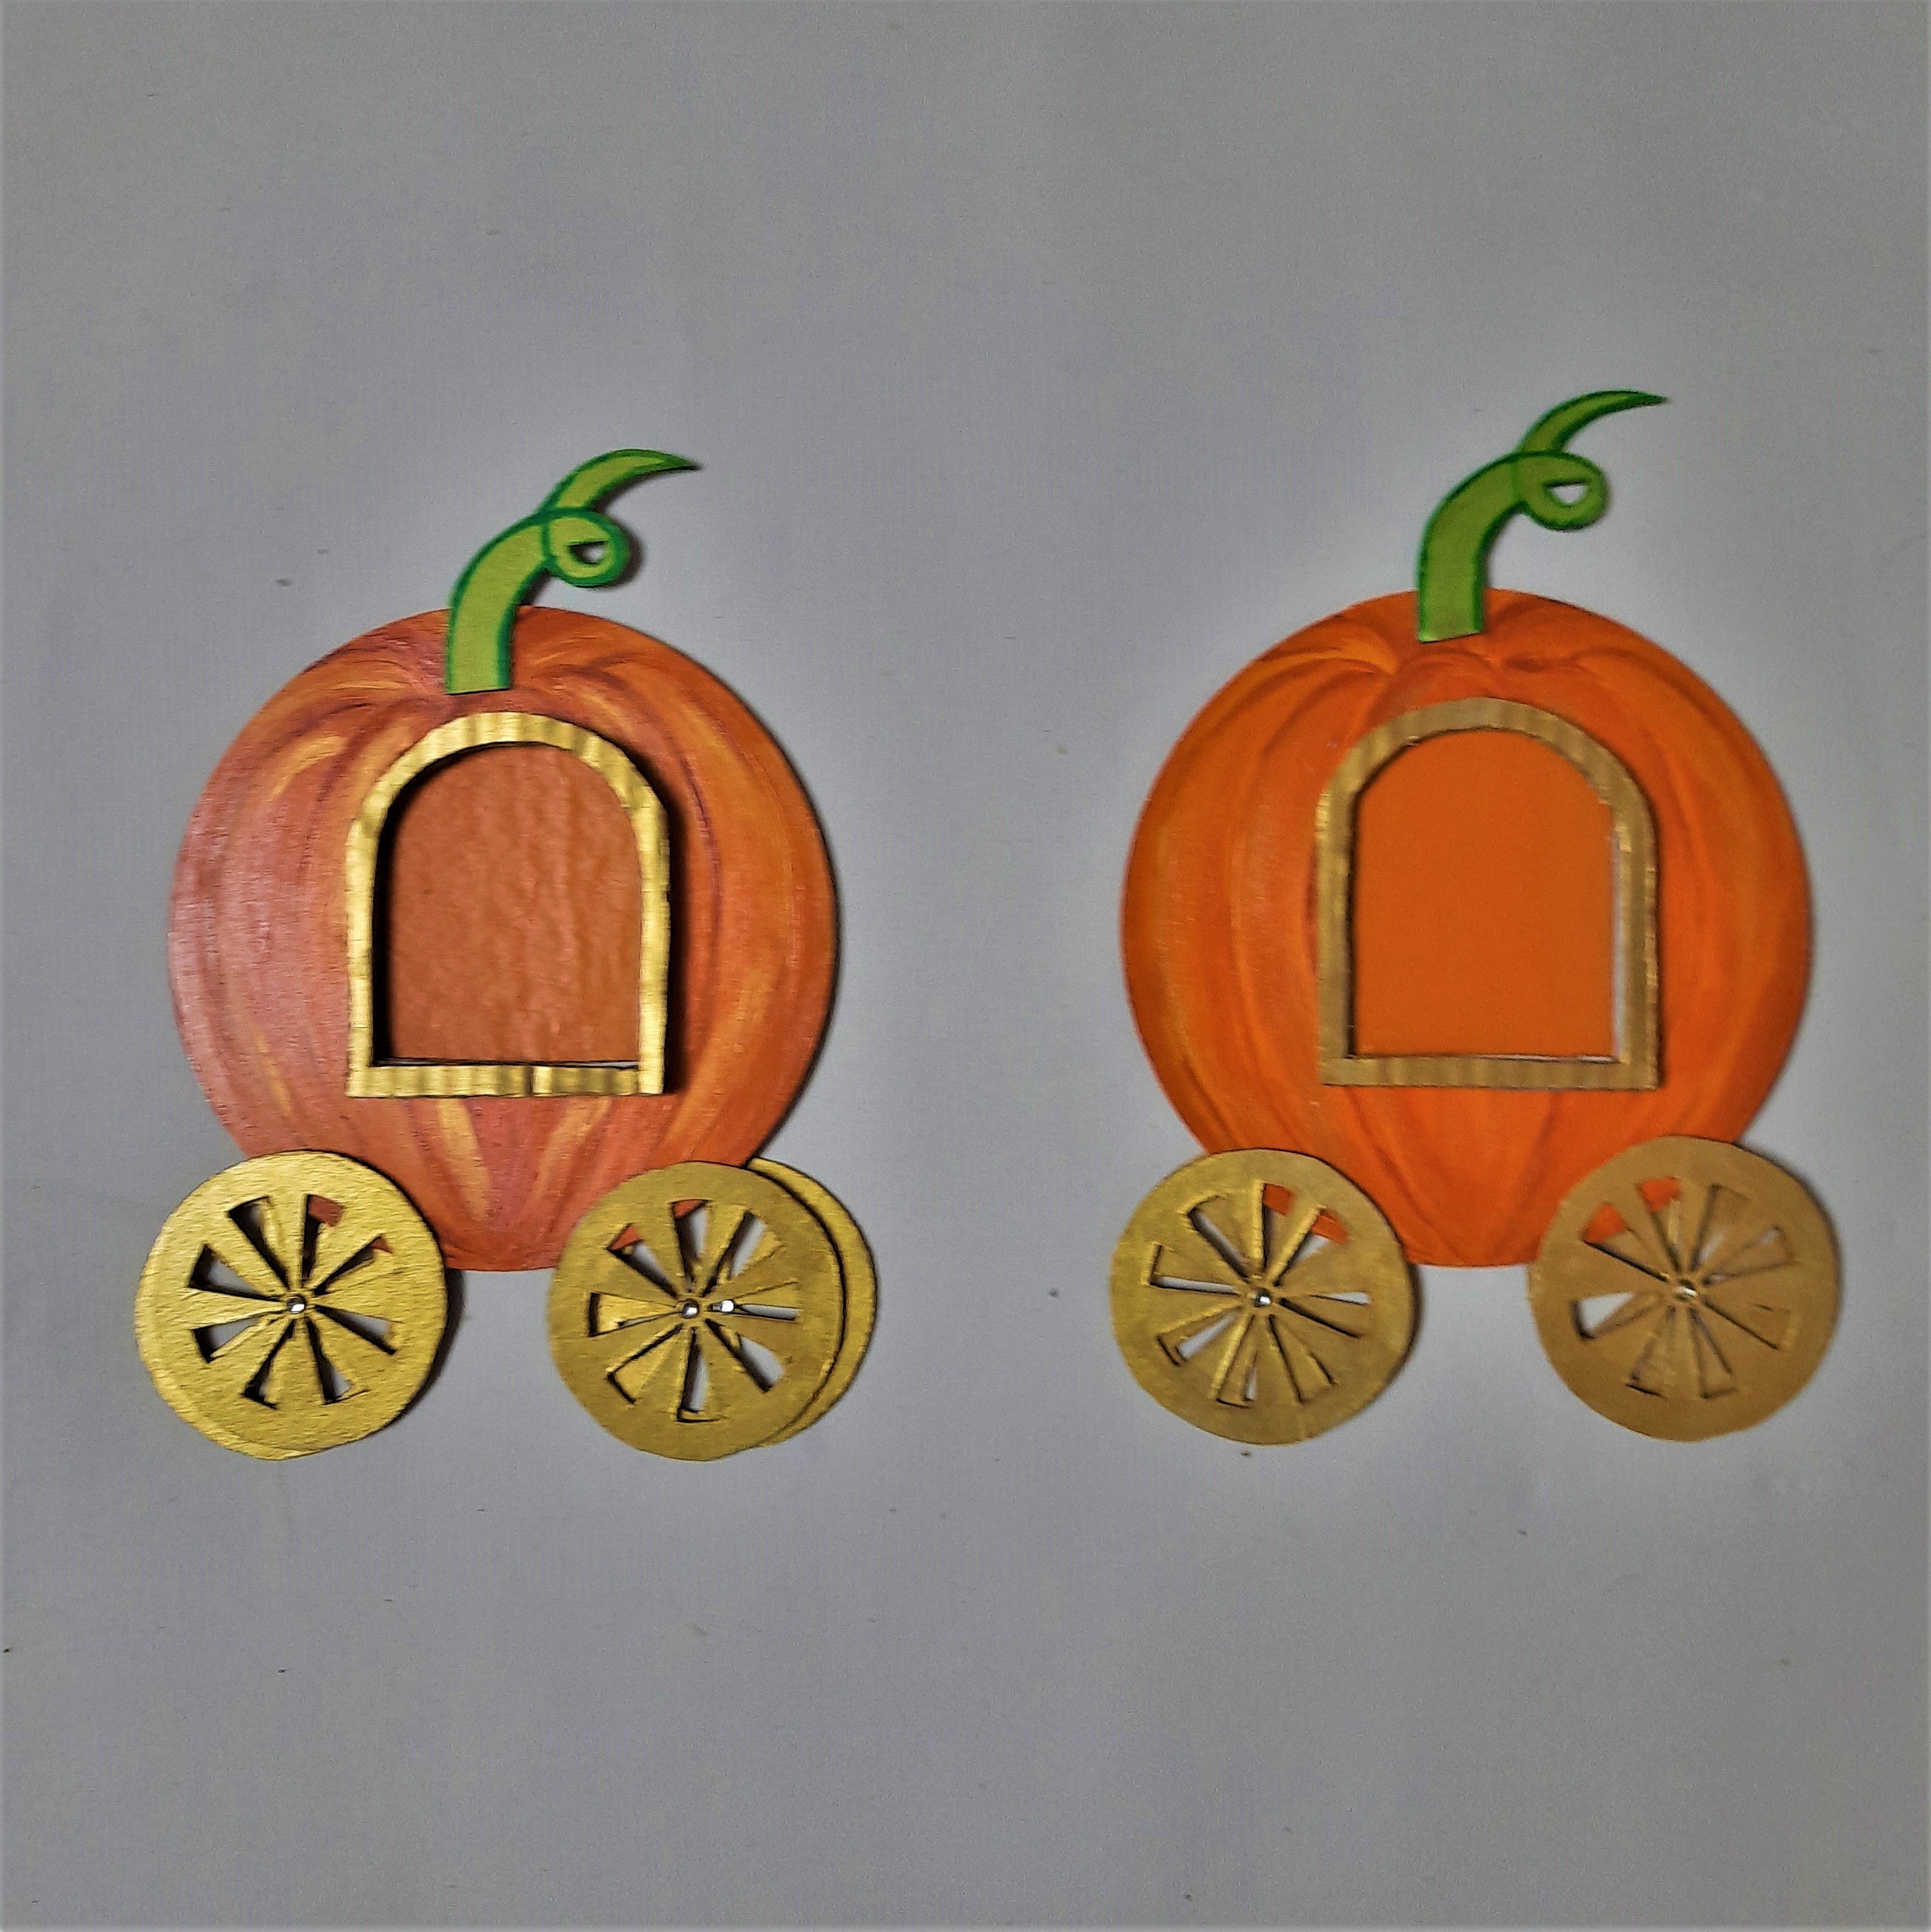
- Take the corrugated box flap to make the stem of the pumpkin, the wheels of the cart and the arched window for the photos.
- Paint the windows, the wheels of the cart and the stem of the pumpkin with Acrylic colours Light Green 12 Leaf Green 62 and Pearl Metallic Gold 352.
- Let it dry completely.
- Stick the stem, the wheels and the window neatly with Fabric Glue. Let it dry.
- Make 2 such carts.
- Make sure that when you are sticking the window for the photos stick it from the three sides by keeping the top as is, as a slot to insert photo inside.
- Refer to the image.
STEP 4 : Enhance the frames
- Take the card paper draw and paint the leaves and the creeper using Acrylic Colour Pearl Metallic Gold 352.
- Let it dry.
- Enhance the pumpkin photo frame cart by sticking the Assorted ornamental stones the golden leaves and golden creeper using Fabric Glue.
- Leave it to dry completely.


 +91 99676 55545