Papier Mache Bowl


You Will Need:
Fevicryl Acrylic Colours - Black 02, Dark Green 06, Light Green 12, Fevicryl Acrylic Colours Pearl Metallic - Gold 352, Fevicol MR, Fine Art Brushes, Waste Papers, Plastic Bowl, Paper Cutter, White Pencil, Thick Wooden Twigs, Vaseline, Mixer, Cobbler Thread, Colour Palette, Water Container
Product Used:

Description :
Papier mache technique, one that’s such a versatile craft. The process is interesting, that uses basics of material like paper and adhesive, aiding one to create numerous things out of it.

Take a plastic bowl that roughly measures 7”- 8” inches in diameter. This is the base we would use to build the papier mache bowl on.

Tear waste paper / newspaper sheets into bits, soak it in water overnight (preferably). Take the pulp and grind it in a mixer, to get a paste out of it. Add Fevicol MR enough to bind the paste.
Invert the plastic bowl, grease with some vaseline. Cover the dome of the bowl with the papier mache paste.
Make two holes on the two opposite sides of the bowl for the handles later.
Let it dry completely, till hard. Remove the plastic bowl and what you would get is a papier mache bowl, now fully formed.

Paint the bowl with Fevicryl Acrylic Colour – Black 02. Let it dry.

Choose a floral pattern inspired from the art styles of Kashmir, and draw the same on the inside of the bowl with a white pencil.
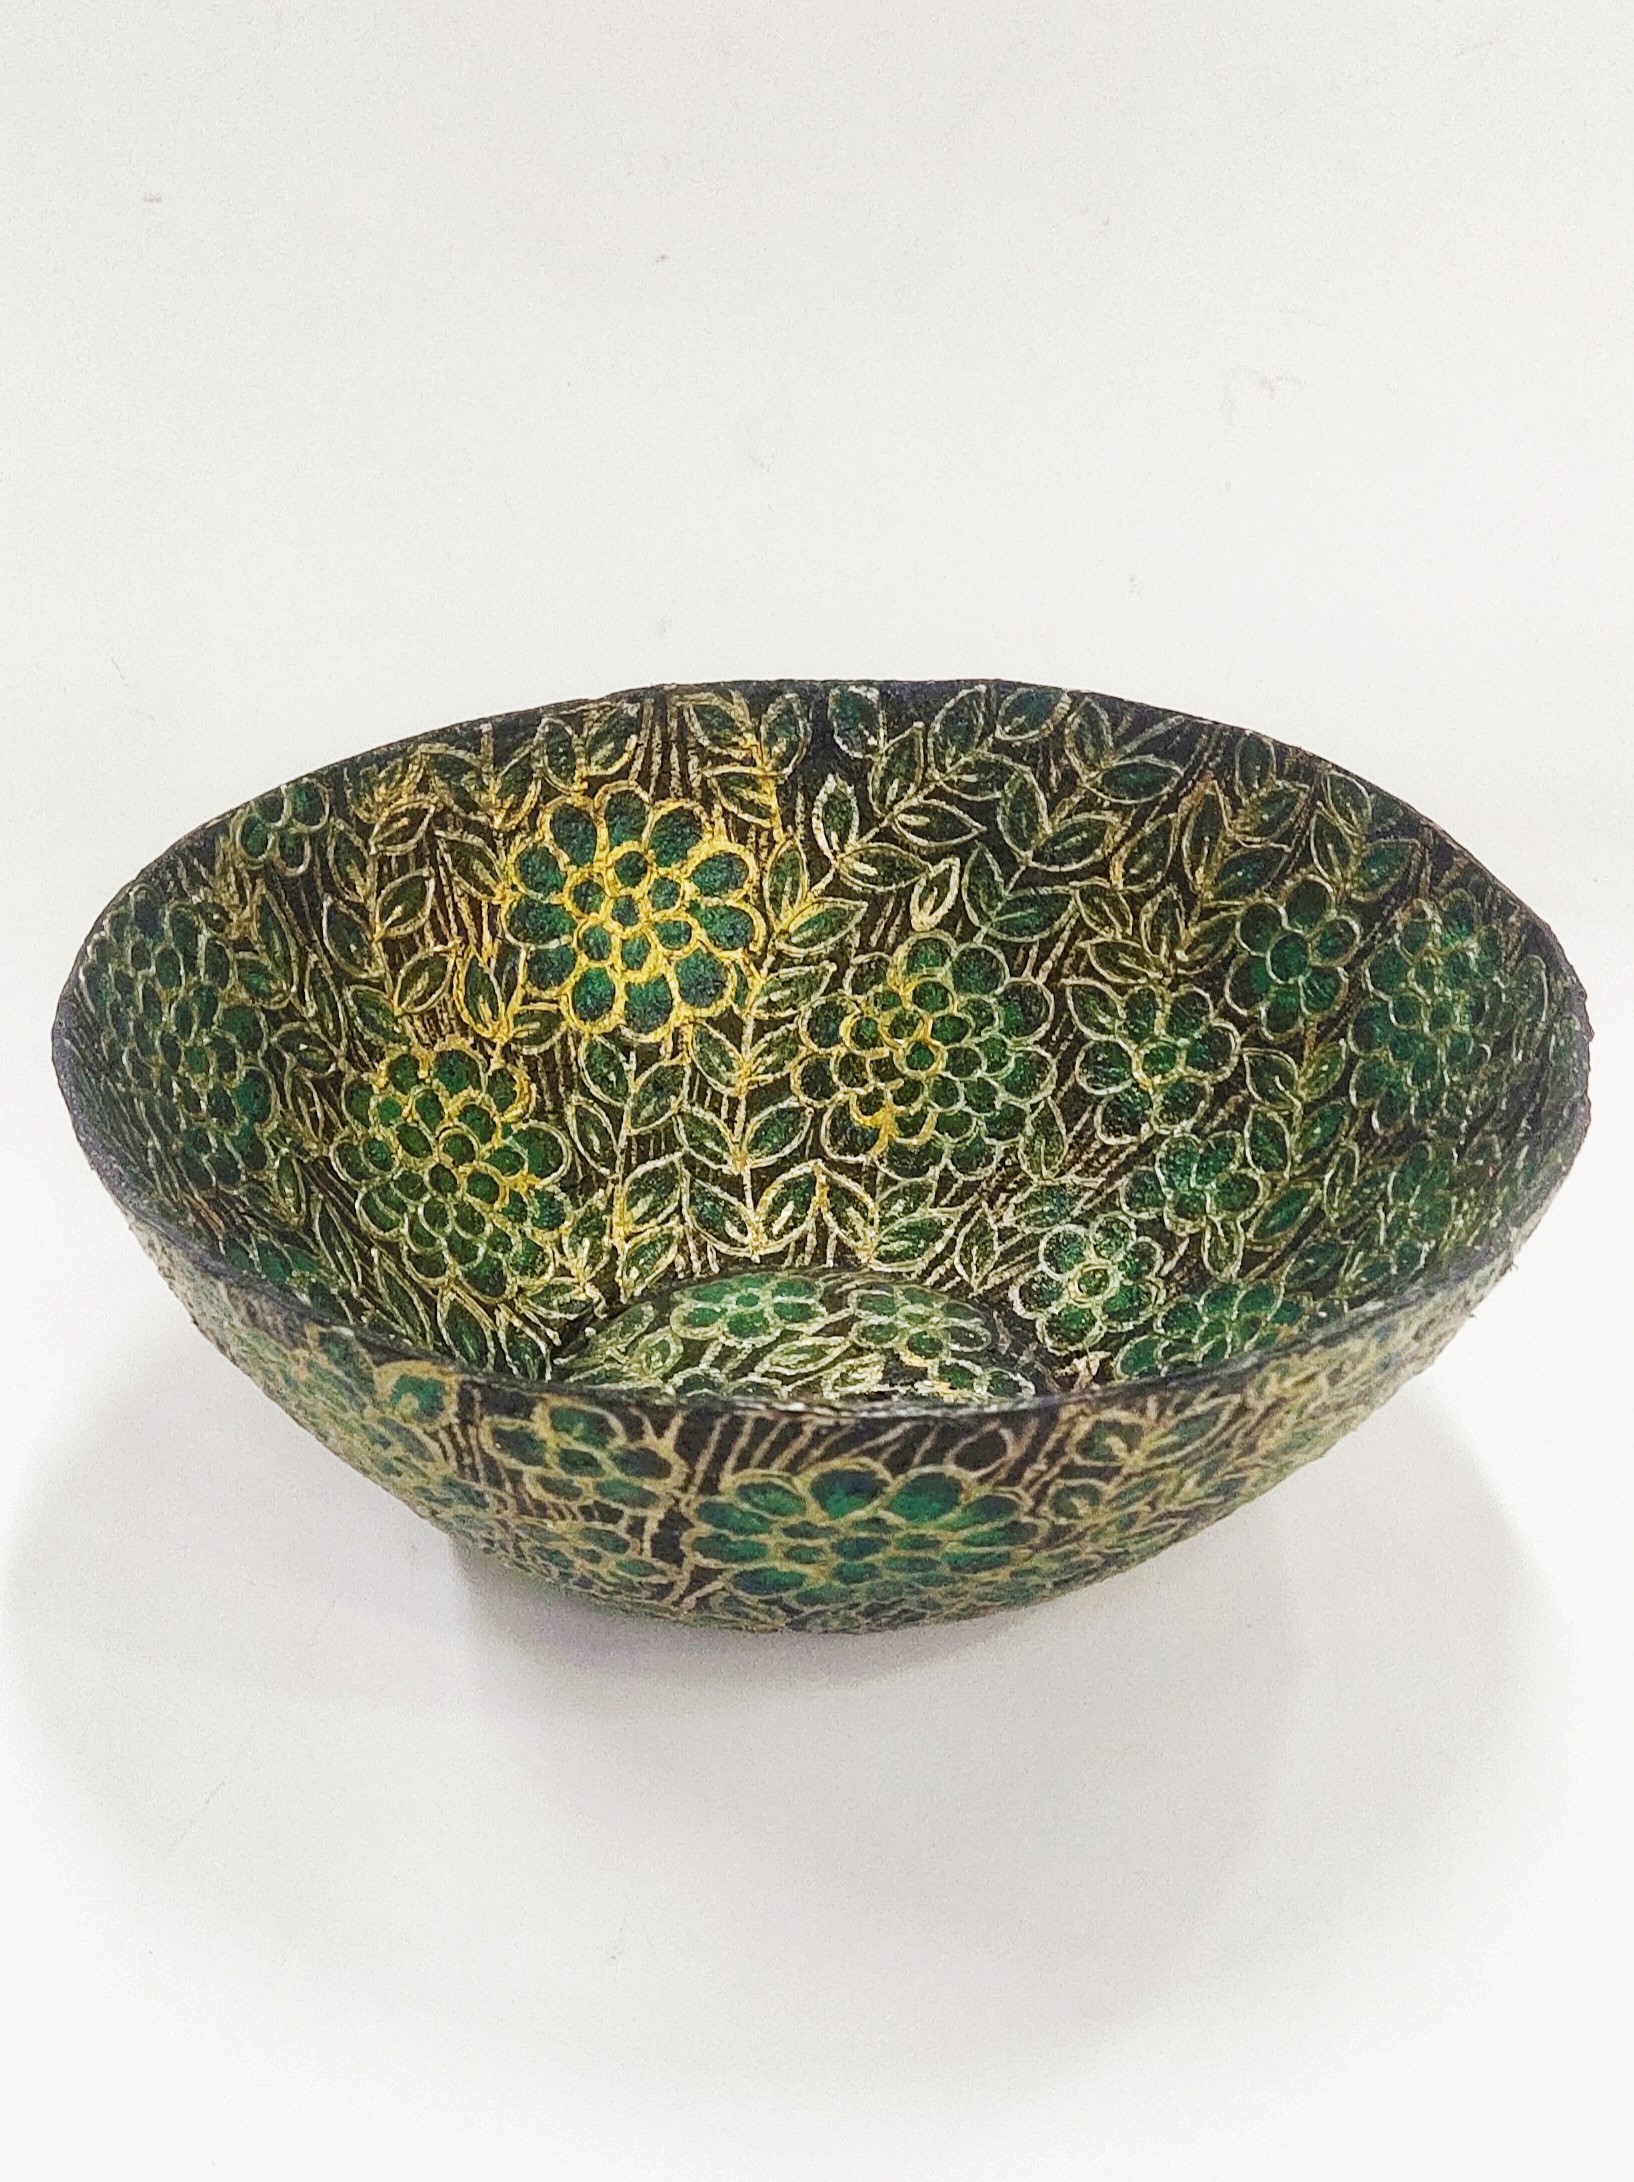
Paint the floral pattern using Fevicryl Acrylic Colours - Black 02, Dark Green 06, Light Green 12, Fevicryl Acrylic and Pearl Metallic - Gold 352, giving it a regal and royal look.

Loop in cobbler threads into the holes made on the bowl, as you see in the image above. Pass a thick twig through the loops ensuring a perfect balance.

The papier mache bowl in it’s rustic and traditional style is ready to be used.


 +91 99676 55545