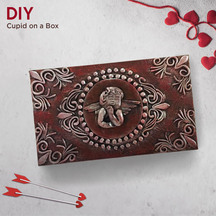
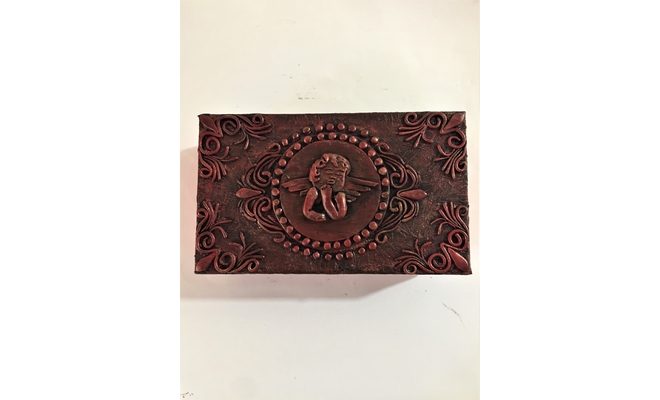
Cupid On A Box
You Will Need:
Fevicryl Acrylic Colours Black 02, Crimson 04, Fevicryl Acrylic Colours Pearl White 301, Fevicryl Mouldit, Fevicryl Fabric Glue, Fevicol A+, Fine Art Brushes, Recycled Card Board Box, Rolling Pin, Clay Carving Tools, Paper Cutter, Tissue Paper, Colour Palette, Water Container.
Description :
Cupid the cutest on a box will be indeed an endearing gift for your loved one! Made with Fevicryl Mouldit this will be a gift to be cherished forever.
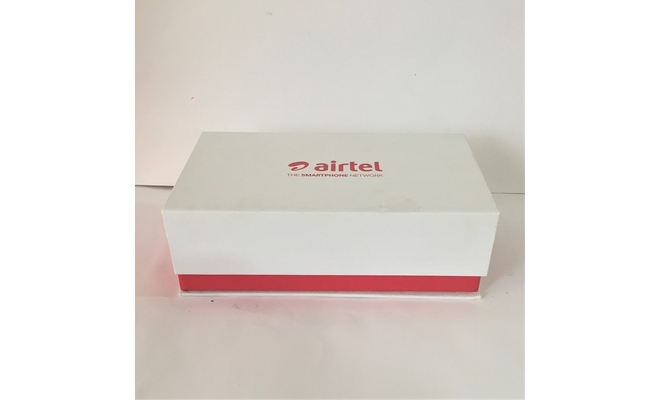
• We are going to make the box with the face of the Cupid with Mouldit on it. • Take the old used thick card board box to up cycle it in the beautiful piece of art.
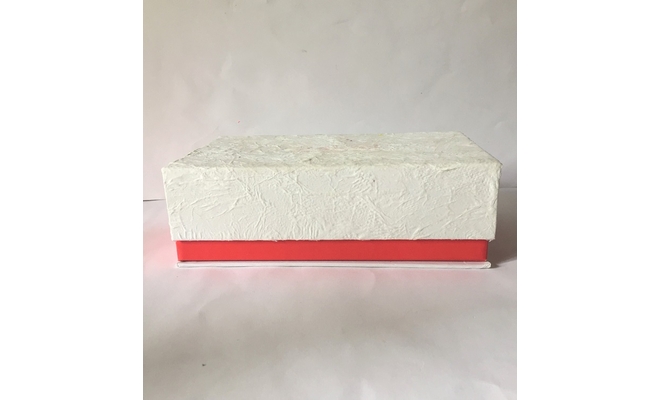
• Cover the entire lid of the box by sticking the tissue paper using Fevicol A+. • Leave it to dry.
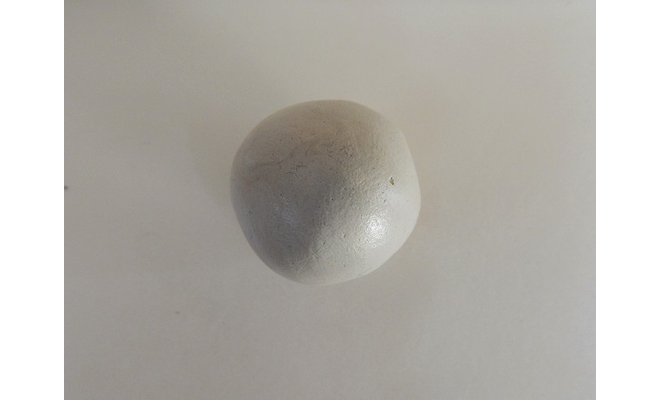
• We are going to make the cupid with Mouldit. • Take the Mouldit resin base and hardener; mix it thoroughly to make even dough.

• Take the dough; roll it to make the thin slab with rolling pin. Let the slab get semi dry. • Mark and cut 2 circles measuring 3” and 2 ½” in diameter. • Let it dry completely.
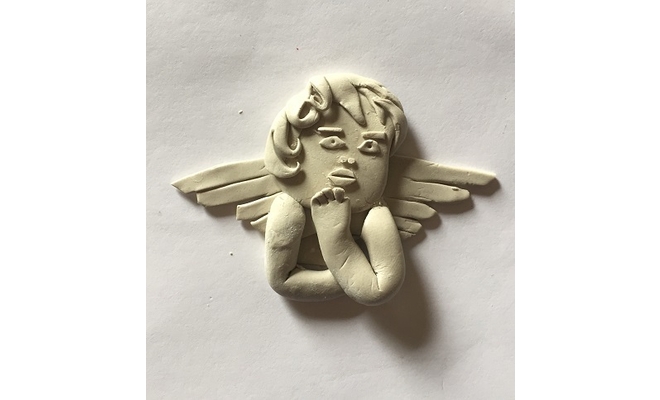
• Take some clay to make the face of the cupid with his wings using coil and pinching technique. • Make the facial details like the eyes, the lips and the hair neatly. • Let it dry.
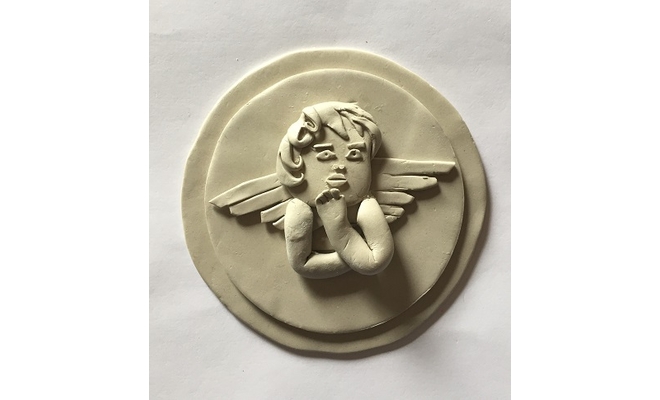
• Take the two circles. Stick the circles one on the other along with the cupid on the top using Fabric Glue. • Leave it to dry completely. • Stick the cupid with the wings and the circles on the box using Fabric Glue. • Let it dry.
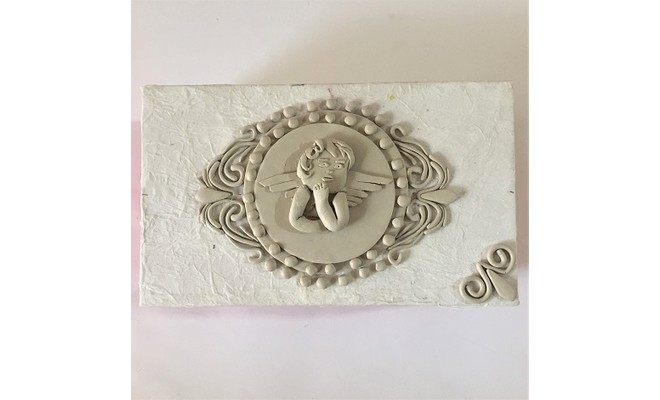
• Take some clay roll it to make the coils and tear drop shapes. • Make the ornamental design around the cupid and the corners of the box using these coils and the tear drop shapes sticking it with Fabric Glue. • Let it dry.
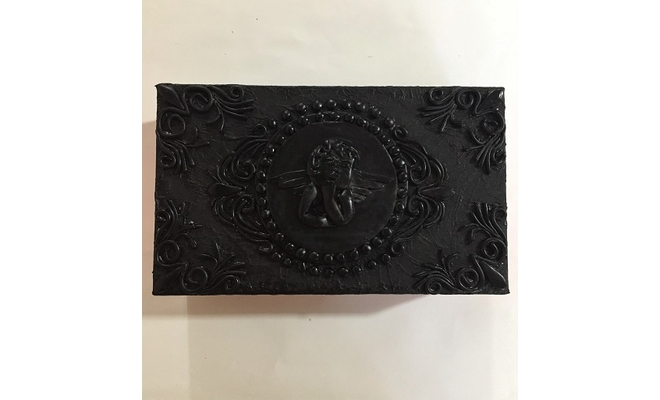
• Paint the box with the base coat of Acrylic Colours Black 02. • Let it dry.
• Paint the second coat with the dry brush using Acrylic Colour Crimson 04. Leave it to dry.
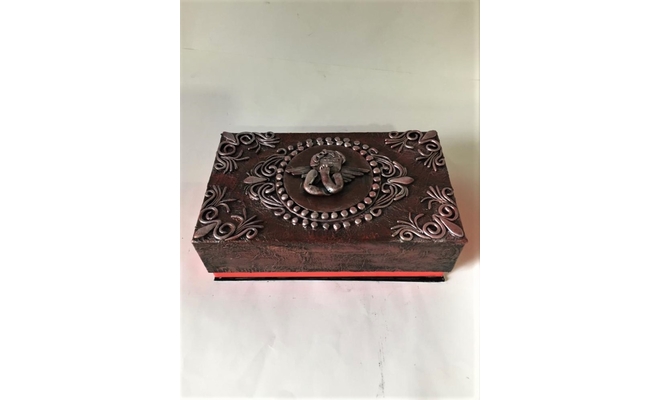
• We are going to give the old rustic look with the dry brush effect using Acrylic Colours Pearl White 301. • Leave it to dry completely.


 +91 99676 55545