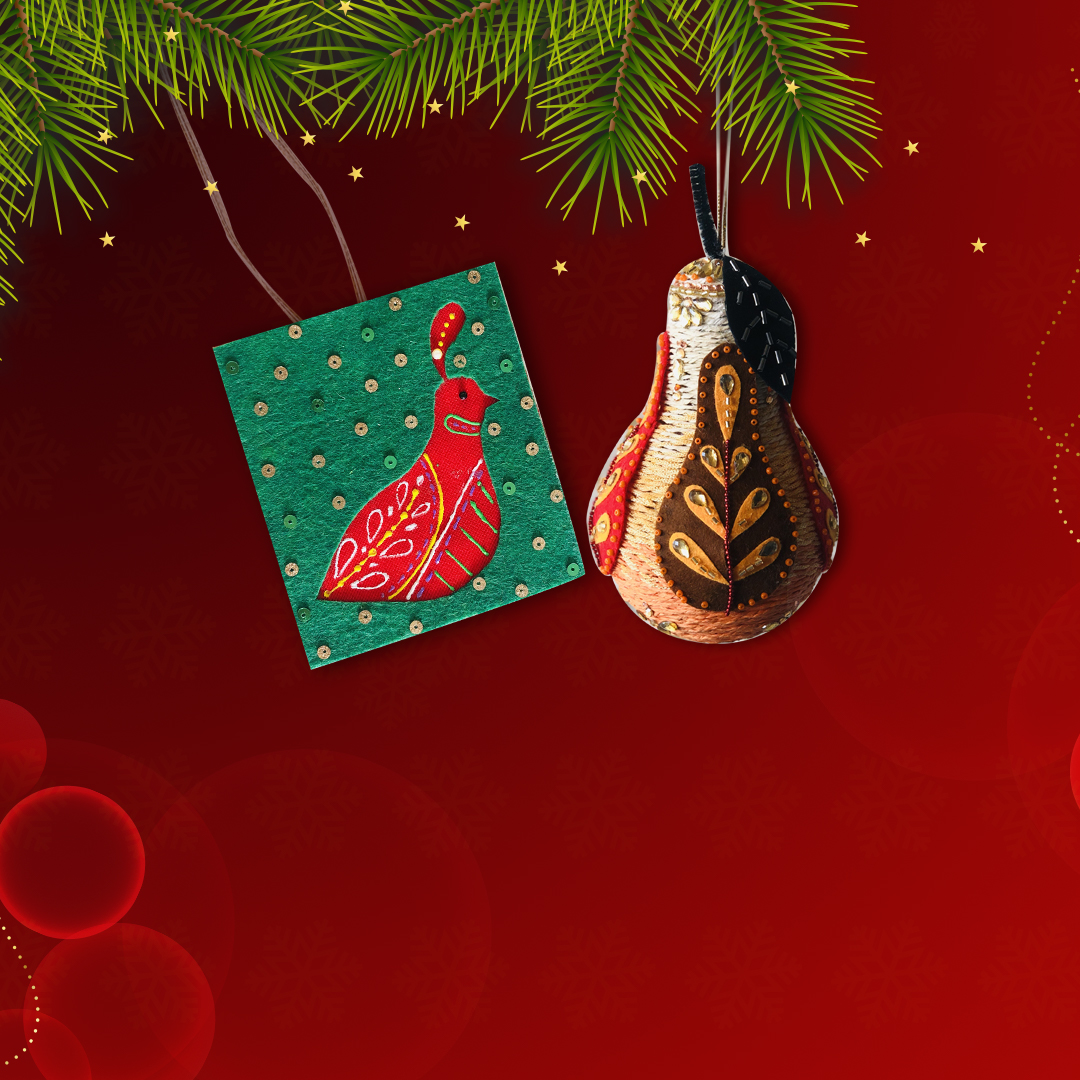
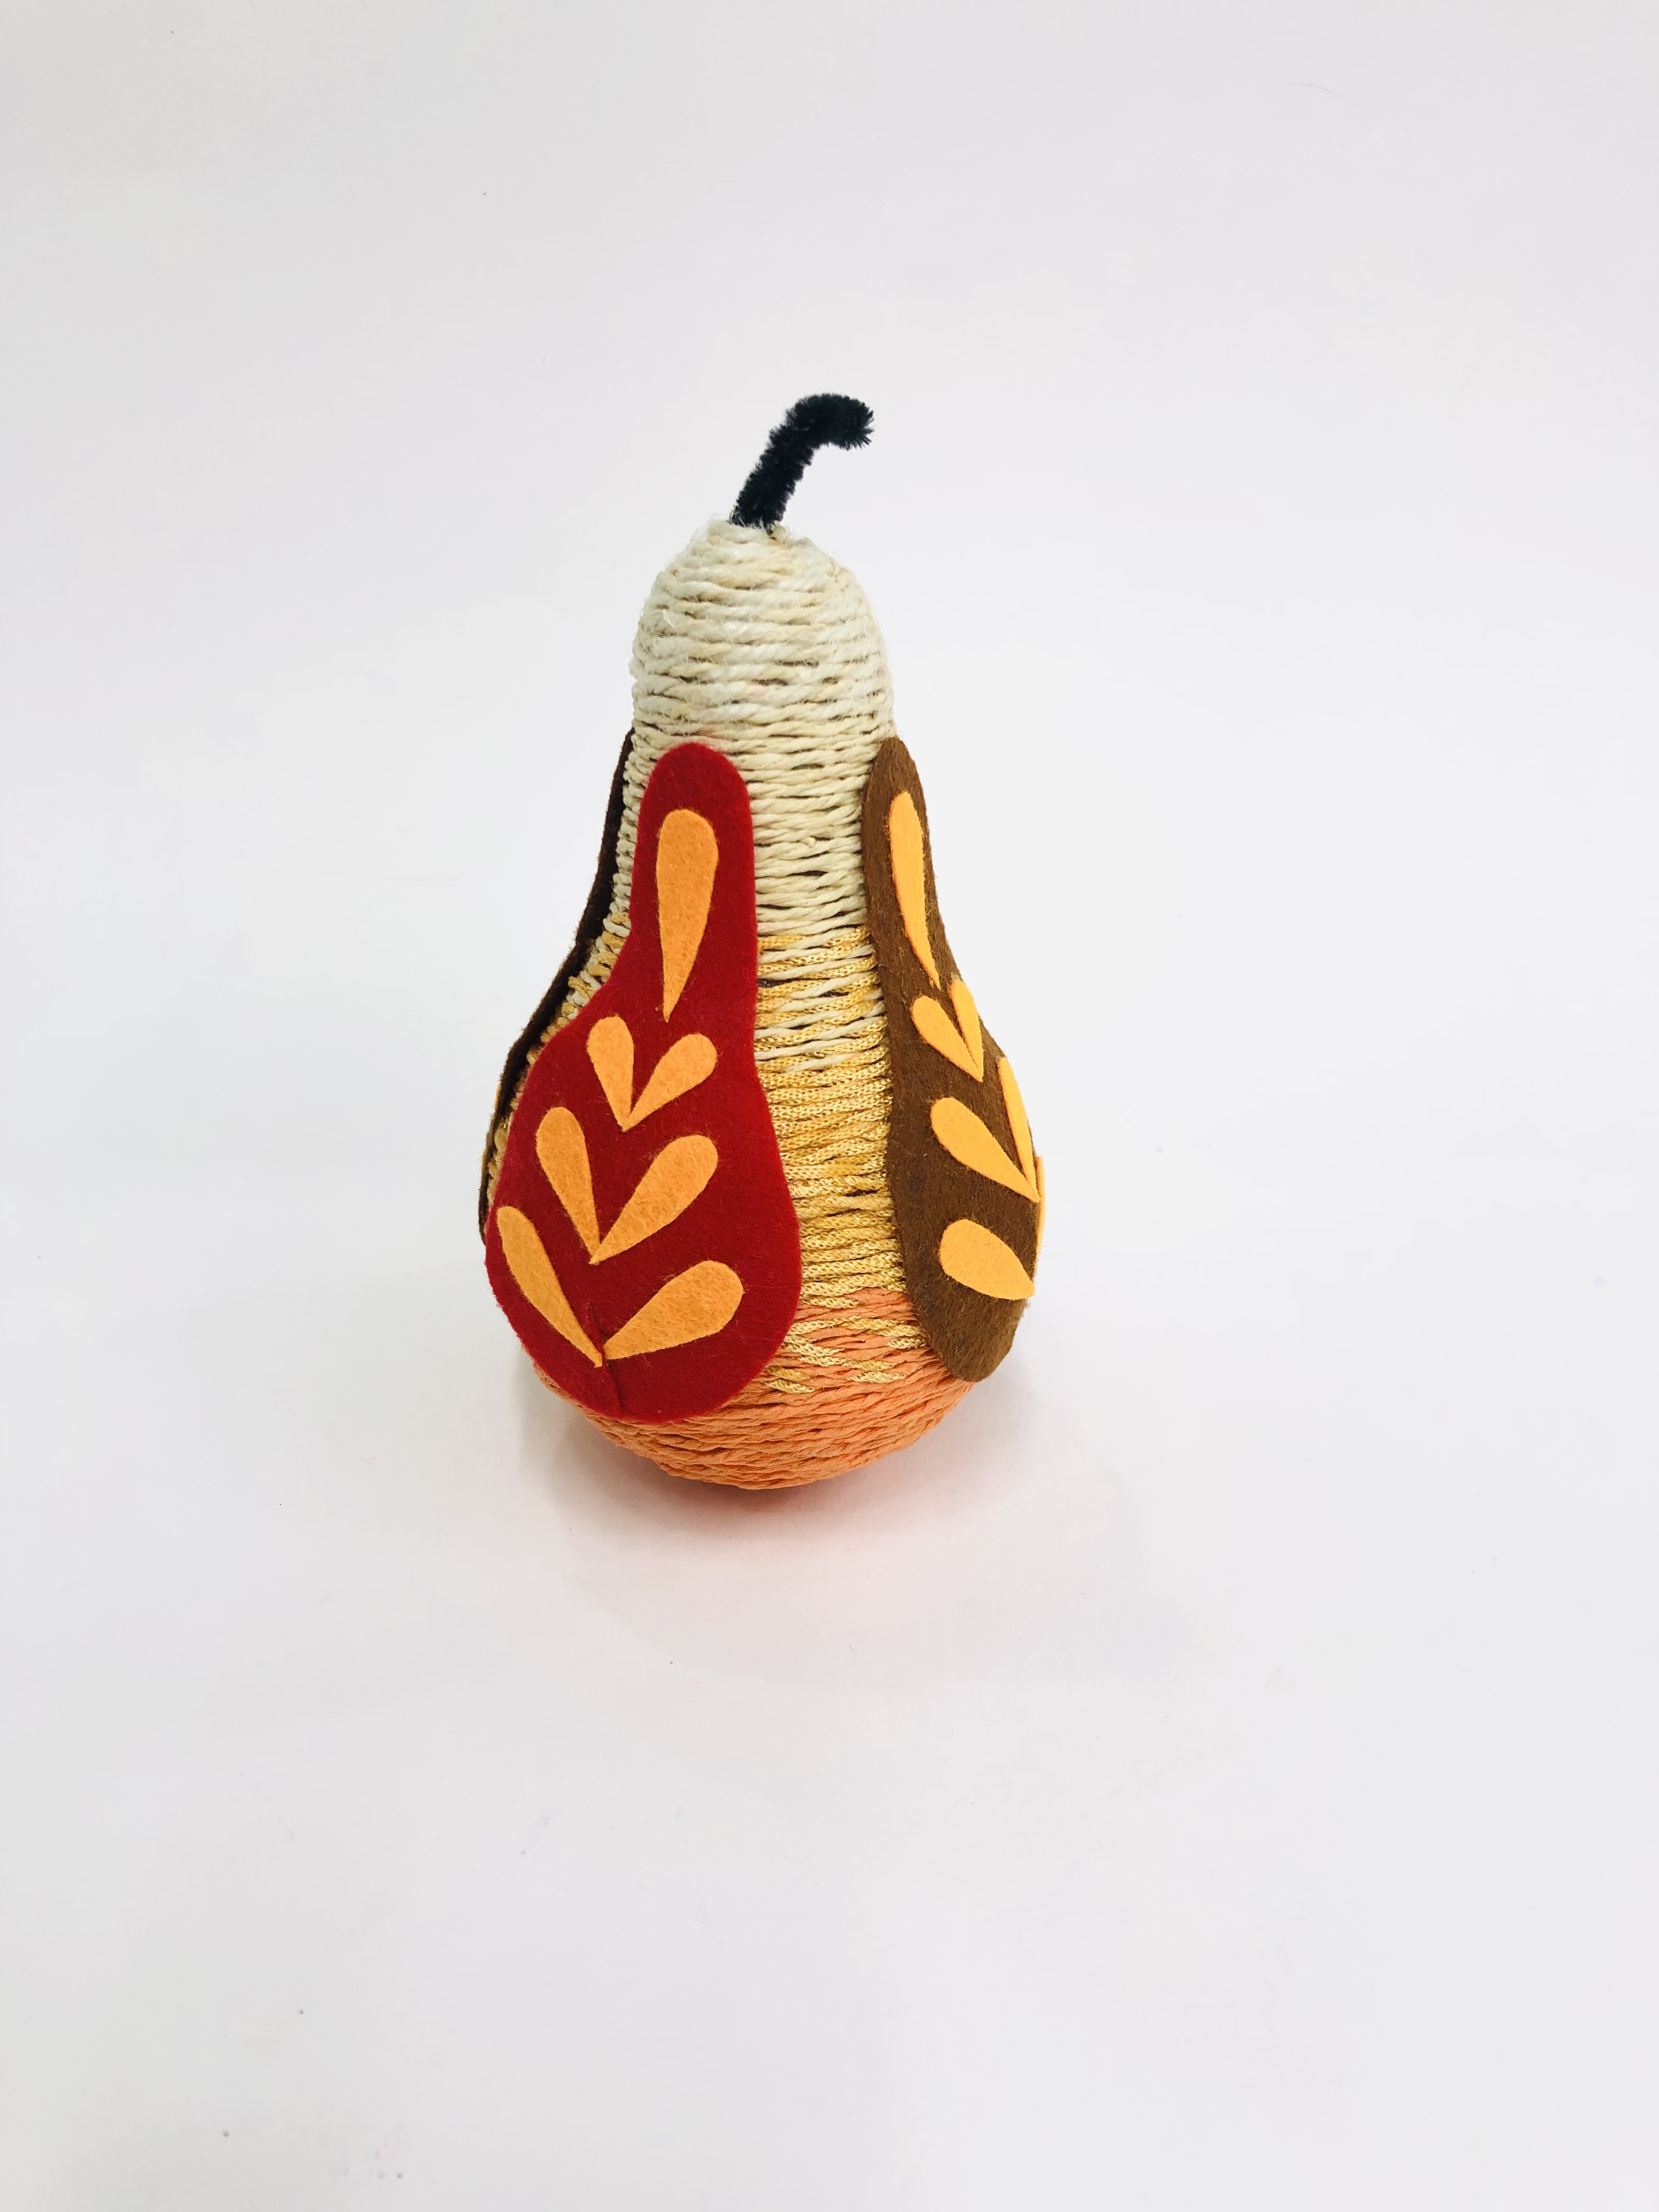
12 Days Of Ornament: Pear

You Will Need:
Fevicryl Premium Fabric Glue, Big Non Functional Bulb, Paper, Tracing Paper, Yellow And White Carbon Paper, Pencil, Scissors, Paper Yarn (Orange, Offwhite), Synthetic Yarn (Light Orange), Felt ( Dark Brown, Red, Orange), Small Hook (Used For Jewellery), Bottle Cleaning Wire, Black Cotton Fabric, Buckram, Different Stones (Golden, Light Orange), Cutdana (Golden, Black), Ball Chain(Red), Poth (Orange), Golden Thread
Product Used:

Description :
Pear ornament that can be hung on the Christmas tree made completely using Fevicryl Fabric Glue.
STEP 1
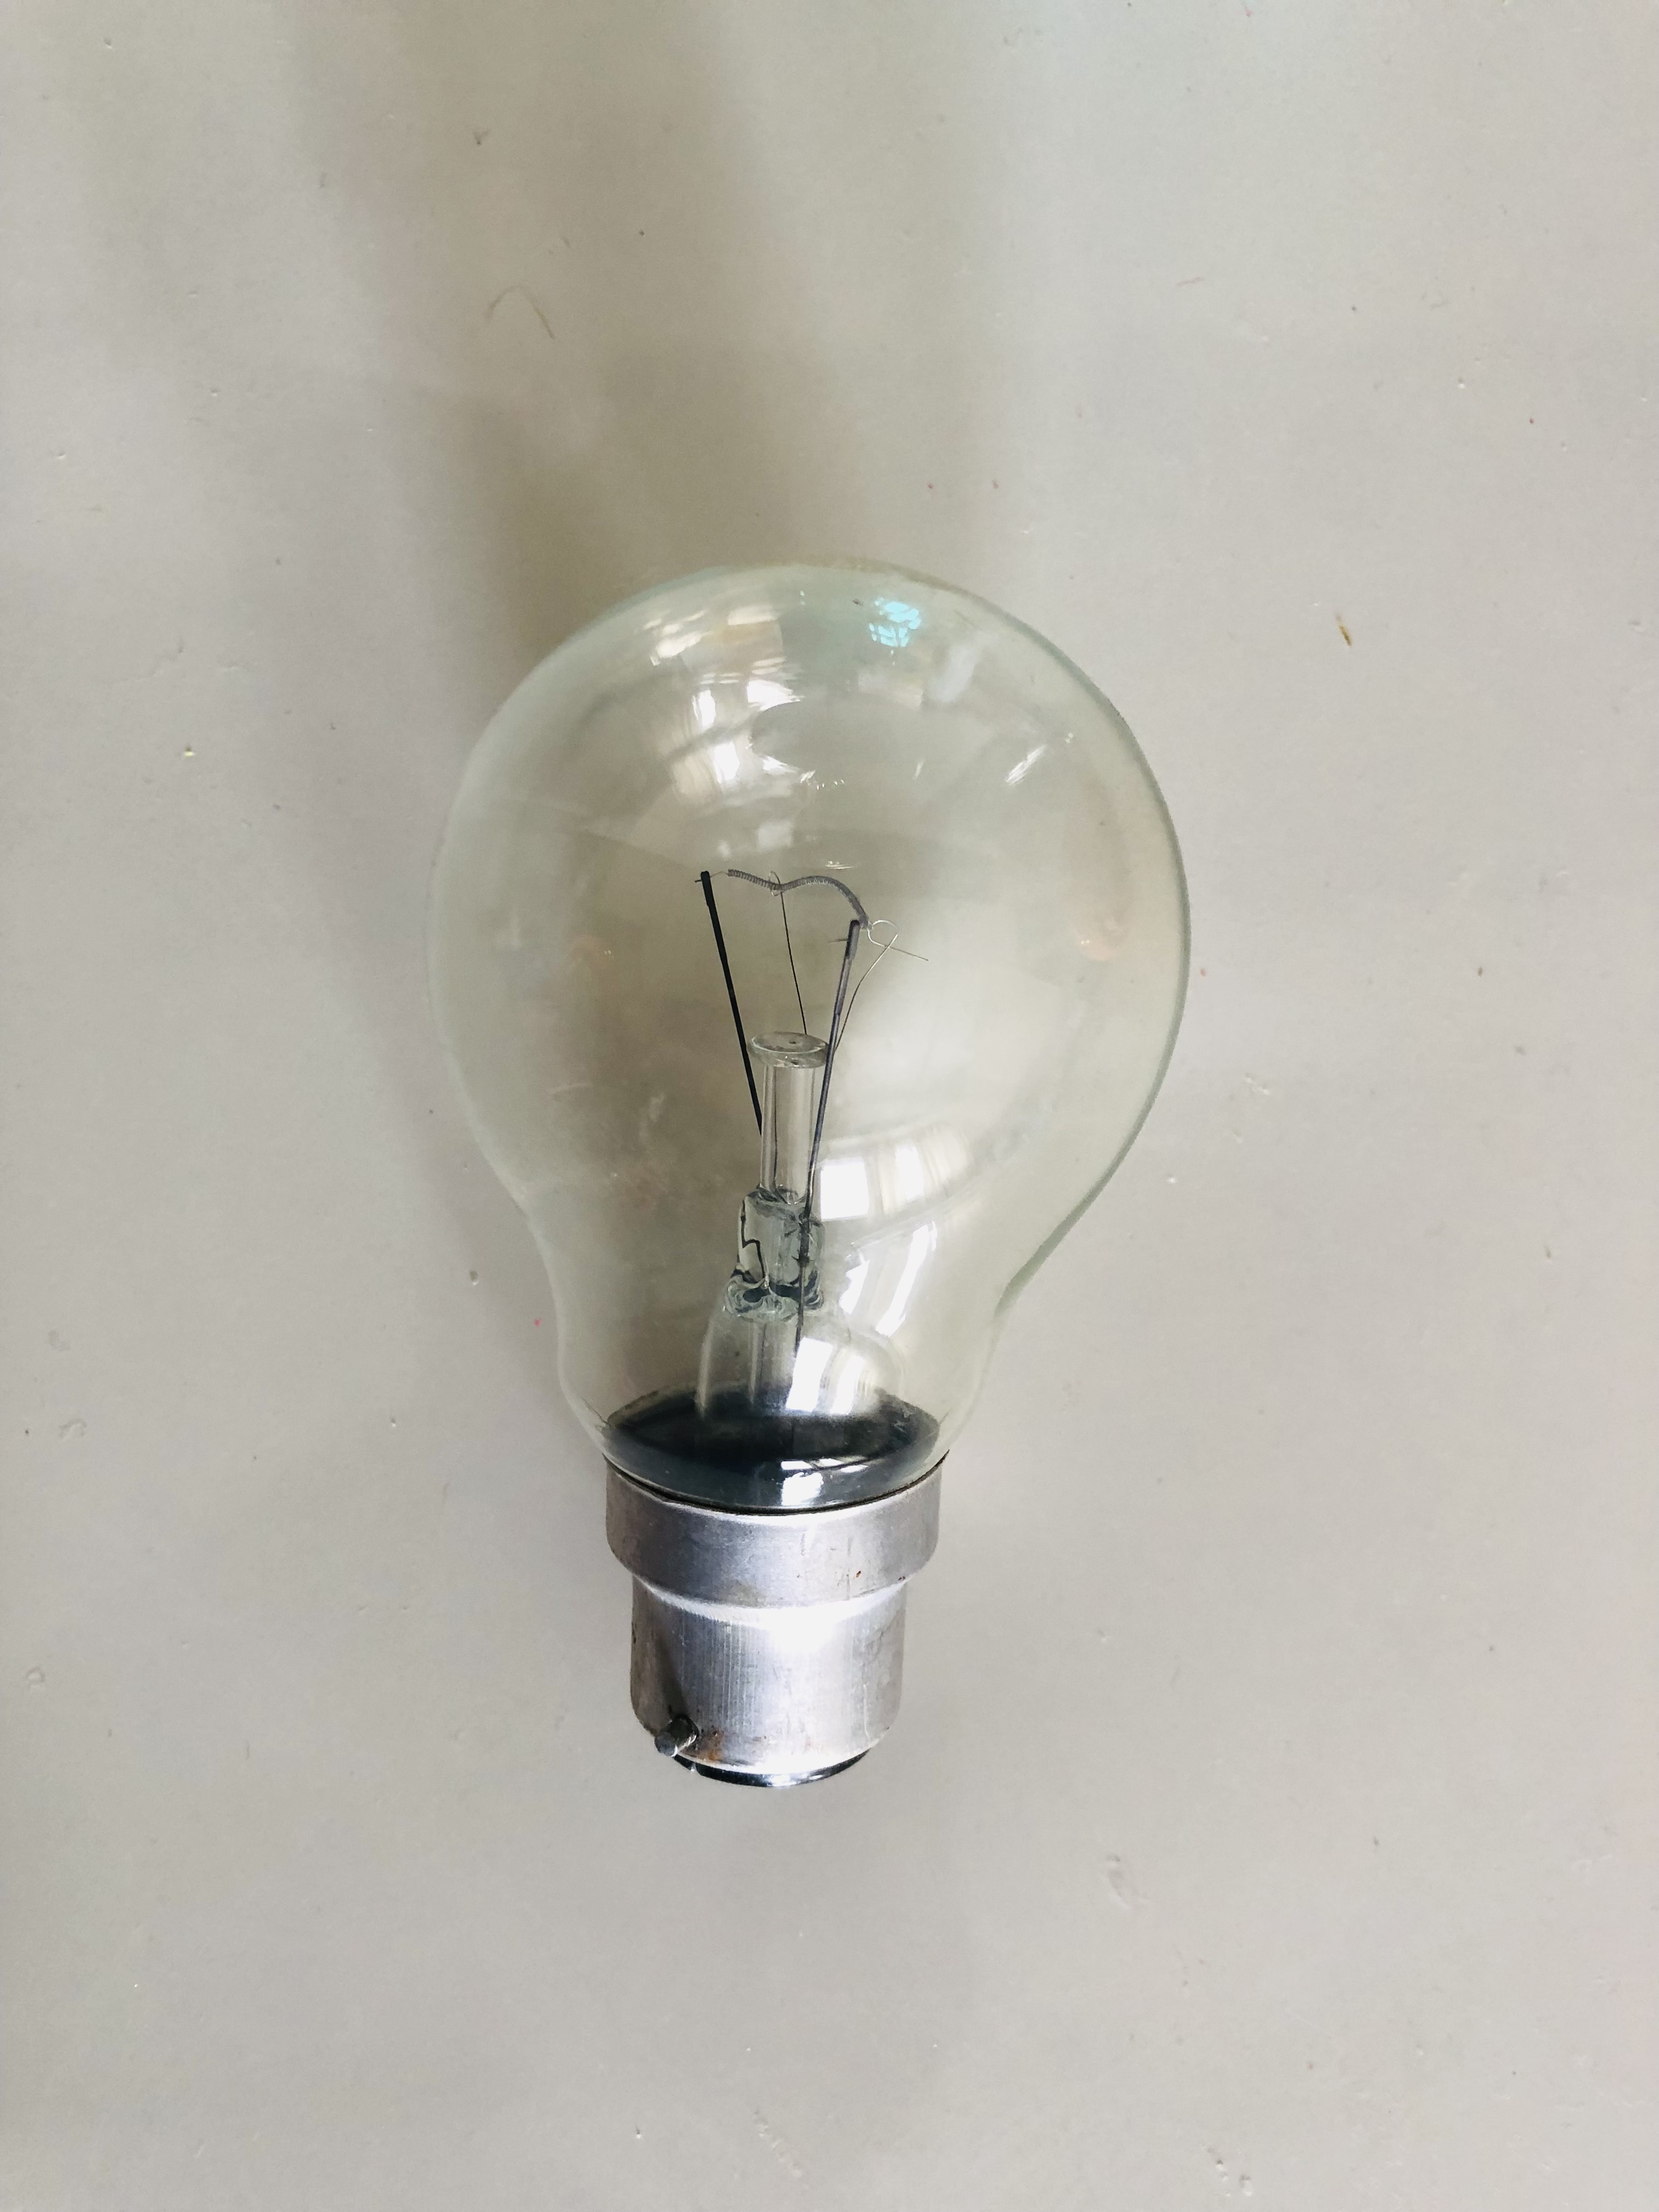
- Take a nonfunctional big bulb as seen in the image given
STEP 2
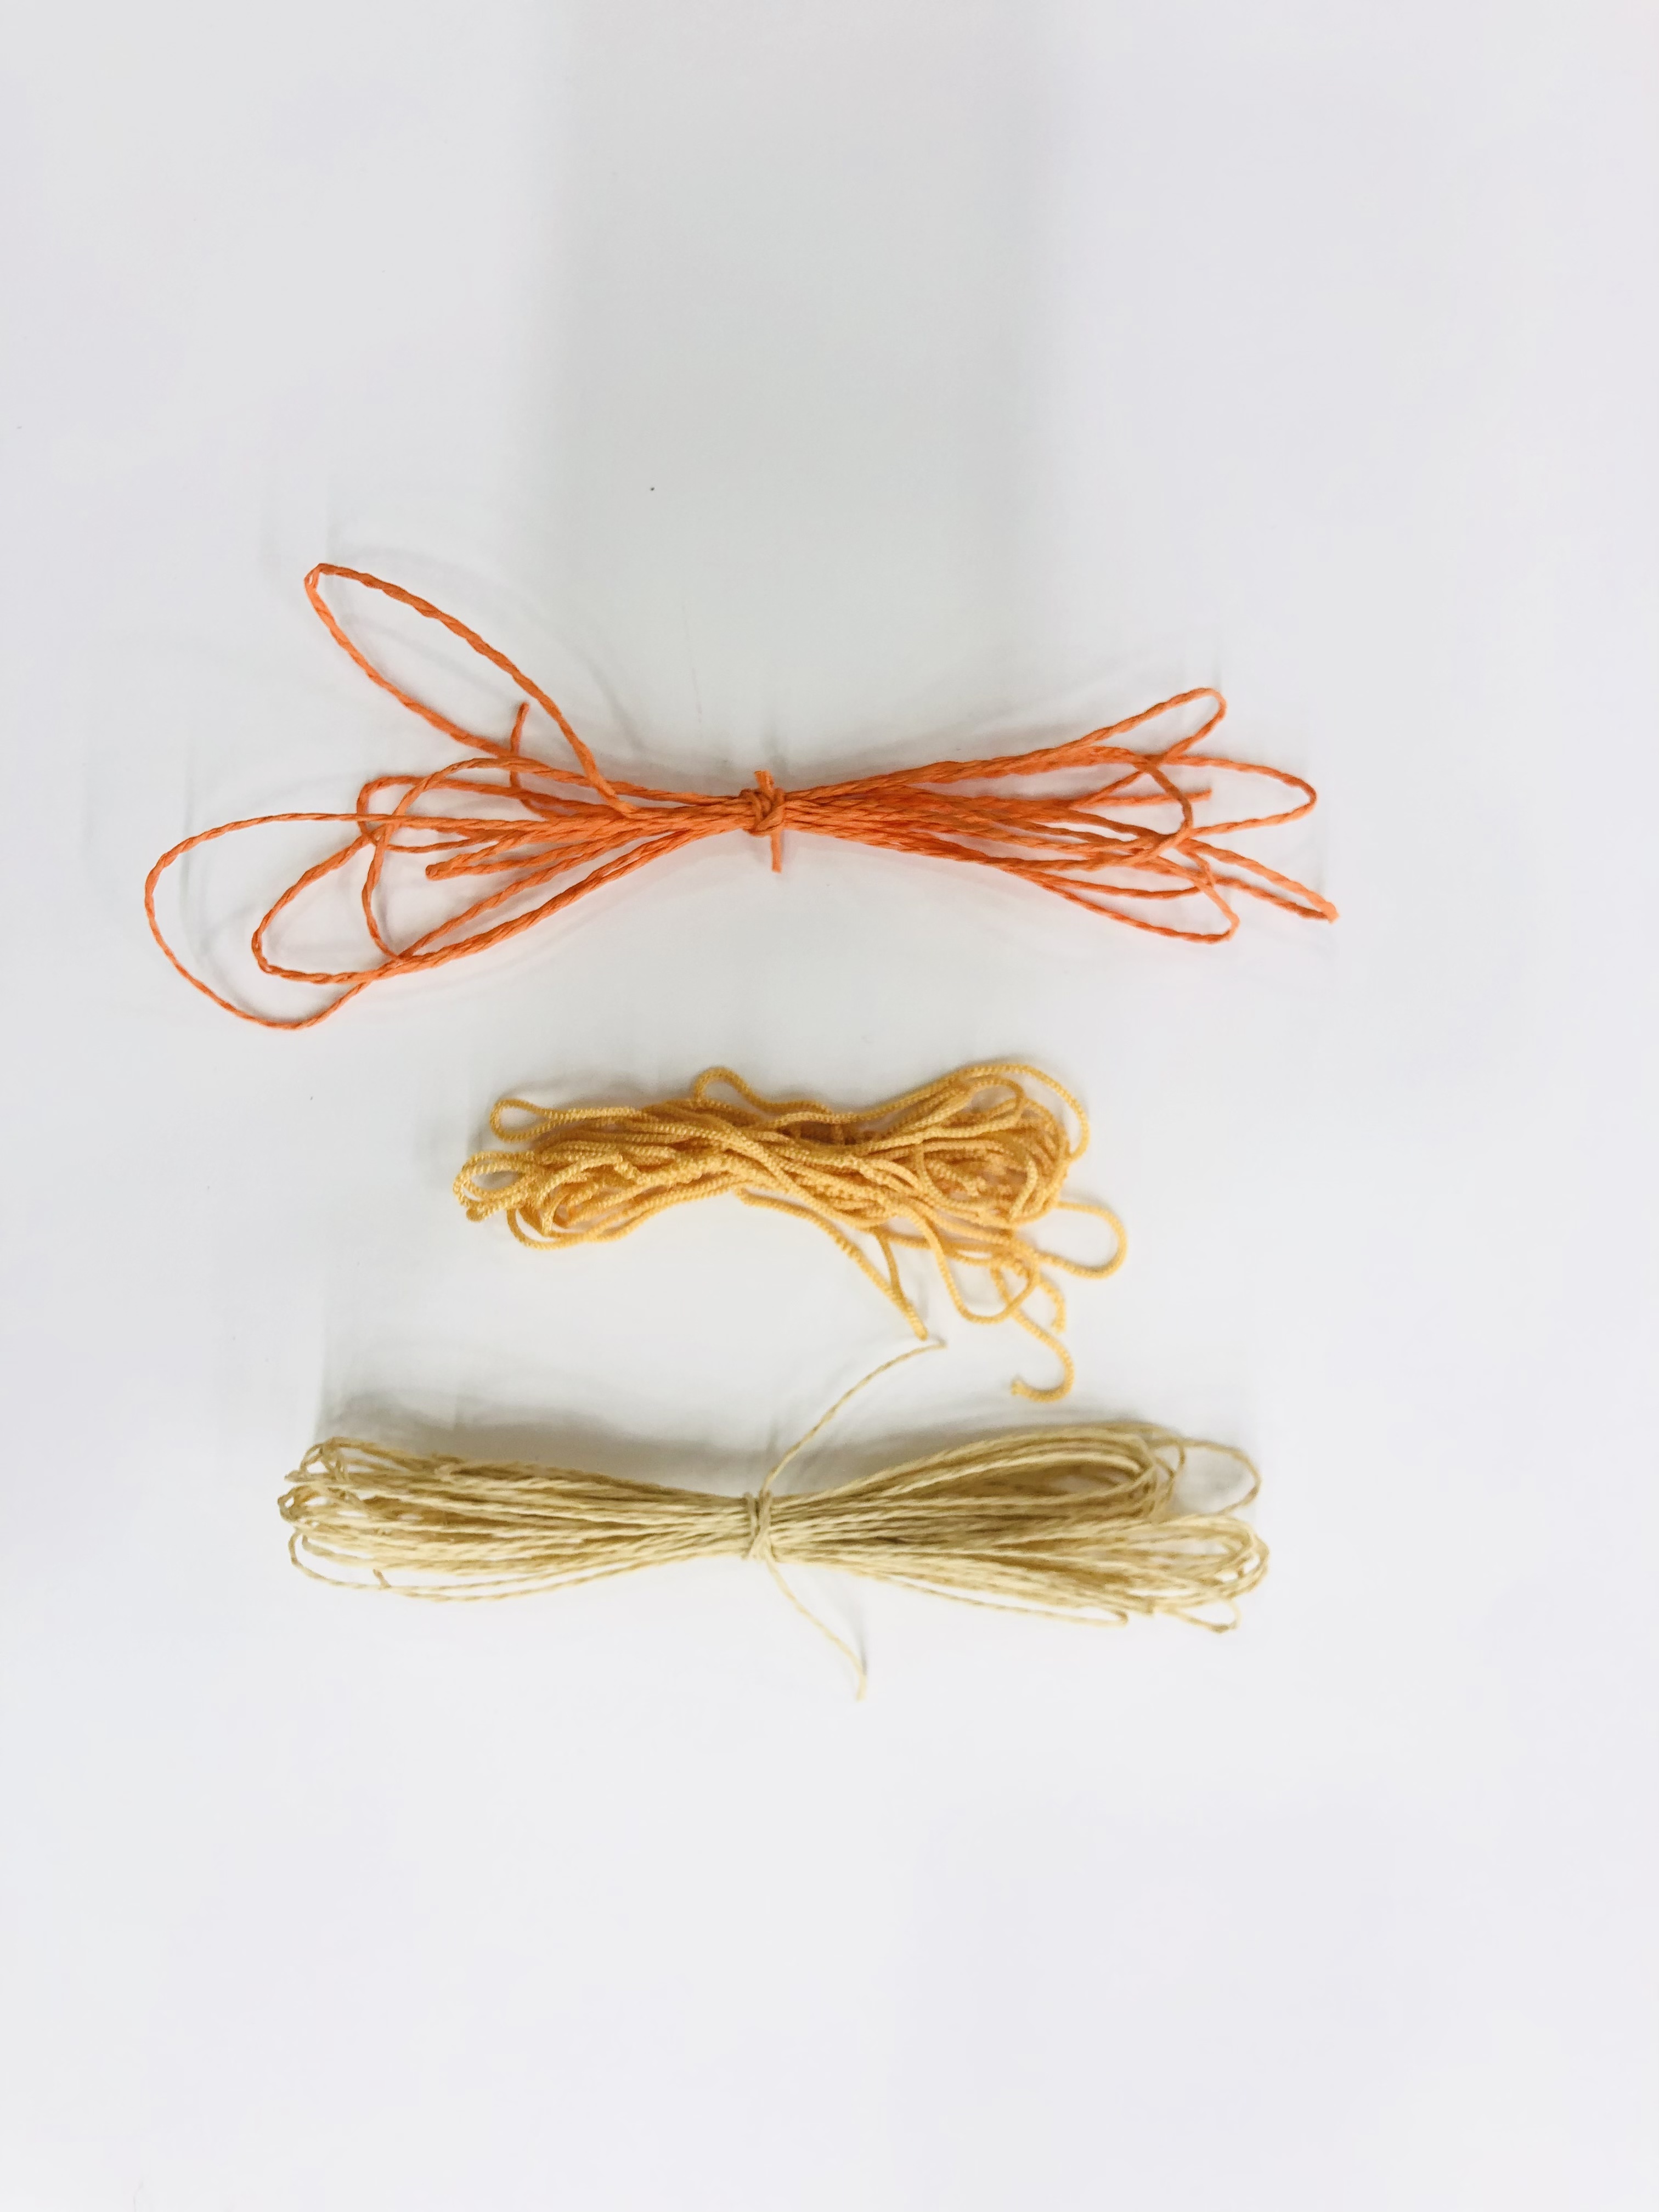
- Take 2 colours of paper yarn and one synthetic yarn as shown in the image
- The synthetic yarn can be skipped and paper yarn can be used instead as well.
STEP 3
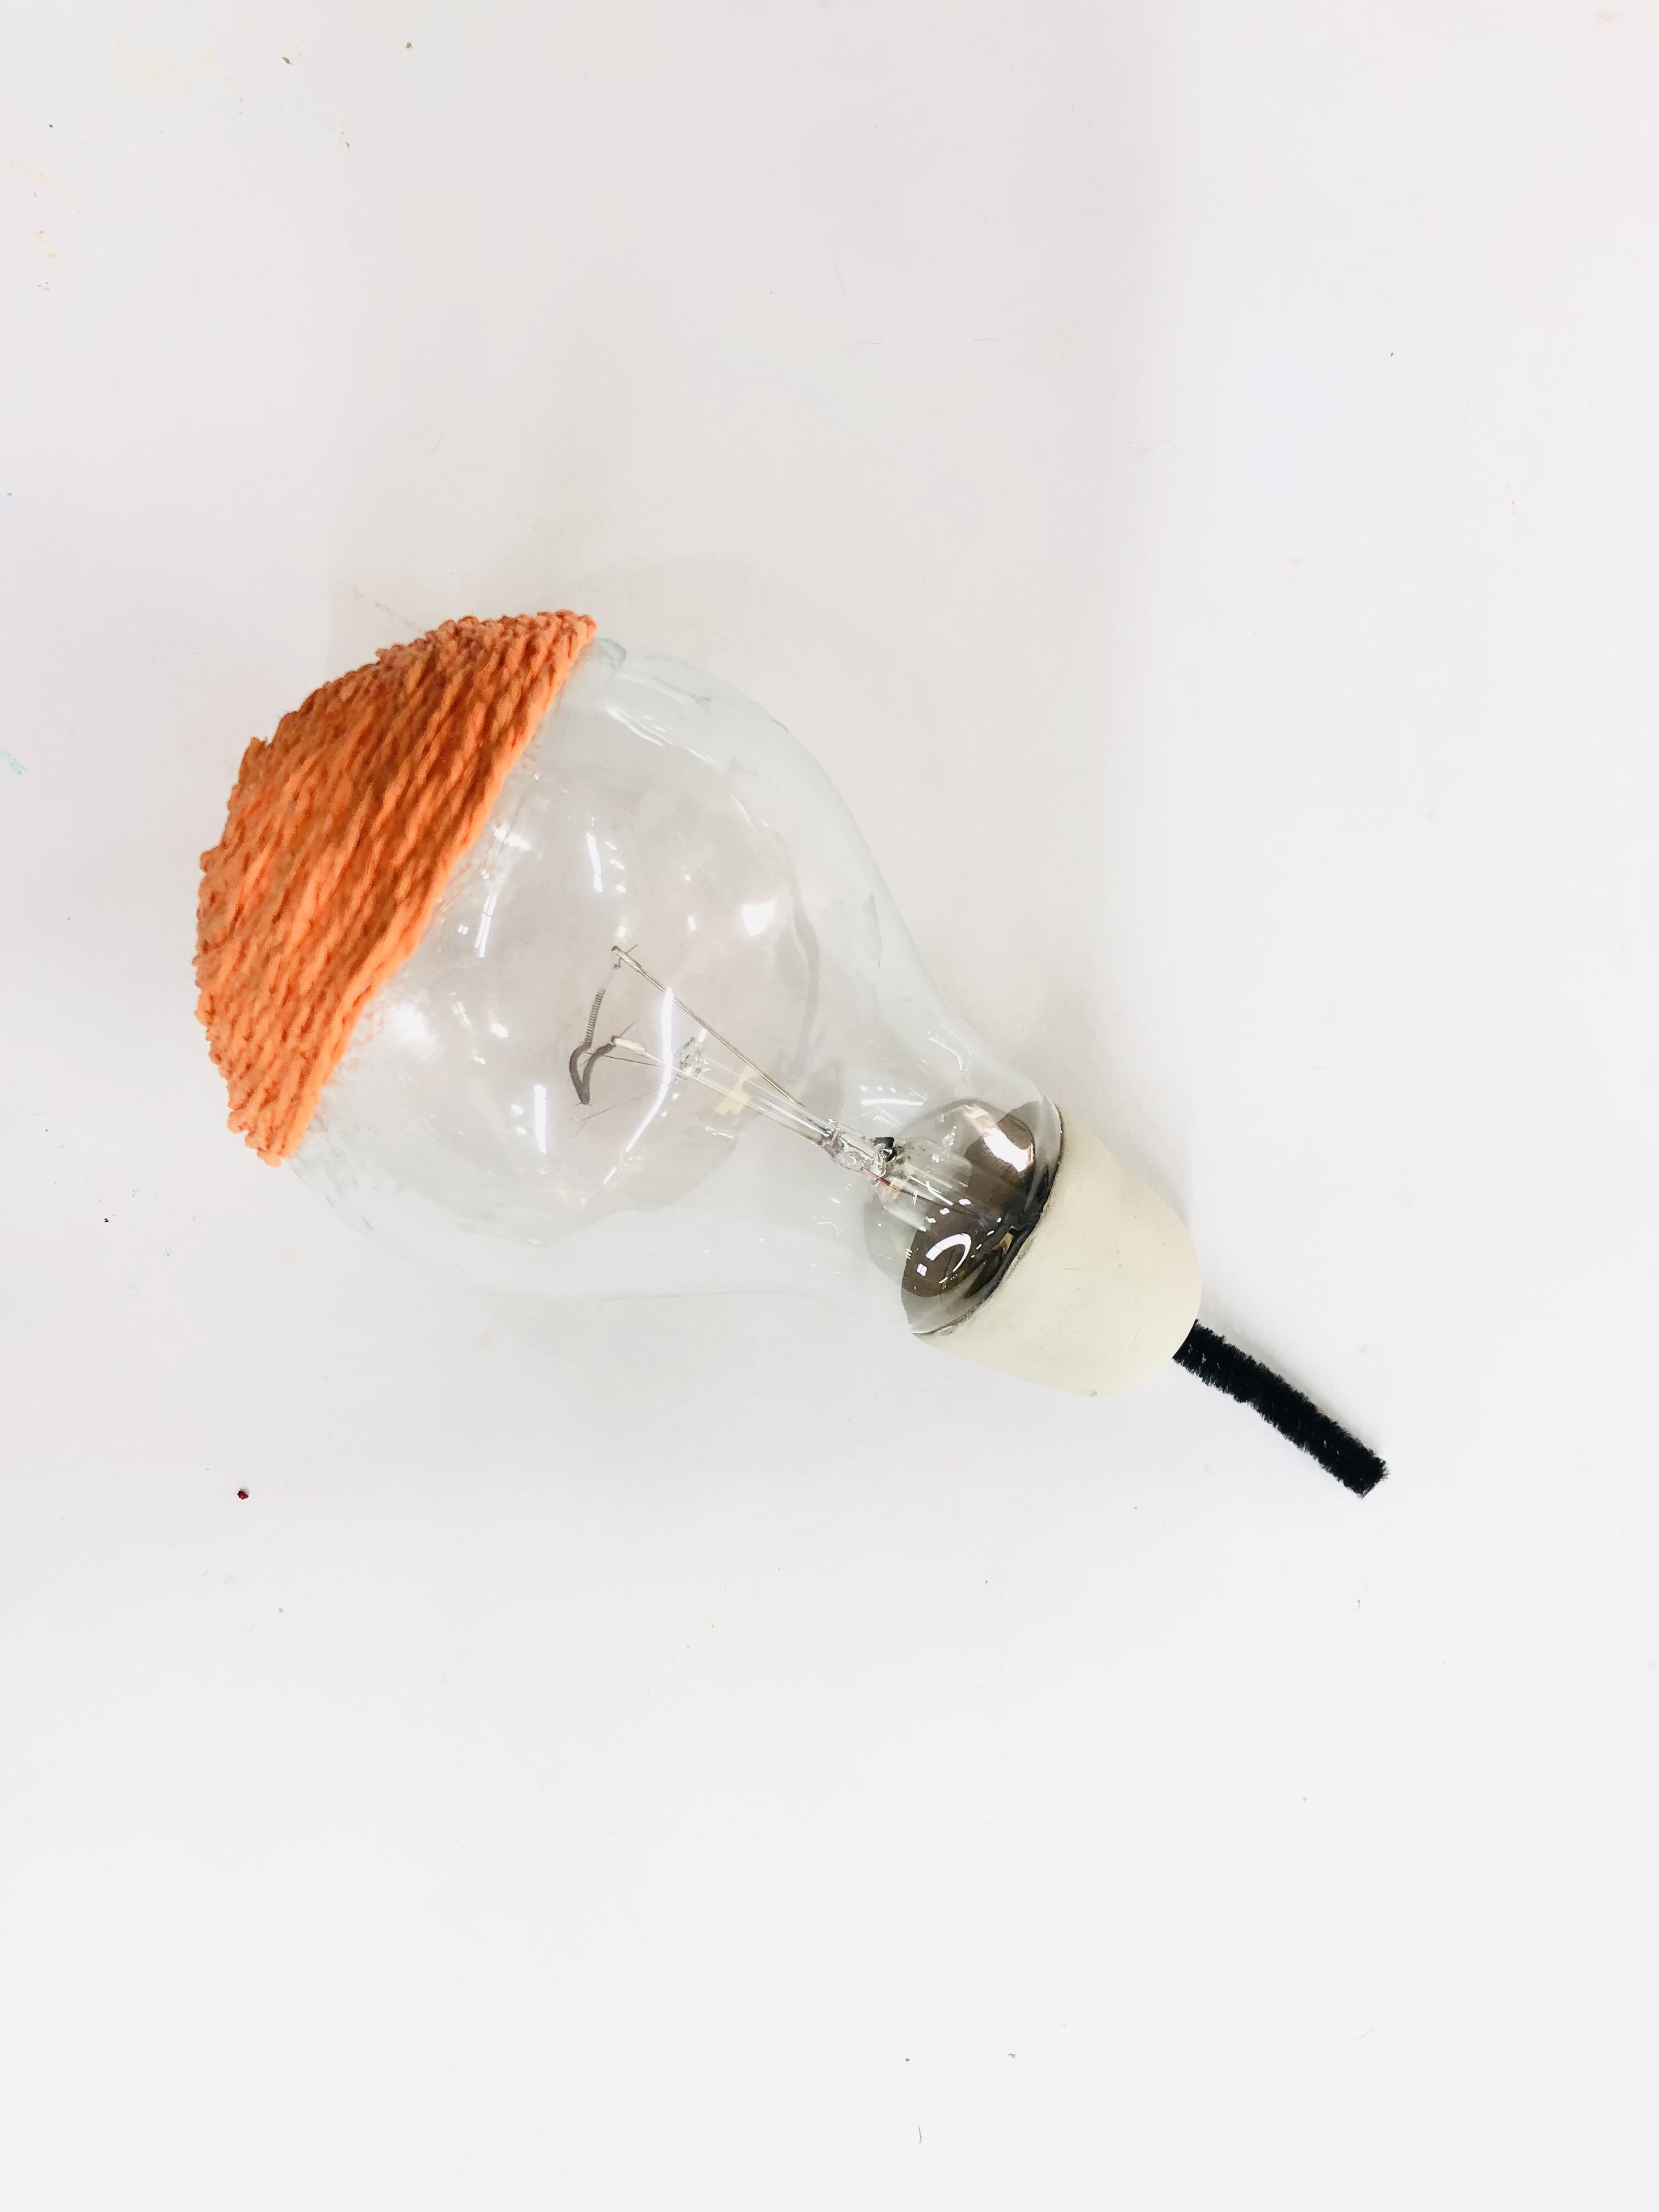
- Take the pipe cleaner and stick it at the top of the bulb as seen in the image
- Take orange paper yarn and start sticking on the bulb as shown.
- Use fevicryl fabric glue to stick it.
- Stick masking tape around the top part as shown in the image.
STEP 4
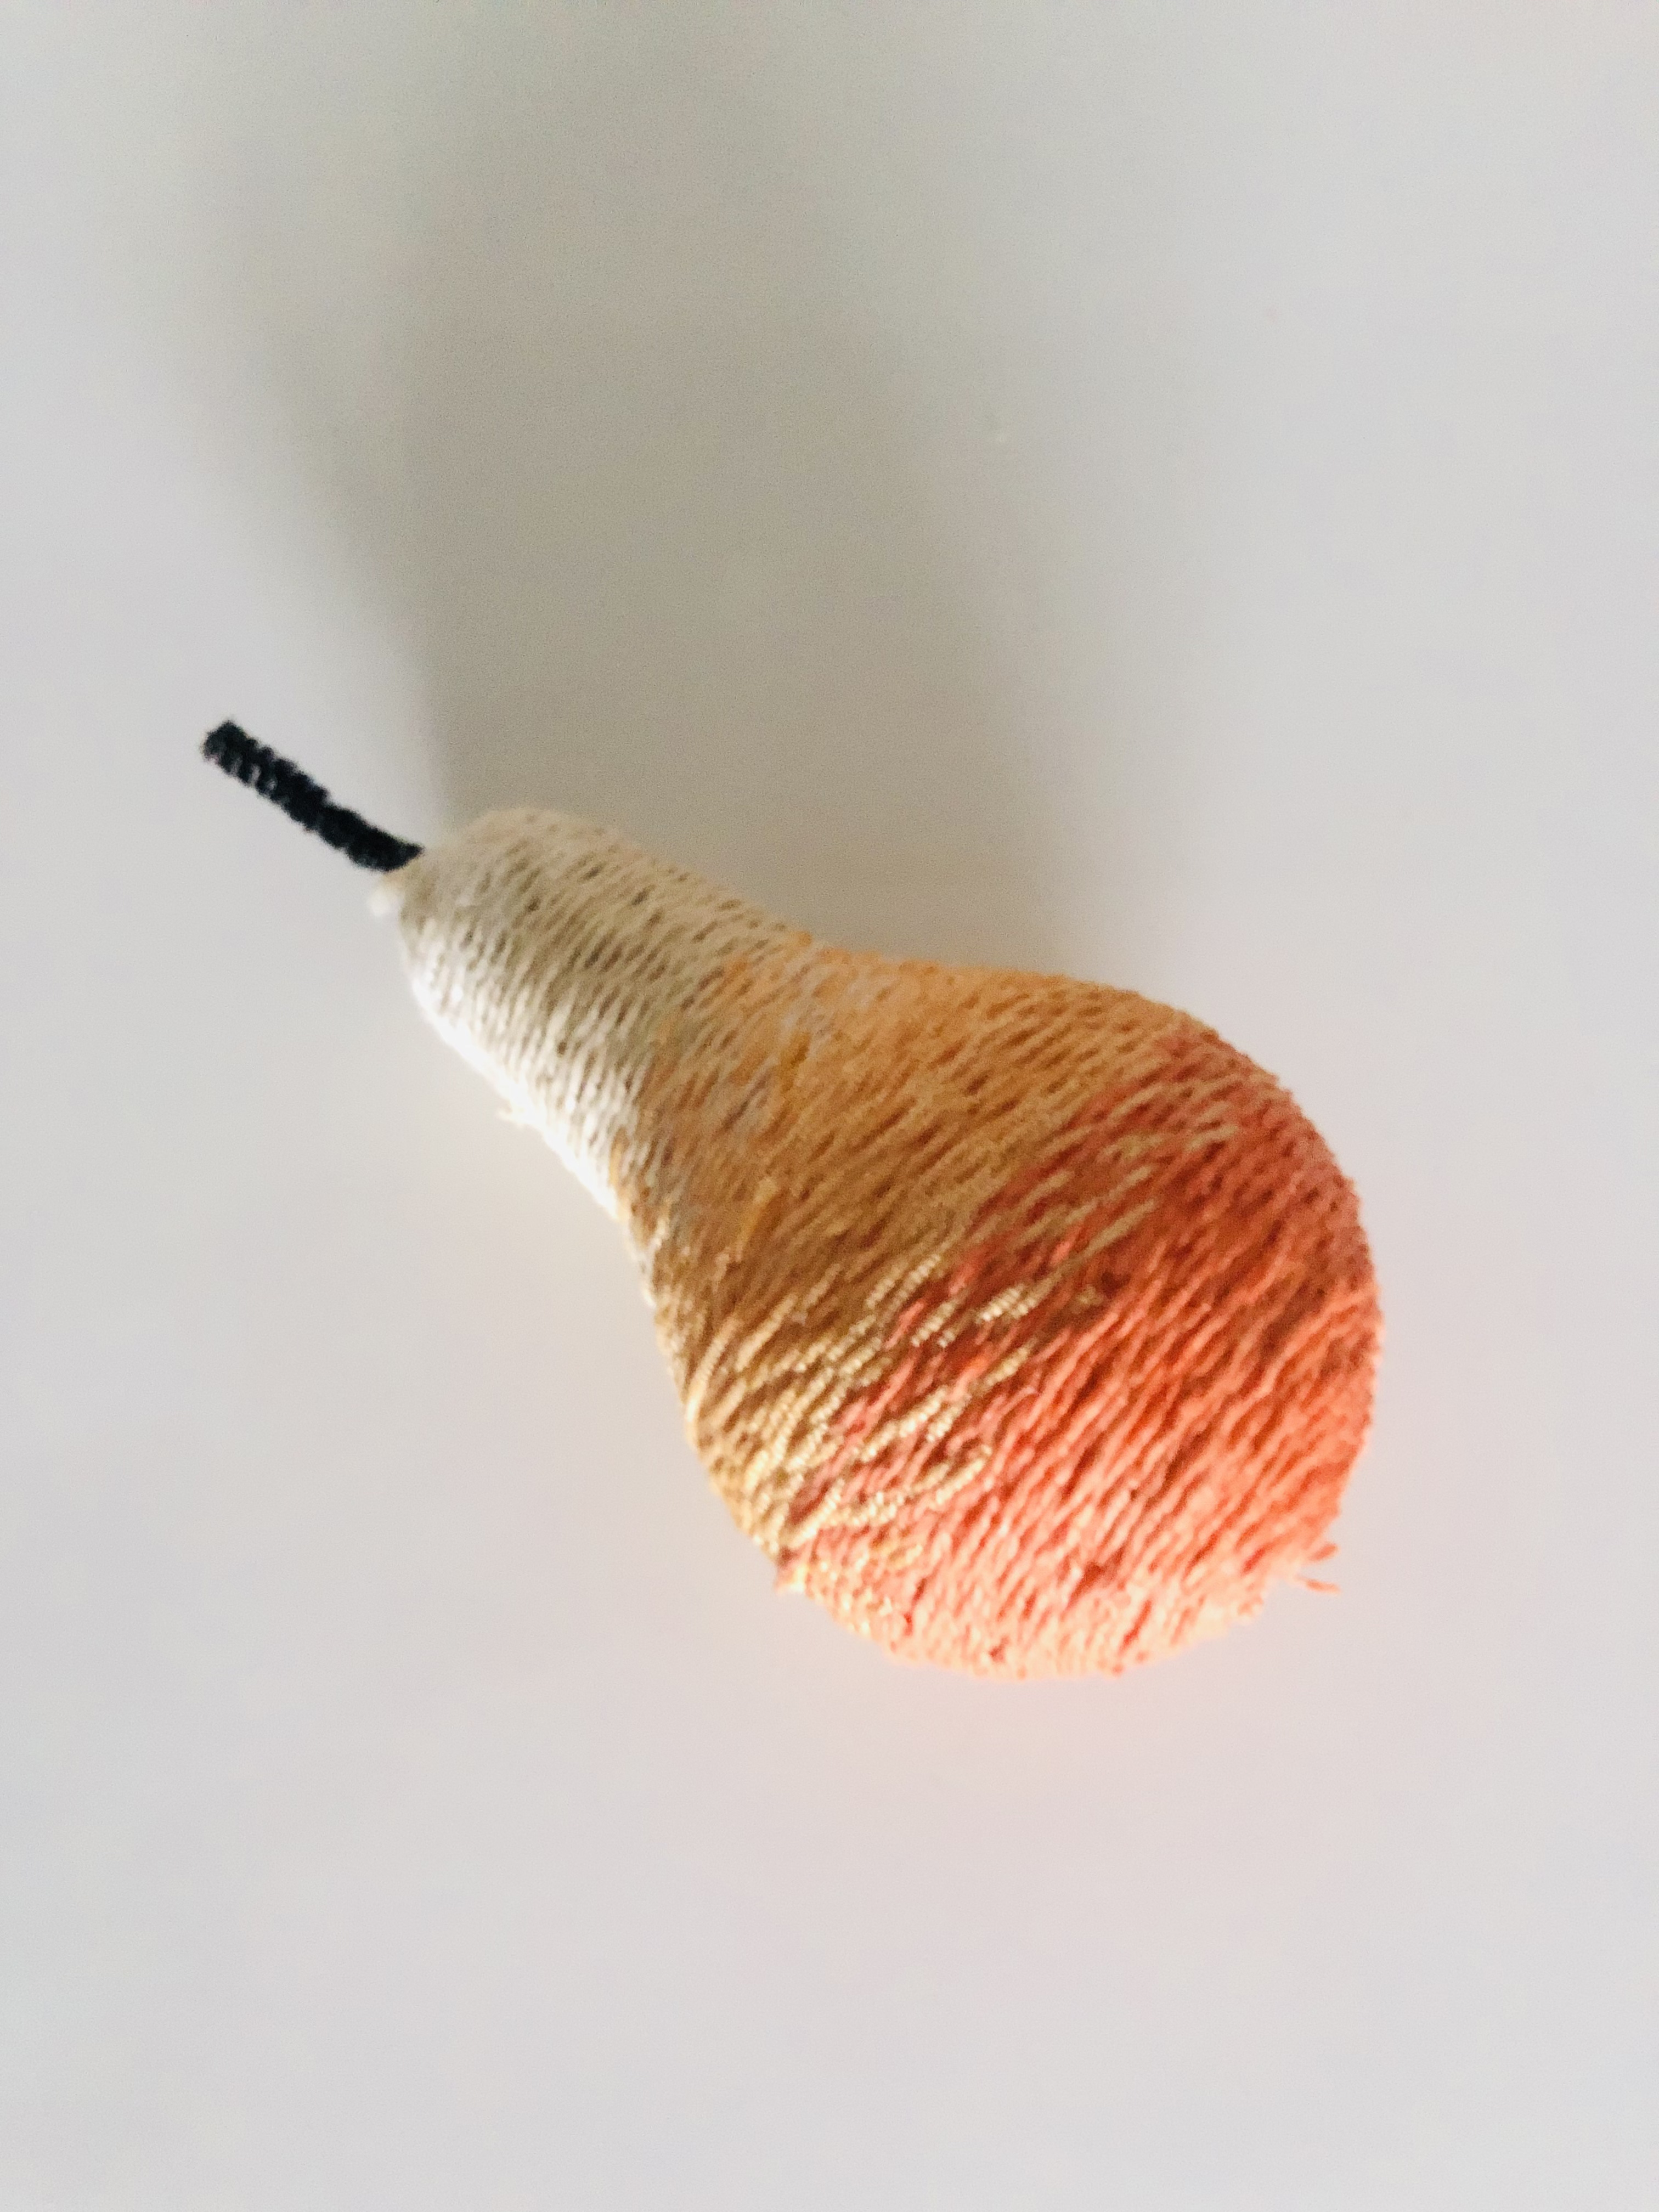
- Take the other two yarns and start sticking on the bulb as shown.
- Use fevicryl fabric glue to stick it.
- Let it dry
STEP 5
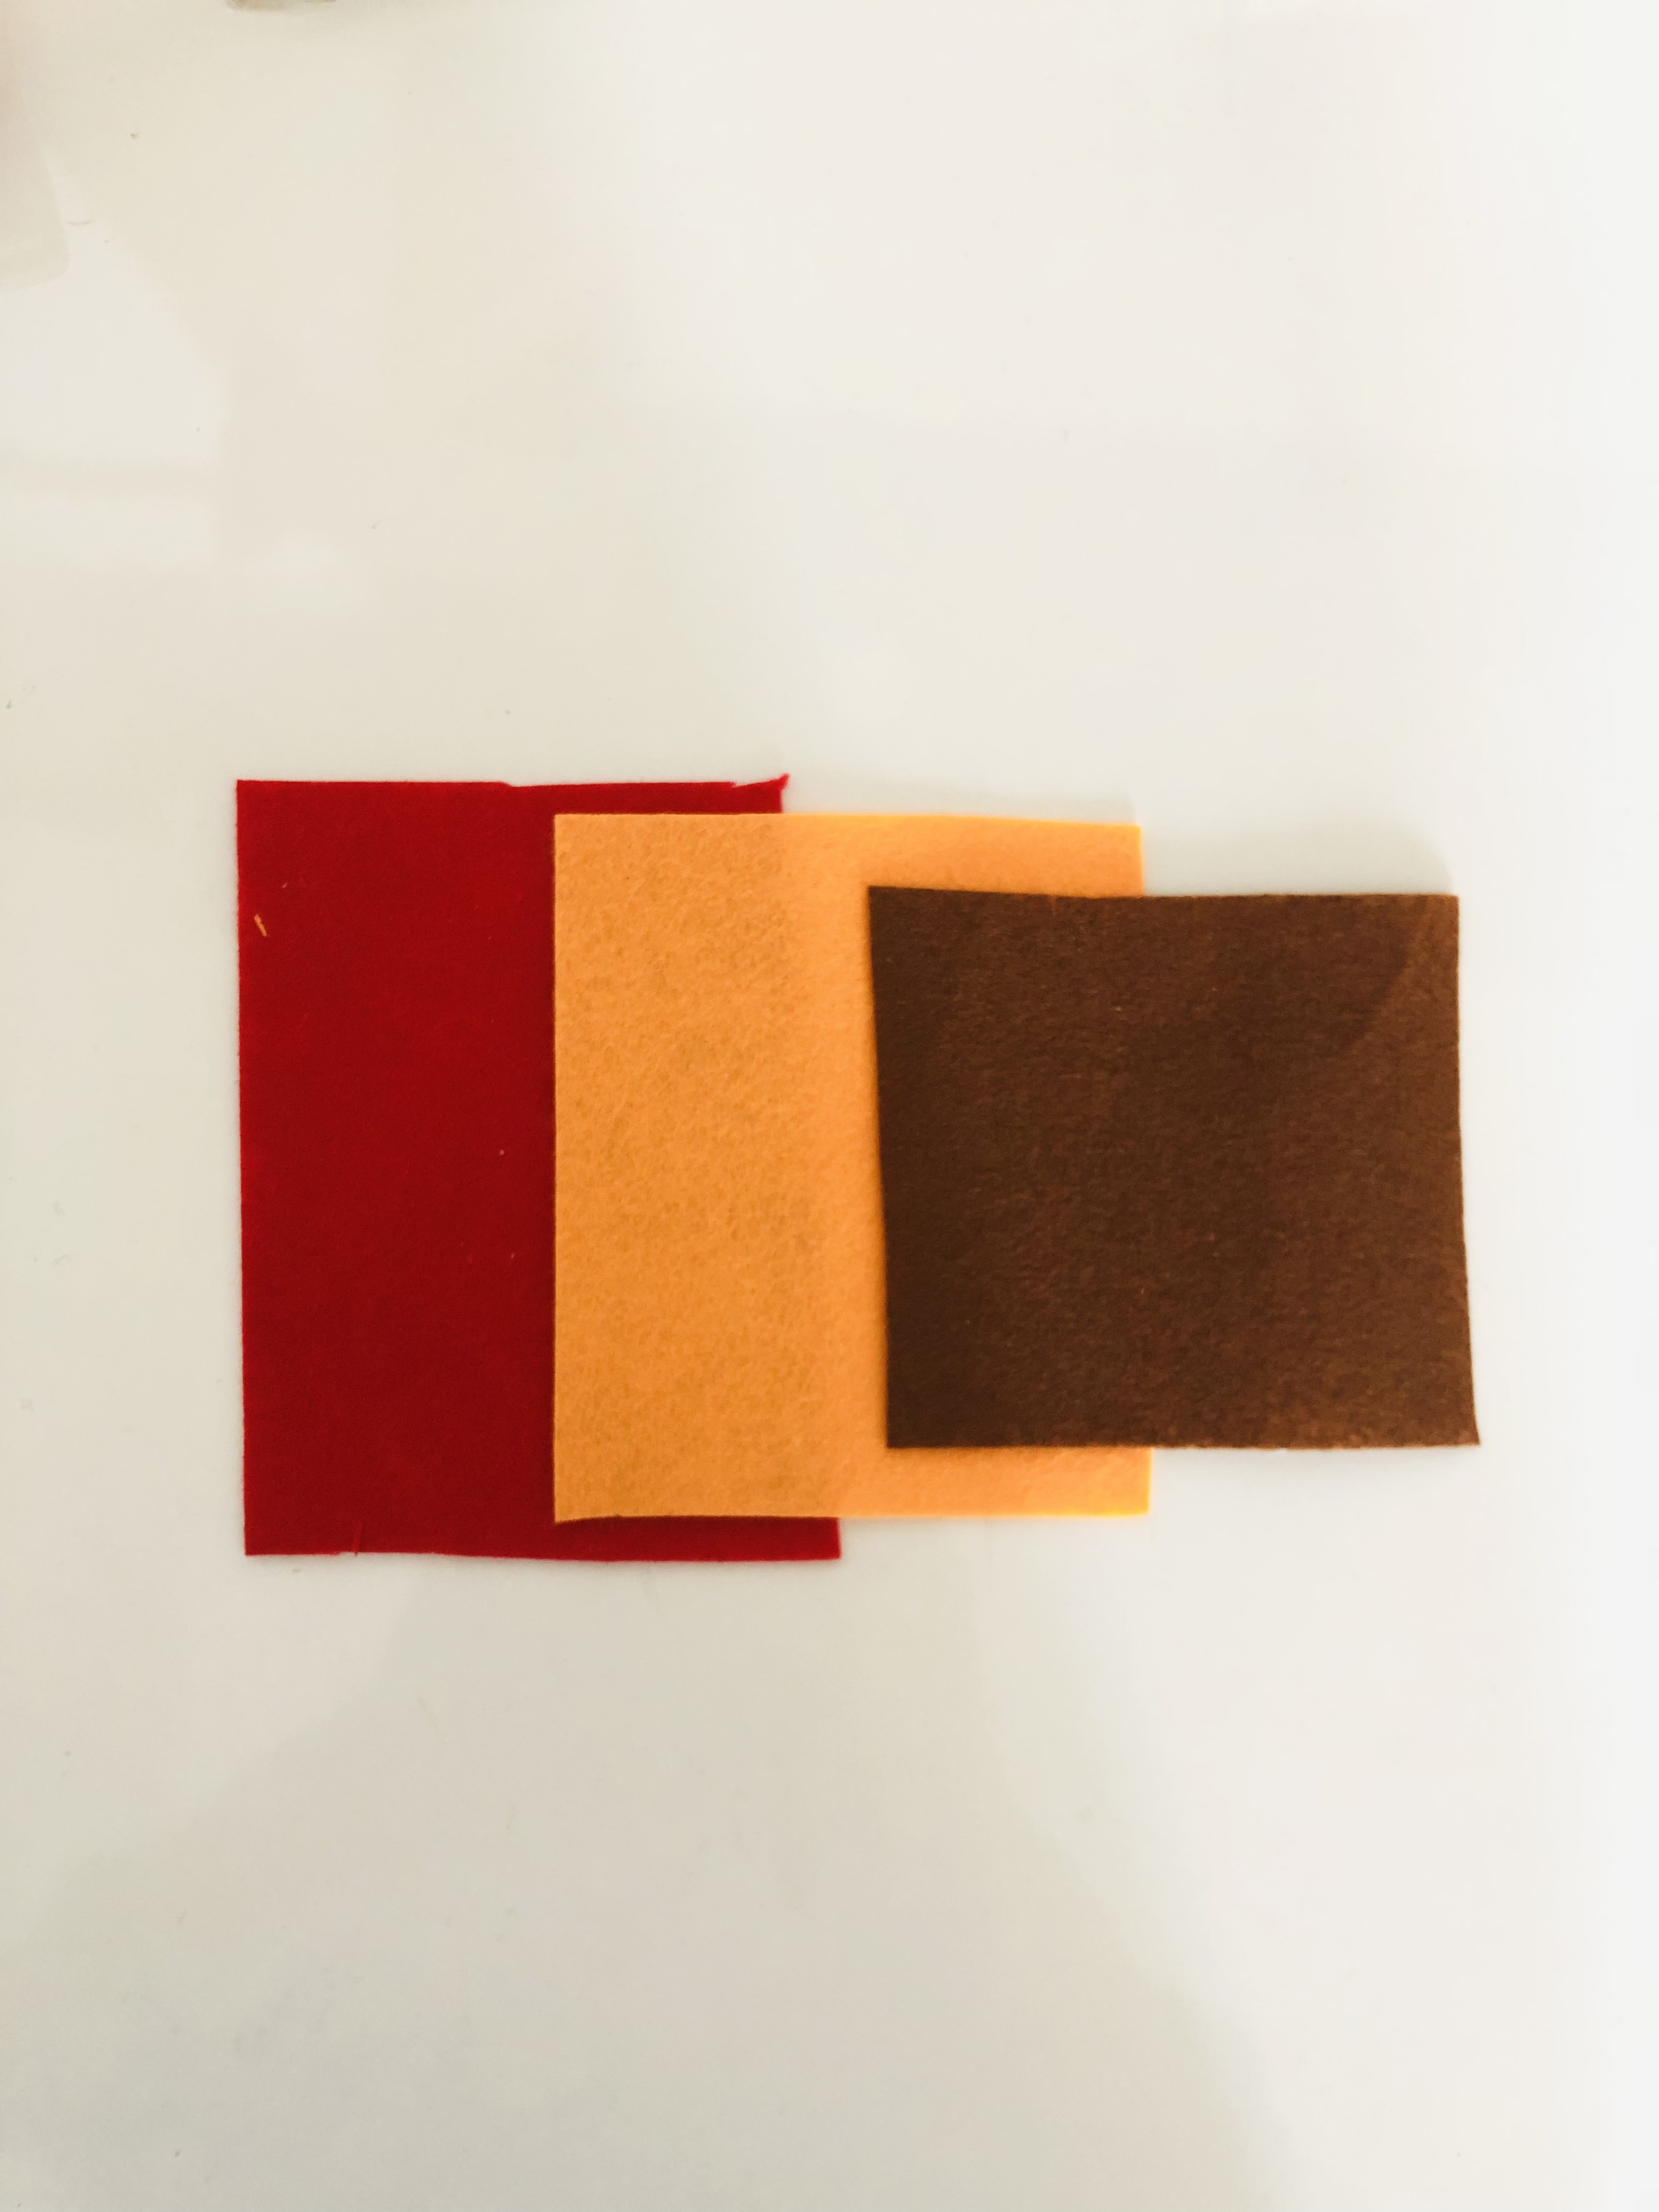
- Take felt sheets in 3 different colours of your choice.
STEP 6
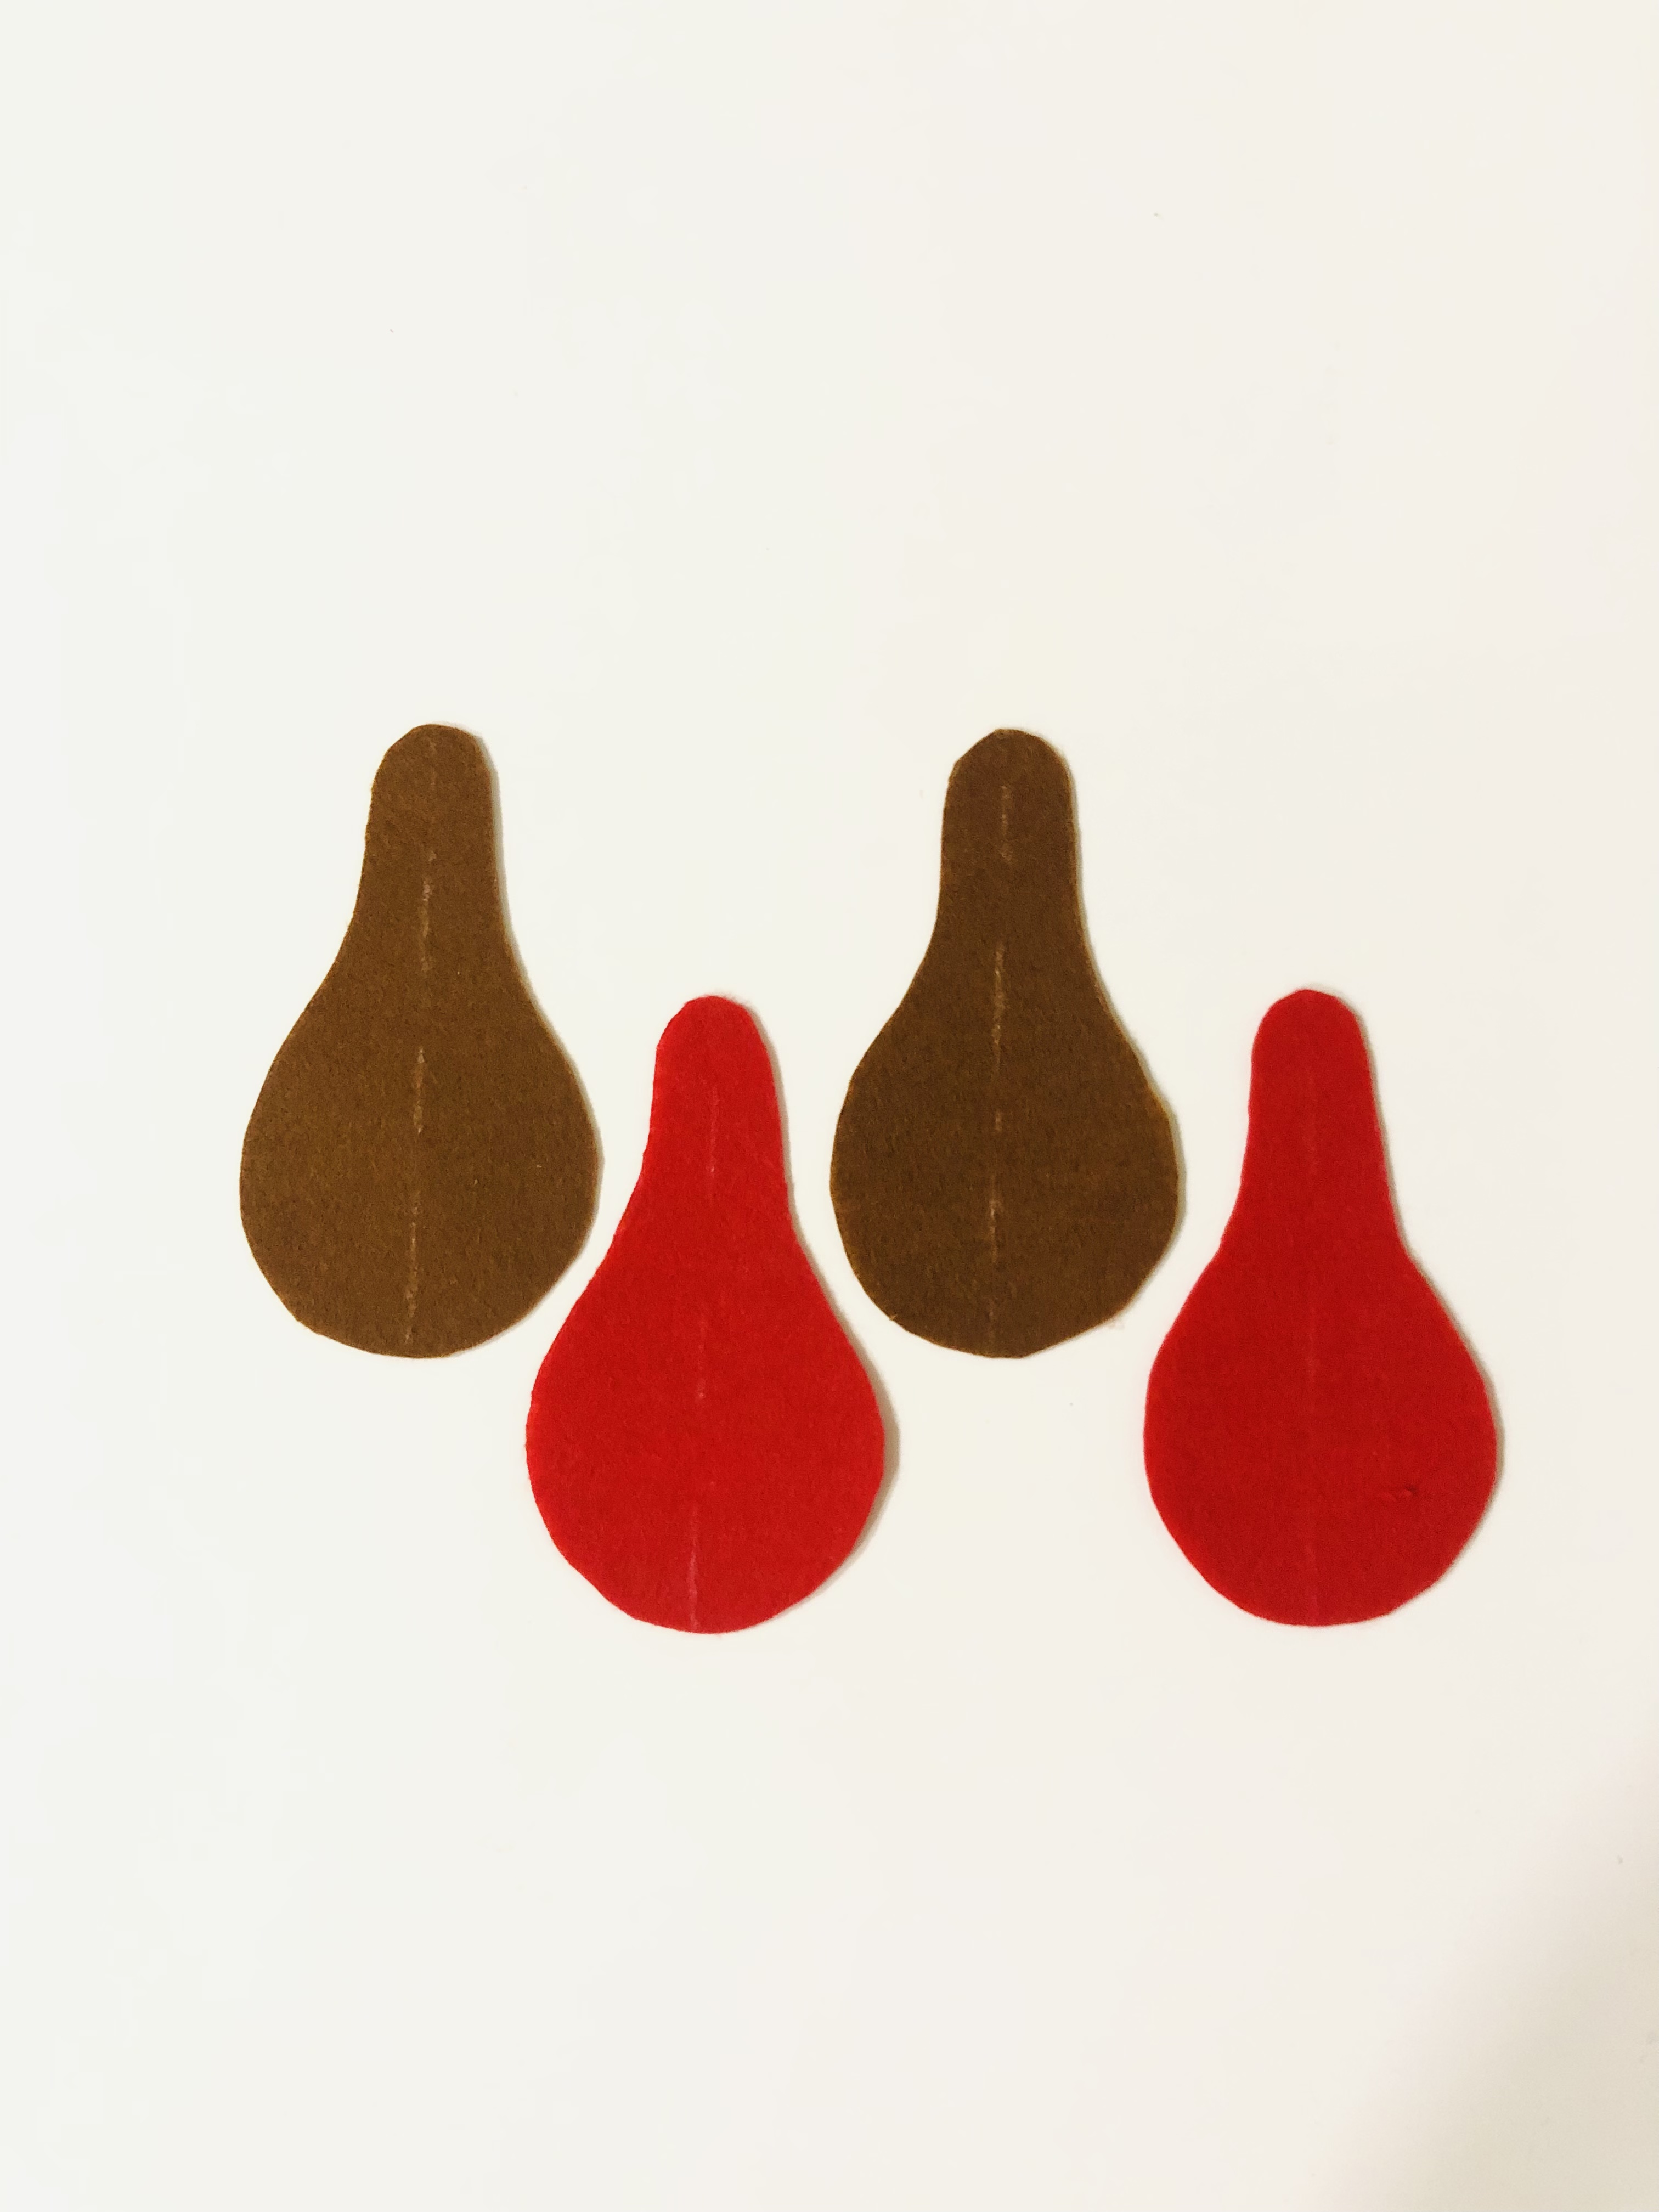
- Draw pear shapes on the felt sheets as seen and cut them using fabric scissors
- Draw then with the help of white/yellow carbon paper
- Draw them on any two colours of felt sheet
- Make a small slit at the bottom center using a fabric scissor.
- This will make the shape mould itself to the surface of the bulb and stick better.
STEP 7
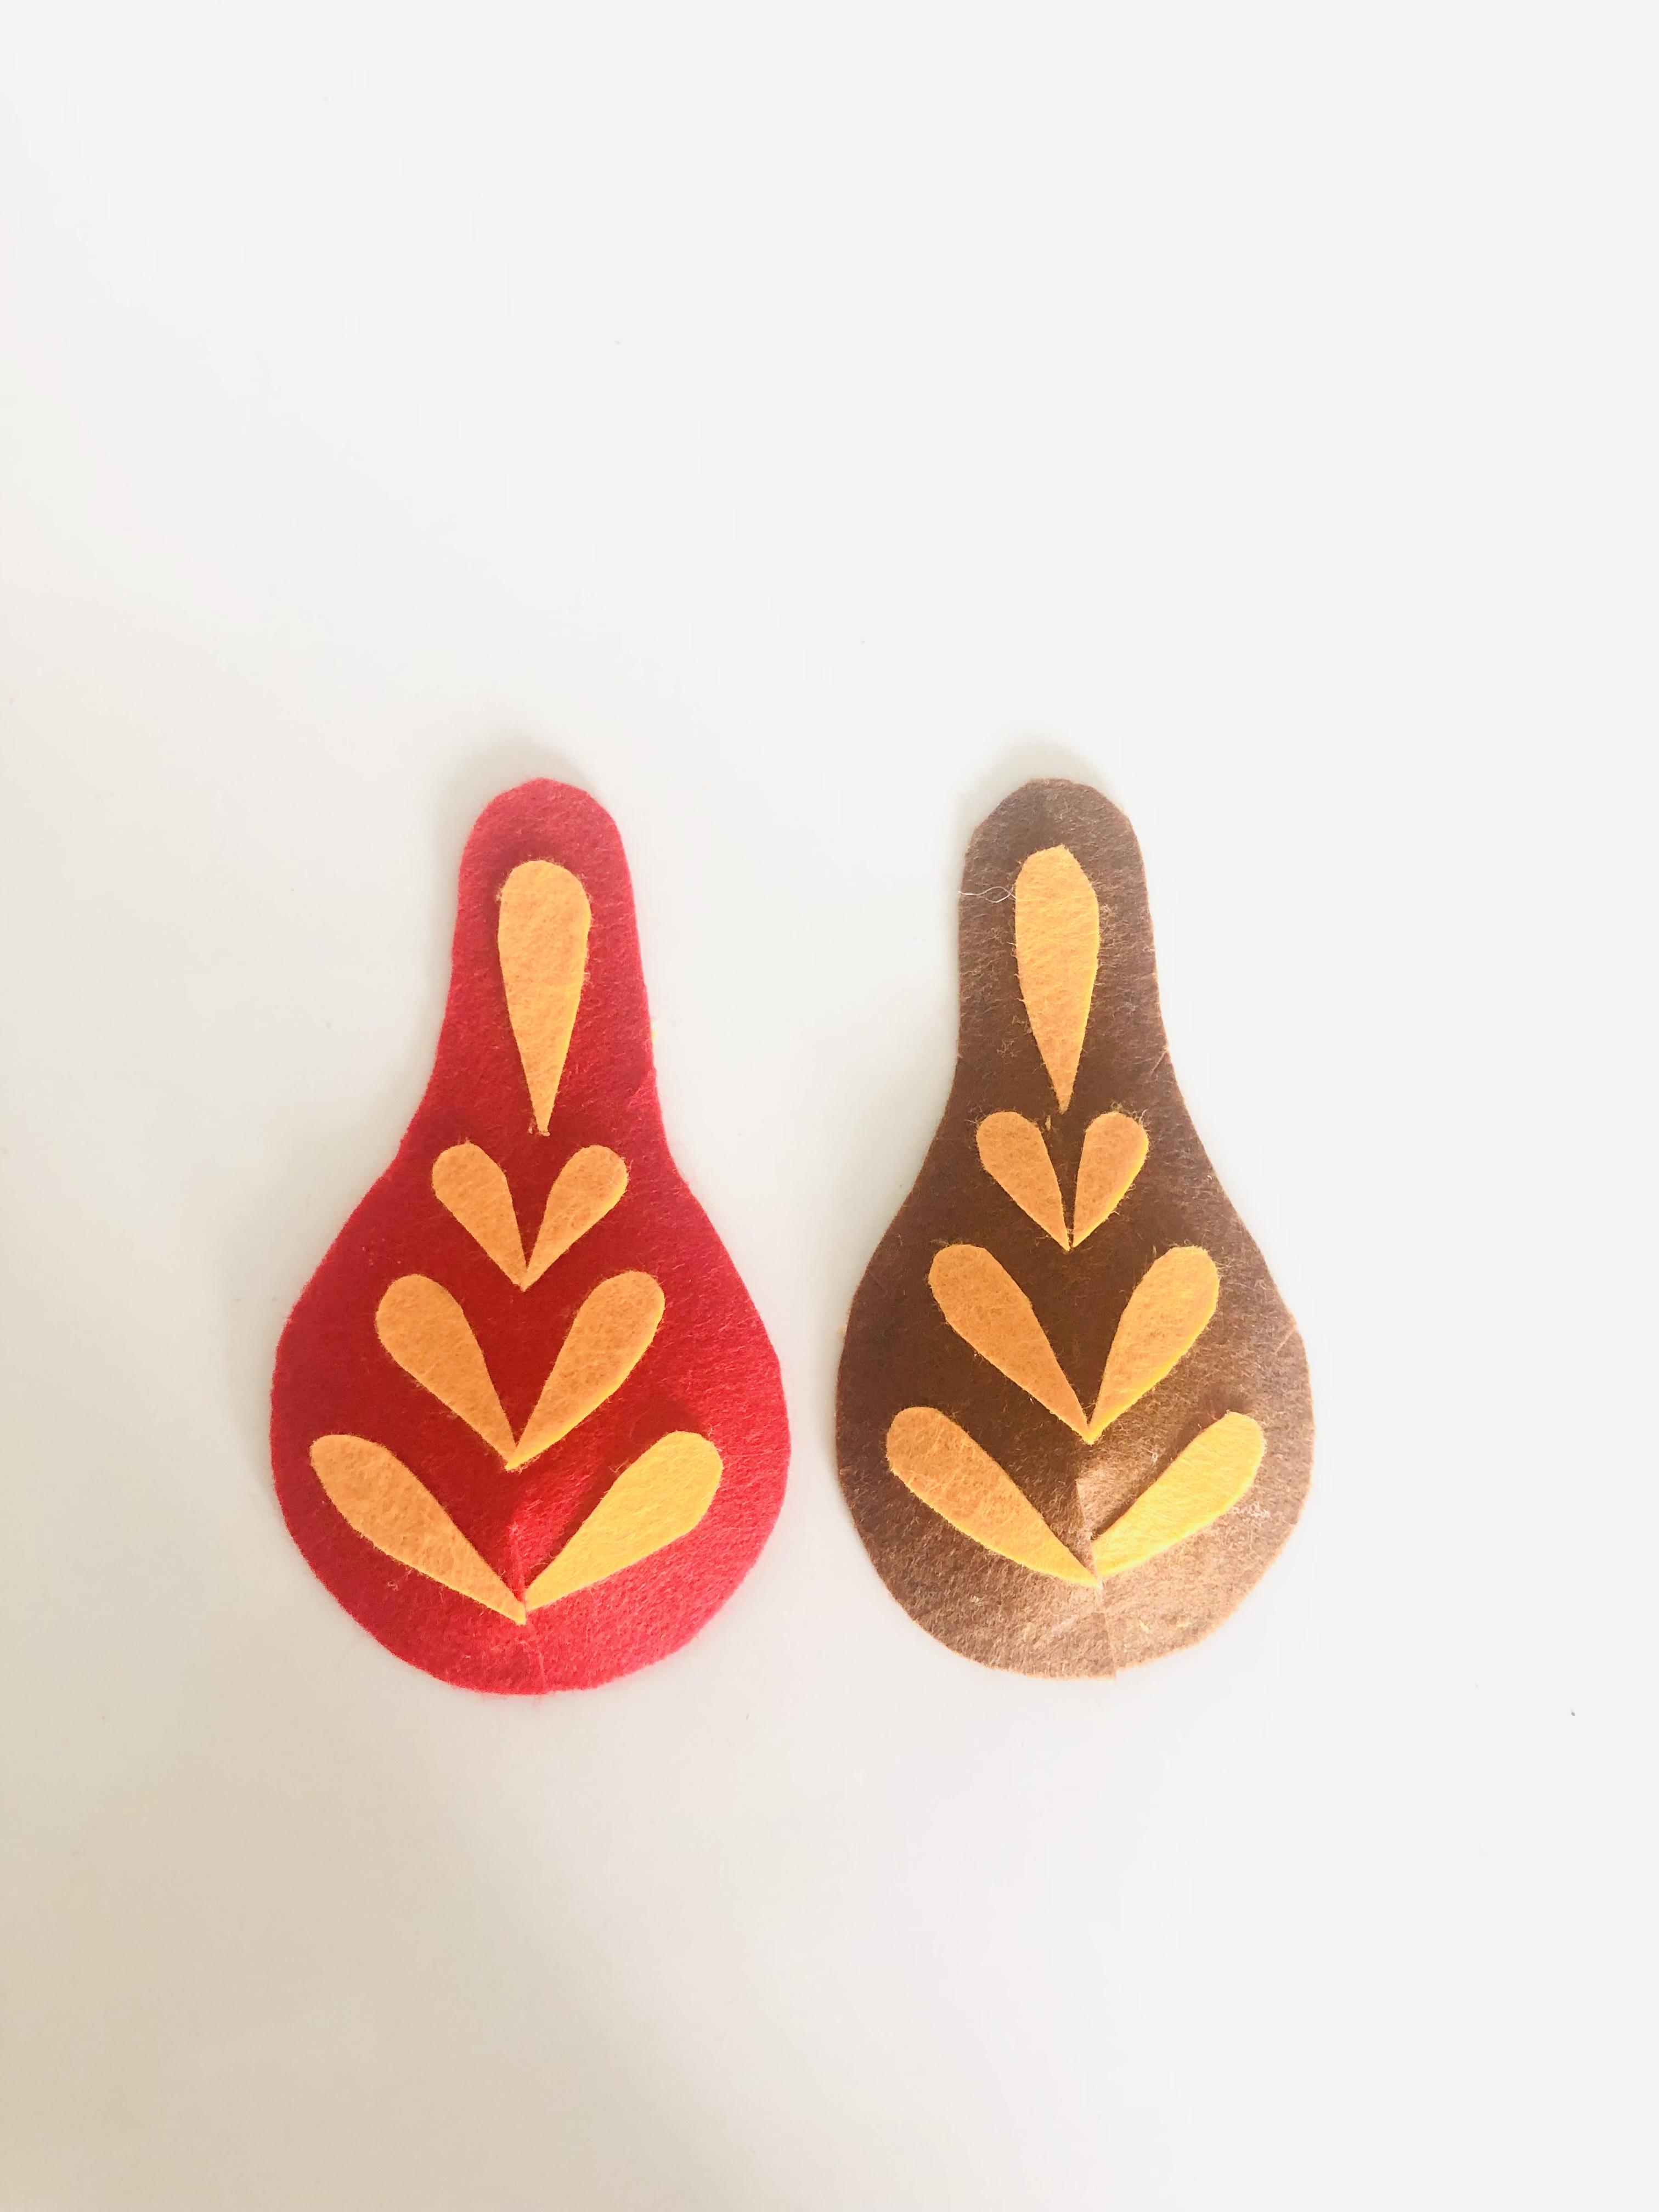
- Take the yellow felt sheet and cut detailing design from them
- Take the detailing and stick it on the brown n red shapes as shown in the image
- Use fevicryl fabric glue to stick it.
- Place the pear shaped bases in the bulb and figure out how big must the slit be to take the shape of a pear.
- Once you have the measurements, over lap the slits and stick them accordingly.
- Use fevicryl fabric glue to stick it.
STEP 8
- Take the red and brown pieces and stick them on the prepared bulb pear as shown in the image.
- Use fevicryl fabric glue to stick it.
- Let it dry
STEP 9
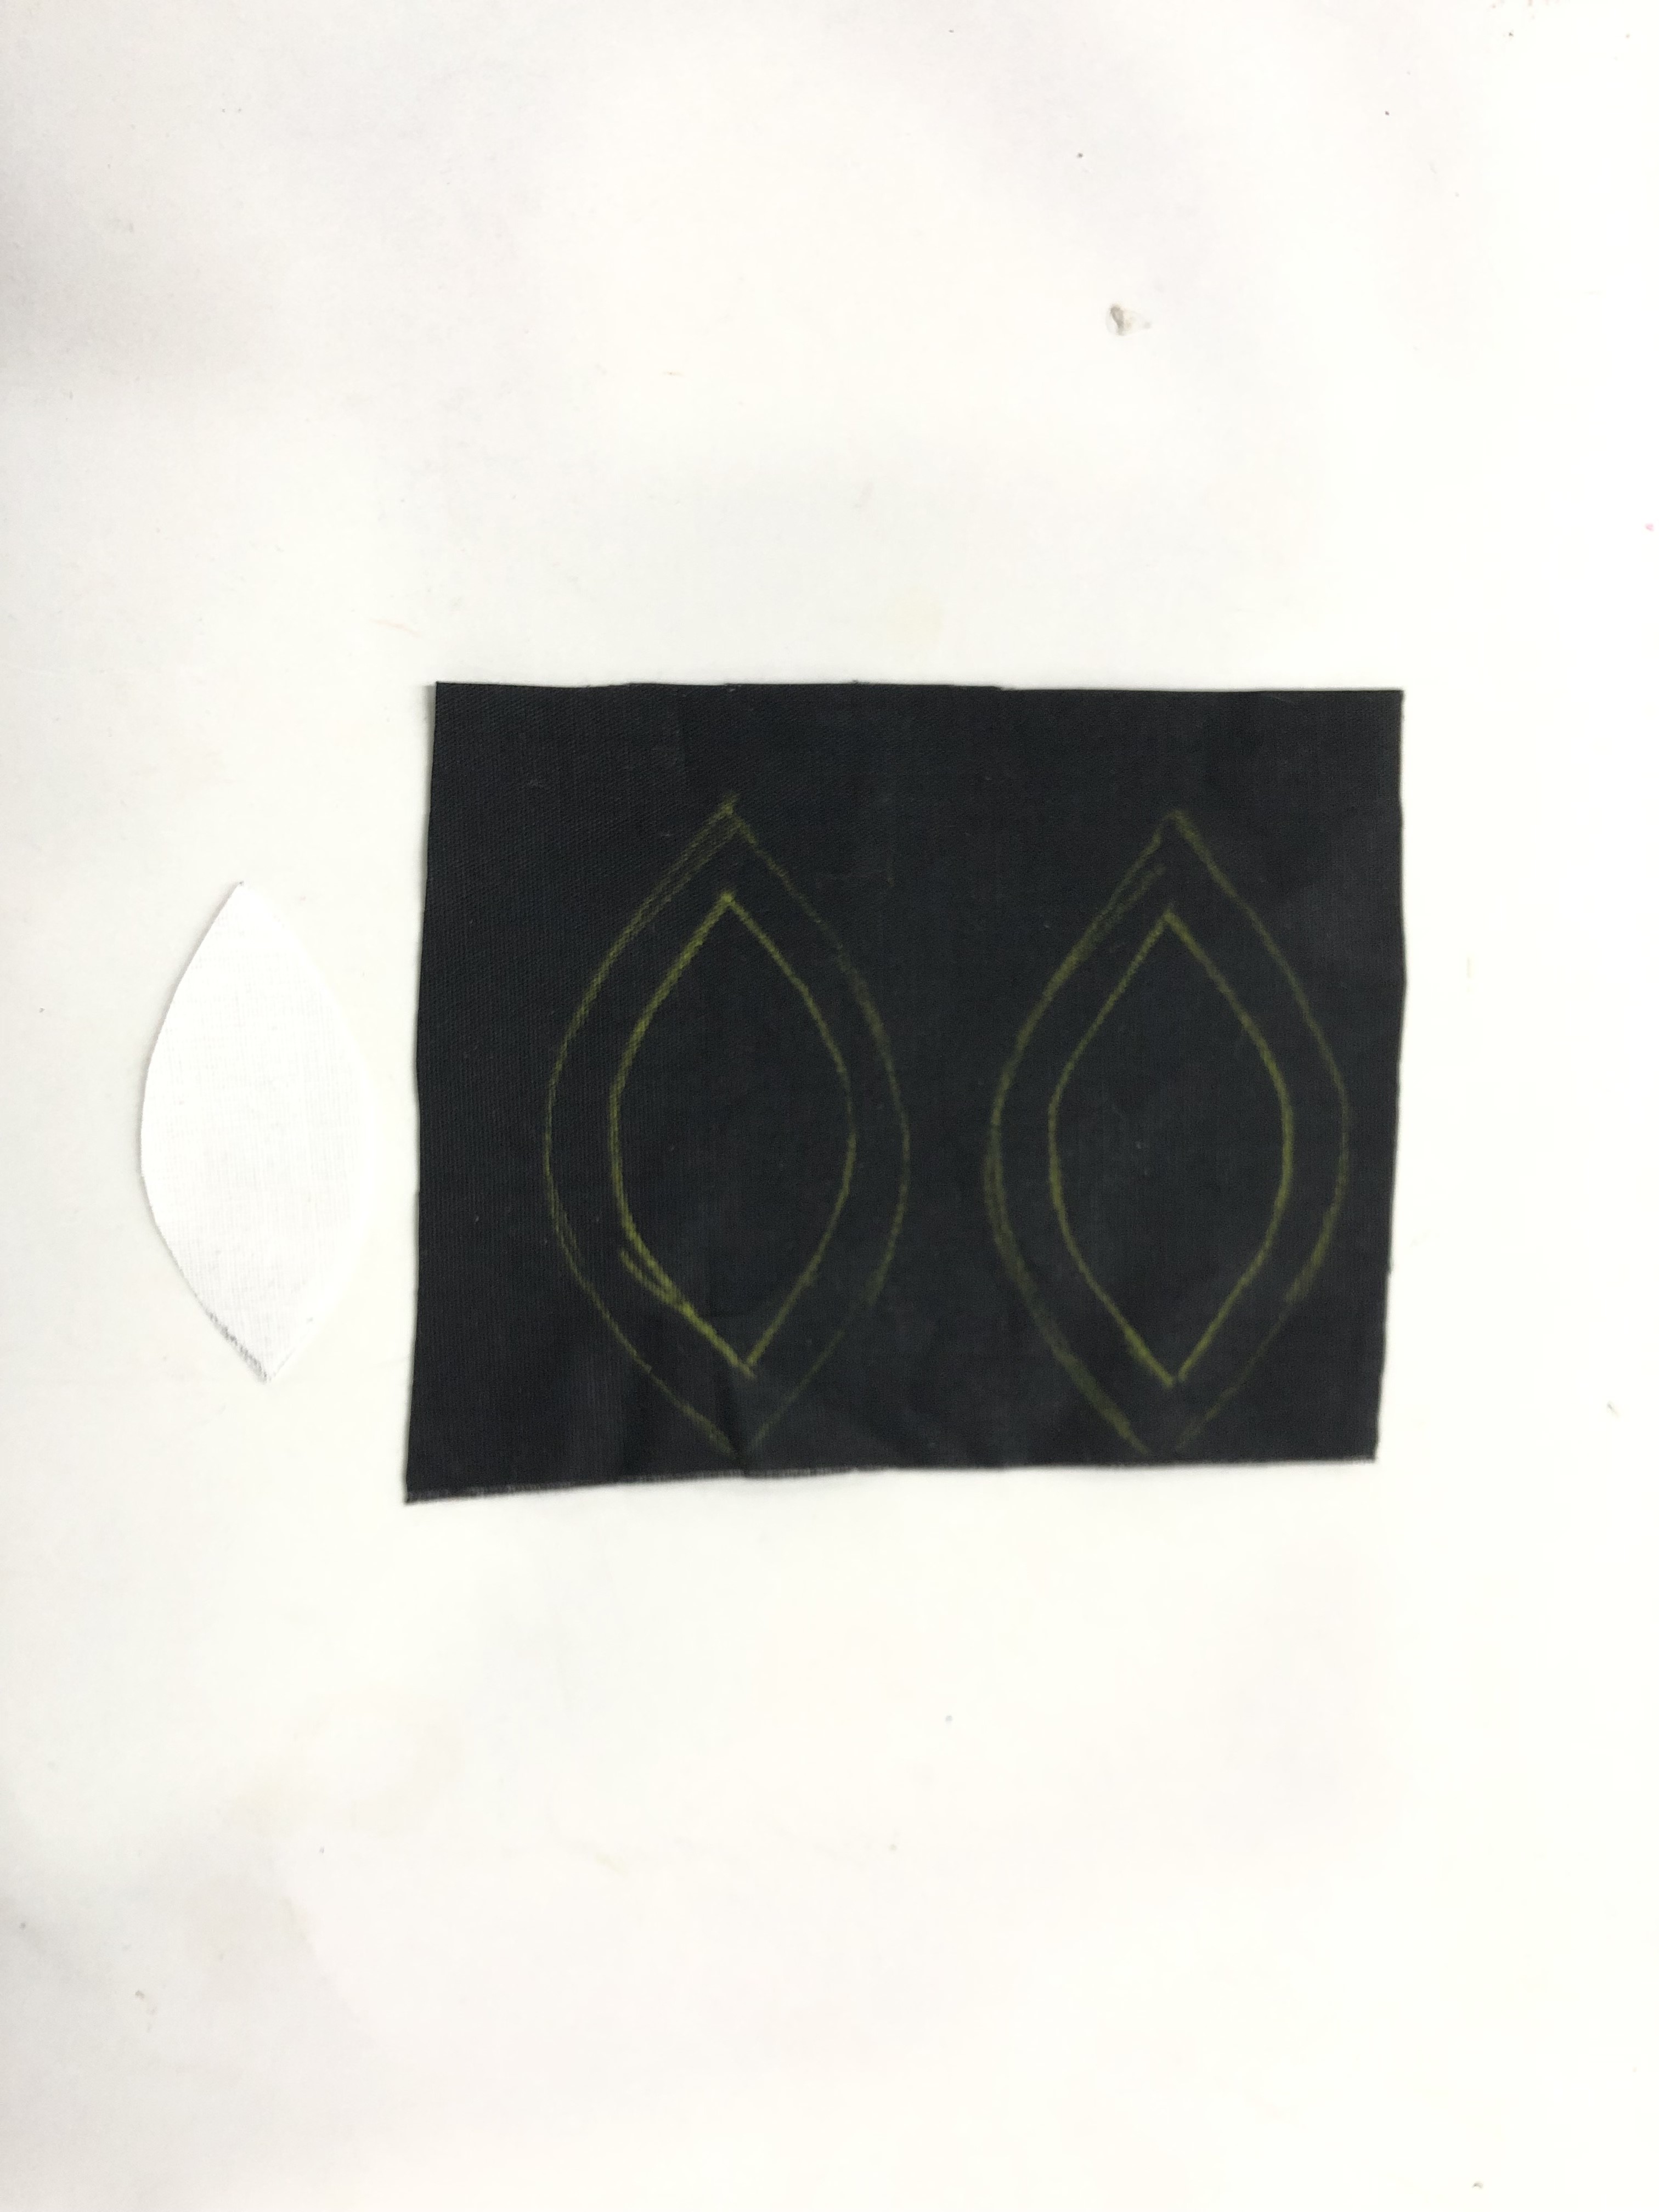
- Take black fabric and draw leaf on it.
- Make sure to leave extra gap around the leaf
STEP 10
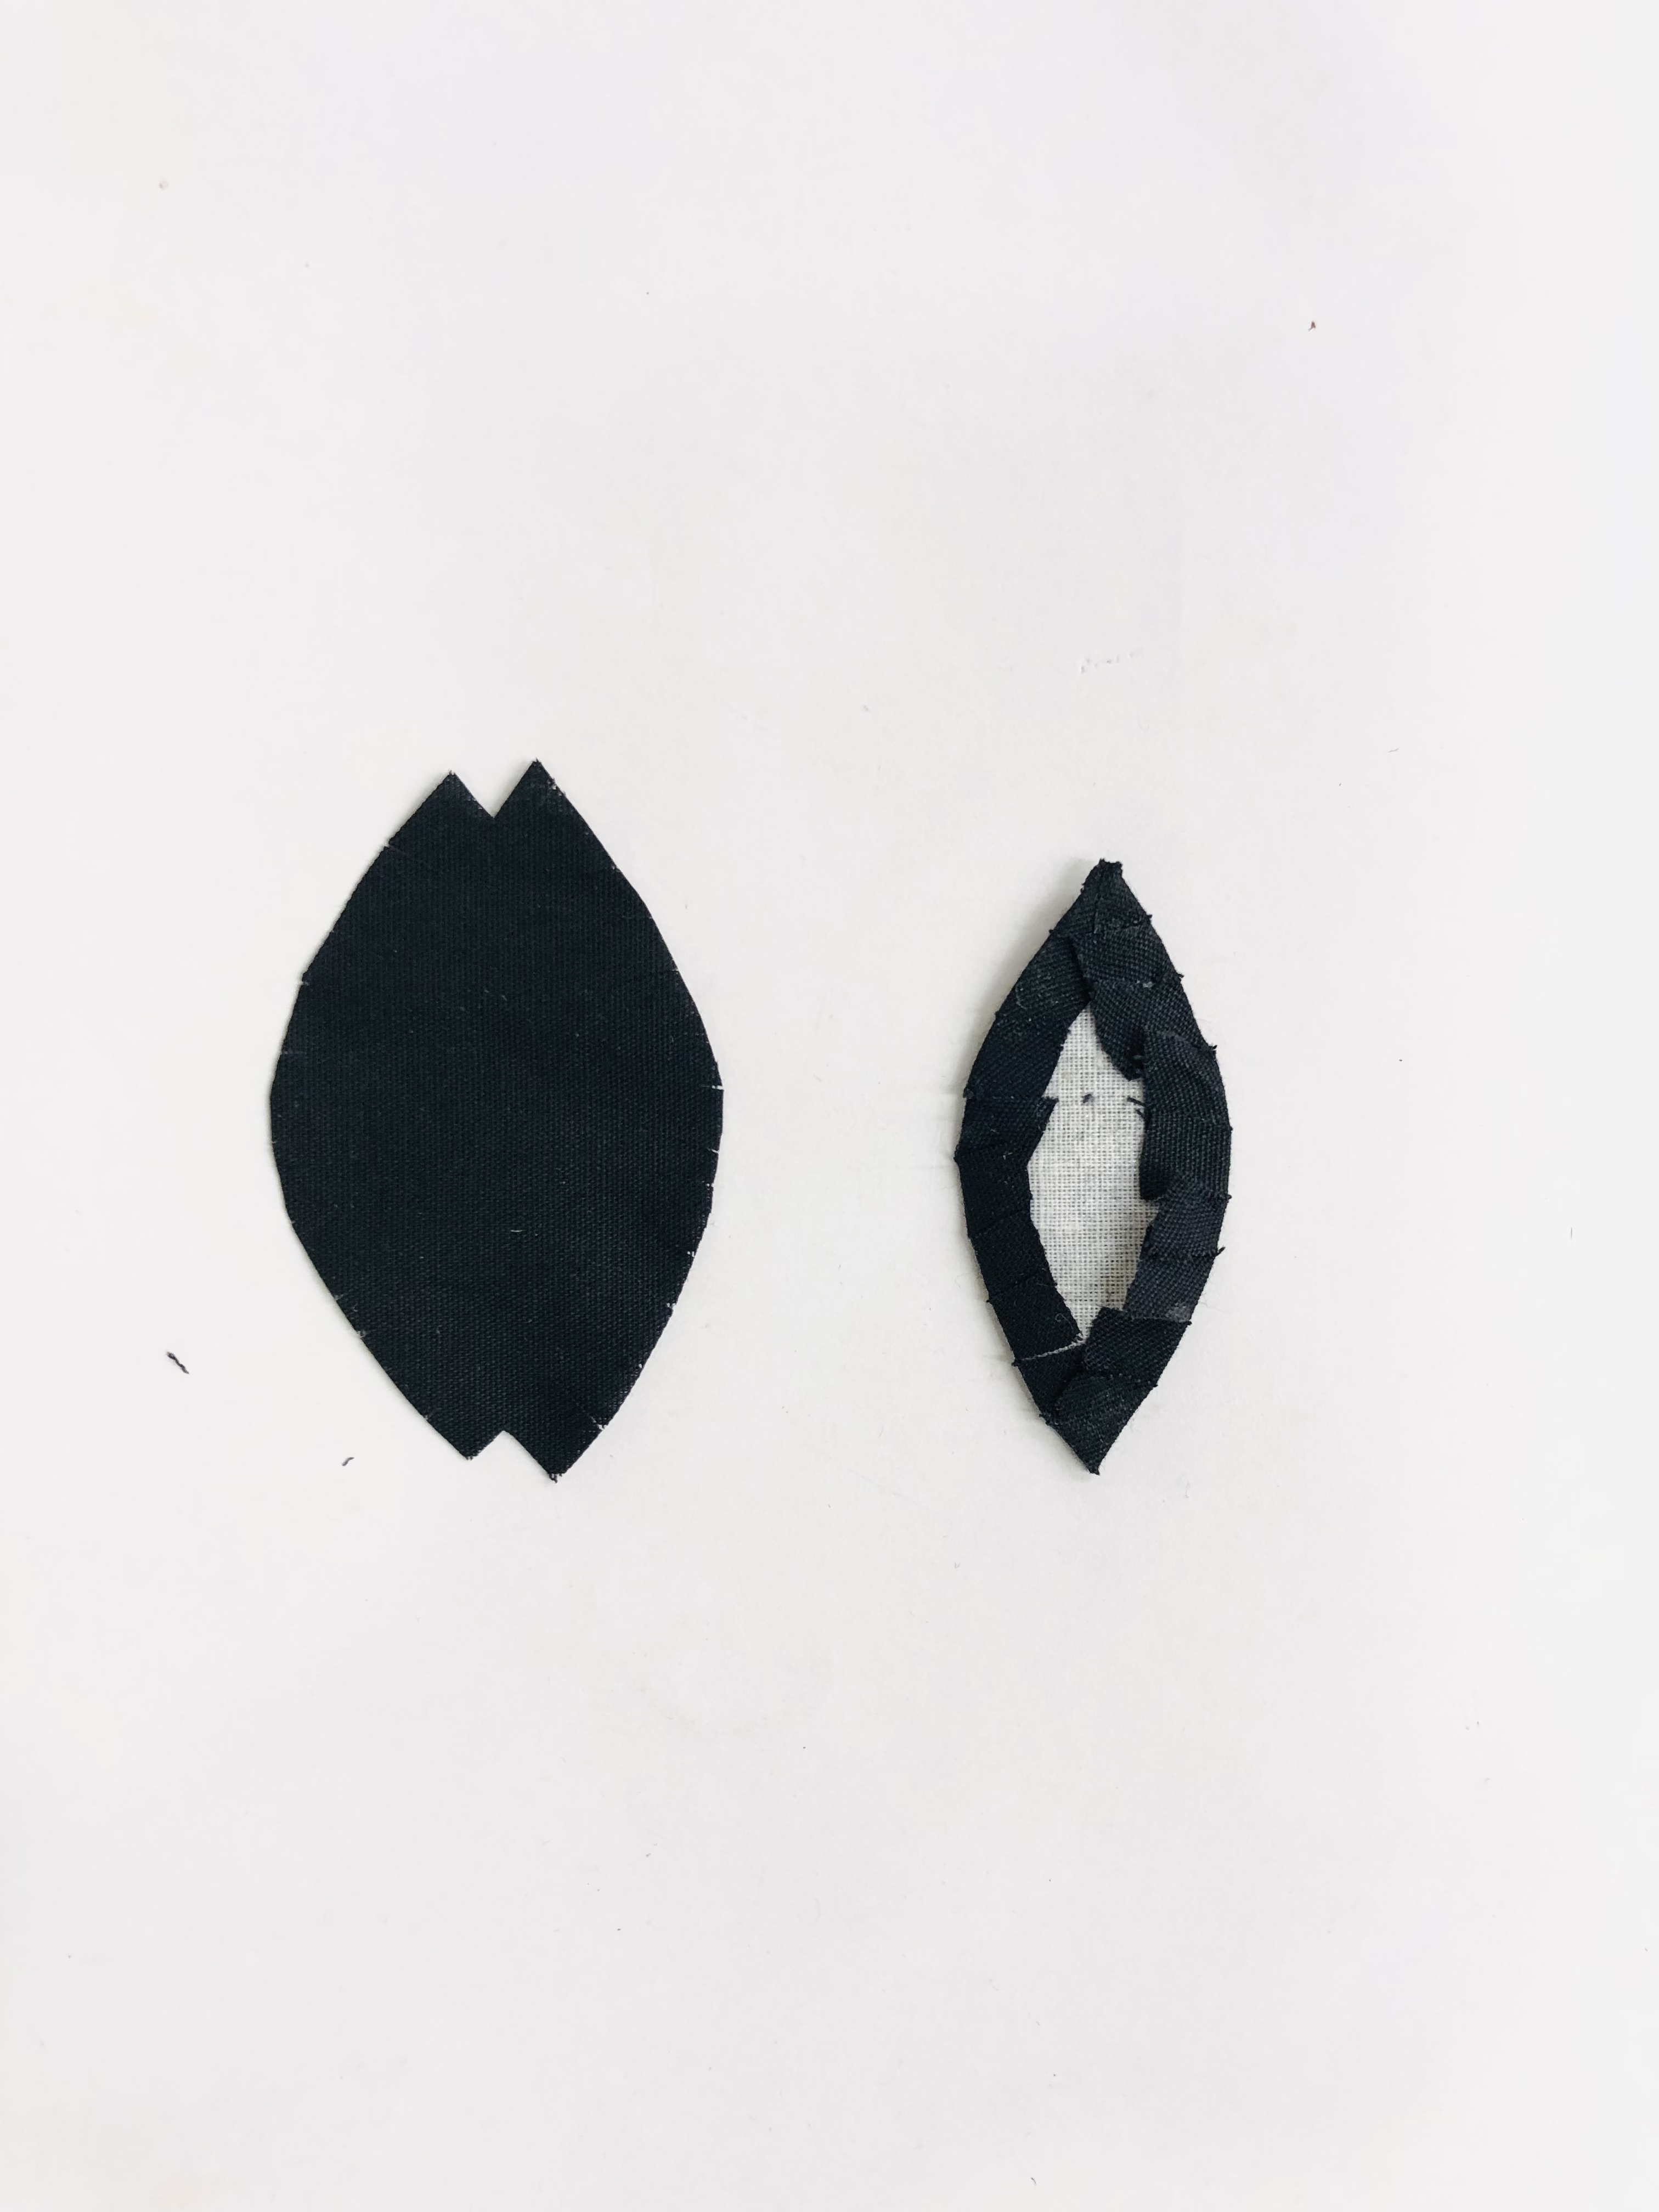
- Cut the leaf as shown and cut the edges
- Once cut, fold it towards the back as seen in the image
- Use fevicryl fabric glue to stick it.
- Let it dry
STEP 11
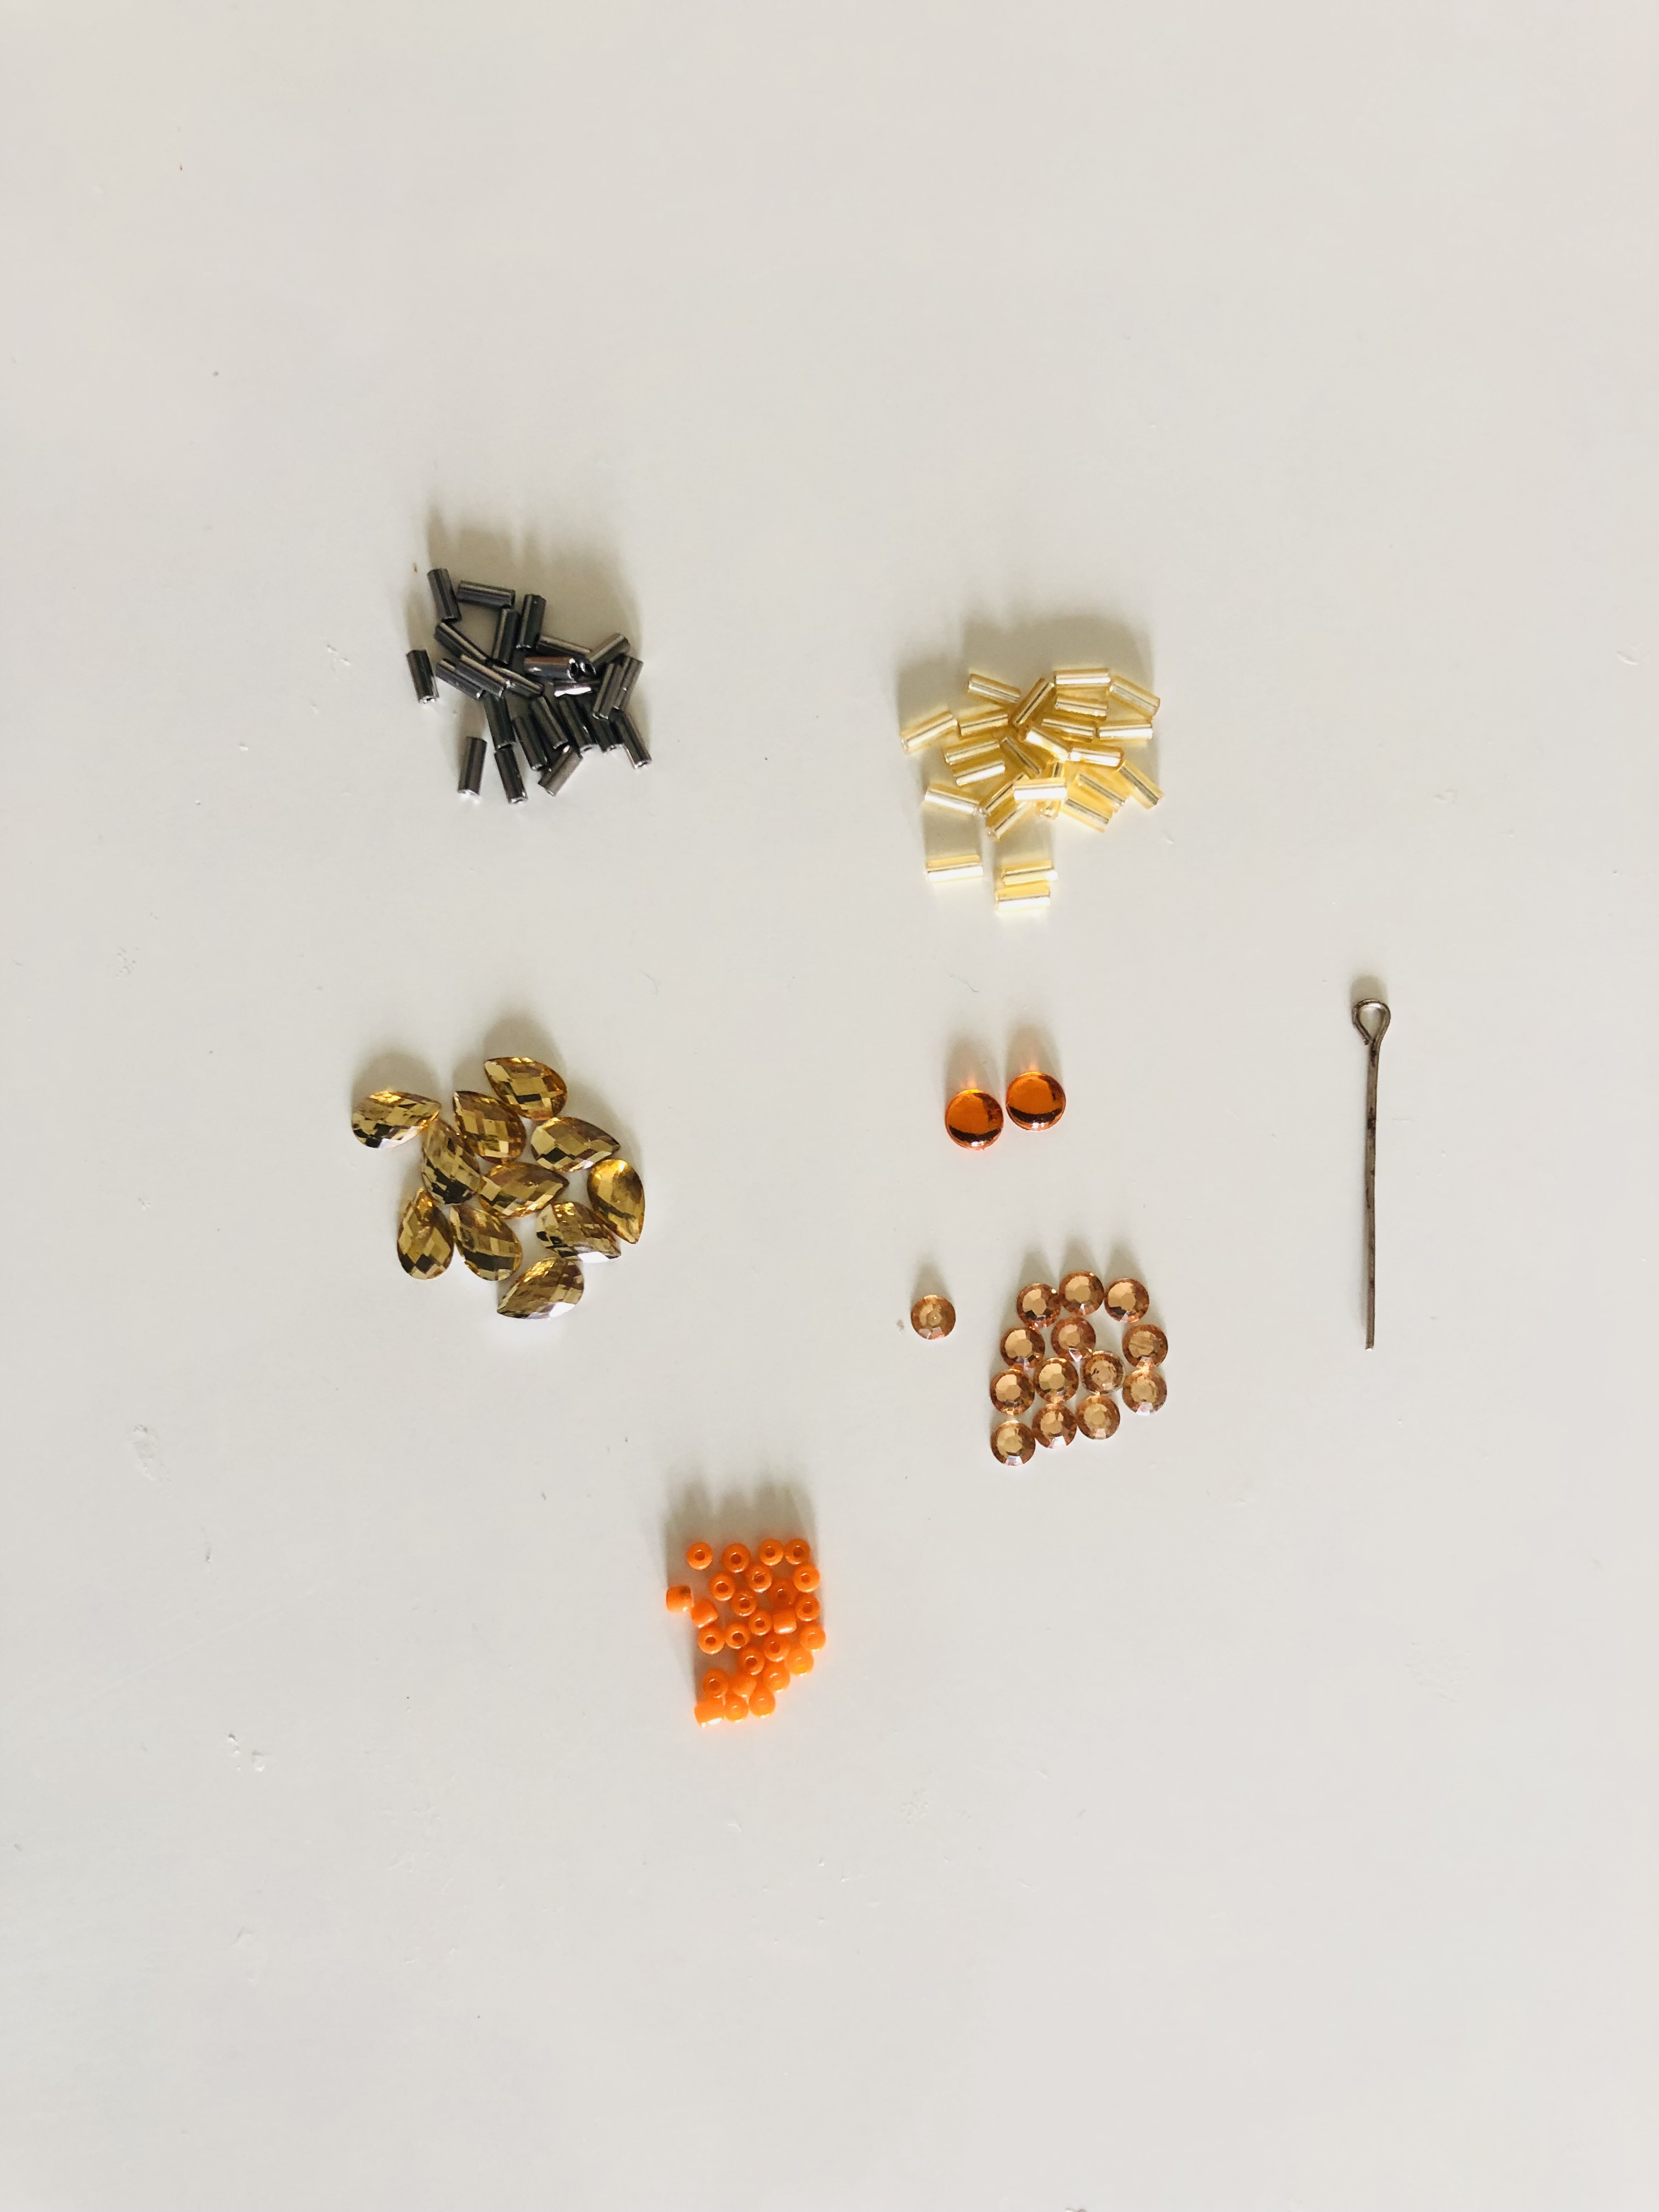
- Take various embellishments like stones, poth, cutdana etc to stick on the pear surface.
STEP 12
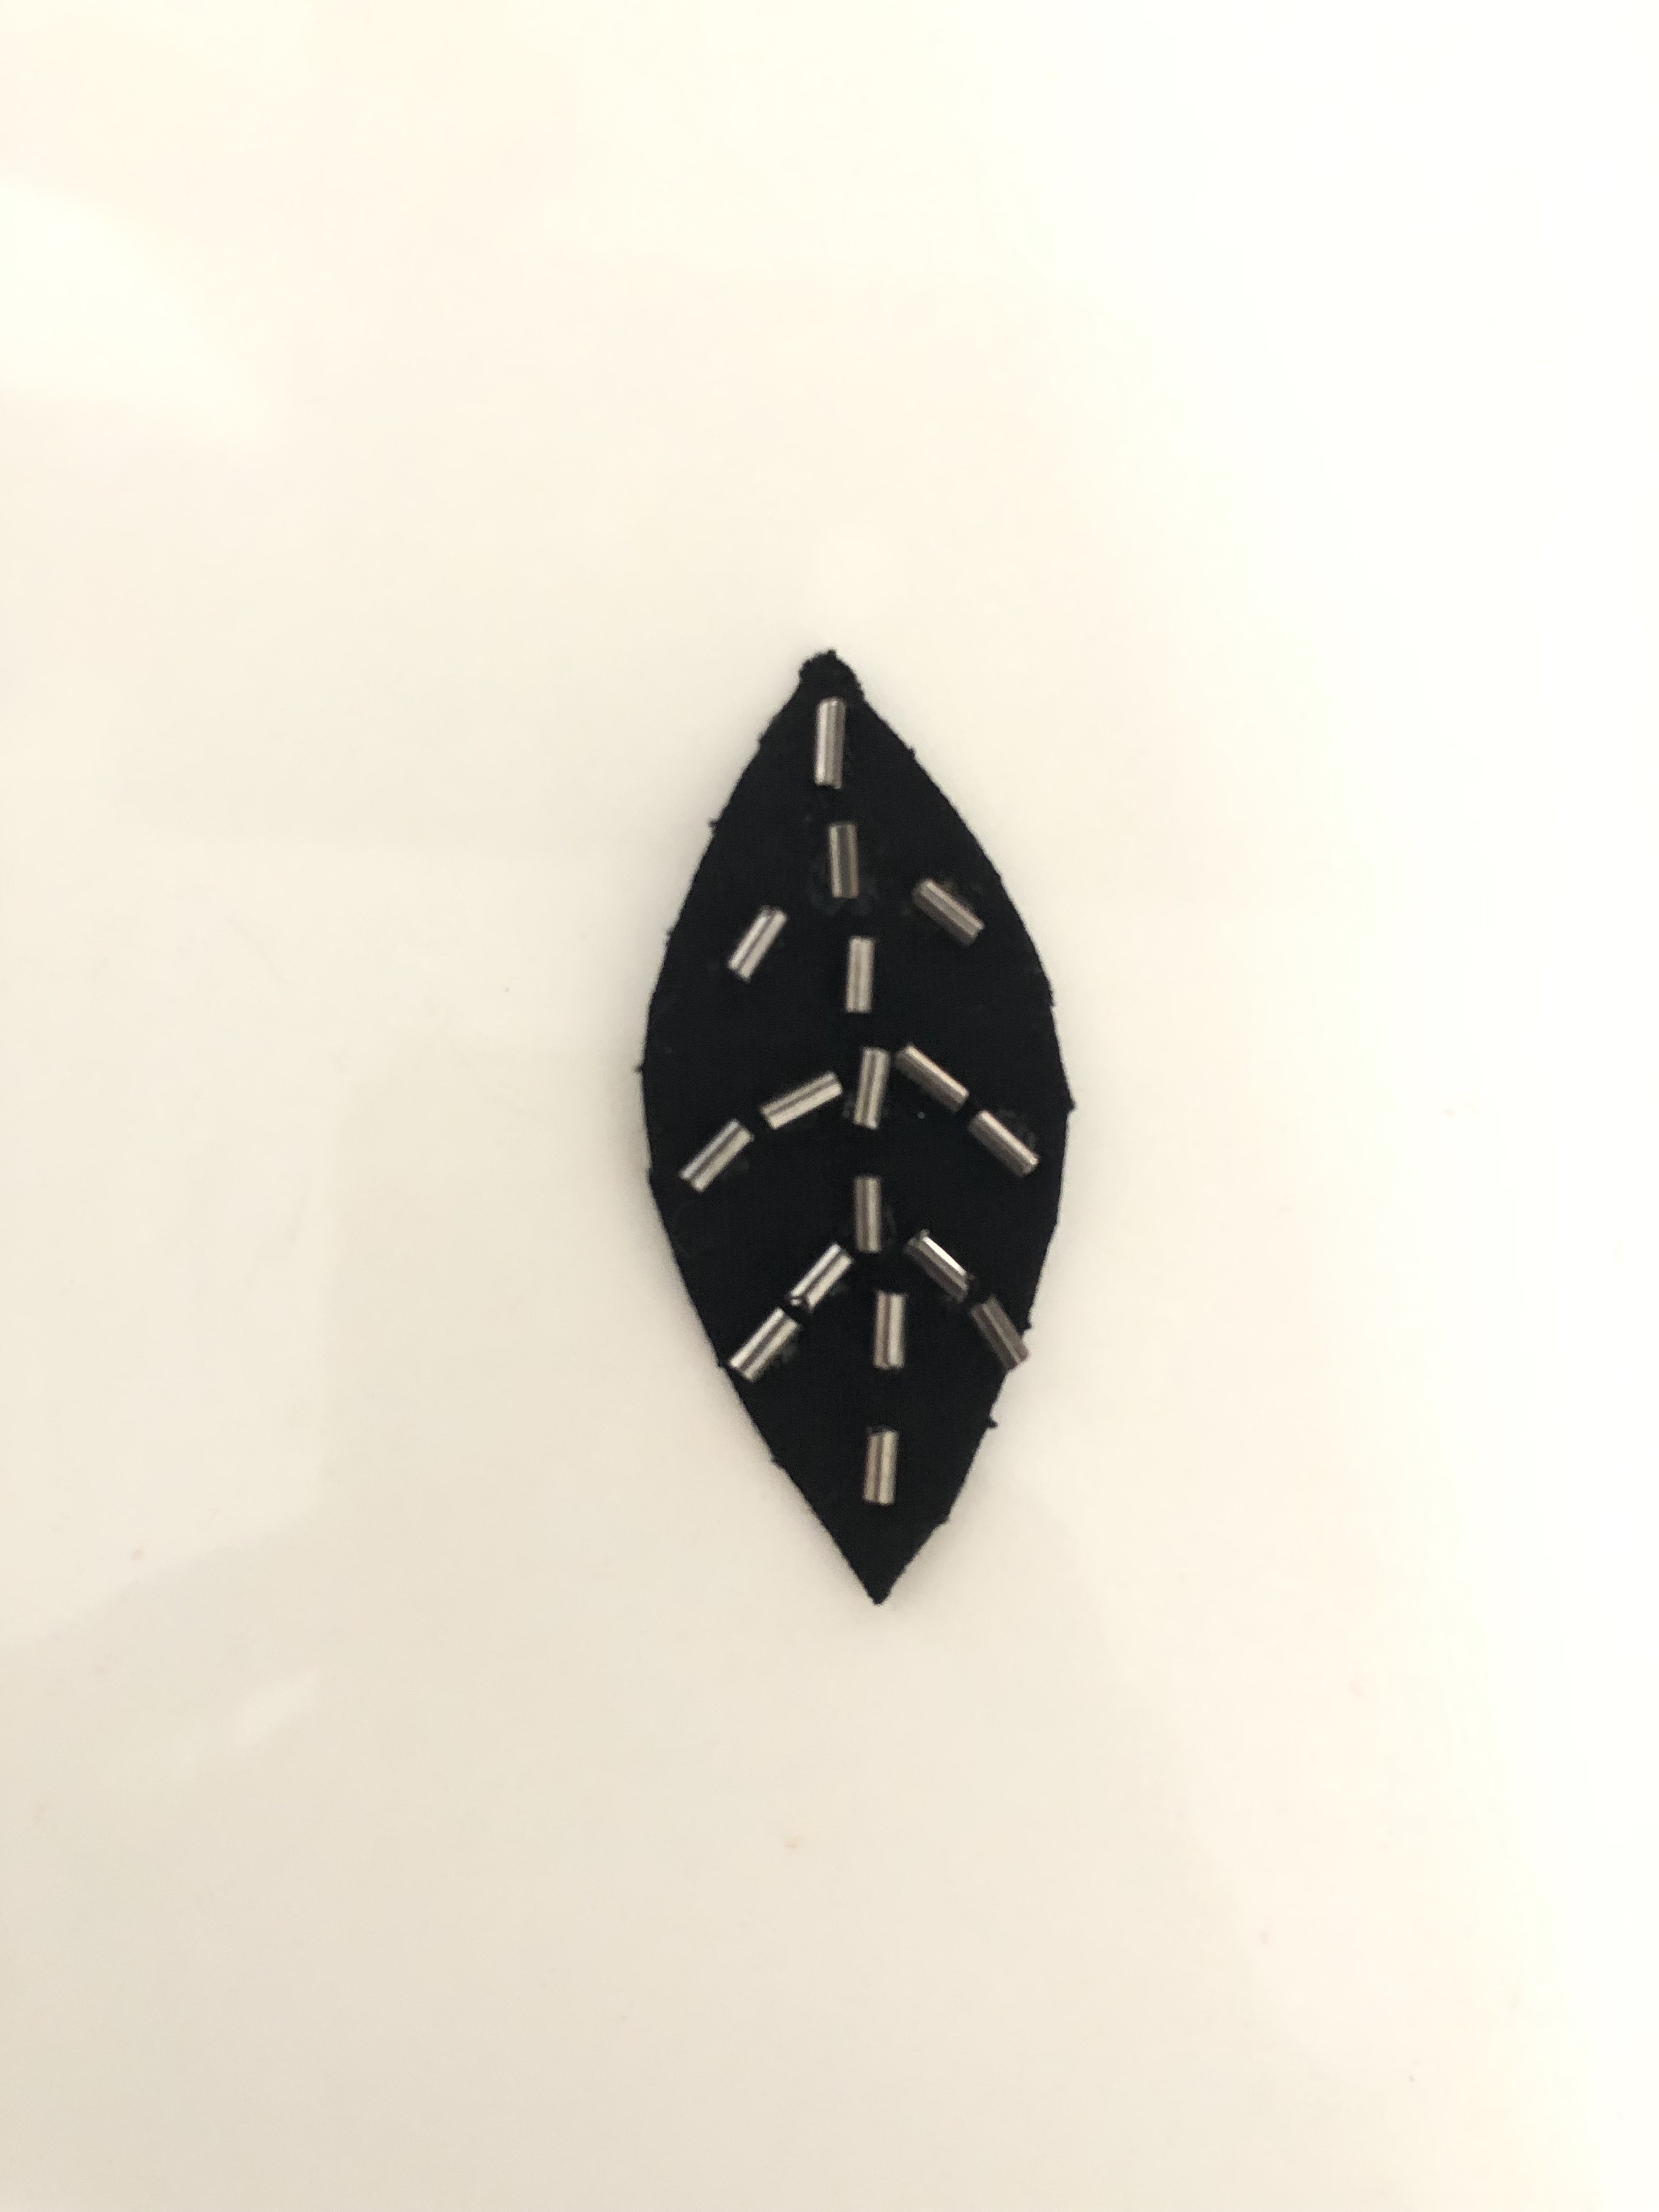
- Take cutdana and stick it on the leaf as shown in the image.
- Use fevicryl fabric glue to stick it.
STEP 13
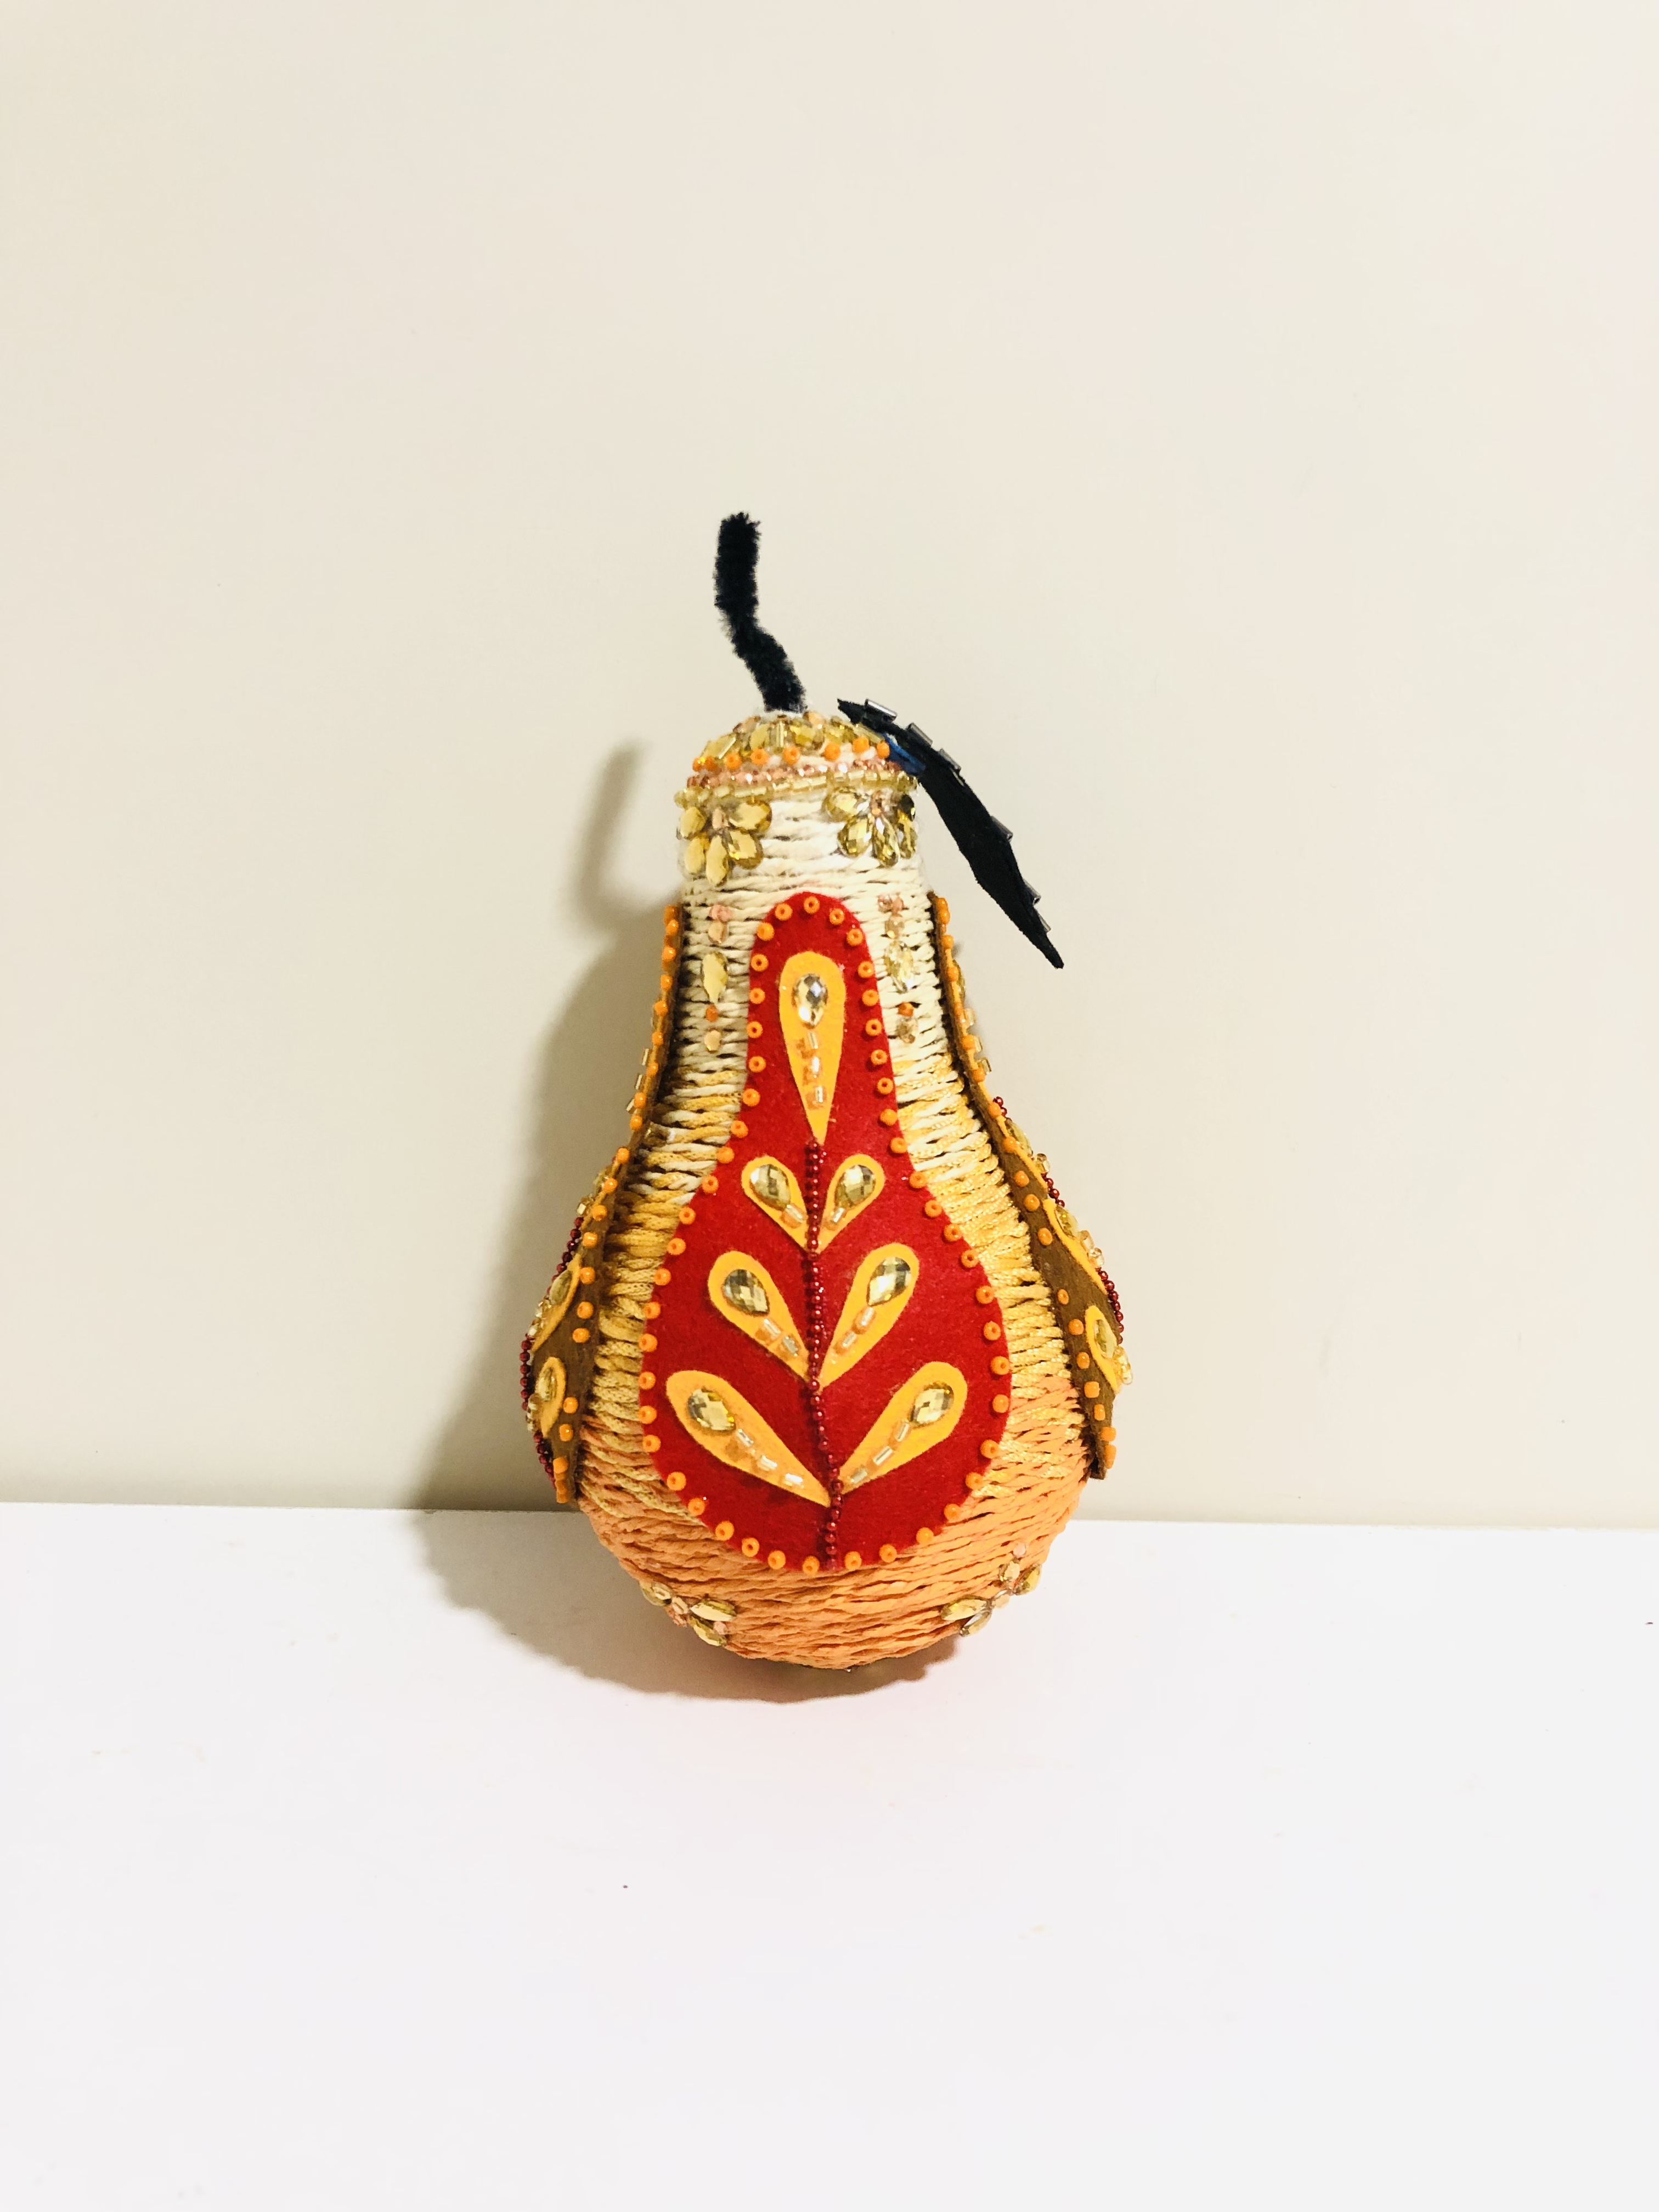
- Take the rest of the embellishments, ball chain and stick them on the pear.
- Refer to the image wrt how u can embellish the surface.
- Attach the leaf to the stick above as well by sticking.
- Use fevicryl fabric glue to stick it.
- Let it all dry
STEP 14

- Take the jewellery hoop and stick it/ insert it near the leaf
- Take golden yarn and braid it to create the hoop that will hold the pear on the tree
- Attach it to the hoop
The Pear ornament is ready to be hung on the Christmas tree!


 +91 99676 55545